 Useful tips
Watch the video, If you're too lazy to read
Watch the video, If you're too lazy read
Content:
How to make a paper envelope?
Beautiful DIY envelope
Envelope
templates DIY origami
envelope (video) DIY money envelopes
Gift envelope for money Money
envelope scrapbooking DIY wedding
envelope
Money in an envelope: original ideas Disc
envelope

An envelope is just a shell or packaging for inserting various items or papers. We are mostly used to thinking of an envelope as a “package” for letters or documents. But there are also envelopes made of thick fabrics or blankets for newborns.
Today we will learn how to make envelopes for different needs and start with perhaps the most common envelope – a paper envelope.
How to make a paper envelope?
The simplest envelope can be made from a square sheet of paper by folding the corners to the center. To do this, you will need a square sheet of paper of the desired size, a ruler and a pencil.
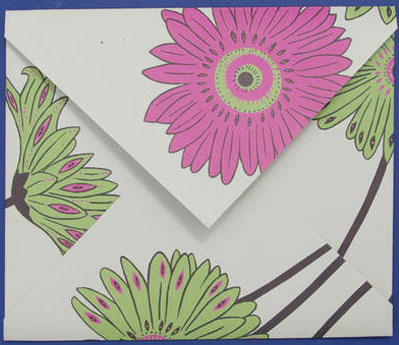
1) Mark the very center of the sheet with a dot, measuring the distance to it using a ruler.
2) Fold the left and right sides inwards so that the corners touch the center point.
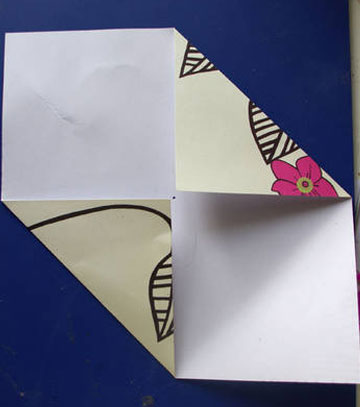
3) Then bend the underside up so that it covers the center and can be glued to the two corners that have already been bent.
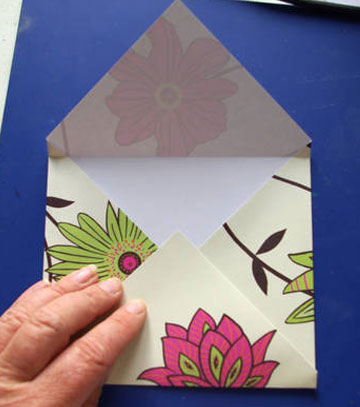
4) Apply glue to the undersides of the envelope, as shown in the photo. You can also use double-sided tape.
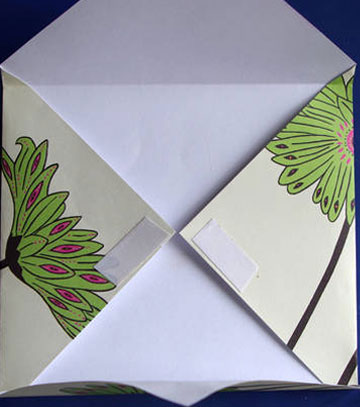
5) Fold the top corner down. The envelope is ready! This envelope can be made in just a few minutes. It is based on the simple principle of adding angles. Here are some more schemes for making envelopes from sheets of different shapes:
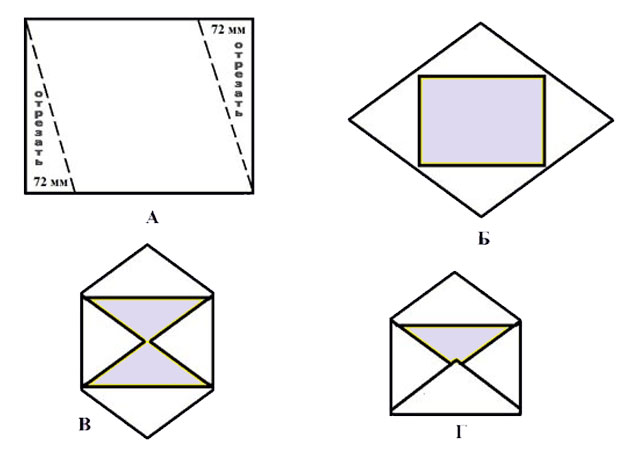
Diamond envelope
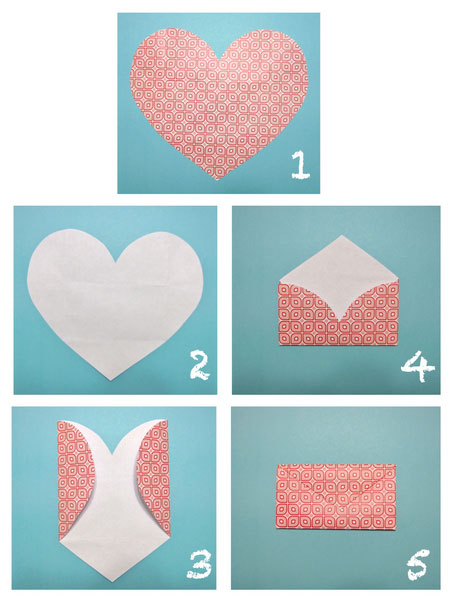
Heart envelope
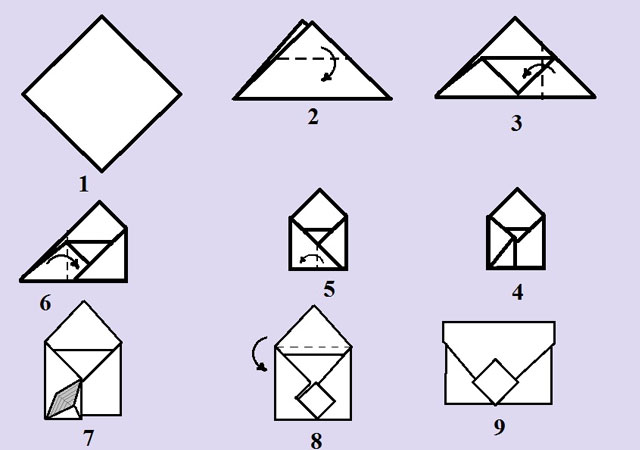
Square envelope
A beautiful envelope with your own hands
To make your envelope look beautiful and original, it can be made from several types of colored paper. The easiest way to decorate an envelope is to use different types of paper for the outside and inside.
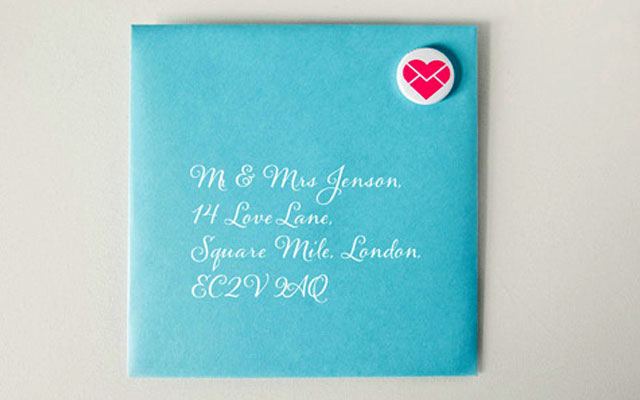
To work, you will need:
– 2 sheets of colored paper
– Old envelope as a template (optional)
– Double-sided tape or glue
– Ruler and pencil
– Scissors
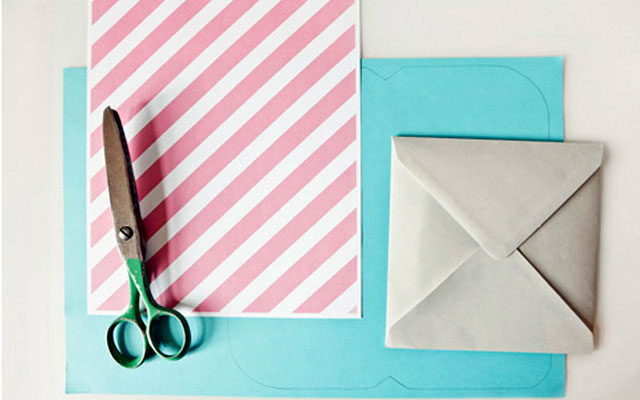
Let's get to work:
1) Cut out of a sheet of colored paper a blank for the outside of the envelope. To do this, you can use a ready-made template, or draw a template yourself using a ruler and pencil. Choose the size of the envelope at your discretion, depending on what you are going to put in it.
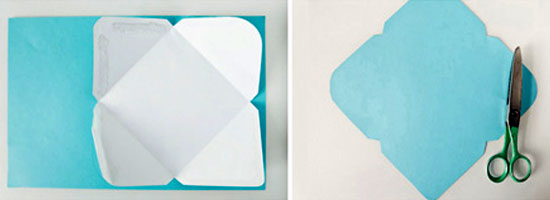
2) From another sheet of colored paper, cut out the workpiece for the inside of the envelope.
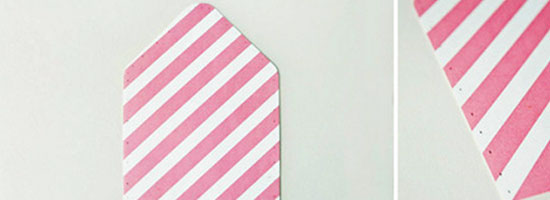
3) The inner part should match the size of the outer part, but should be slightly smaller so that it can be easily glued inside.
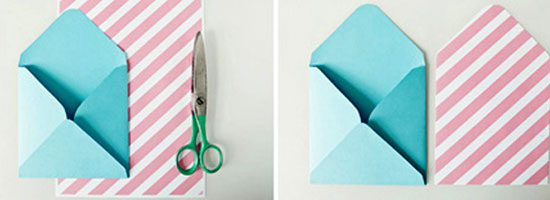
4) Using tape or glue, glue the inner part.
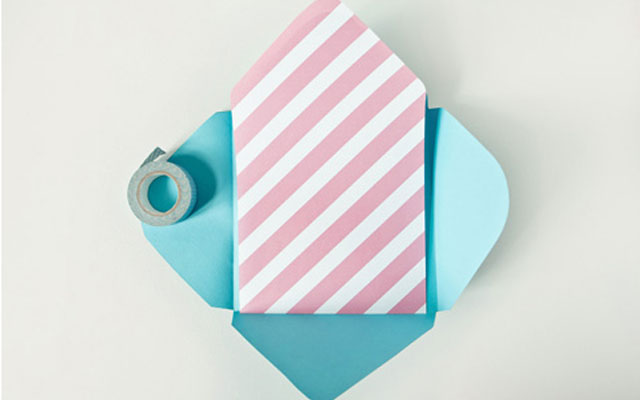
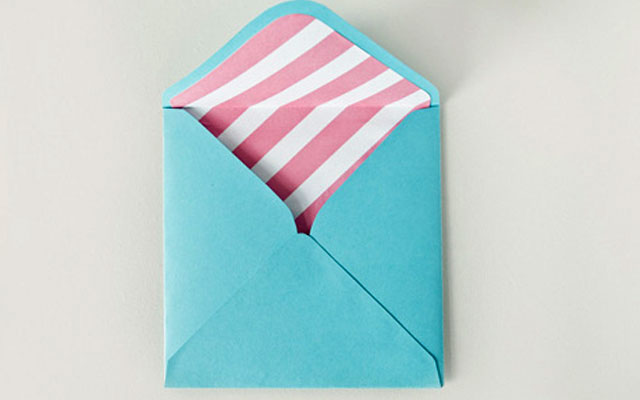
5) Fold the edges of the envelope inward and seal them so that the glue does not get into the inside.
Envelope templates
With this template, you can make envelopes out of colored cardboard:
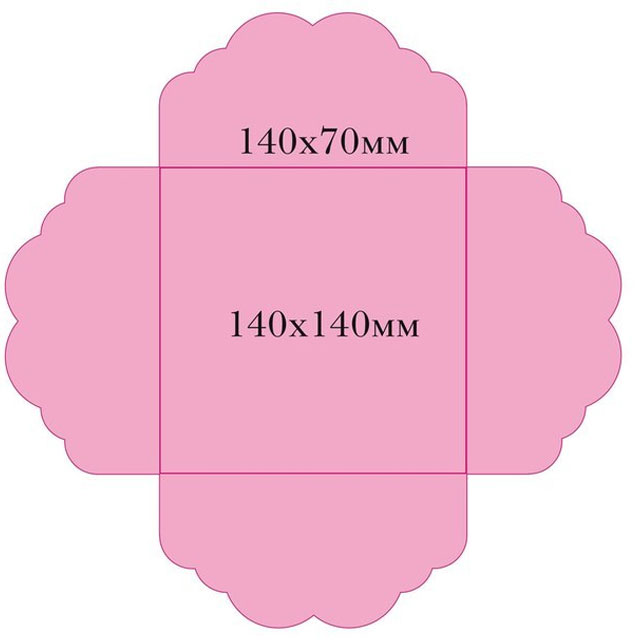
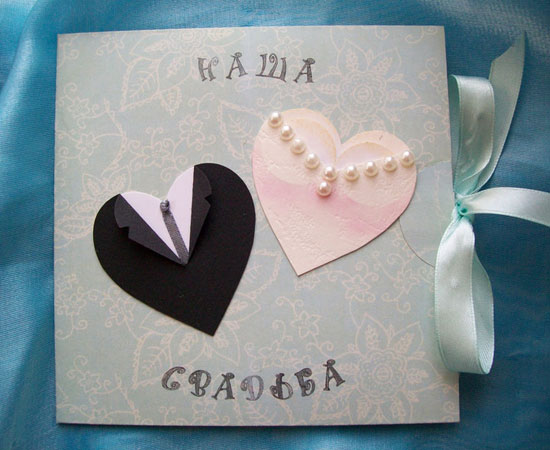
By adding a ribbon, you will get envelopes for different occasions: for greeting cards, money, invitations, etc.

Long envelope template:
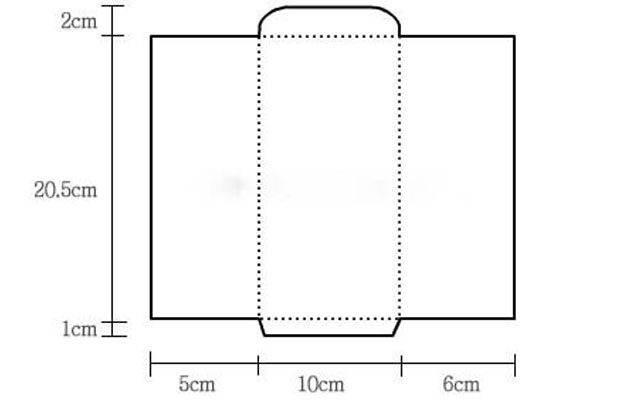
Envelope template on A4 sheet:
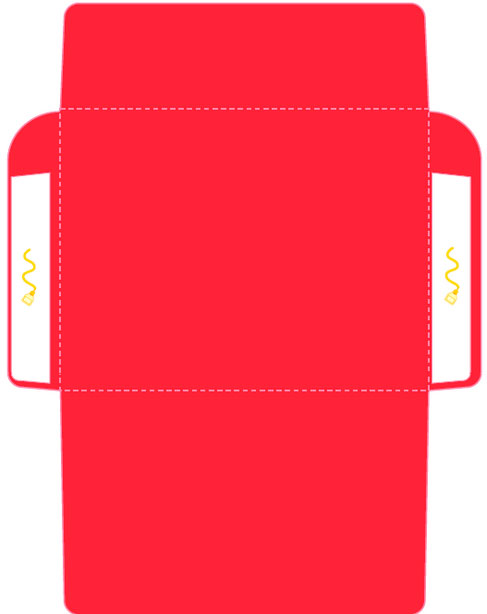
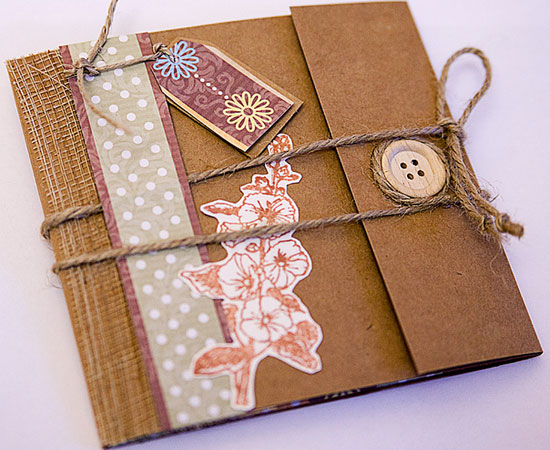
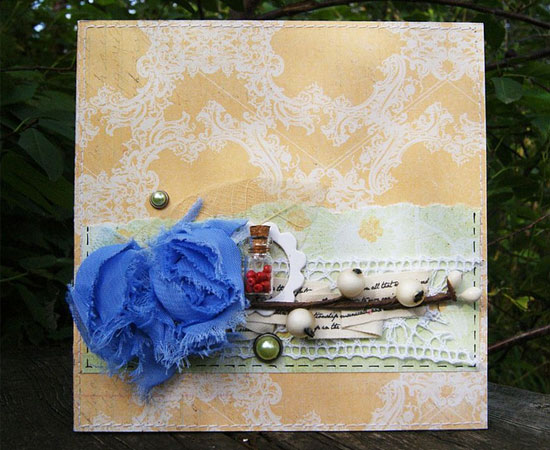
You can decorate the envelopes with colored lace or appliqués:
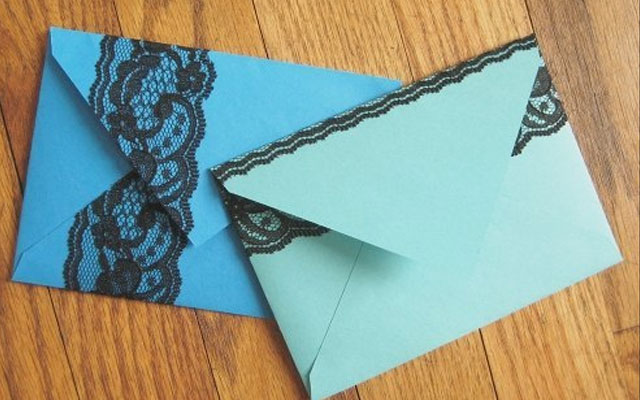
You can use beads and threads to close the envelope:
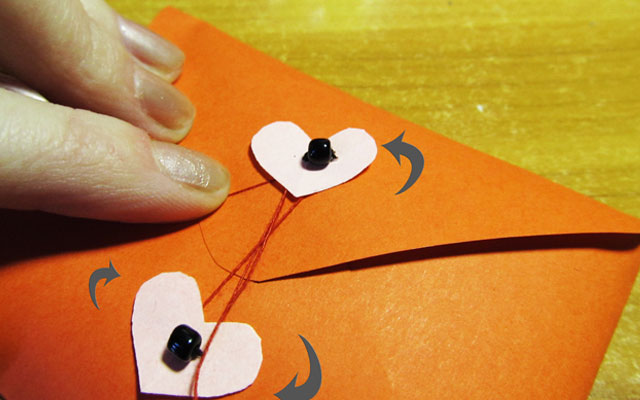
Envelopes are sometimes decorated with various paper details made in various techniques: origami, quilling, scrapbooking, etc.
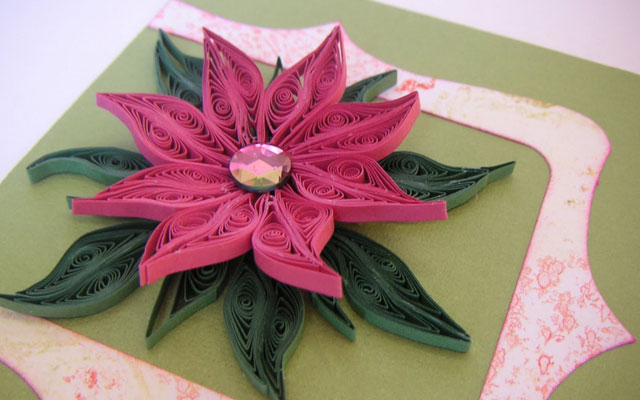
You can read more about the quilling technique here.
You can read more about paper colors here.
DIY origami envelope (video): DIY money
envelopes
What can be more banal than a gift in the form of money, but sometimes this is the only thing that comes to mind. To make your gift original, you can place it in a handmade envelope. The envelope can be beautifully decorated and signed like a postcard.
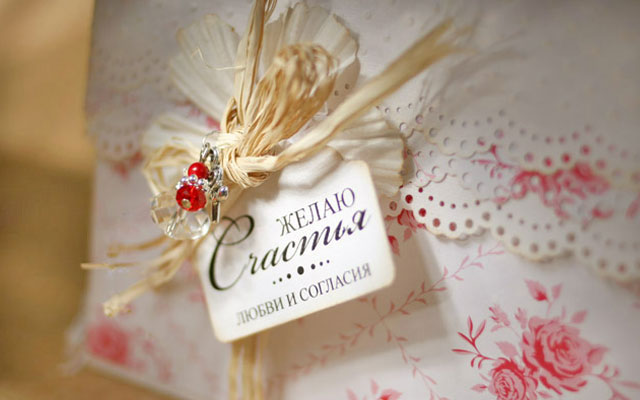
Money envelopes are usually made of cardboard and have an elongated shape so that the bill can fit completely into it. You can draw templates yourself or use ready-made templates:
Money envelopes (templates):
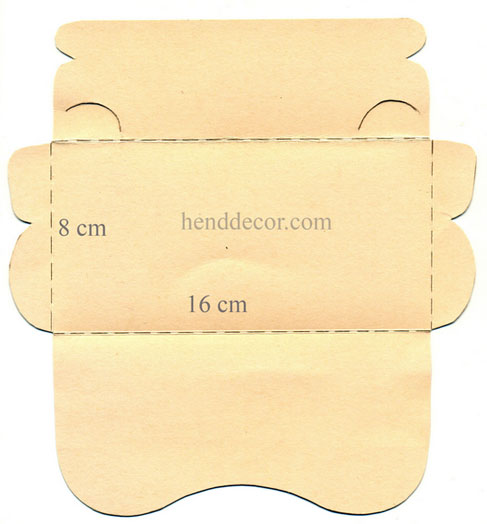
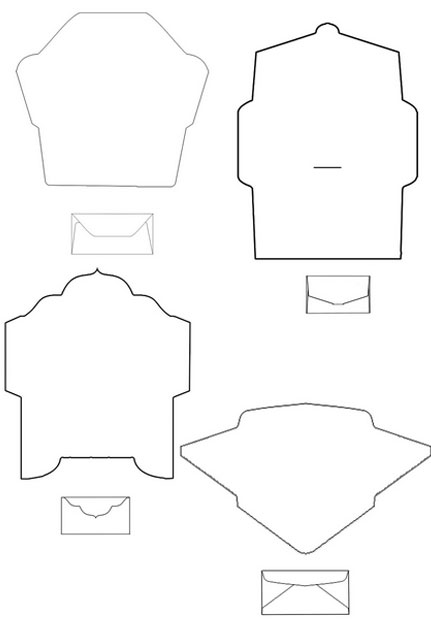
We offer you some useful ideas on how to make and decorate money envelopes that will be great gifts along with their contents.
Gift envelope for money
Are you going to a birthday, wedding, christening party or other event? Then you'll need an envelope for money! This original handmade gift is sure to please your loved ones.
Option 1:
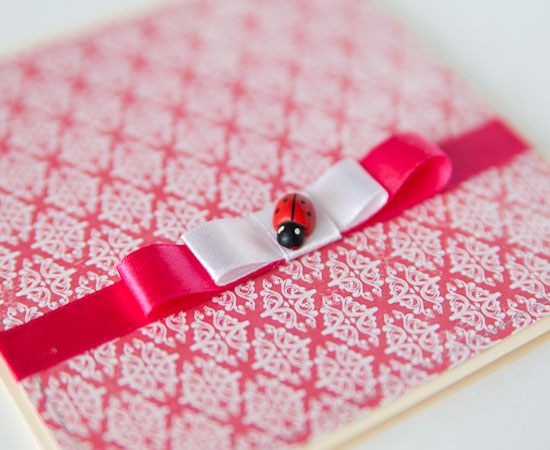
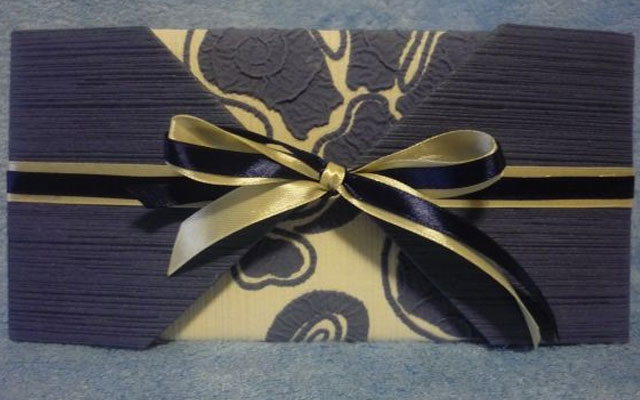
This simple money envelope can be made from colored paper in several colors and satin ribbons. It looks very festive, and it will not take you much time to make it.
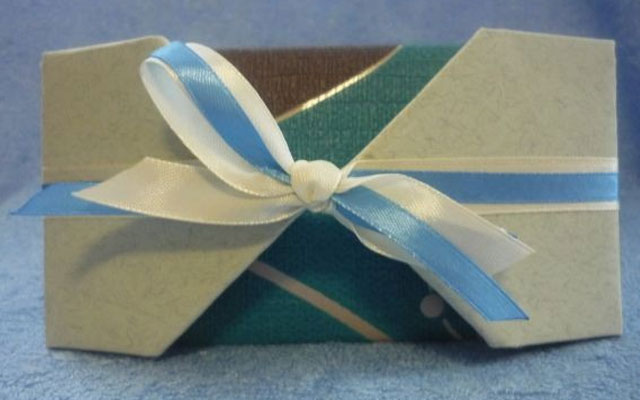
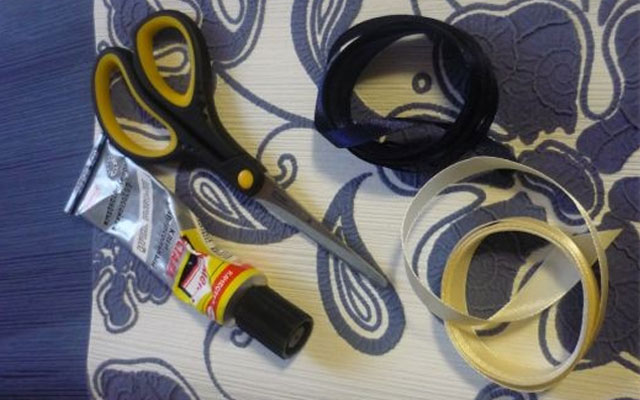
To work, you will need:
– 2 sheets of colored paper (one patterned, the other plain)
– Glue
– Ruler and pencil
– Satin ribbons in 2 colors with a width of 1 cm and 0.5 cm
– Matches or lighter
– Scissors
Let's get to work:
1) Prepare paper and ribbons so that they match each other in color. The author of this master class used ordinary wallpaper to make the envelope, the scraps of which remained after the repair.
Before you get started, measure the desired envelope size, width and length. In this case, a plain paper rectangle measuring 20 by 40 centimeters was used. Fold the sheet of paper with the edges inward in the center, as shown in the photo:
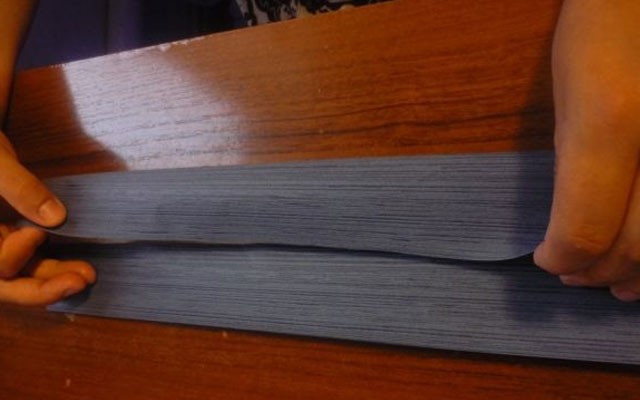
2) Fold the sides inward towards the center.
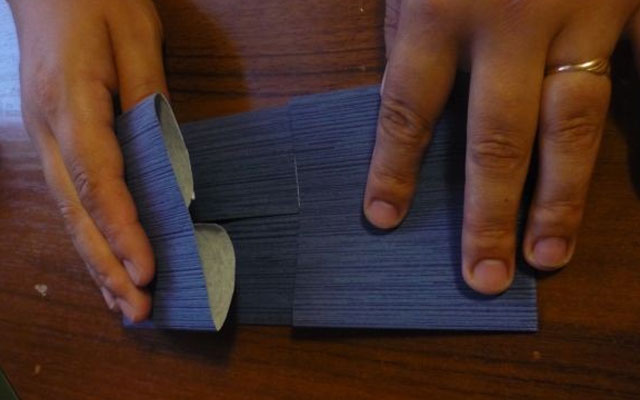
3) Unfold the sides and fold the corners into a triangle.
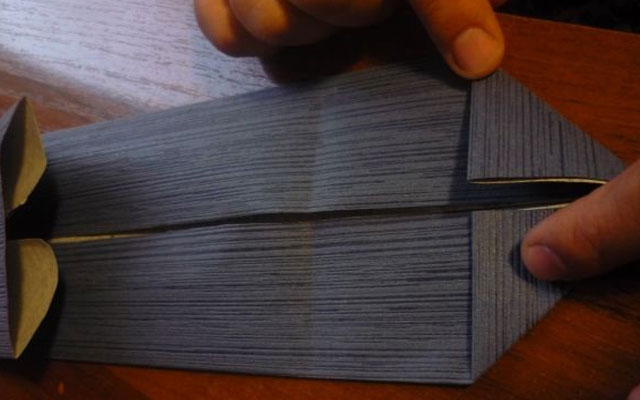
4) Unfold the envelope and stick a 20 x 23 centimeter colored paper rectangle in the center of a sheet of plain paper.
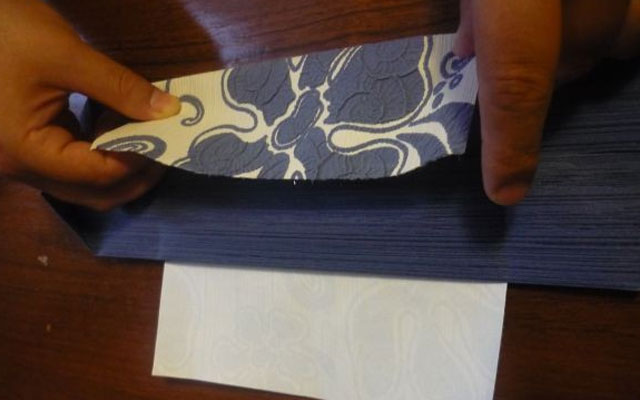
5) Fold the excess into the envelope.
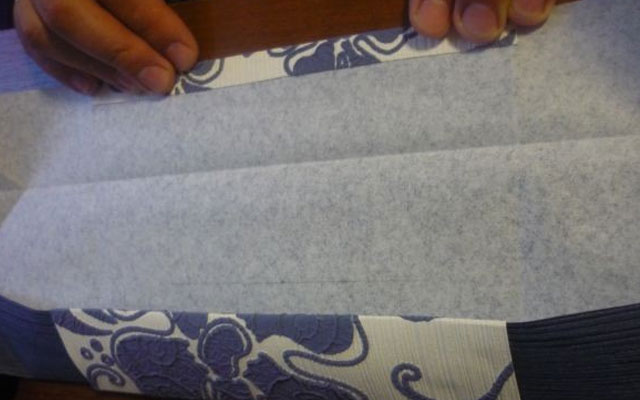
6) Glue the side corners in the form of triangles with glue to the base of the envelope.
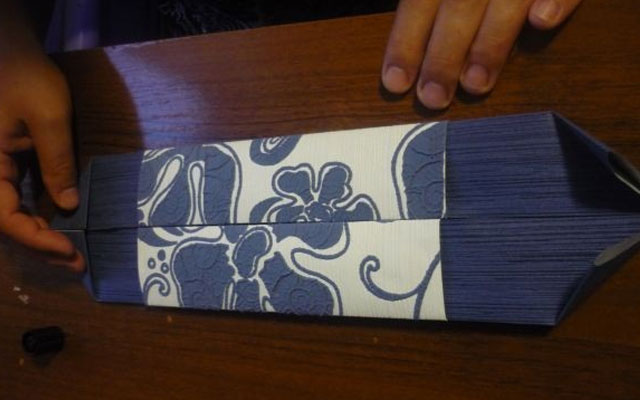
7) Glue a 1 centimeter wide satin ribbon in the center on the back and front sides of the envelope, leaving the ends to make a bow.
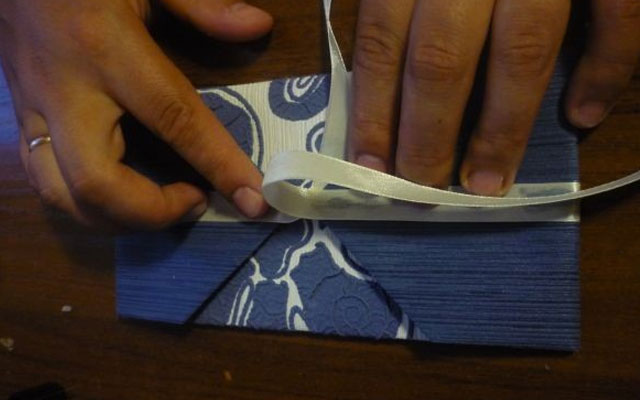
8) On top of the wide one, stick a narrow tape 0.5 centimeters wide, also leaving the ends for the bow.
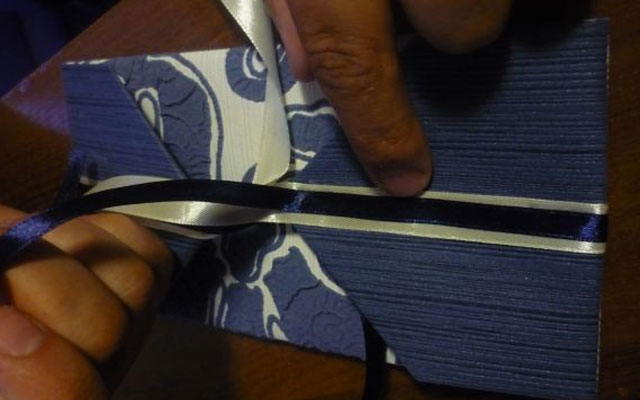
9) Treat the ends of the tape with fire so that it does not crumble.
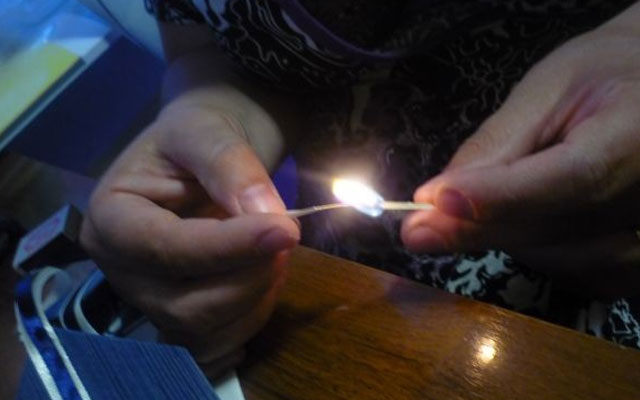
10) Tie the ribbons with a bow. Your original money envelope is ready.
Option 2:
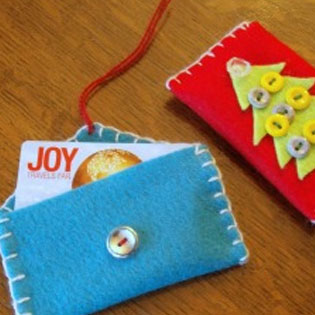
Envelopes for money or for other surprises can be made not only from paper, but also from fabric. We suggest you learn how to make an original felt gift envelope in which you can put money, or a gift discount card.
To work, you will need:
– Several small sheets of colored felt
– Thick wool thread for knitting
– Buttons
– Glue
– Ruler and pencil
– Needle
– Pins
– Scissors
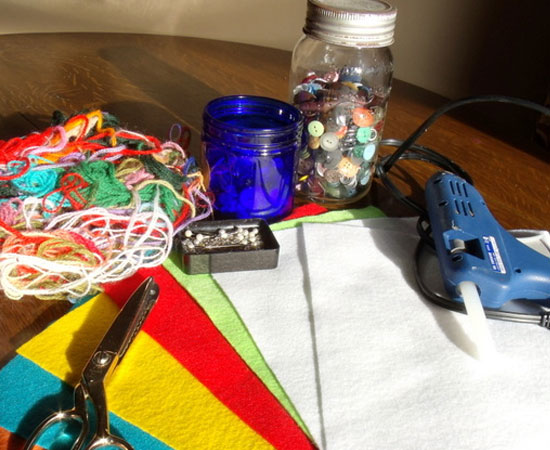
Let's get to work:
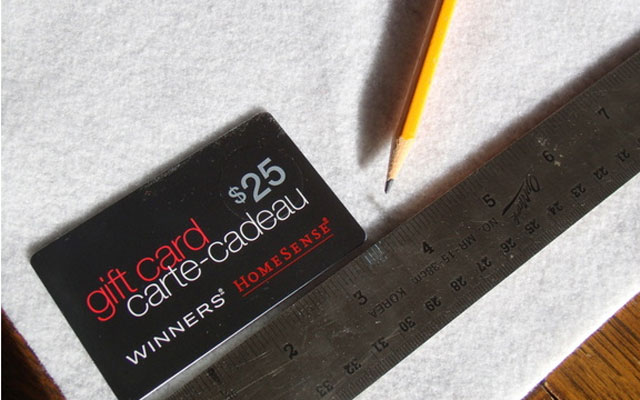
1) Using a pencil and a ruler, measure the width of the future envelope, depending on what you will put in it. If it is a discount card, attach it to the felt and measure 1 centimeter on both sides for the seam.
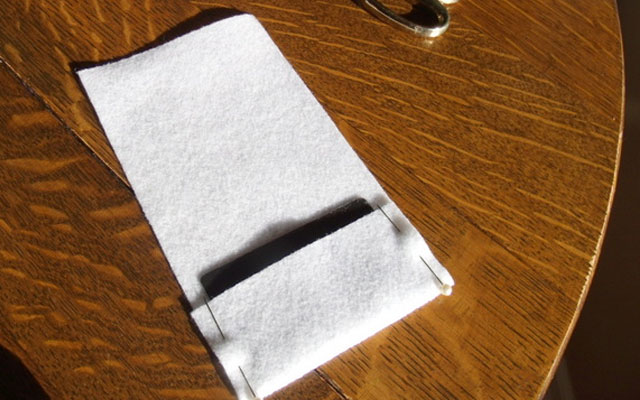
2) Cut off a rectangular felt blank, then fold its lower part and pin it with pins. Insert the card inside to choose the size of the cover.
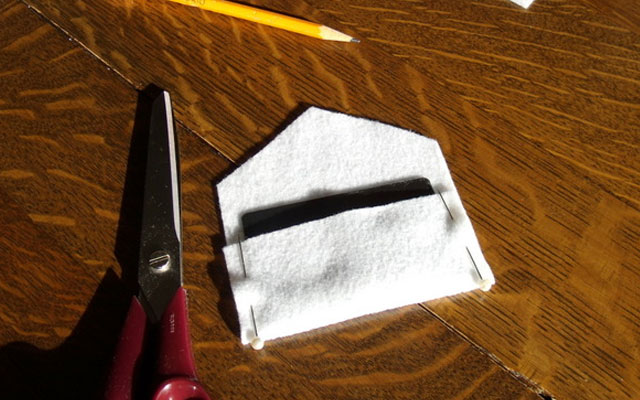
3) Cut off all the excess from above.
4) Treat the edges with threads, making U-shaped stitches. It is better to use threads in a contrasting color.
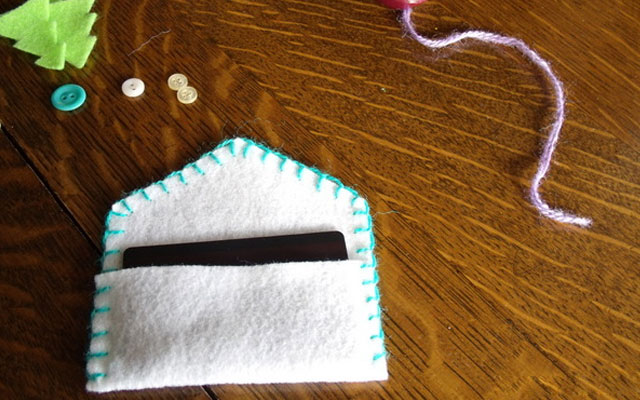
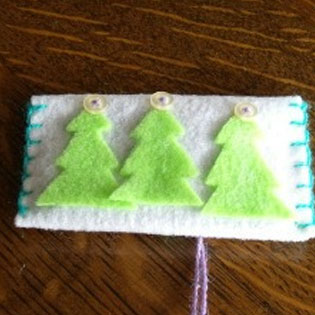
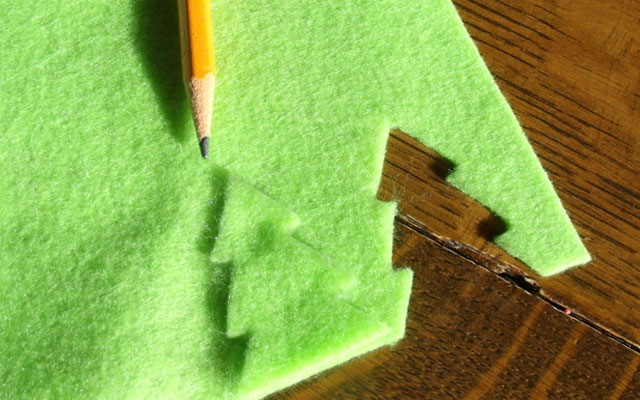
5) Cut three small Christmas trees or any other details from green felt.
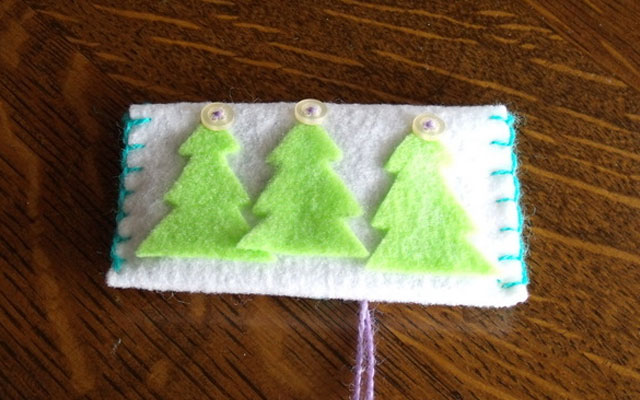
6) Stick the Christmas trees on the back of the envelope. Sew small buttons on the tops of the Christmas trees.
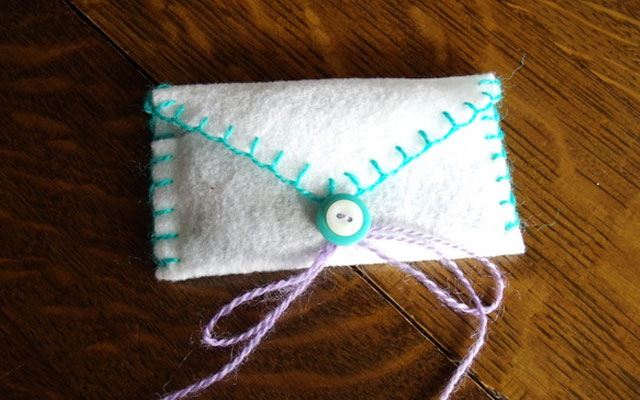
7) On the outside of the front of the envelope, sew a button at the bottom, and attach threads to the edge of the lid so that the envelope can be closed and tied to a bow.
Scrapbooking Money Envelope
This scrapbooking envelope is easy to make at home using paper-cut parts. Scrapbooking is a technique for designing photo albums, as well as various other products using paper applications, beads, etc.
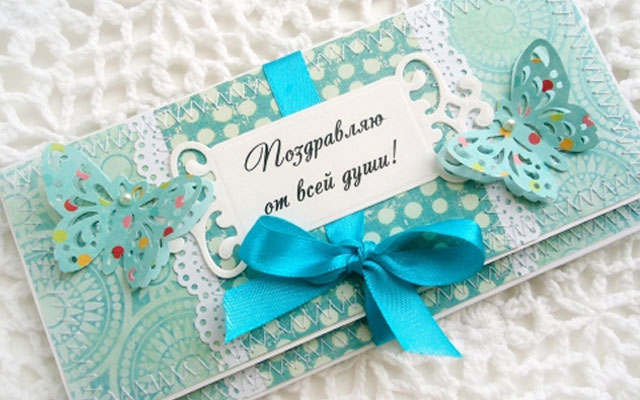
To work, you will need:
– White cardboard (23 by 23 centimeters)
– Colored paper (23 by 20 centimeters)
– Colored paper in a different shade or pattern (8 by 14 centimeters)
– Plain thin white paper or thin lace
– 35 cm long satin ribbon
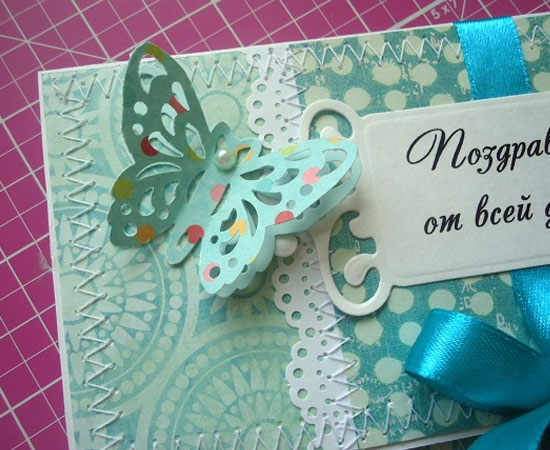
– Jewelry details (butterflies, rhinestones, beads, etc.)
– Glue
– Ruler and pencil
– Matches or lighter
– Sewing machine and threads
– Scissors
Let's get to work:
1) Using a ready-made template, cut out a blank for the future envelope from white cardboard.
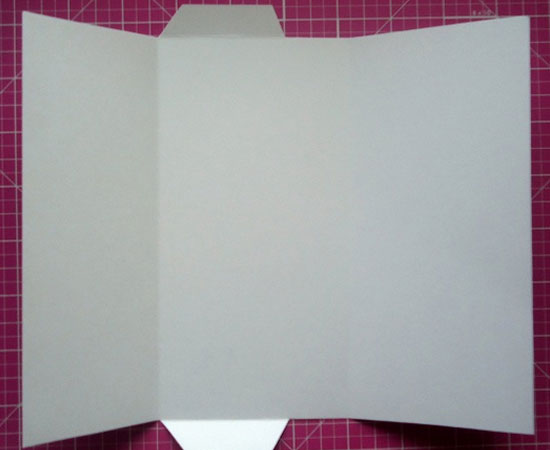
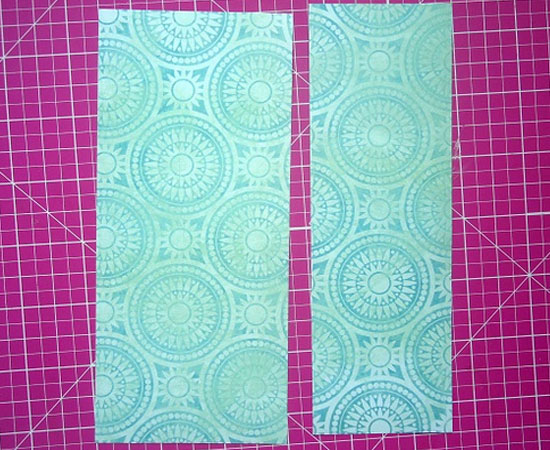
2) Cut two rectangular blanks out of colored paper that will correspond to the upper parts of the envelope. The workpieces should be a few millimeters smaller than the base so that they can be easily glued and that they do not extend over the edges.
3) Cut two more pieces of the same width but shorter length from paper of a different color – this will be the middle of your envelope.
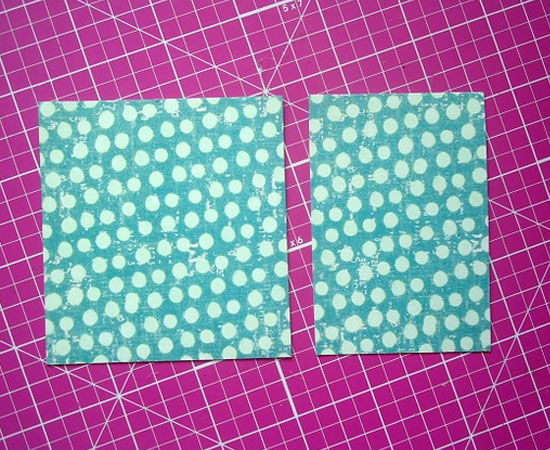
4) Glue a lace frill on the sides of these parts. You can use paper lace or very thin lace ribbons.
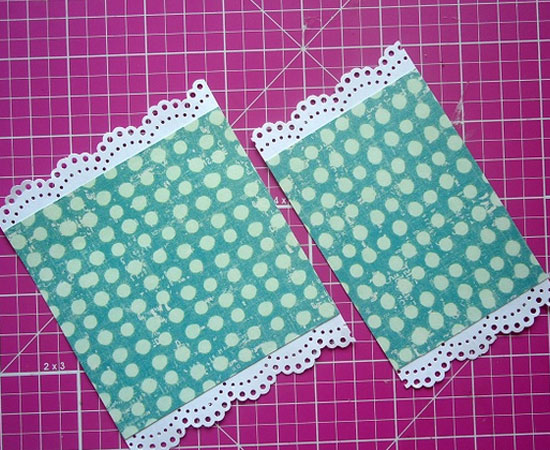
5) Glue the lace parts to larger colored pieces.
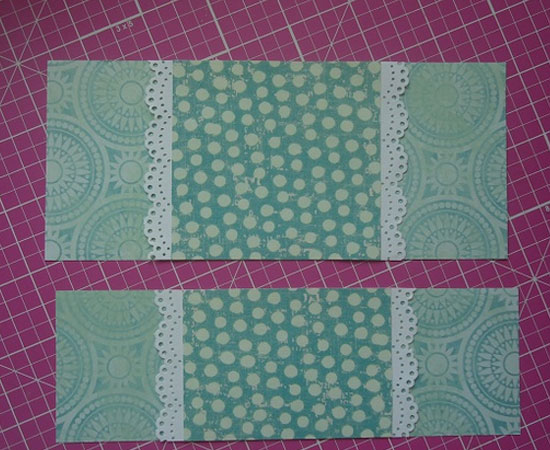
6) Glue all parts to the outside of the envelope on the outer main cover and to the inner cover. Then walk along the edge on the sewing machine with a zigzag seam. You can also paste the colored part on the back of the envelope, and then process it on a sewing machine.
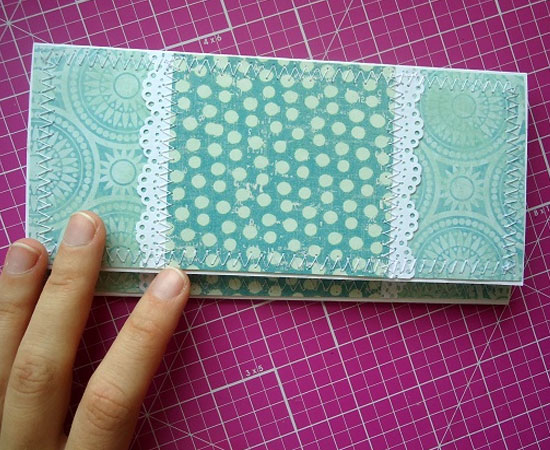
7) Before gluing the colored part to the back side, insert a satin ribbon between the part and the base.
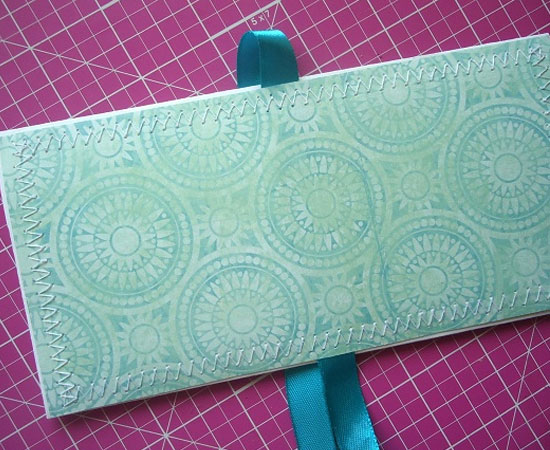
8) Tie the ribbon in front with a bow and glue a rectangle of thin white paper with an inscription on the outside of the ribbon.
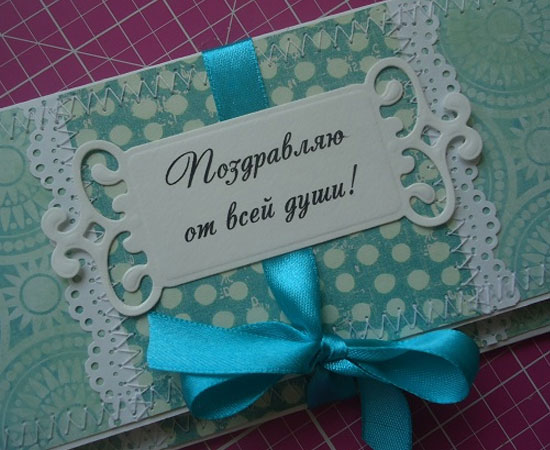
9) The final touch: decoration with additional details.
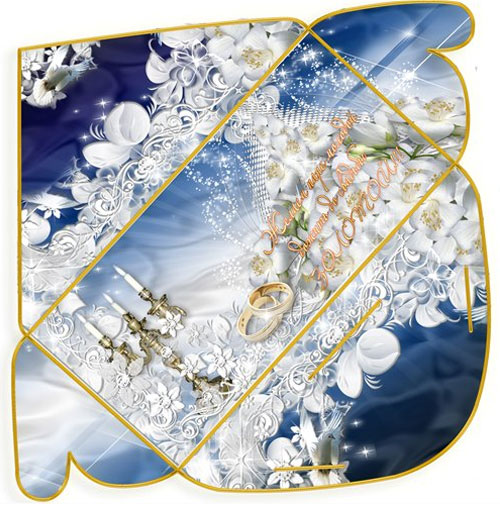
DIY wedding envelope
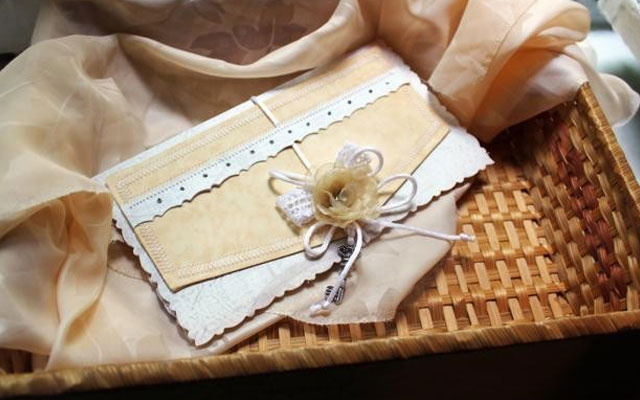
The best wedding gift is money that can be placed in a beautiful handmade envelope.
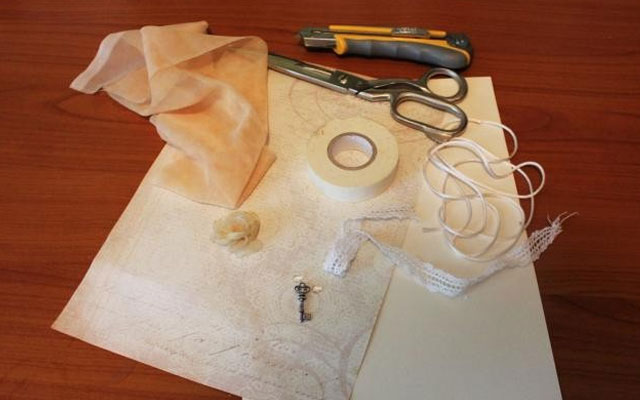
To work, you will need:
– A sheet of white thick A4 paper
– Light-colored paper
– Decorative cord
– Lace ribbon
– A piece of thin translucent fabric
– Jewelry details (fabric or paper flowers, key pendant, beads, etc.)
– Double-sided tape
– Ruler and pencil
– Sewing machine and threads
– Glue
– Scissors (regular and curly)
Let's get to work:
1) If your colored paper is not very thick, stick it on a sheet of white A4 paper and let it dry well.
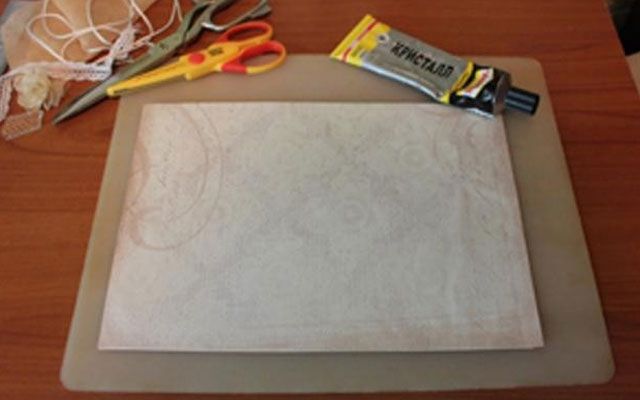
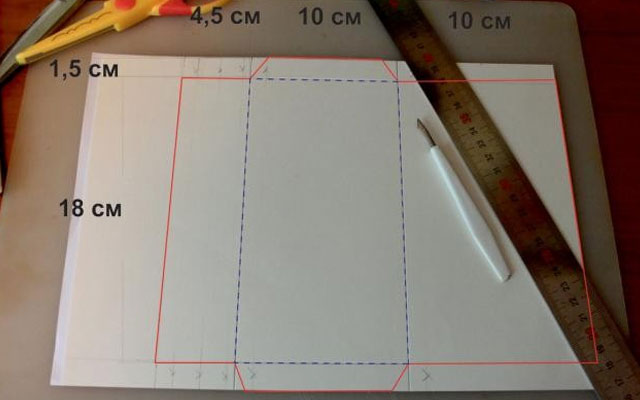
2) Using the proposed template or any other template, draw the contours of the future envelope on the back of the sheet and make a pattern. The folds are indicated by a blue dotted line.
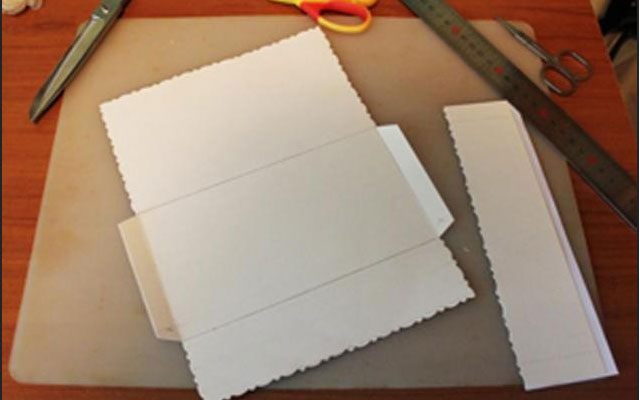
3) Cut out the pattern. You can use curly scissors.
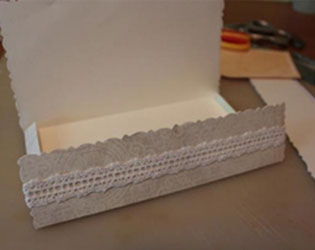
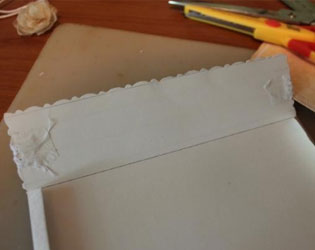
4) Fold all the edges of the pattern inward. Glue a strip of lace to the bottom cover, bending the edges inward. After that, glue the bottom cover to the sides with double-sided tape.
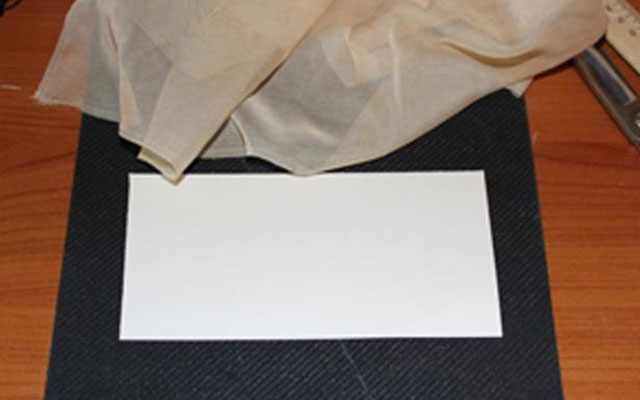
5) Cut a rectangle 17 by 8.5 centimeters out of white thick paper.
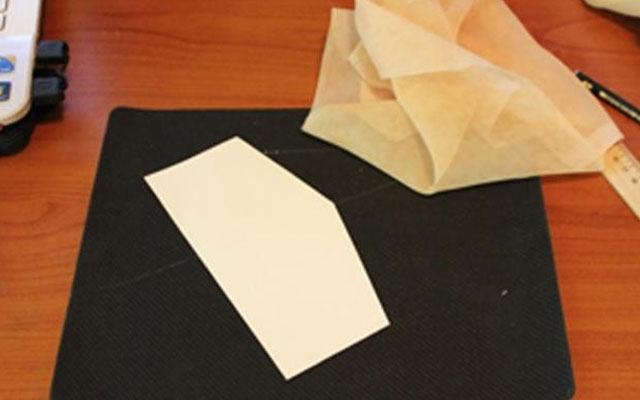
6) Cut off a piece of paper to get this triangular shape:
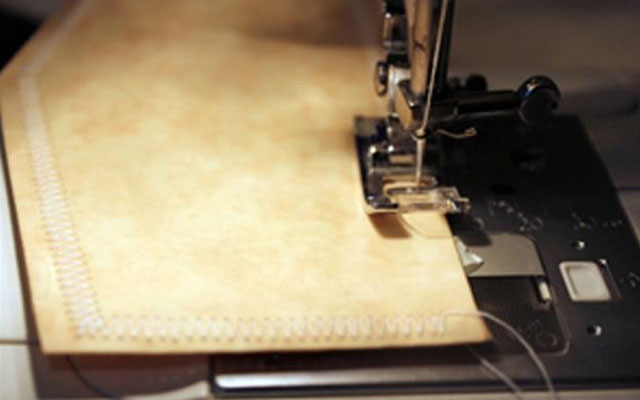
7) Wrap the paper part with a translucent cloth, secure it on the back side with scotch tape and sew it on the front side with a zigzag seam.
8) Prepare all the ornaments: tie ribbons and cords with a bow, make a flower out of transparent fabric, attach a lace to the key part.
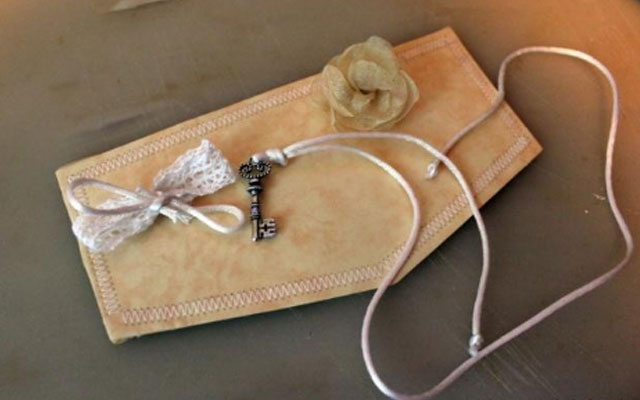
9) Glue the lace tape at the top of the part, capturing the lace that will wrap around the envelope, so leave a suitable length for this. Glue the jewelry into the lower triangular edge of the part.
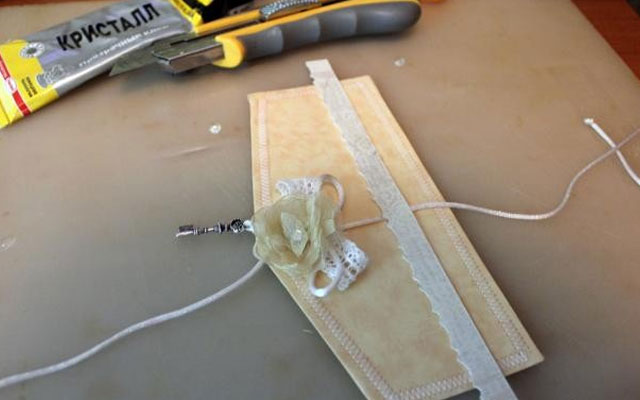
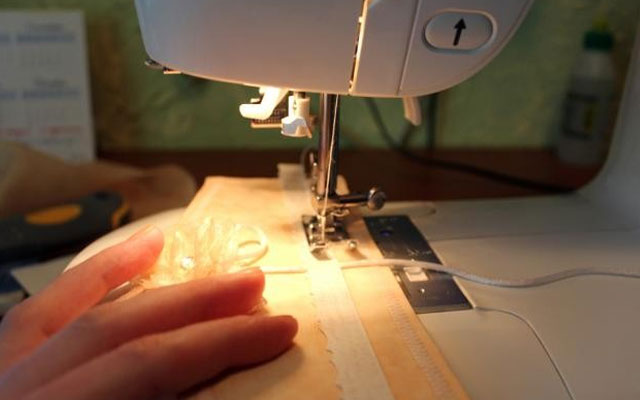
10) For reliability, stitch over the glued lace tape.
11) Glue the part to the outside of the envelope cover.
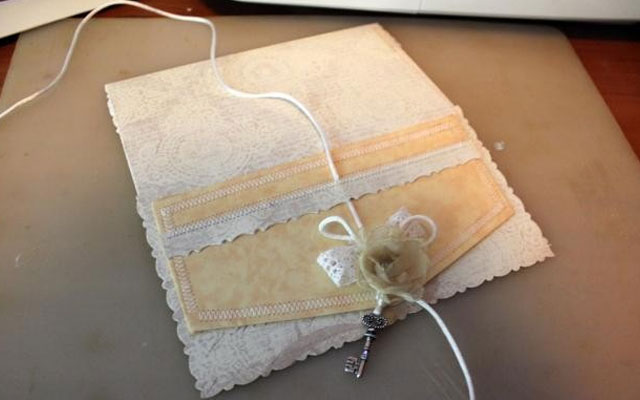
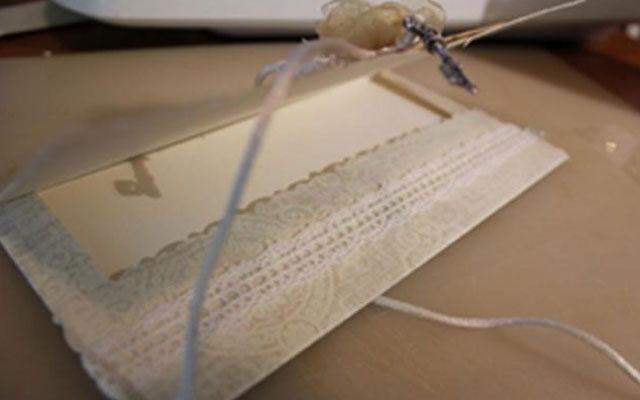
12) The wedding envelope for money is ready! Inside, it will look like this:
Money in an envelope: original ideas
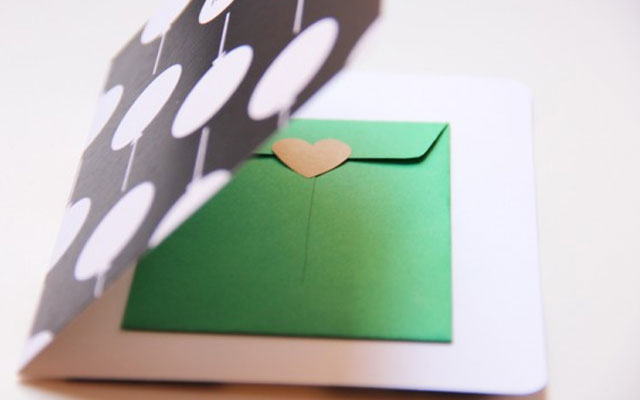
With the help of the envelope design, you can place money inside in different ways. Here are some ideas to help you make original envelopes. For example, you can use a card with a small envelope of money inside. You can write wishes on the card, and when you look inside, the recipient will find a cash gift there.
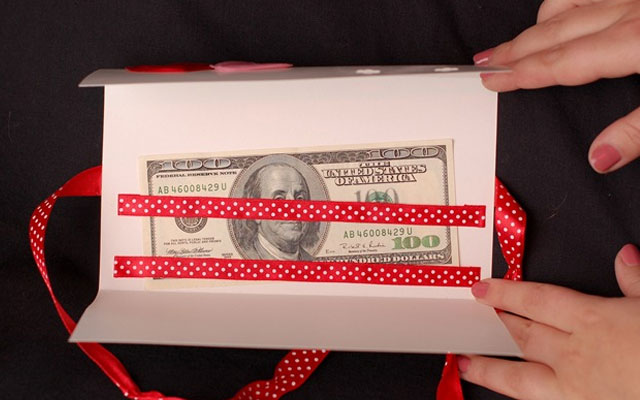
Another option is to make an envelope also in the form of a postcard, and attach satin ribbons inside that will hold the bills.
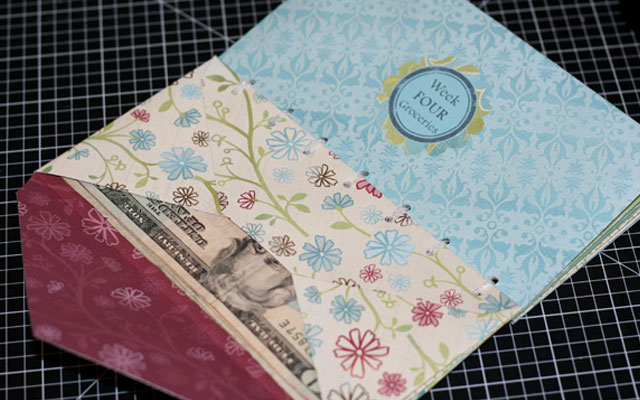
A book made of envelopes. This original idea will appeal to those who would like to learn how to save money. You can make a few simple envelopes and sign them, specifying the purpose of the money stored in them and the time when it can be spent.
DIY disc envelope
CDs require careful handling, so it's best to put them in special cases, boxes, envelopes or store them in a CD album. You can make simple disc envelopes yourself out of paper.
To work, you will need:
– A sheet of A4 paper
-Glue
Let's get to work:
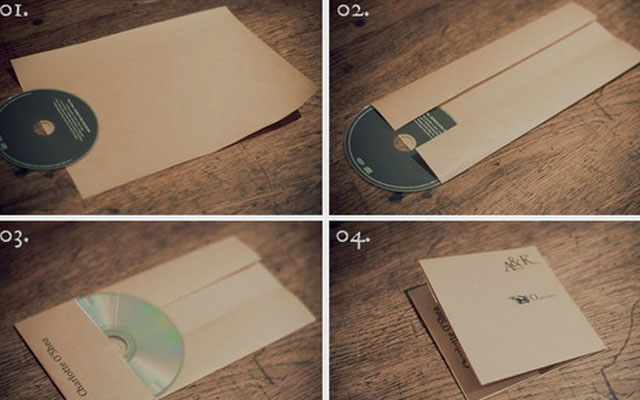
1) Place the disc at the bottom of the sheet.
2) Fold the sides of the sheet in straight lines, using the disc as a reference.
3) Fold the disc and the paper upside down, turning it over to the other side.
4) Wrap the upper part by closing the disc inside the envelope.
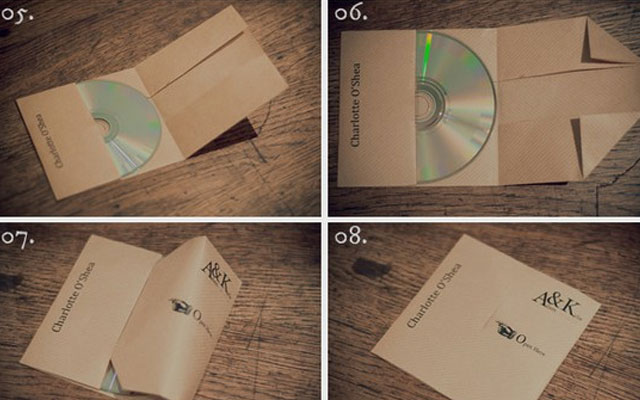
5) Remove the disc from the envelope and glue the inner parts so that there is a disc pocket.
6) Fold down and inward the corners of the cover.
7) Insert the cover inside the pocket.
8) The simplest disc envelope is ready!
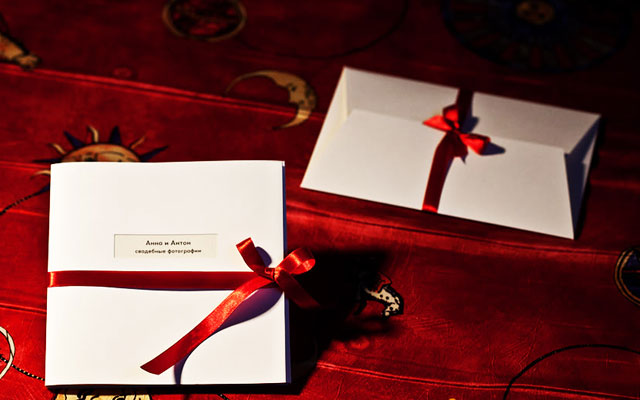
If you want to make a greeting envelope for the disc, then you can use the previous tips for making envelopes, just make an envelope that size to fit in it disc. Here are a few examples of original gift envelopes for CDs: