 Useful tips
Nature gives us a huge amount of interesting creative materials from which we can make something beautiful and useful.
For example, from pine and spruce cones found in a park or forest, you can create beautiful and original crafts with your children.
Such crafts will not only decorate the house, but also have a positive effect on the child's development, hand motility, imagination and perseverance.
On our site you will also find:
DIY acorn crafts Chestnut
crafts
Beautiful crafts made of natural material with your own hands DIY leaf
crafts
DIY crafts made of natural material DIY
crafts on the theme “Autumn” DIY pumpkin
crafts
Here are some very interesting and simple crafts from cones that you can do yourself or with your children:
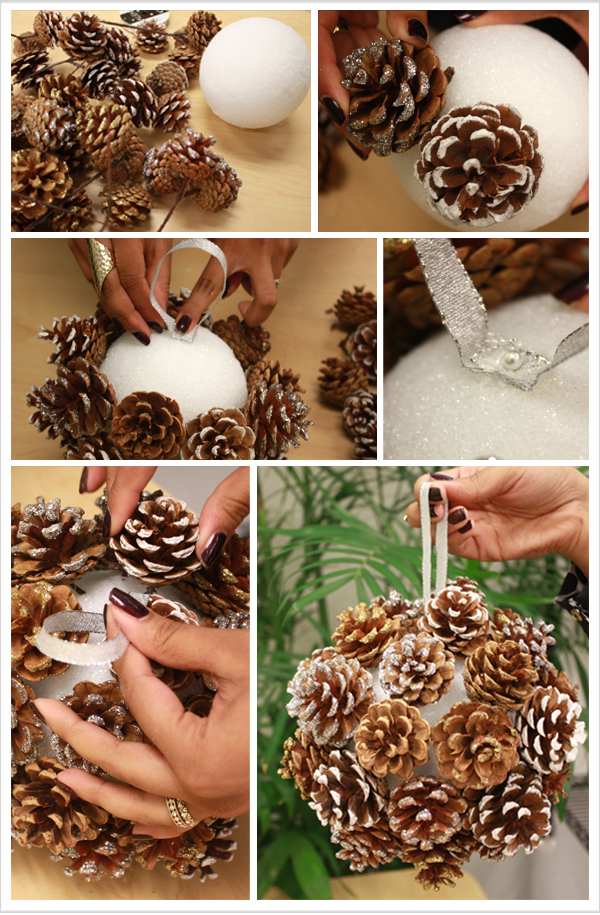
Crafts made from pine cones: large round decoration
You'll need:
– white foam ball
– cones (natural or artificial)
– thin wire (if natural cones are used)
– tape
– glue (hot or super glue)
– pin
– scissors.
1. You need to glue the cones to the foam ball.
If you use artificial cones, they will have a tail below, which you should apply glue to and insert the cone into the foam ball.
If you use real cones, it is better to attach a wire to them from below, twist it in a spiral, apply glue and insert it into the ball.
*It's okay if the ball looks out from under the cones – it's white, which means it will look like snow.
*Leave some space for the ribbon, which you can then attach to hang the jewelry.
2. To hang your jewelry, attach a ribbon to it. This can be done with a pin or glue.
3. You can cover the place where the tape is attached with new cones.
* You can create several of these balls to decorate a large room.
Christmas tree made of cones
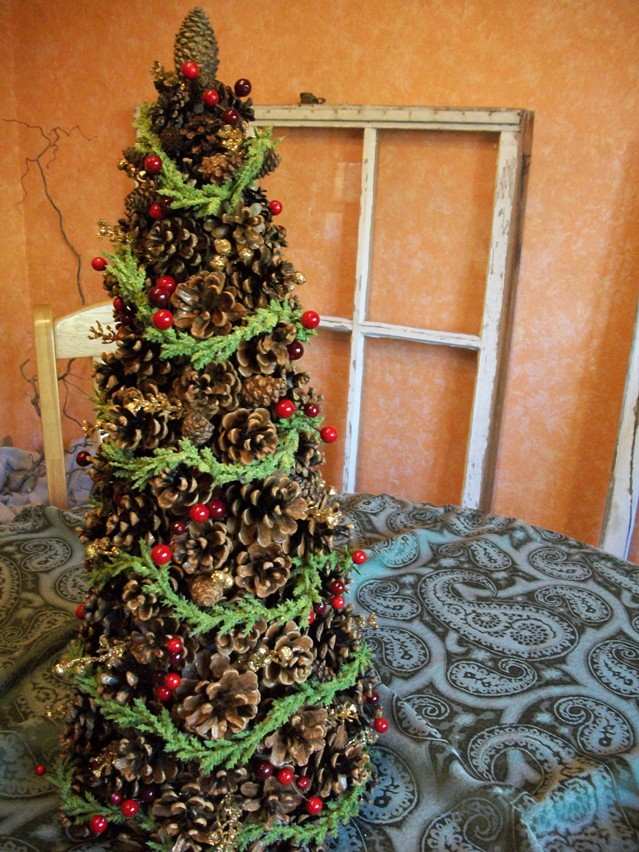
You'll need:
– lots of cones
– glue (hot or super glue)
– decorations to taste
– glossy spray paint (optional)
– cardboard or foam cone
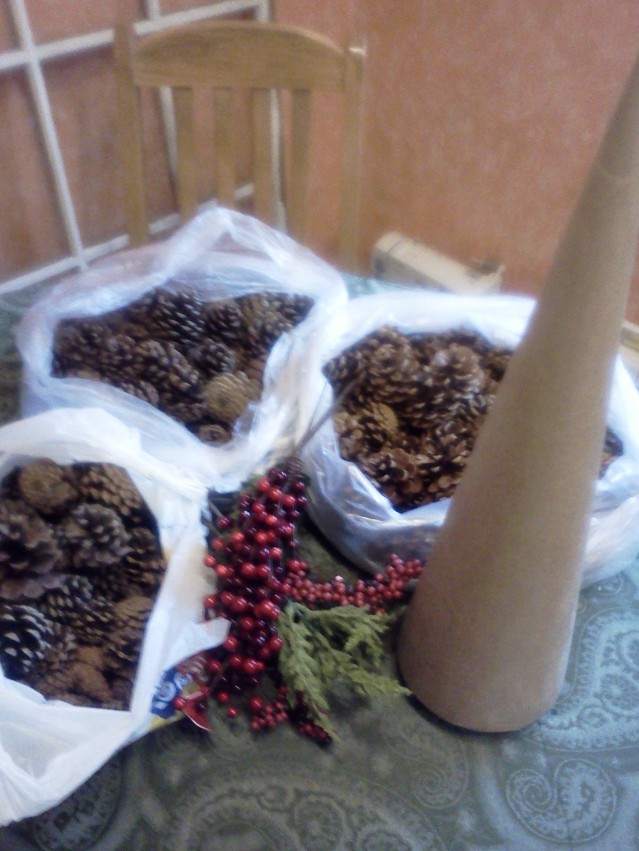
* You can buy a foam cone at a craft store, office supply or flower shop.
* A paper cone (preferably from cardboard) can be made by hand. Check out our Paper Cone article to find out how.
1. Start gently gluing the cones to the cone so that they cover it as much as possible.
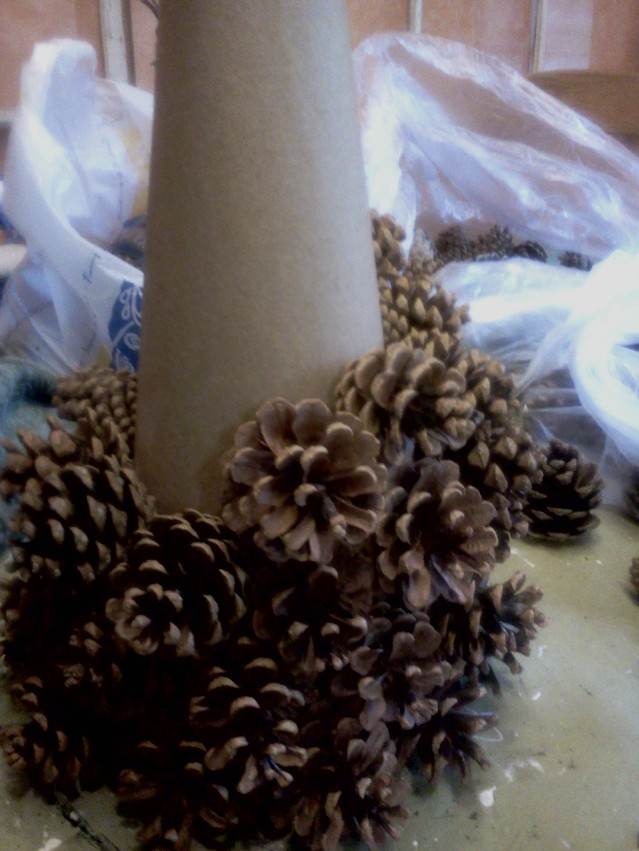
The cones can be attached to the foam cone using wire, like this:
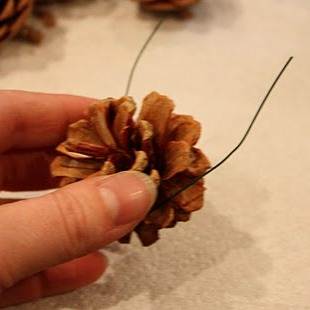
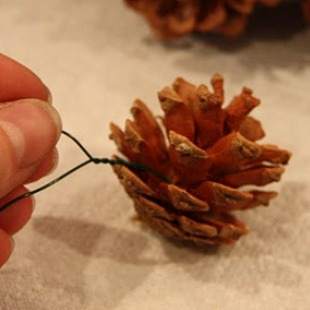
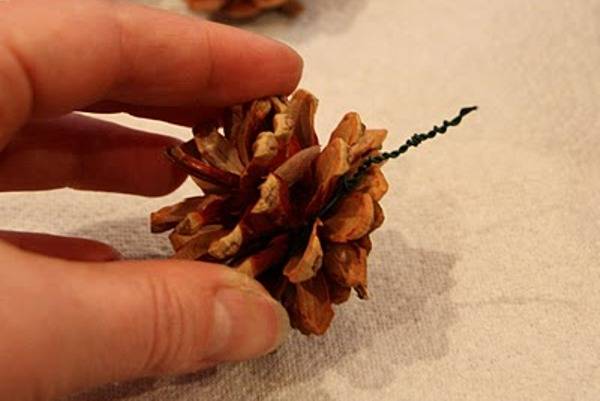
2. After you have glued all the cones, you can apply a glossy spray paint to fix the structure. Leave it overnight to let everything dry.
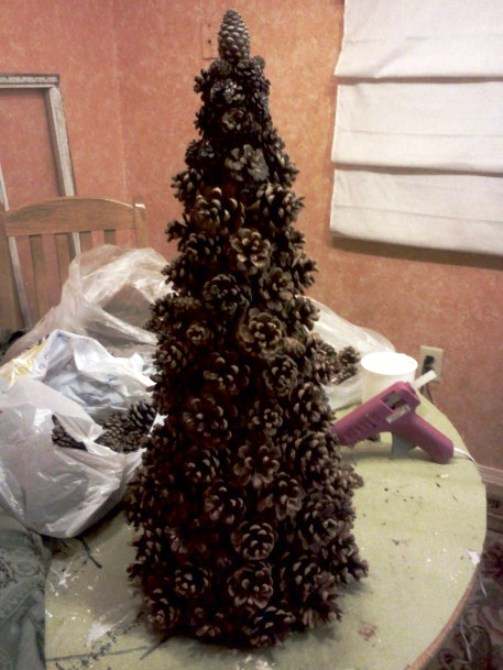
3. It's time to decorate. You can glue natural or artificial fir branches. You can also add plastic balls, thin tinsel, candy, and more.
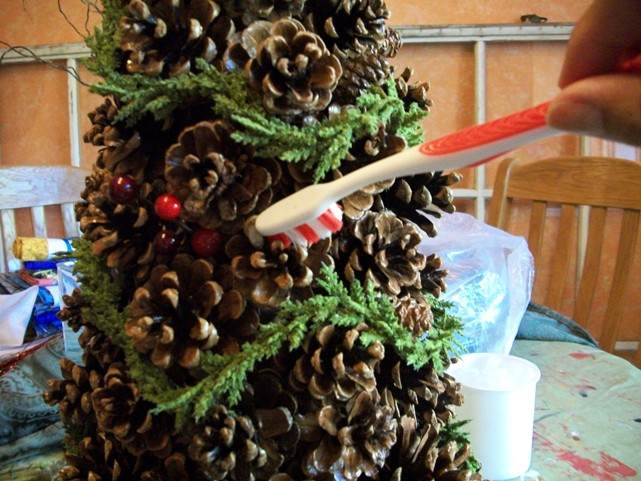
* Use a brush to get rid of thin streams of glue that may remain after the cones are glued.
Crafts from cones for children: snowman
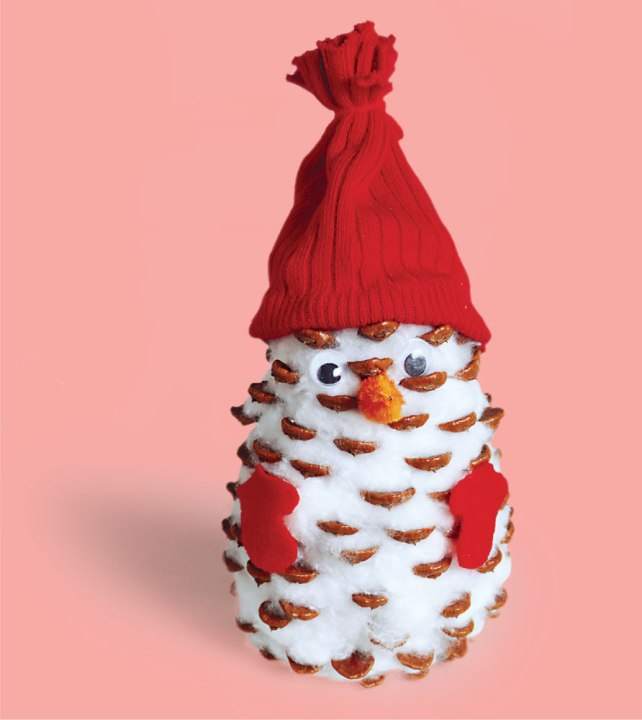
You'll need:
– a match or skewer
– cotton wool
– lump
– scissors
– felt
– a small sock
– thread
– glue
– toy eyes, plasticine or colored paper.
1. Using a match or skewer, stick cotton wool between the cone scales.
2. Using scissors, cut off a small part of the small sock and place that part over your snowman's head. You can tie the hat on top with a thread, and cut the tip of the hat with fringe.
3. Cut out the mittens and nose from the felt and, together with the toy eyes, glue them to the cone.
* If there are no toy eyes, use plasticine or colored paper.
Children's crafts made from cones: gnome
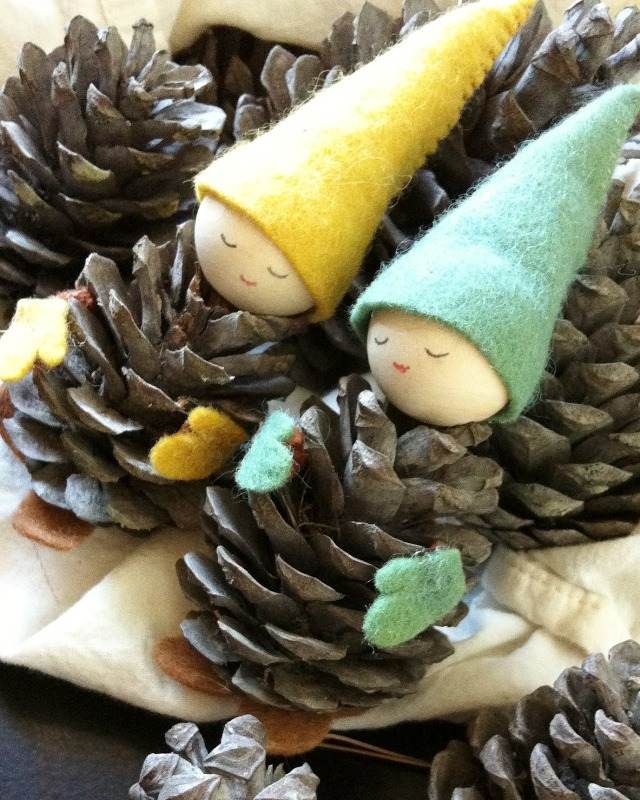
You'll need:
– small bumps
– wooden beads (in this example, 2.5 cm in diameter) with a large hole
– felt
– scissors
– glue
– thread and needle
– felt-tip pen.
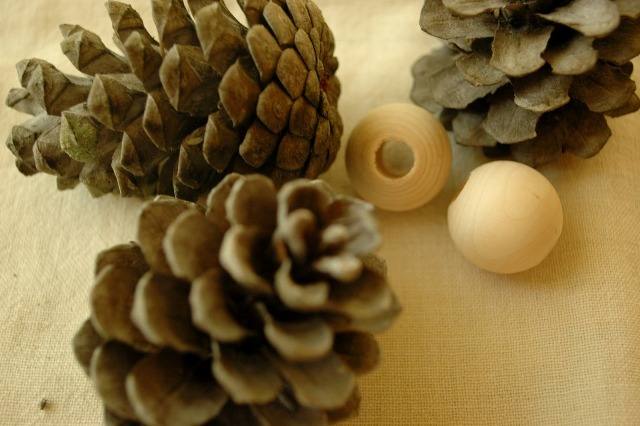
1. We make a hat out of felt. In this example, the hat is about 6 cm high, but you can choose any hat height for your gnome.
Cut out a triangle with a rounded base from the felt (see image). Fold the triangle to form a cone.
Connect the ends with a thread and a needle to make a hat.
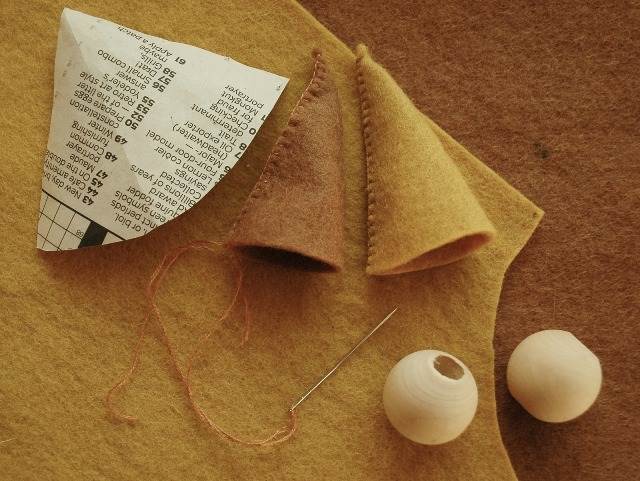
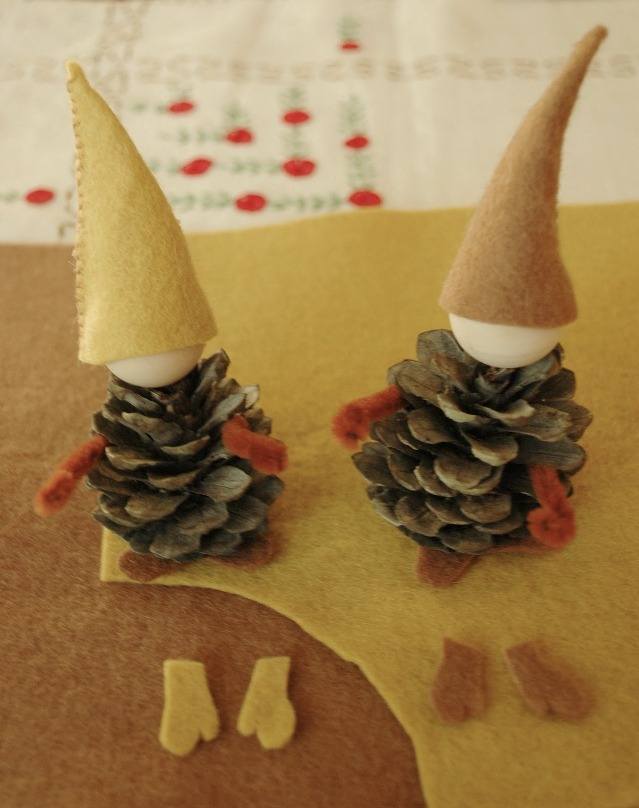
2. Cut mittens out of felt and glue them to the cone. In this example, felt mittens are glued to a thin brush that goes around the cone.
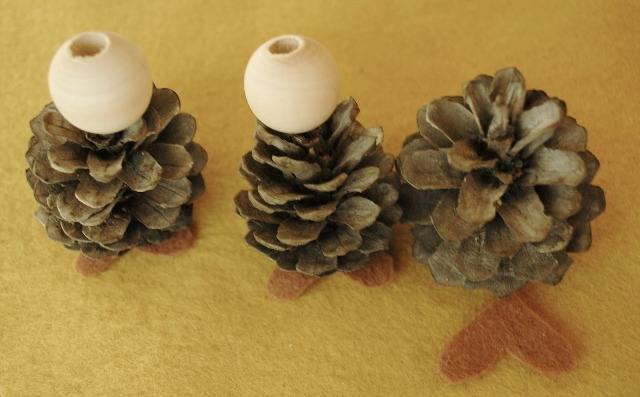
3. Cut the legs out of the felt – they have the shape of a heart – and glue them to the base of the cone.
* If your gnome is not worth it, try attaching plasticine to the base or even replacing the felt legs with plasticine legs.
4. Glue the wooden bead to the top of your cone, and glue the gnome hat to the bead.
5. On the bead, you can draw eyes and a smile with a felt-tip pen.
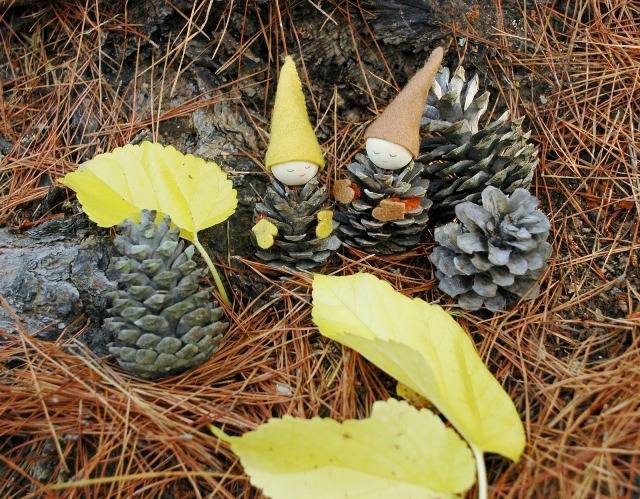
In a similar way, you can make such gnomes:
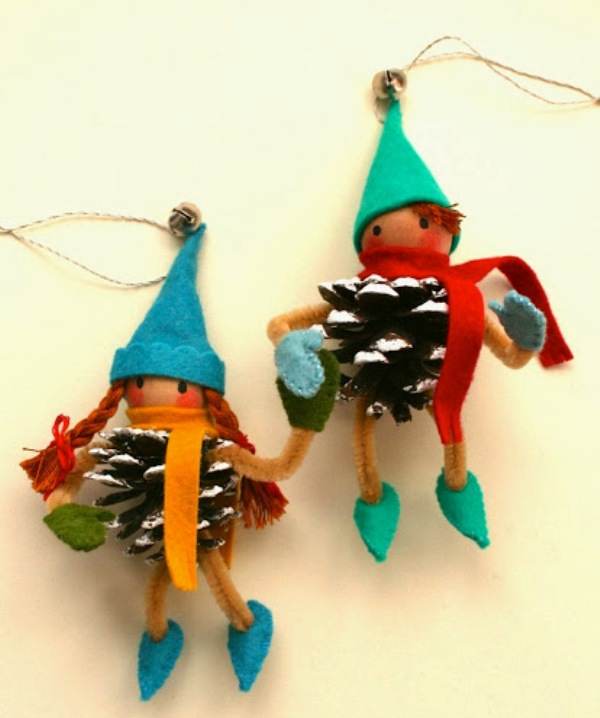
Children's crafts from cones with their own hands: Santa Claus
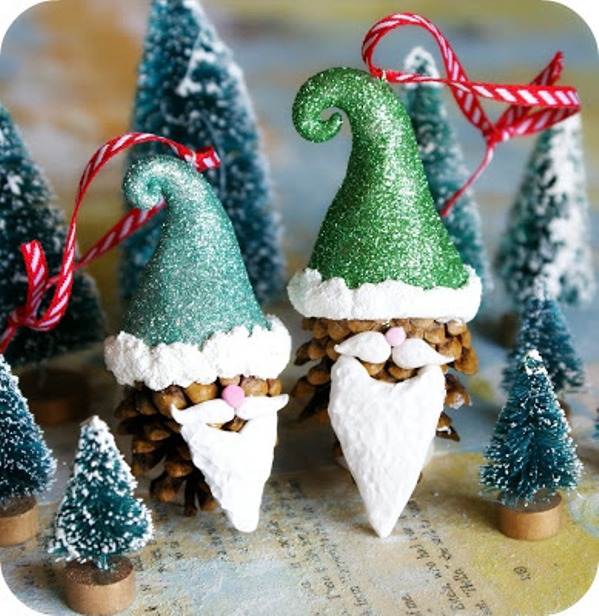
You'll need:
– small bumps
– polymer clay (you can use colored clay if you don't want to paint ordinary white clay later)
– brush
– PVA glue
– superglue
– acrylic paint (in this example with glitter)
– toy hat (you can make it yourself from the same polymer clay)
– tape
– thin wire
– artificial snow (optional).
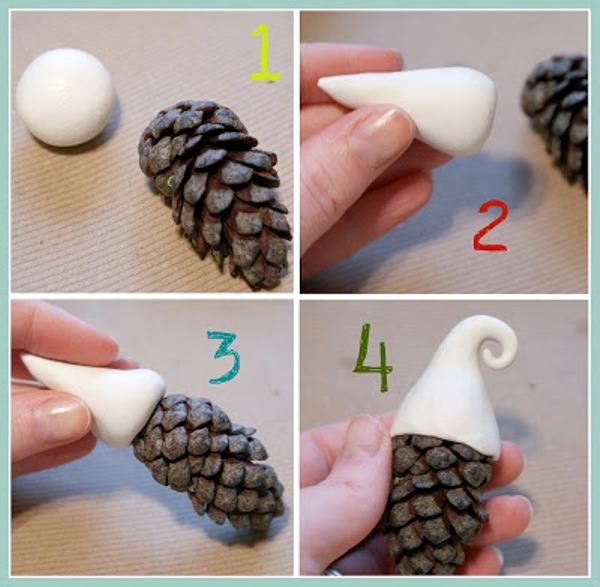
1. We make a Santa Claus hat from polymer clay.
– Make a ball out of clay.
– Make a cone out of a balloon, which will become a hat. Its top can be slightly bent.
2. Place your hat on the top of the cone.
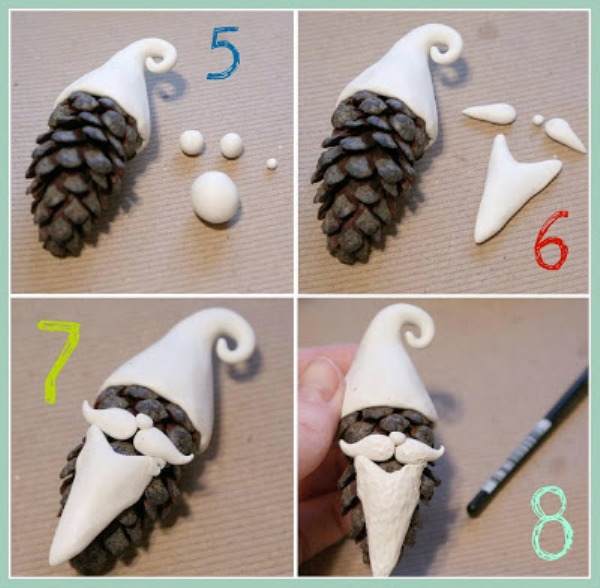
3. Make 4 small clay balls — one large, two medium and one small. Use them to make a beard (a big ball), a mustache (medium balls) and a nose (a small ball).
4. Gently attach all parts to the cone, gently pressing the clay against its scales.
* To make your beard and mustache more realistic, you can brush them with a brush, thereby creating uneven lines.
5. Take a small piece of wire and thread it through the hat, twist it and leave a small loop.
6. Put your workpiece in the oven for 15 minutes at 135 degrees. When you stick the workpiece out of the oven, Santa Claus's mustache and beard may fall off and you will have to glue them.
7. Tie a ribbon to the wire.
8. You can use artificial snow to decorate the hat. You can also decorate the hat with sparkles or simply write the year on it with a marker.
9. You can use acrylic paint to paint your nose (red) and beard (white).
Natural crafts from cones: feeder
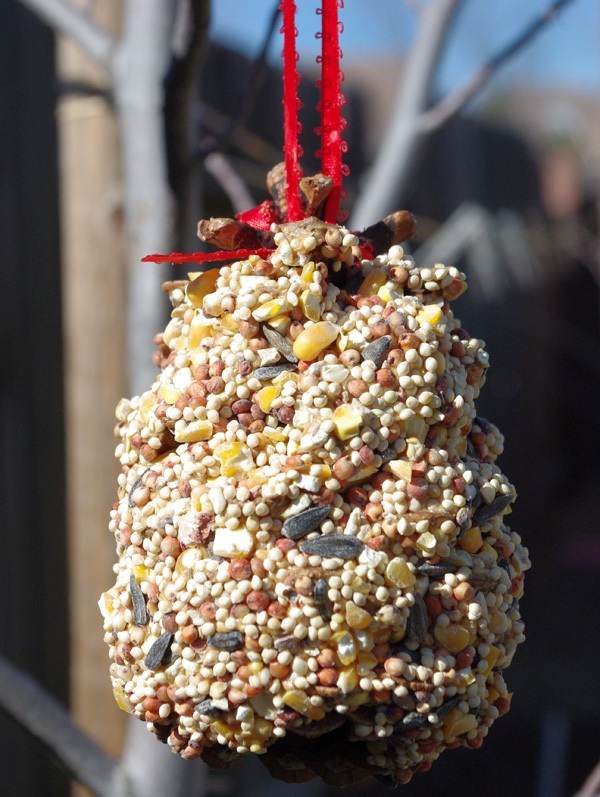
You'll need:
– bird food
– a small baking sheet and any other container where you can pour food
– peanut butter
– peanut butter container
– a small knife (toy or blunt).
1. Put bird food into the container.
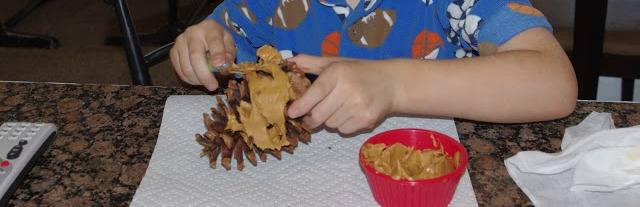
2. Prepare peanut butter and use a knife to apply it to the cone. Leave the top of the cone intact.
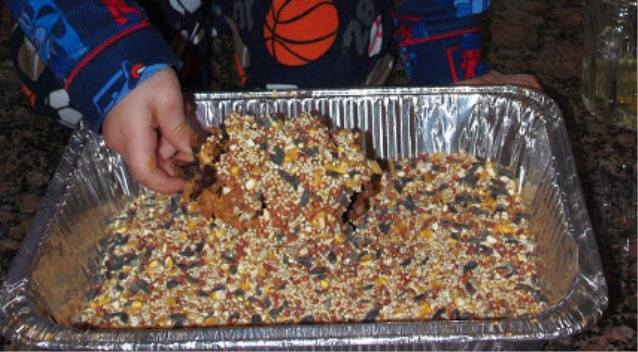
3. Place the cone in the food container and dip it well so that it is all covered with it.
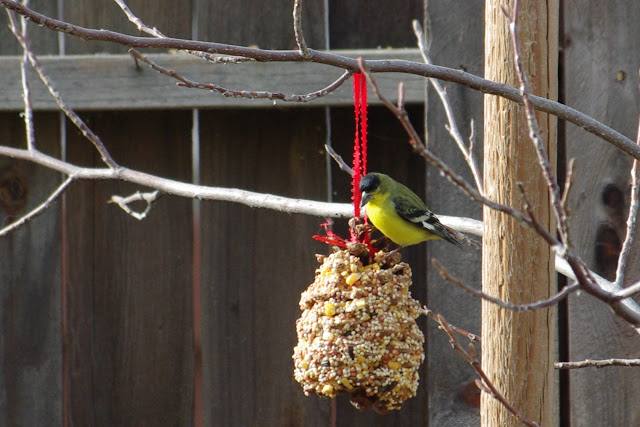
4. Tie a ribbon to the top of the cone and you can hang your feeder on the tree.
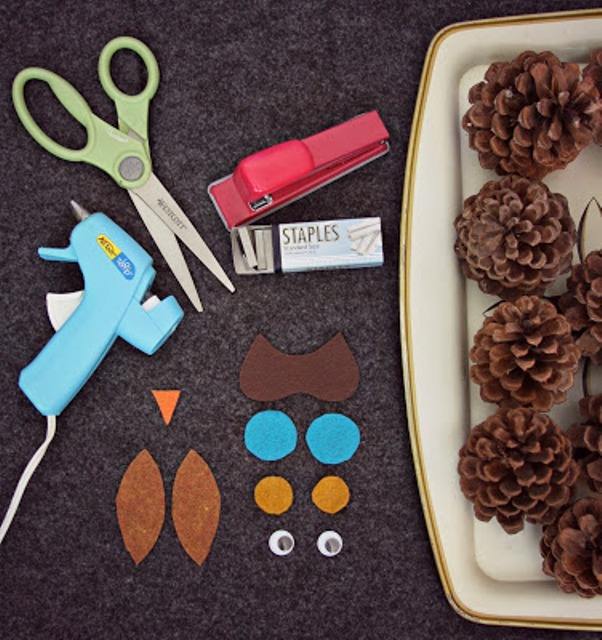
Owl made of cones
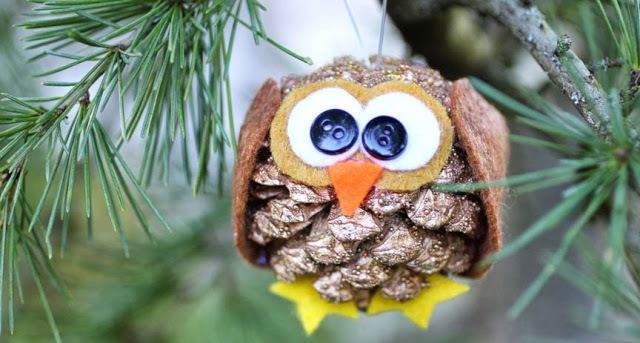
You'll need:
– lump
– felt
– buttons, colored paper or toy eyes (to make owl eyes)
– scissors
– glue (hot or superglue); you can try PVA glue if you are doing this craft with children.
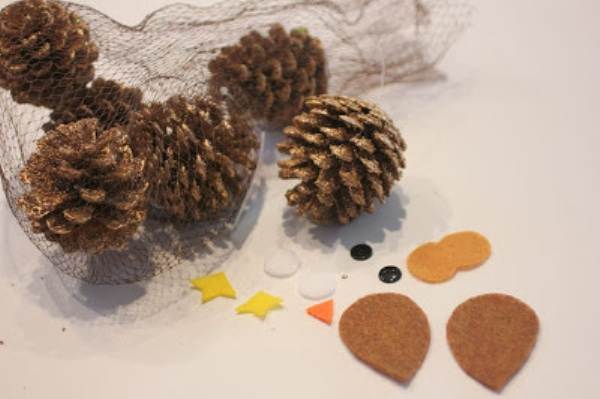
1. Take the cone, wash it and dry it.
2. Glue your eyes to the cone. They can be cut out of paper or cardboard, made of polymer clay or plasticine, or simply buy plastic toy eyes.
* You can use buttons or clay for the pupils, and felt mugs for the eyes.
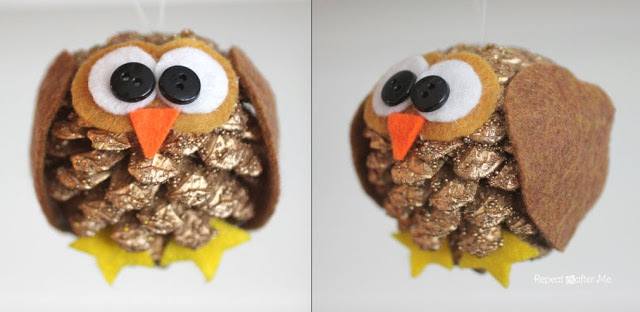
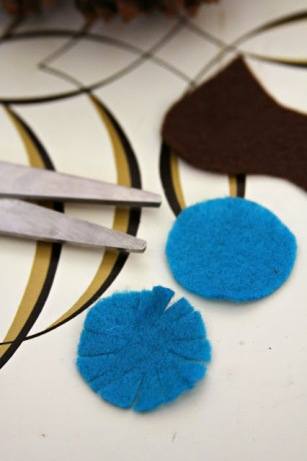
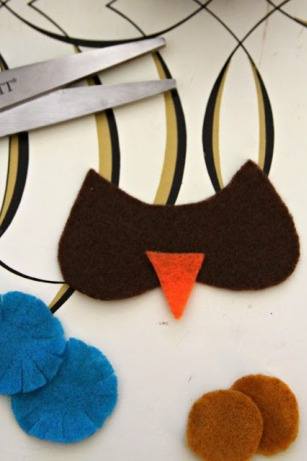
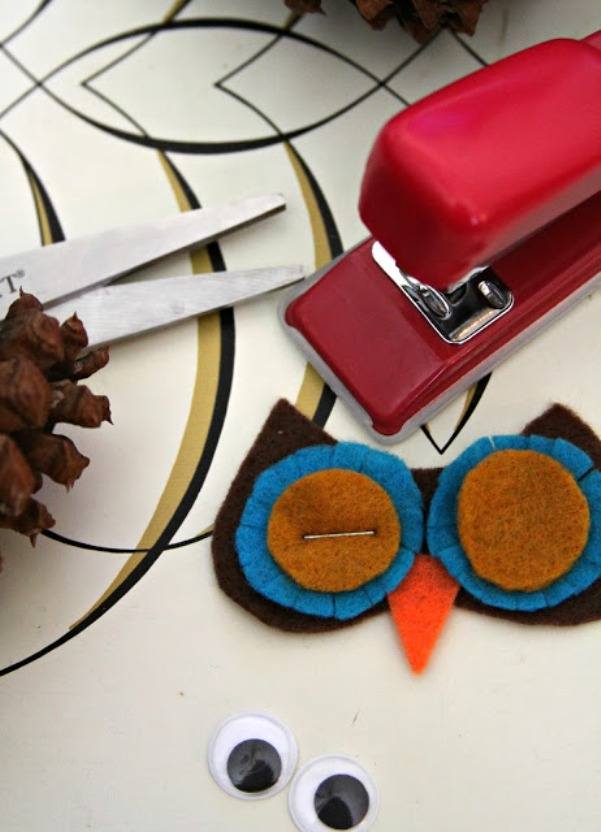
3. Cut the owl's beak, legs and wings out of the felt and glue them as shown in the image.
Here's another owl sample:
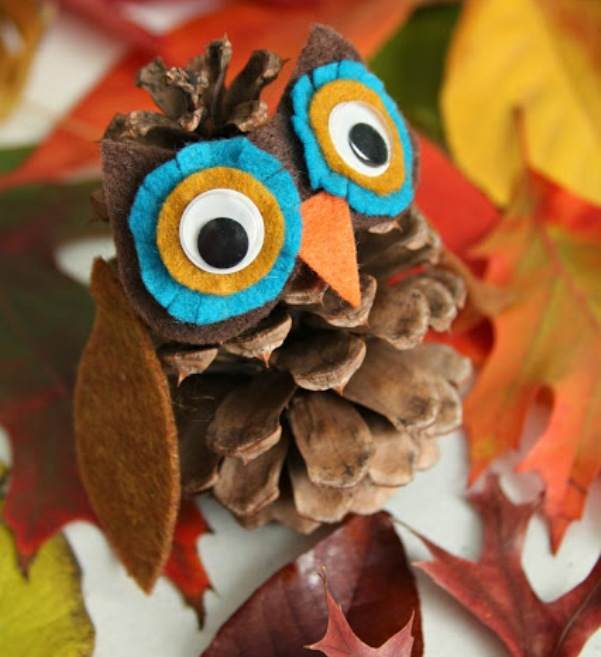
DIY cone decorations for home
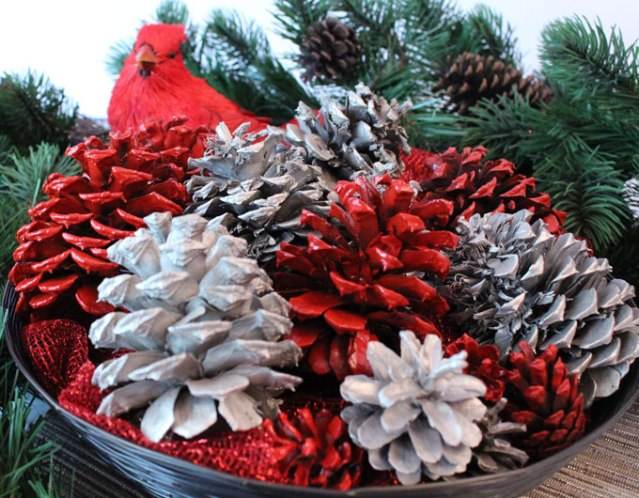
You'll need:
– spray paint
– cones.
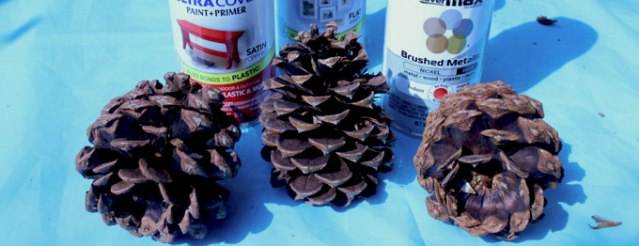
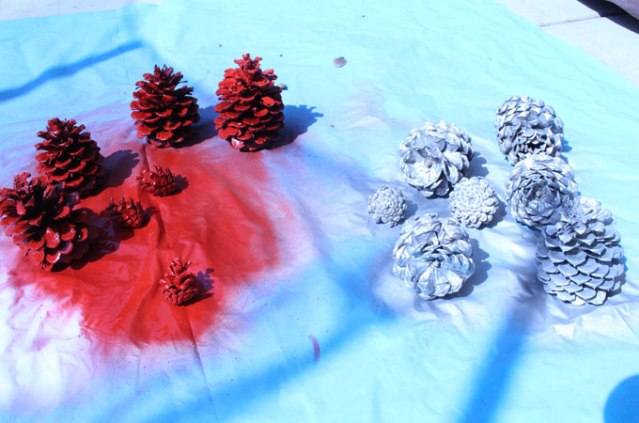
* When using spray paint, choose a well-ventilated area, and it is best to paint outside. It is also desirable to use a mask and goggles for protection, as the spray paint contains chemicals that are harmful to health.
You will need to paint each cone in two layers. After the first coat, let the paint dry and only then apply a second coat.
Crafts from cones: how to make a garland
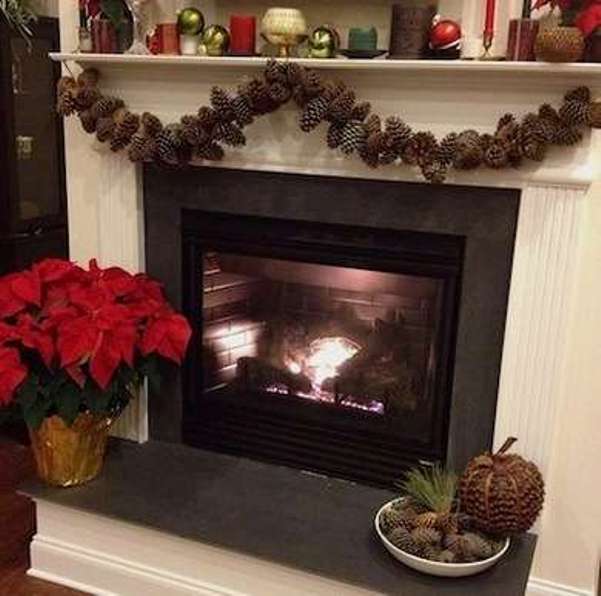
You'll need:
– lots of cones
– strong thread (fishing line or twine)
– scissors.
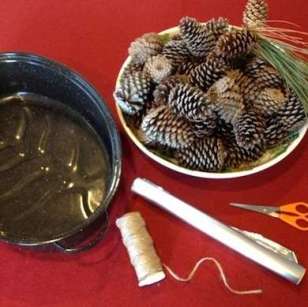
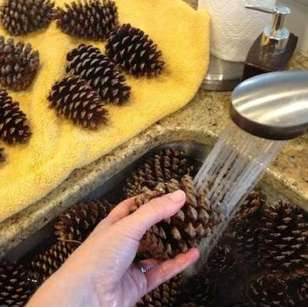
1. Wash and dry your buds to get rid of unnecessary debris.
* If you wish, you can place the cones on a baking sheet and put them in the oven to dry for 1 hour at 90 degrees. This will kill any living creatures that may be hiding in the cones.
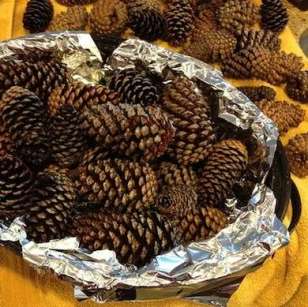
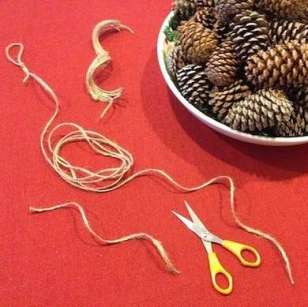
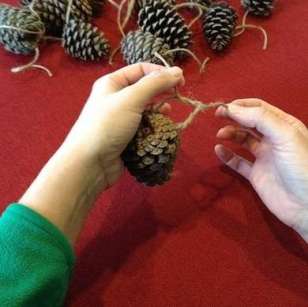
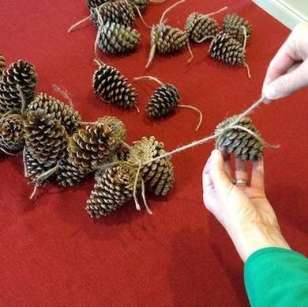
2. Prepare twine or other strong thread and start wrapping it around the bases of the cones and tying the knot. At the ends of the rope, make one loop at a time so that the garland can be hung.
3. Cut off any excess parts of the rope and your garland can be hung.
* If you wish, you can paint the cones with acrylic or spray paints (only outdoors and if you have a protective mask).
* You can also tie artificial berries and autumn leaves together with cones.
What can be made from cones: turkey
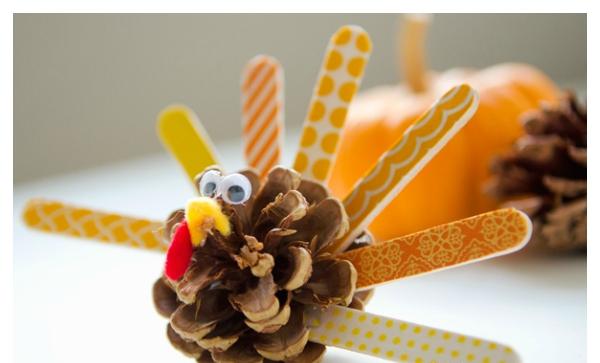
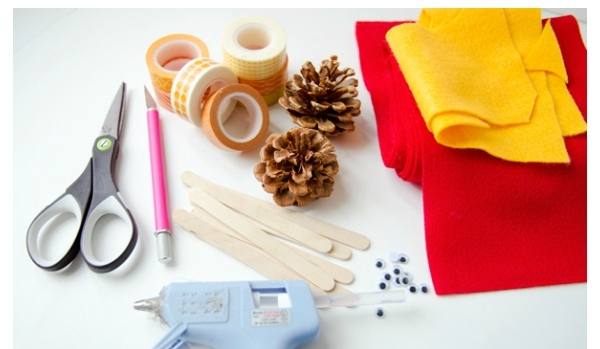
You'll need:
– several types of washi tape (washi tape) (or colored tape)
– lump
– hot glue or superglue
– scissors
– stationery knife
– ice cream sticks
– yellow and red felt
– toy eyes or plasticine to make eyes.
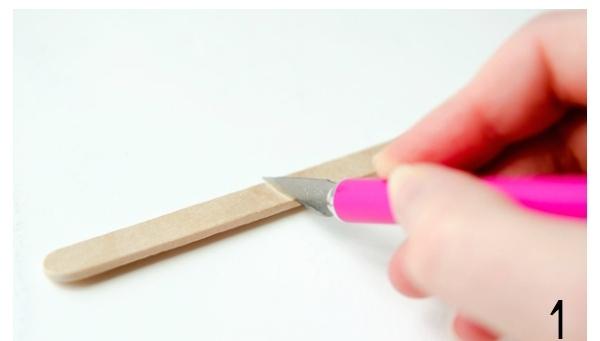
1. Using a stationery knife, cut several ice cream sticks in half.
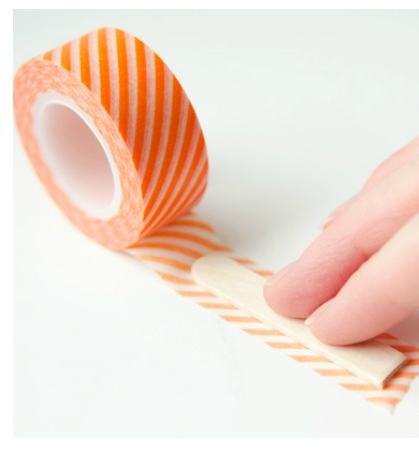
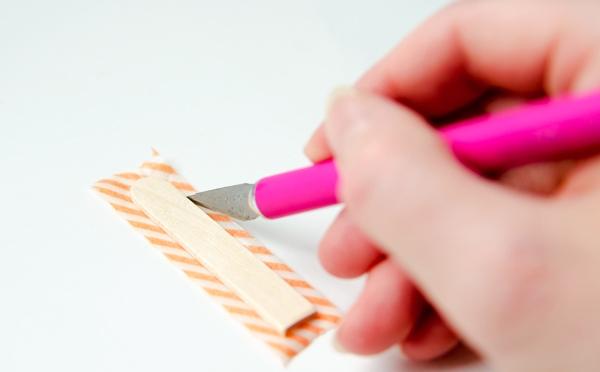
2. Glue wasi tape to each half of the stick. To cut off excess parts, use a stationery knife or scissors.
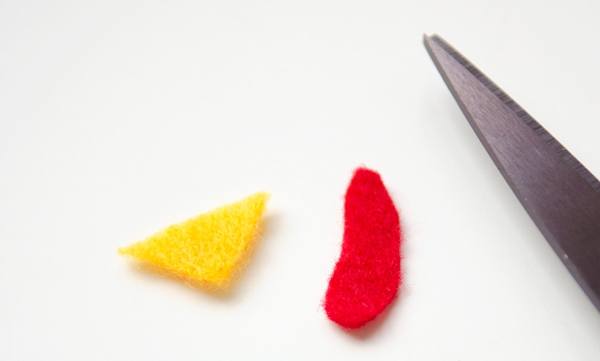
3. To make the beak and fleshy appendage that hangs at the base of the turkey's beak, cut a triangle and an oval or pear shape out of the felt.
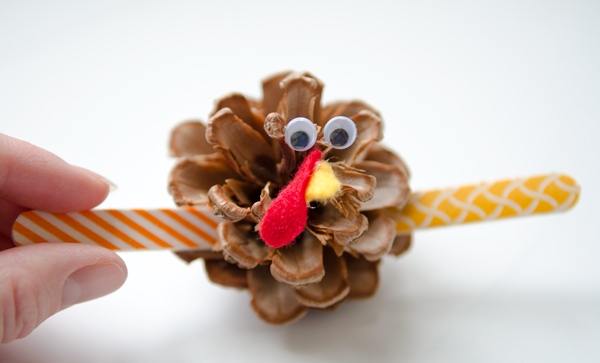
4. Glue all parts of the face, including toy eyes, to the cone. If you use clay, attach it where the turkey eyes should be.
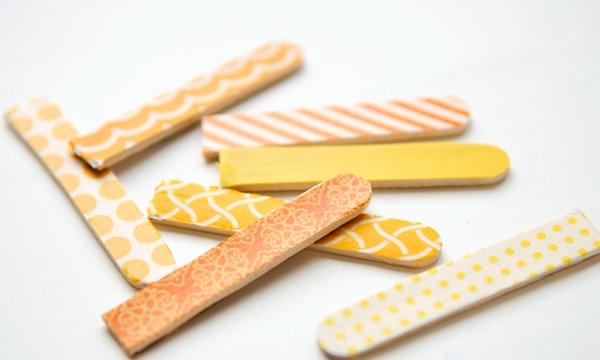
5. Glue the sticks decorated with vasi tape to the bottom of the cone.
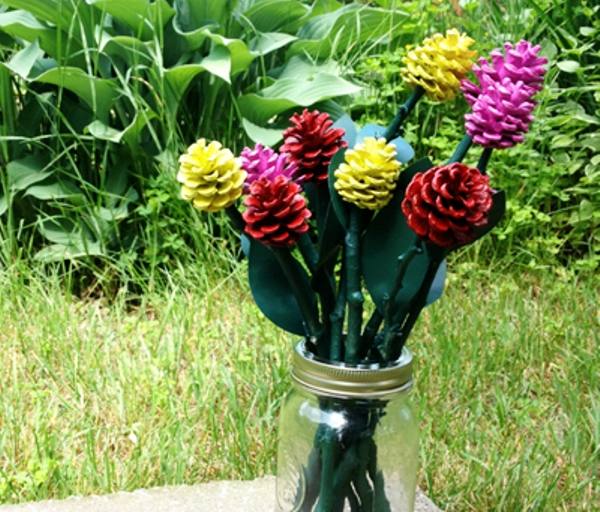
Pine roses (master class)
You'll need:
– cones
– twigs
– colored, scrap paper, felt or corrugated paper
– paints
– brushes
– scissors
– glue (hot or superglue).
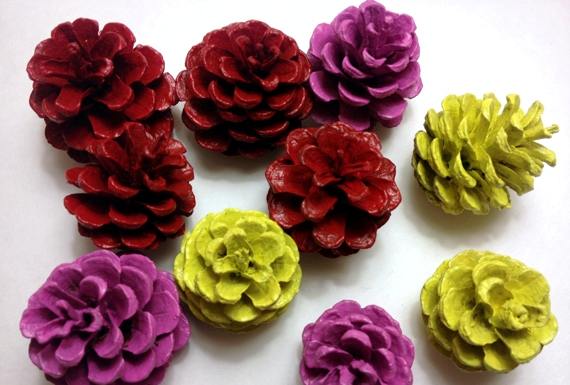
1. Use a brush to clean the cones from debris and seeds.
2. Use large long-bristled brushes to paint the cones in different rose colors (red, yellow, burgundy).
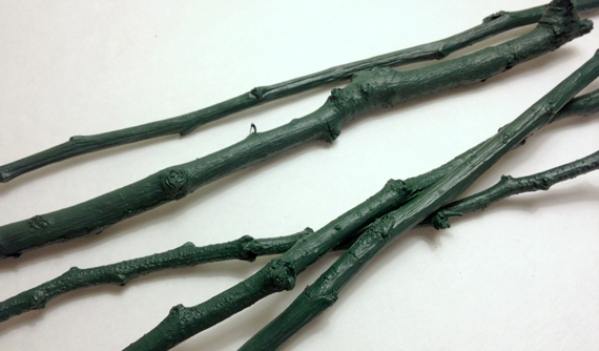
3. Prepare even branches, cut them to get the length you want and paint them green.
4. Each rose needs 2 leaves. Cut leaves out of green paper or felt.
5. We collect all the details. Glue the cones to the branches first, and then glue the leaves.
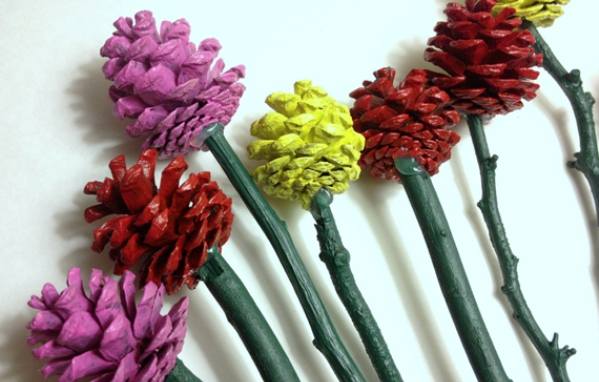
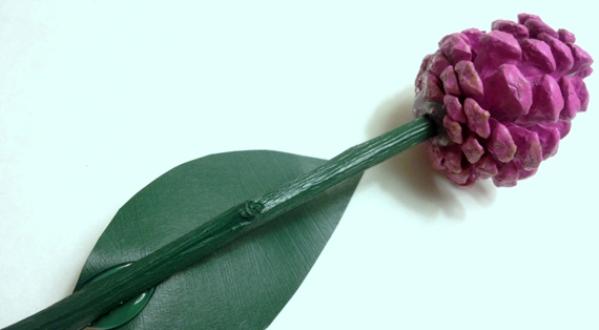
It remains to put all the flowers in a vase and the decoration is ready!
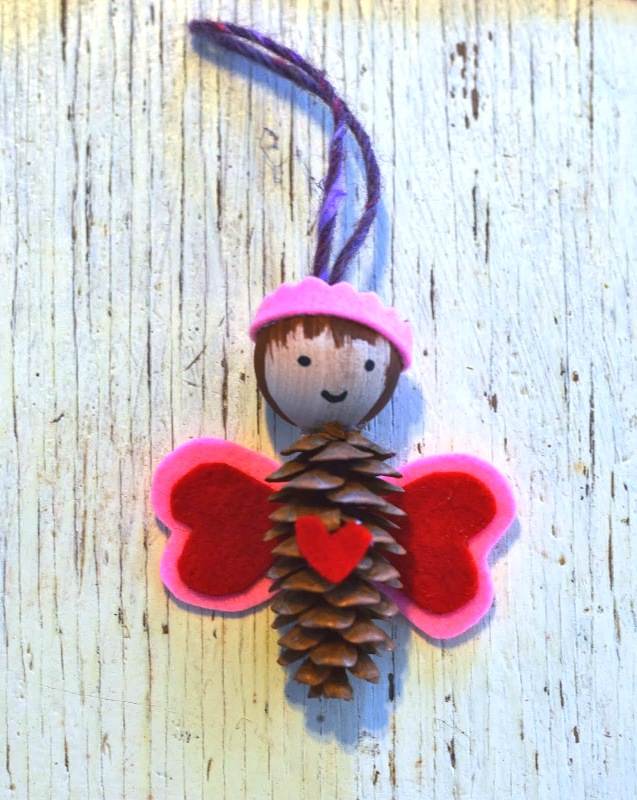
Crafts from fir cones: fairy
You'll need:
– lump
– wooden bead
– paint and brush
– felt (red and pink in this example)
– scissors
– glue (hot or superglue).
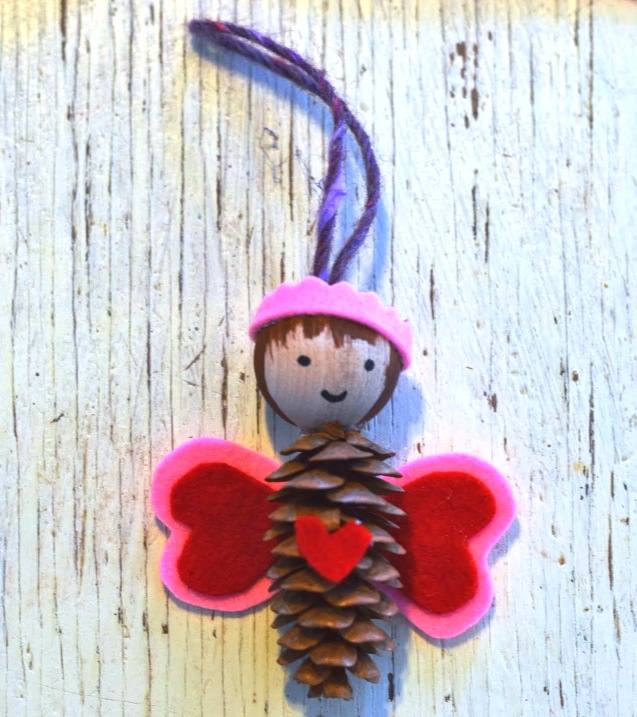
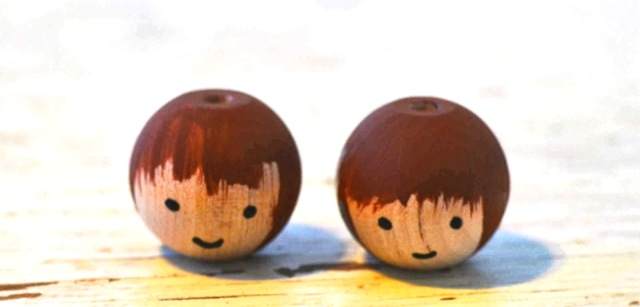
1. Draw your fairy's face on a wooden bead. To draw small eyes and a smile, you can use a toothpick instead of a brush. Let the paint dry.
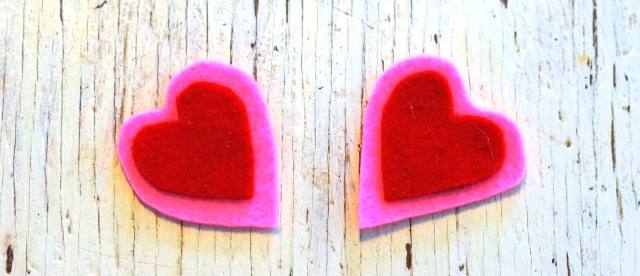
2. Cut fairy wings in the shape of hearts out of felt. In this example, two pairs of wings were cut — pink (big wings) and red (small wings) — and one wing was glued to the others.
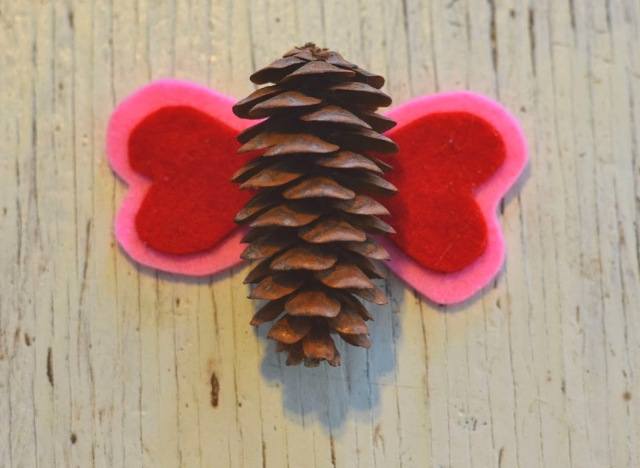
3. Glue the wings and the fairy face bead to the cone.
4. Cut the thread to the right size and thread it through the bead and tie it. You can fix it with glue.
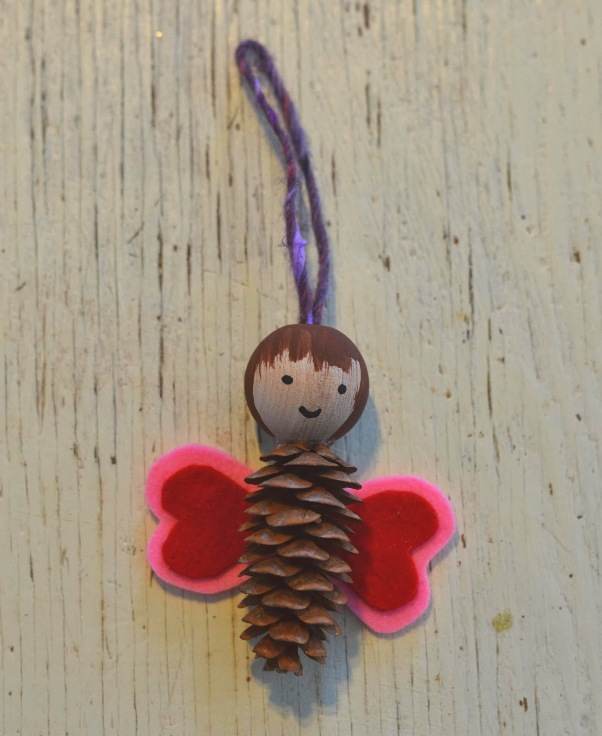
5. You can glue a crown and a felt heart to the fairy.
Crafts from cones on the theme of autumn: chandelier
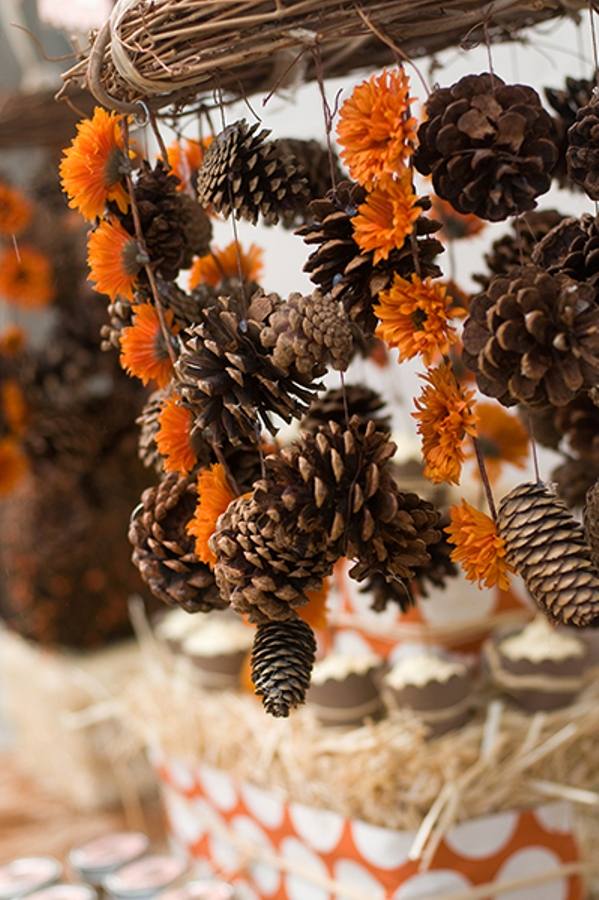
You'll need:
– twine
– glue
– cones
– artificial flowers
– a wreath of branches (you can buy a ready-made one or make it yourself).
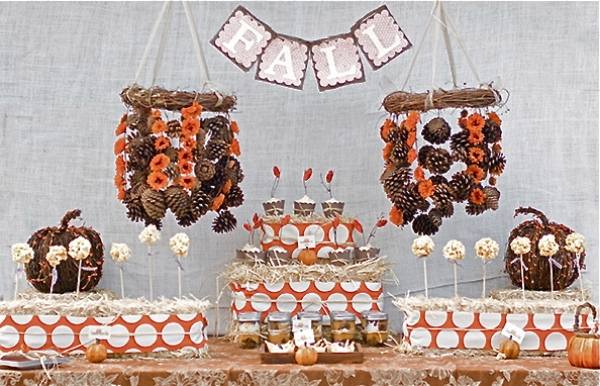
1. Prepare artificial flowers and cut off only the bud from them.
2. Cut 4 pieces of twine, 30 cm each.
3. Take a wreath of branches and tie pieces of twine to some of the branches from the wreath. If necessary, you can tie the twine to the bottom of the flowers and then add glue.
4. Glue flowers and cones to the rope.
* You can decorate the craft with a bright ribbon of the right color.
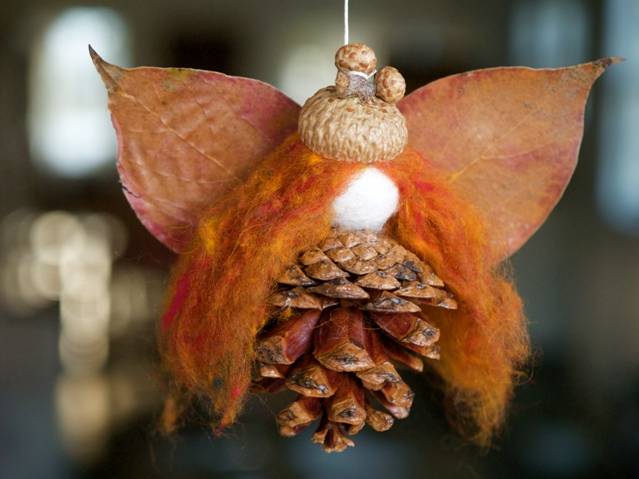
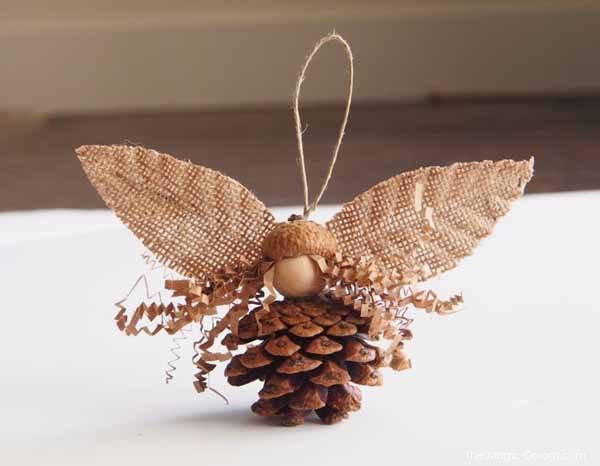
Autumn crafts from cones: autumn fairy
You'll need:
– felt
– big bump
– acorn hat
– autumn leaves (preferably clean, dried and smoothed under a thick book)
– a felt ball or a large wooden bead
– glue (hot or superglue).
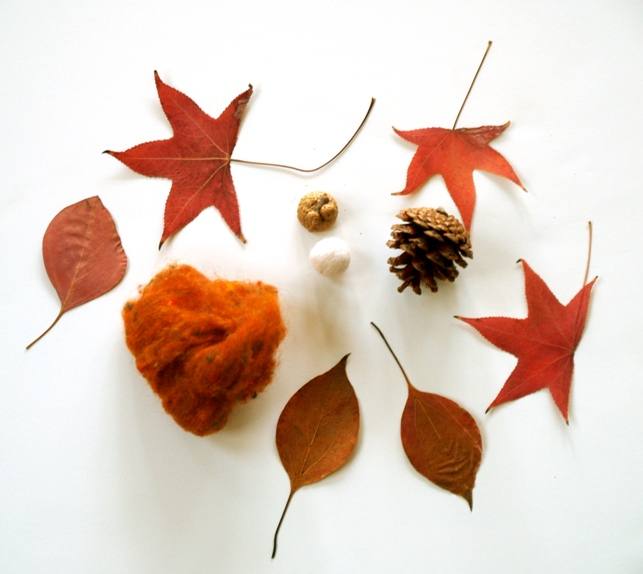
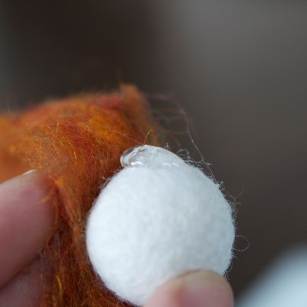
1. Take a small strand of felt and glue it to the ball – this will be the fairy's head and hair. Put an acorn hat on her for the full picture.
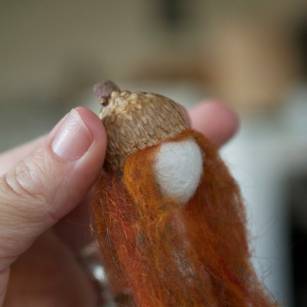
2. Glue the fairy's head to the cone.
3. Take two autumn leaves and stick them to the fairy's back — these are her wings.
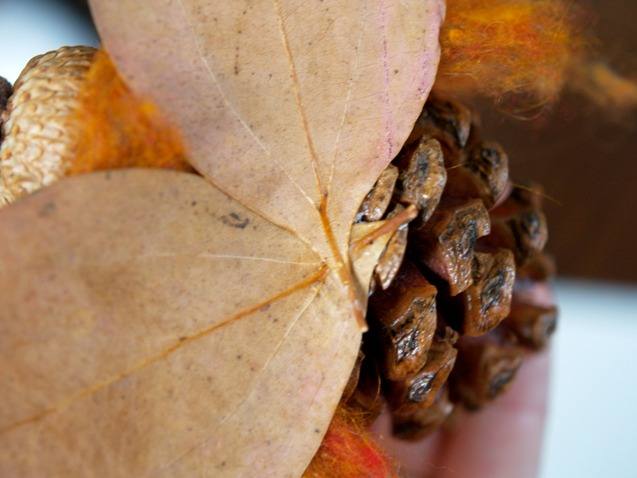
4. Glue a rope or ribbon to the fairy so that the craft can be hung.
Here is another version of such a fairy:
Crafts from cones (photo)