
 Useful tips
Content:
How to sew a
lamb with your own hands Felt sheep (pattern)
Tilda
sheep: DIY lamb master class: patterns DIY
lamb pillow
Crocheted lamb (pattern)
How to crochet a lamb
The symbol of the upcoming New Year is a lamb or goat, since according to the Chinese calendar, 2015 is the year of the Sheep or Goat.
Read also:Sheep crafts for the New Year
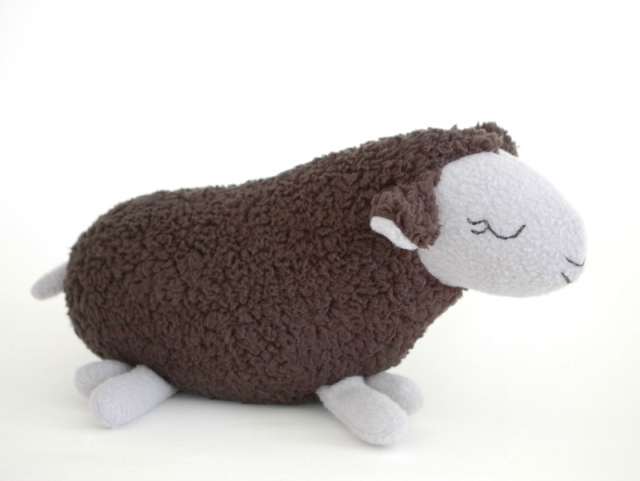
If you love handicrafts, you can make a beautiful sheep with your own hands. With a simple master class, you can make a toy, a pillow or a beautiful souvenir.
This sheep will be a great gift for family and friends.
How to sew a sheep with your own hands?
You'll need:
· Grey fleece
· Black faux fur
· Black floss threads 45 cm
· Filler
· Threads, needle
Tips:
Fleece is an easily stretchy material, while fur has a fleecy surface. It is important to lay the pattern details so that the arrows are parallel to the edge.
1. Cut out the details of the pattern and mark with chalk:
2 ears, 8 legs, 2 faces, 2 tails — grey fleece
2 torso, 2 ears — made of black (or white) fleece
Legs
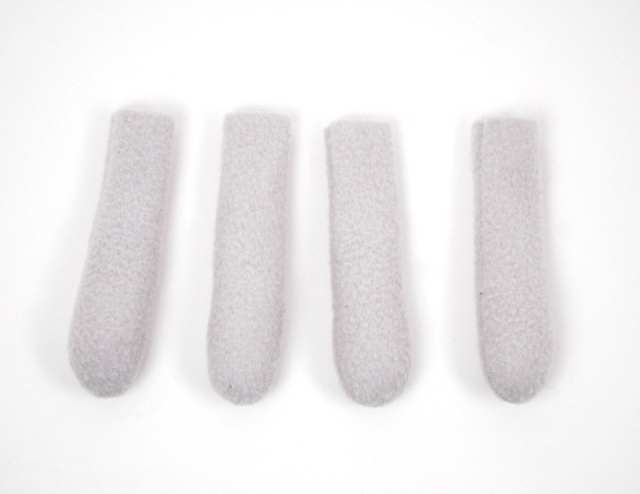
2. Place the two parts of the leg face inwards and stitch, leaving a hole at the top. Repeat for the other legs. Remove the parts and fill the lower legs with filler.
Tail
3. Place the two parts of the tail face inwards and stitch, leaving a hole at the top. Turn it out.
Ears and muzzle
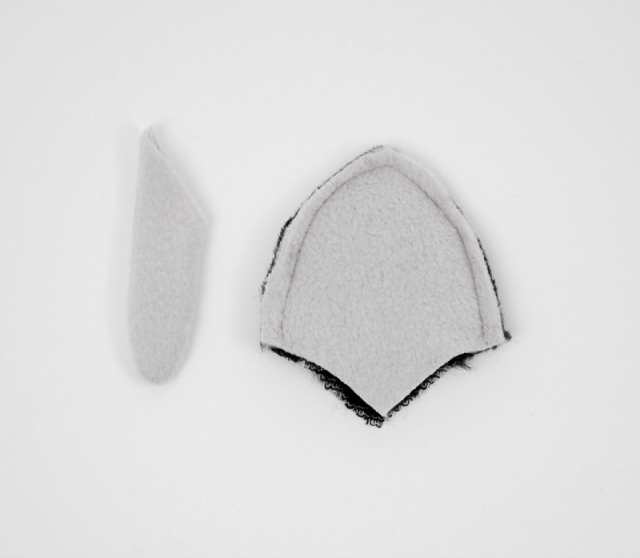
4. Take one part of the fleece ear and the other part made of fur and place it with the front sides inward. Stitch, leaving a hole. Turn it out. Fold your ear in half and secure it with a pin. Repeat with the other ear.
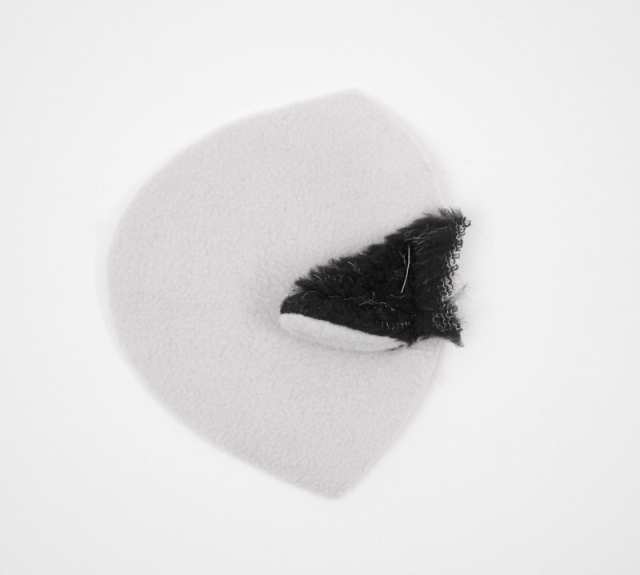
5. Place one folded ear to the right side of the face with the ear fold pointing towards the crown. Sweep. Repeat with the other ear.
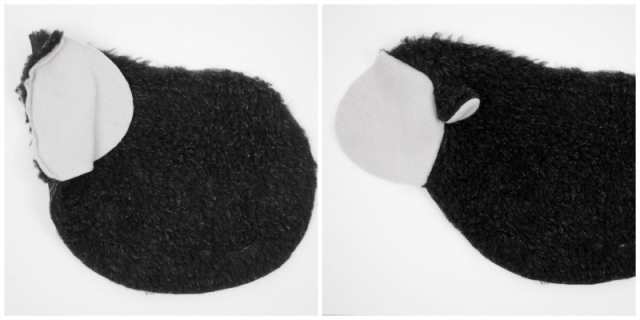
6. Place one part of the muzzle on top of the corresponding part of the body, facing inwards, aligning points A and B. Secure with pins along the bend. Sew the muzzle to the torso from point A to point B. Repeat with the other side of the face and torso.
7. Place the tail to the right side of your torso, aligning points C and D. The tip of the tail points is pointing down. Sweep.
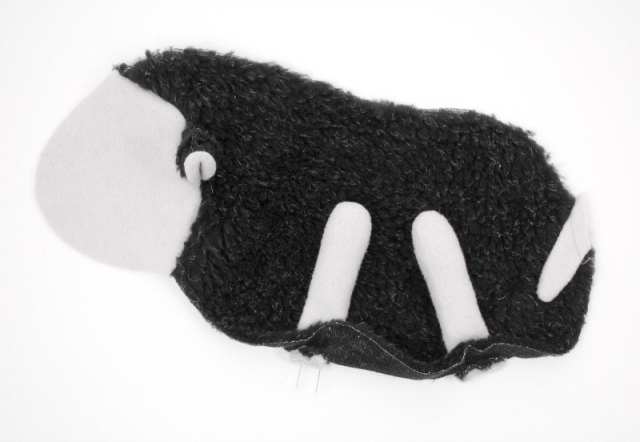
8. Make leg cuts on one side of the torso and pass your legs through the holes. Fold your torso over the holes and secure your legs with pins. Sew through the holes, closing them and securing your legs. Repeat for another pair of legs on the other side of your torso.
Eyes, nose, mouth
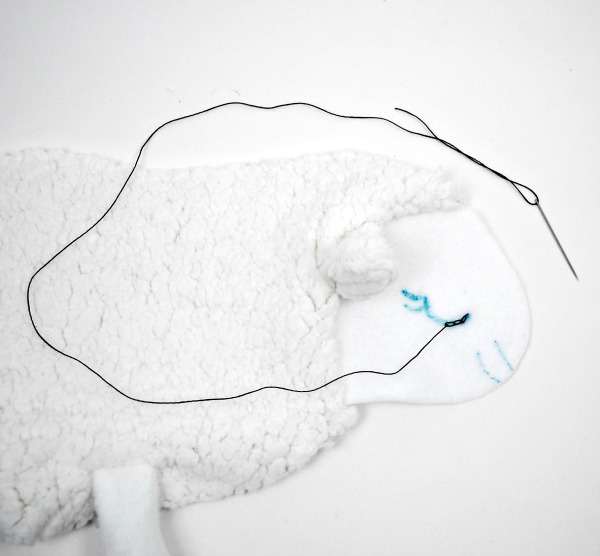
9. Take a needle and thread the black thread of the floss, tying a knot at the end. Thread the thread from the back of the face and sew the eyes, nose and mouth with a chain suture. Tie a double knot on the wrong side and repeat on the other side of the face.
Assembly
10. Place the two sides of the torso face in and secure with pins. Stitch, leaving space for the hole. Fill with filler. Close the hole with a stepped seam.
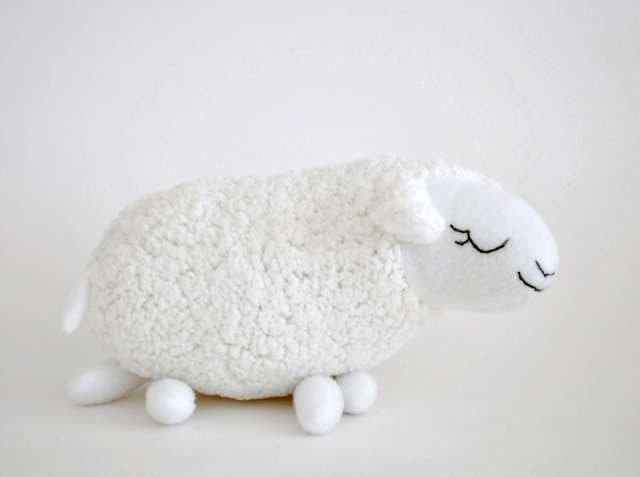
Felt sheep (pattern)
You will need:
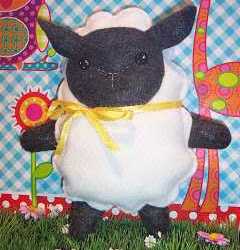
· White felt
· Grey or black felt
· Filler
· Ribbon
· Needle and thread
· Scissors
Print the pattern and cut out the felt details (you can find the pattern here)
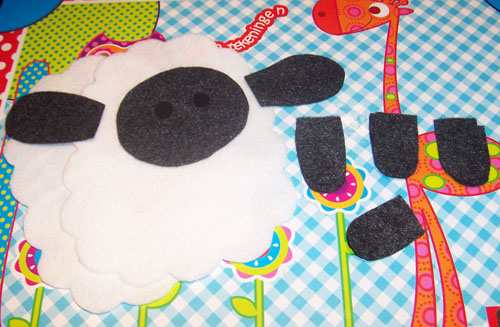
1. Next, you need to attach the muzzle and ears to the white part of the felt.
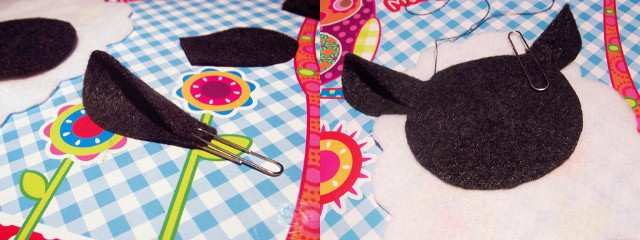
2. Fold one edge of the ears halfway and secure it with clips behind the muzzle part.
3. Start sewing a muzzle along the edge along with the ears. Before you finish the circle, add some filler to help your face appear voluminous.
4. Sew on the eyes and nose using a sample.
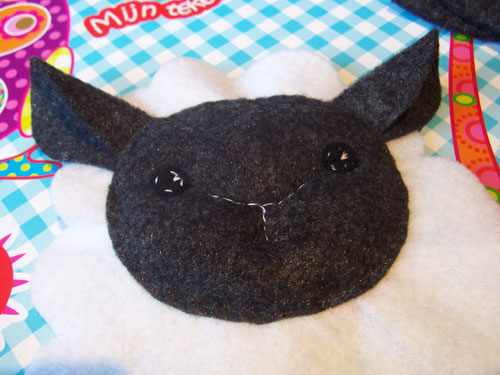
5. Sew 8 leg parts to make 4 limbs. Add some filler to your legs.
6. Place your feet over the back of the white felt and secure with pins.
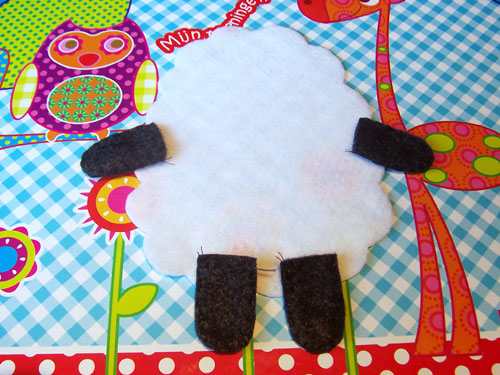
7. Place the front of the white felt on top and secure it again with pins.
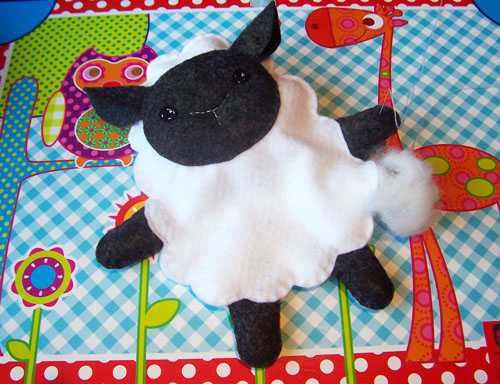
8. Sew around the lamb's body, leaving some space to add the filler. Finish sewing the sheep.
9. Tie a ribbon around the lamb.
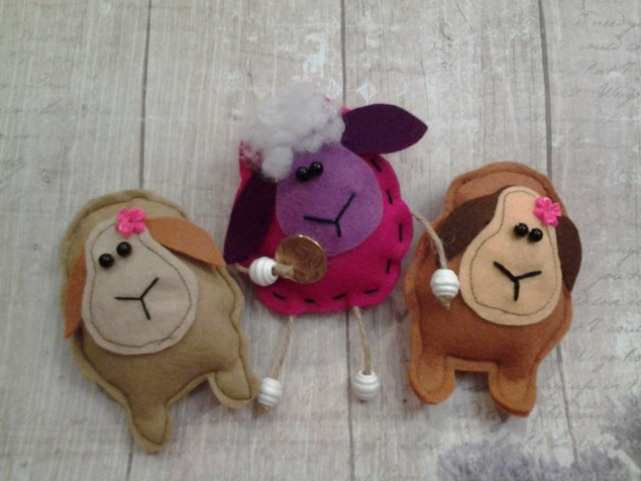
Here are some more examples of felt sheep:
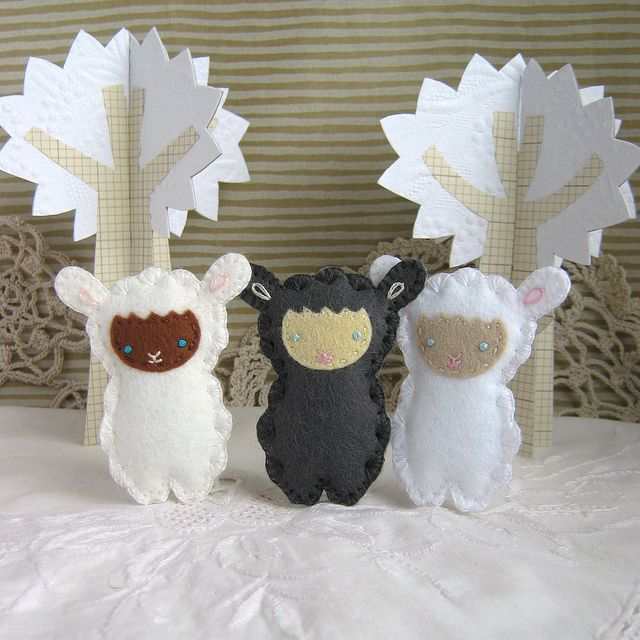
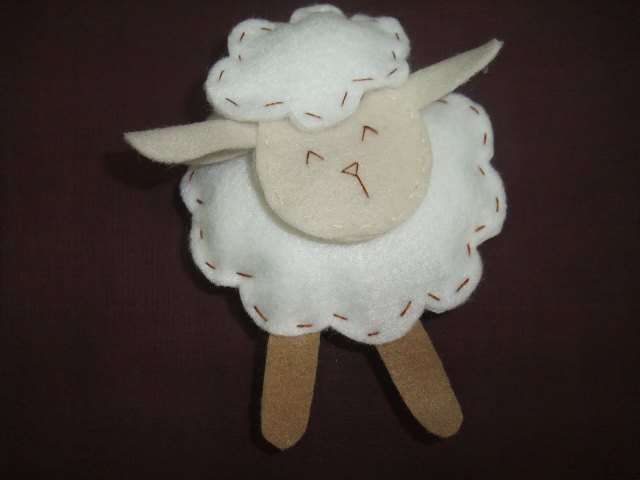
Tilda the Sheep: Master Class
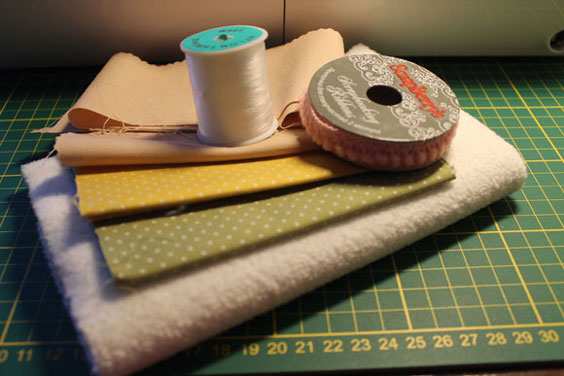
You will need:

· White fabric (terry, fleece, fine-bristled fabric)
· Flesh-colored fabric (cotton, knitwear)
· 3-4 types of fabrics of different textures
· Buttons
· Strong thread for sewing handles and legs and ordinary threads
· Black floss thread for the face
· Padding
· Jewelry
Head
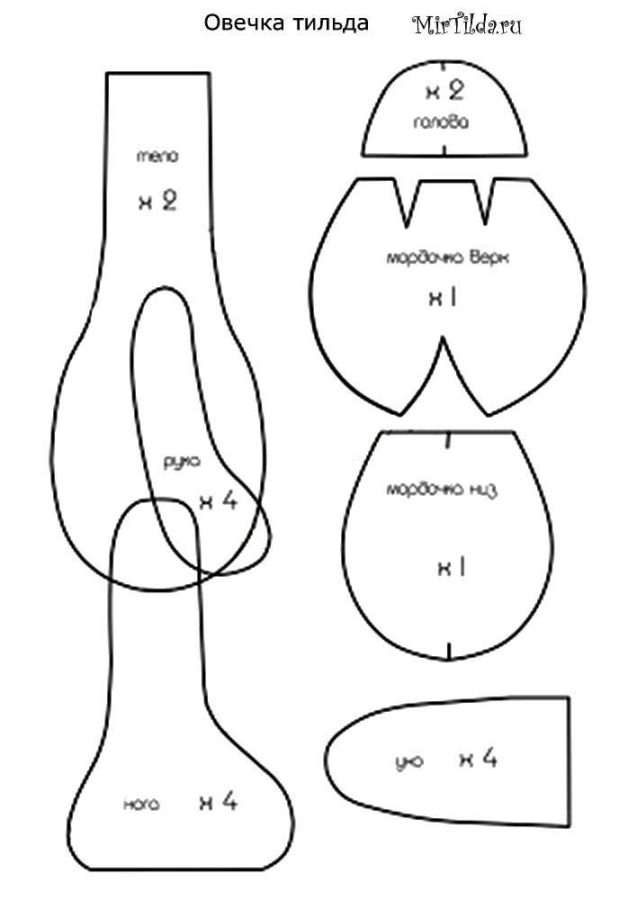
1. You should start sewing Tilda's sheep from the head. We take white and flesh tissue and cut out the details of the head. If you take knitwear or other stretchy fabric, you should glue it with non-woven fabric or doublerin.
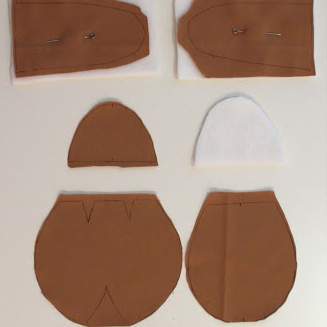
2. The occipital part of the head will be made of white fabric, and the rest of the head will be cut out of flesh-colored fabric, not forgetting about seam allowances and without cutting out darts.
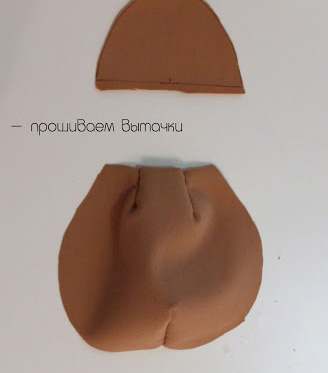
3. We sew darts.
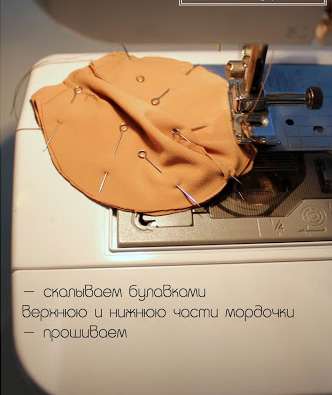
4. We connect the upper and lower parts of the lamb's face. To do this carefully, pin them off with pins and sew them.
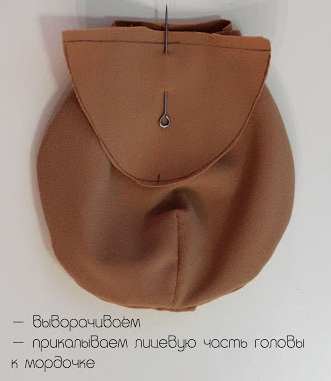
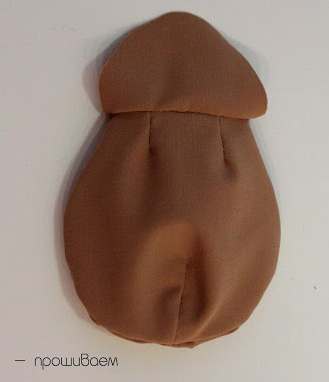
5. Turn out the muzzle, pin the front of the head and sew.
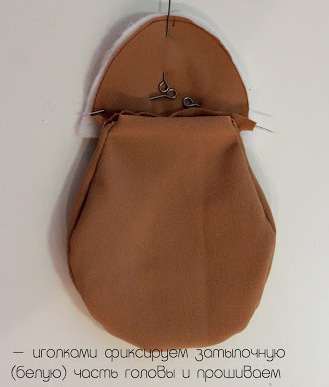
6. We connect the front and occipital (white tissue) heads with pins and sew them. We turn it out.
Ears
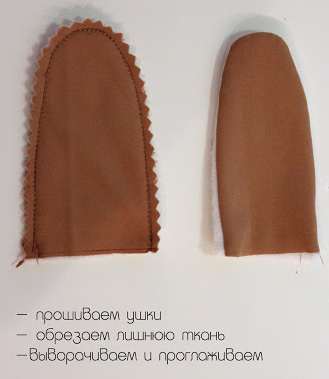
1. Cut out the details of the ears according to the pattern, leaving allowances for the seams. The front part of the ears is flesh-colored, the back is white.
2. Sew the details of the ears, folding the front sides inward.
3. Turn them out and iron them.
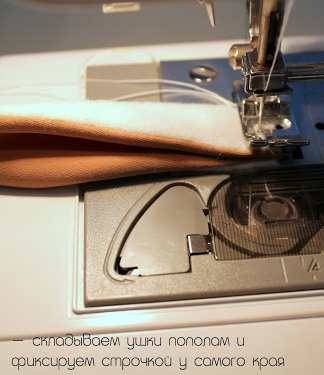
4. Fold the ears in half and sew at the edge.
Torso
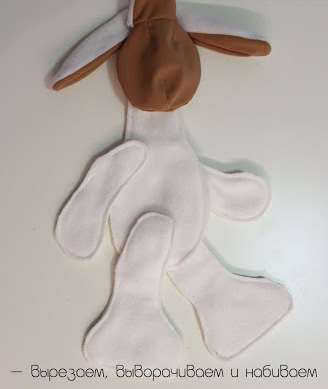
1. Fold the white fabric in half and cut out the details of the torso, arms and legs.
2. Sew the details, twist and fill the torso.
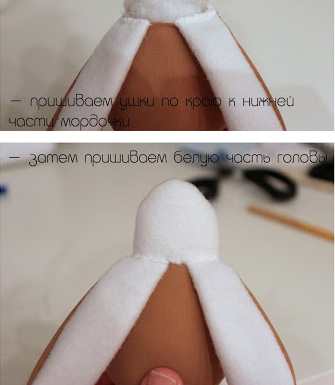
3. Sew the ears to the head to the edge of the lower part of the muzzle.
4. Sew on the occipital (white) part of the head
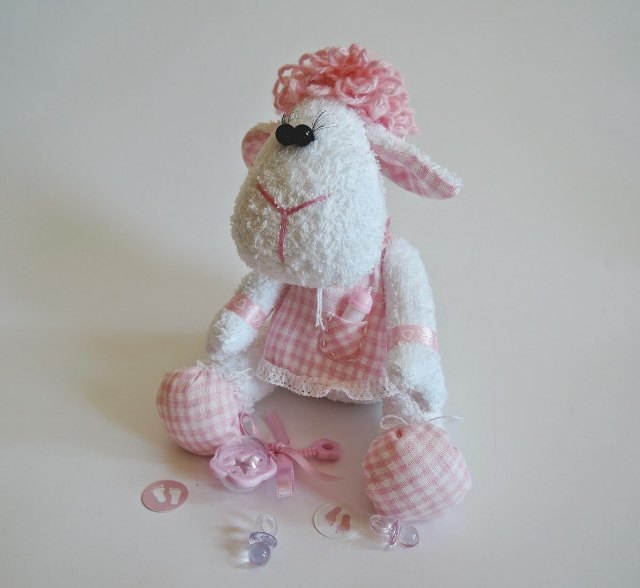
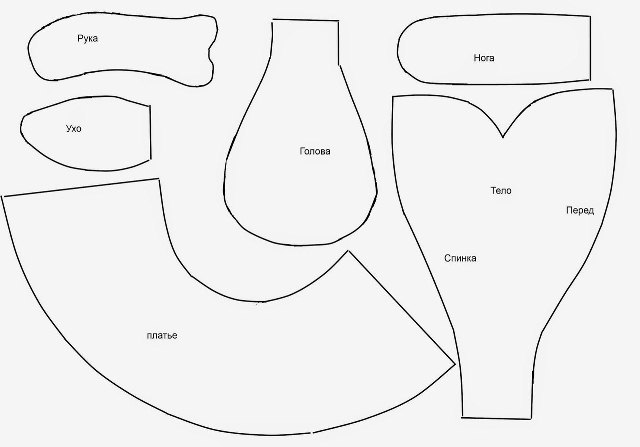
You can sew clothes for your sheep according to the instructions.
DIY lamb: patterns
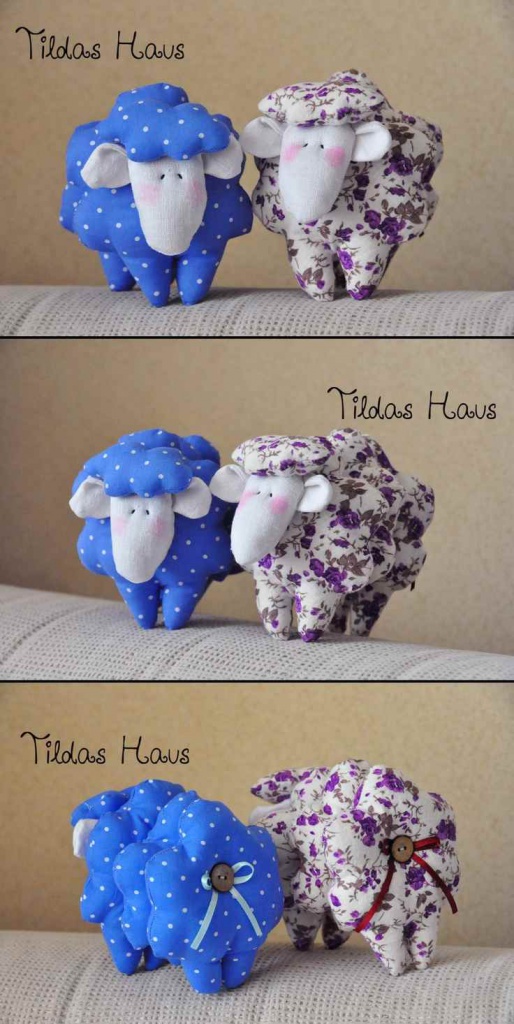
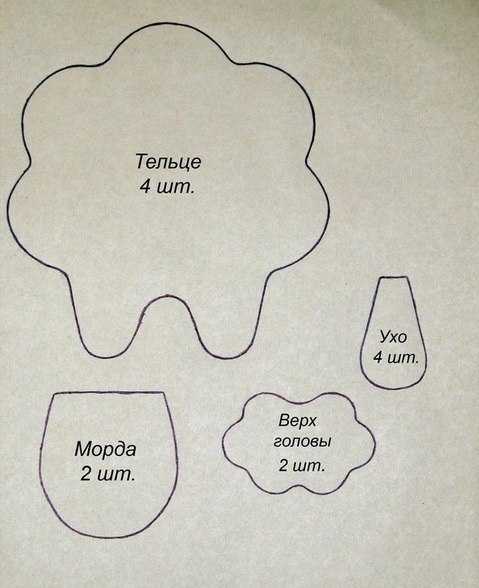
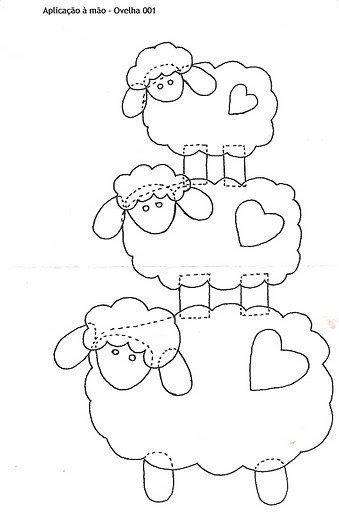
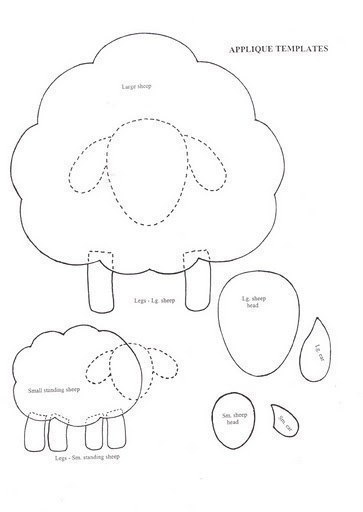
DIY lamb pillow
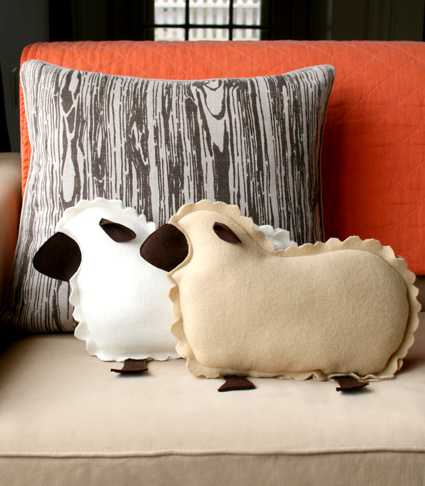
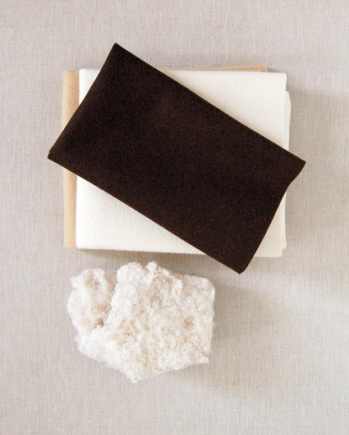
You'll need:
· 45 cm long square piece of sand-colored wool felt
· 45 cm long square piece of beige wool felt
· A piece of brown felt
· Filler
· Threads that match the color
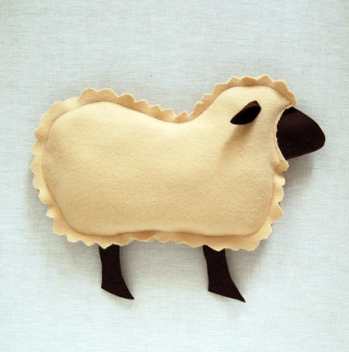
Use beige and sand-colored material for the torso of your sheep. Brown felt will be used for legs, ears and face.
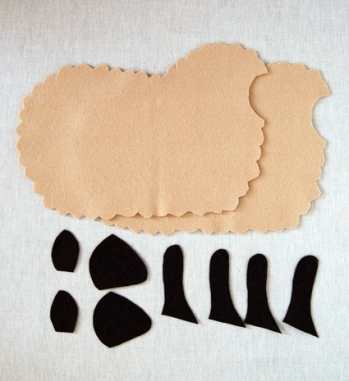
Cut out the details according to the pattern (for one lamb): 2 torso parts, 4 legs, 2 faces, 2 ears
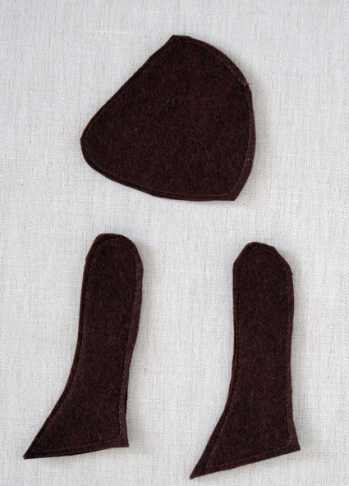
1. Pin the two parts of the face and sew them with a thread of the right color. Do the same with leg details.
2. Secure two parts of the body with pins. Place your legs and face between the two pieces, as shown in the picture.
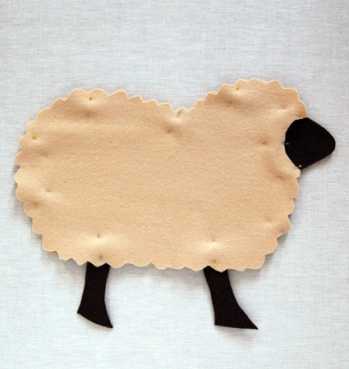
3. Sew the torso starting at the front leg, about 1.2 cm from the raised edge.
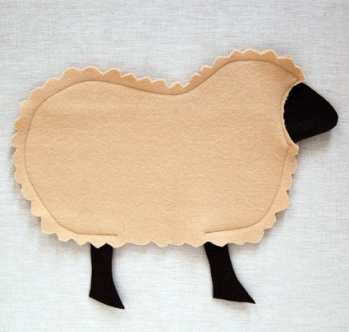
4. When you reach your face, stitch around in an arc with an indent of about 0.6 cm, and then continue to stitch along the torso with a margin of 1.2 cm. Finish the line where the back leg ends. Leave a hole between your legs.
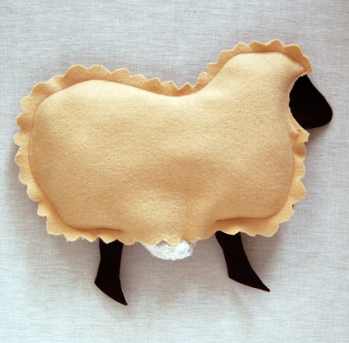
5. Fill the sheep through the hole. Use large chunks of filler to avoid lumps.
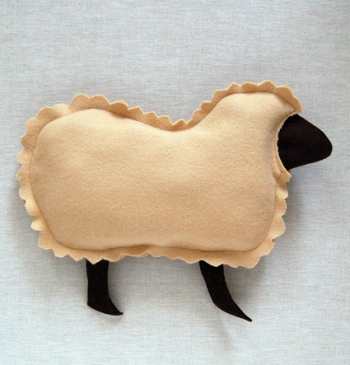
6. Sew the hole with a stitch so that it seamlessly connects to the other lines.
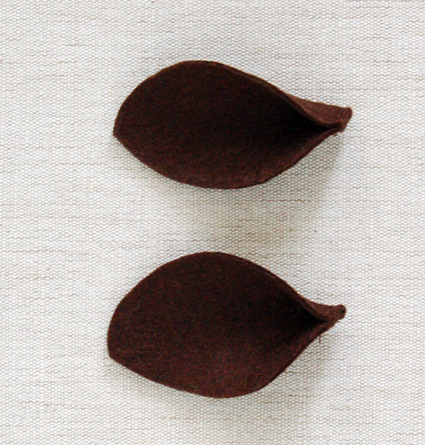
7. Fold each part of the ears in half and sew with a thread of the same color. Sew your ears to your torso. Repeat with the second sheep.
Crocheted lamb (pattern)
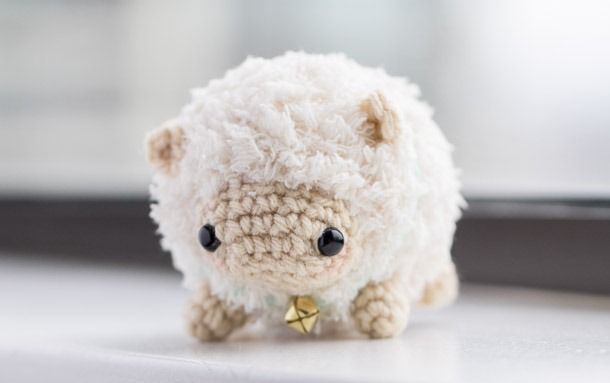
You'll need:
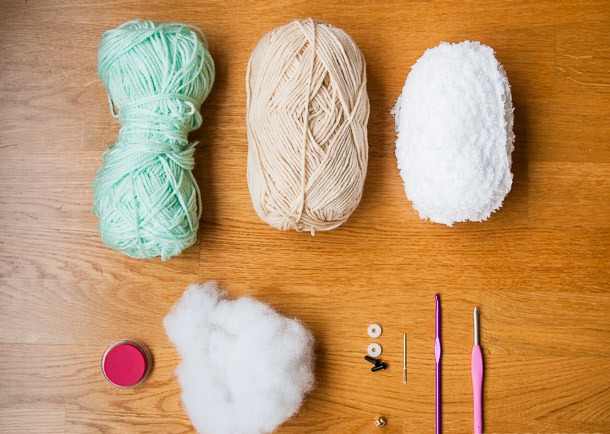
· 1 skein of cream-colored long-bristled yarn
· 1 skein of beige worsted yarn
· 1 skein of mint-colored worsted yarn
· 5mm and 3.75mm hook
· Filler
· Peephole beads
· Yarn needle
· Bell (optional)
Symbols:
sb — column without a crochet
pt – loop
ub — reducing loops
pr — adding loops
The body
We use cream-colored yarn and a 5 mm hook
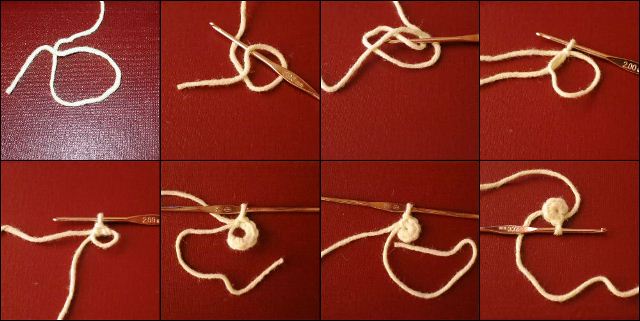
1. Amigurumi ring (5 pt)
Here is an instruction on how to make an amigurumi ring:
1 row: 1 pr per loop (10 pt)
2nd row: sn, 1 pr repeat for the whole row (15 pt)
3rd row: 2 sb, 1 pr repeat for the whole row (20 pt)
4th row: 3 sb, 1 pr repeat for the whole row (25 pt)
5th row: 4 sb, 1 pr repeat for the whole row (30 pt)
6th row: 5 sb, 1 pr repeat for the whole row (35 pt)
7-10 row: sb, in a circle (35 pt)
11th row: 5 sb, repeat 1 ub for the whole row (30 pt)
12th row: 4 sb, repeat 1 ub for the whole row (25 pt)
13th row: 3 sb, repeat 1 ub for the whole row (20 pt)
14th row: 2 sb, 1 ub (15 pt)
The torso will gradually close. Start using filler. Continue row 14, and fill your torso until it closes.
Face
We use beige yarn and 3.75 mm hook
Main chain (5pt)
1st row: sb, sb around the main chain (11pt)
2nd row: 1 pr, 3 sb, 1 pr, sb remaining (13 pt)
3rd row: 1 pr, 5 sb, 1 pr, sb remaining (15 pt)
Here is an instruction that explains the basic principle of how to make an oval-shaped lamb face.
Legs
We use beige yarn and 3.75 mm hook Amigurimi
ring (4 pt)
1st row: sn, 1 pr, sb, 1 pr (6 pt)
2nd row: sc in a circle (6 pt)
Ears
We use beige yarn and 3.75 mm hook Amigurimi
ring (4 pt)
Collar (optional):
We use mint-colored yarn and a 3.75 mm hook
45 pt chain
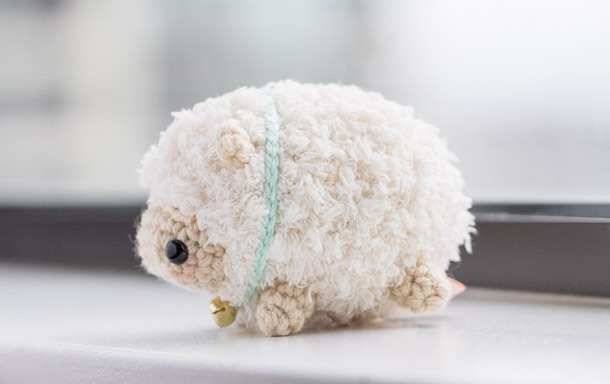
Assembly:
1. Sew your eyes to your face
2. Sew the muzzle to the long end of the body where you closed it.
3. Attach your legs to your body and your ears to your head
4. You can fasten the collar with the bell and tie it around the lamb.
How to crochet a lamb?
Another option for crocheting a sheep or lamb in this video tutorial.