
 Useful tips
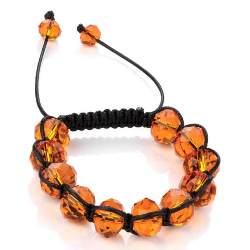
The beautiful and original Shambhala bracelet is not only an extraordinary piece of jewelry worn by many famous people, but also a symbol of the purity of the heart of the wearer.
This bracelet has its own story, which is described at the end of the article.
Making this bracelet with your own hands is not very difficult – you just need to know a few small secrets.
You can make many different versions of the bracelet, and you can find out some of them in this article.
How to make a Shamballa bracelet. Option 1.
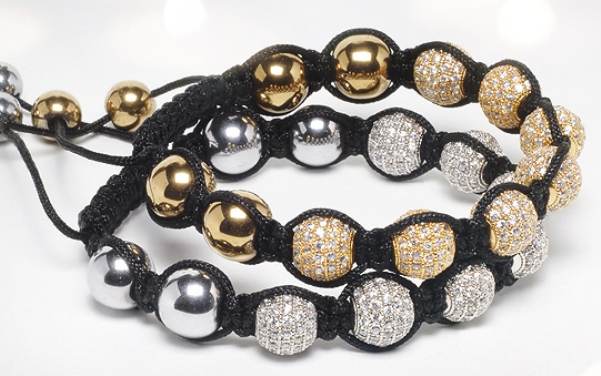
You'll need:
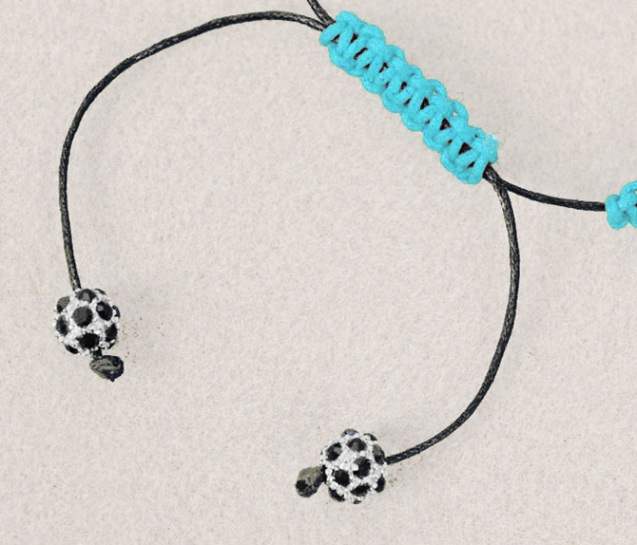
– waxed cord (blue: length 180 cm, width 1 mm; black: 60 cm x 1 mm)
– encrusted beads (dimensions: 7 x 10 mm and 2 x 8 mm)
1. Prepare a 60 cm long black cord and tie one end into a tight knot.
2. Prepare a long cord (blue) and place it 20 cm above the knot you just tied. Next, tie this long cord around the black cord (make sure that the ends of the blue cord are the same).
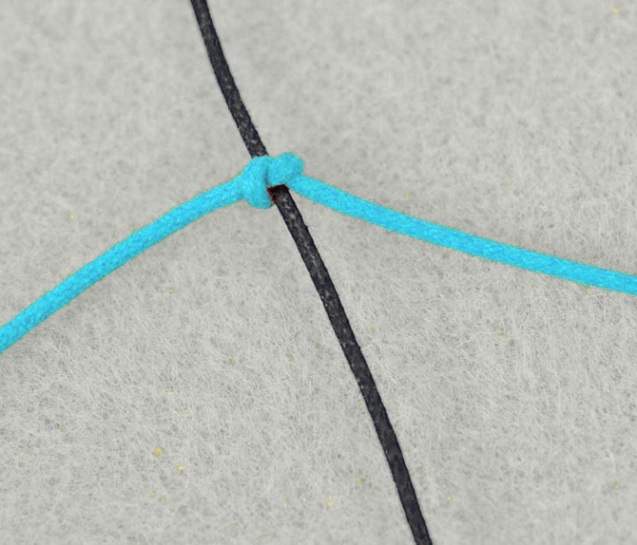
3. Now you have to tie the knots of the blue cord so that the black cord is in the middle.
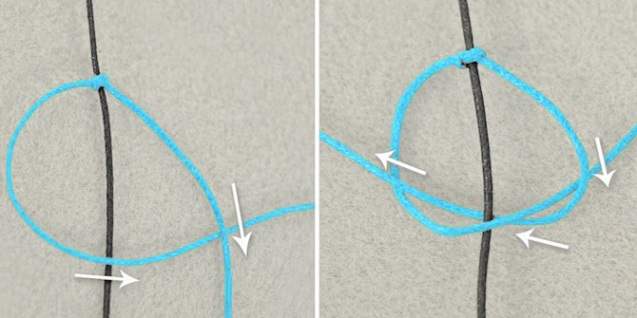
4. When you've already made a lot of knots, add one bead. After that, you can continue making knots and adding beads. The number of beads is not limited.
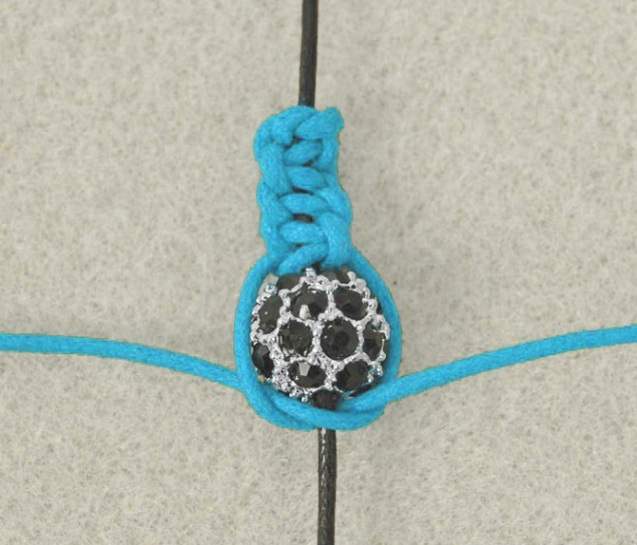
5. For the last knot, use a little glue to secure it. When the glue is dry, cut off any excess parts of the blue cord.
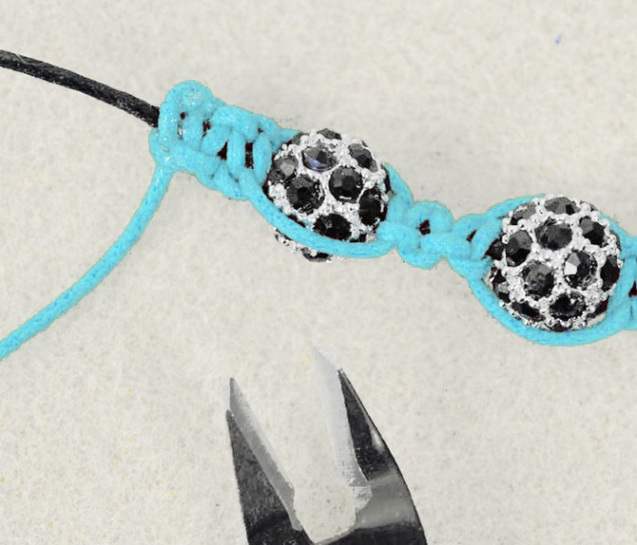
6. We make a fastener.
Fold both ends of the black cord and connect them using the same knot, using the remnants of the blue cord. It is enough to make 14 knots to get a fastener.
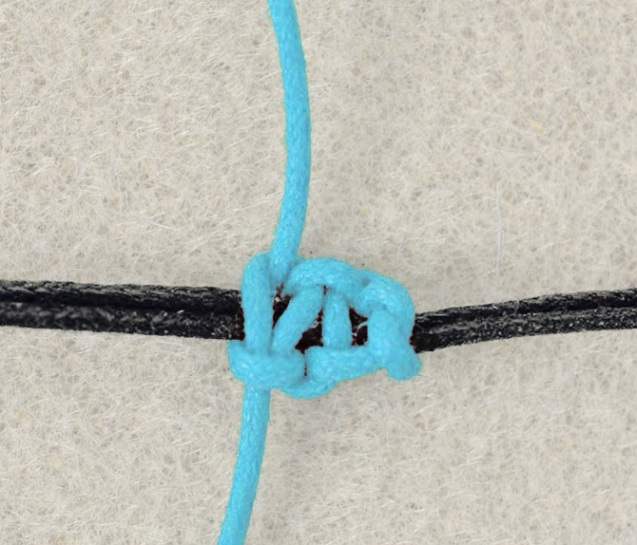
7. Now insert one bead into each end of the black cord and tie one knot at a time. Secure with glue and cut off excess parts.
See also: How to make a bracelet with your own hands
DIY Shamballa bracelet (video tutorials)
Weaving a Shamballa bracelet
How to weave a simple Shamballa bracelet
How to make a double Shamballa bracelet
Braiding a triple Shamballa bracelet
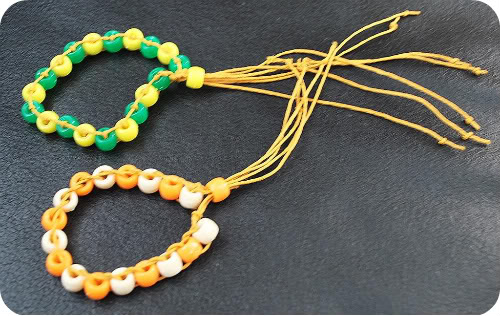
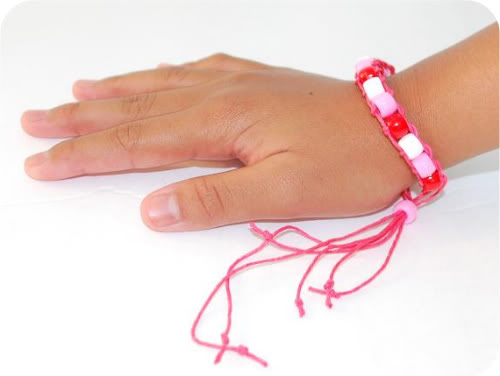
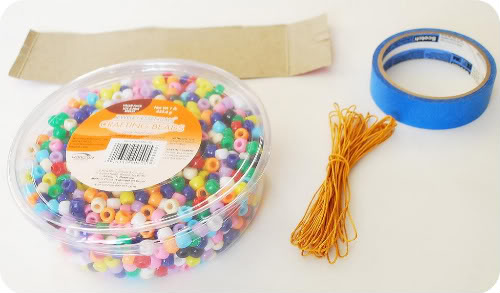
How to make a Shamballa bracelet (scheme). Option 2.

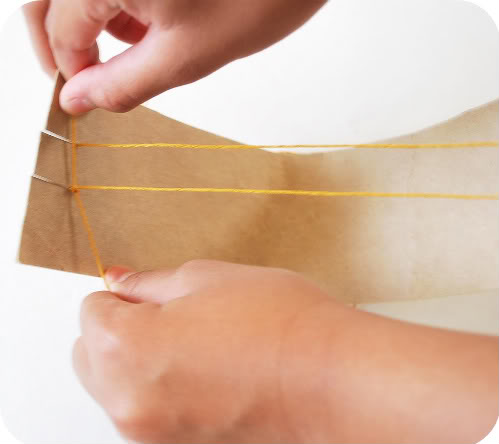
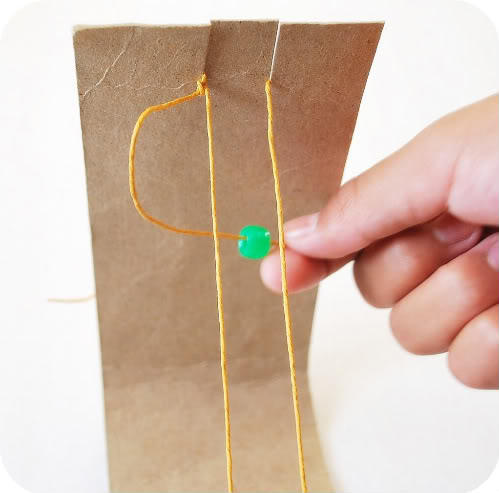
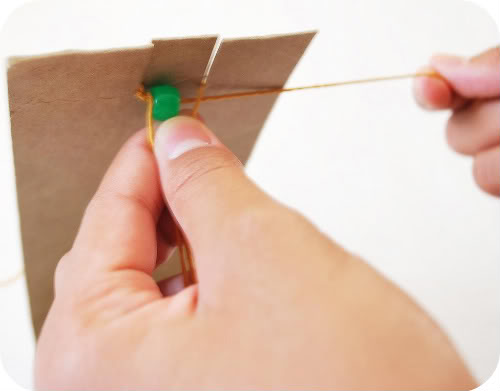
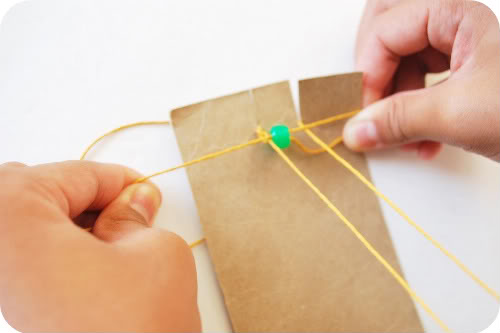
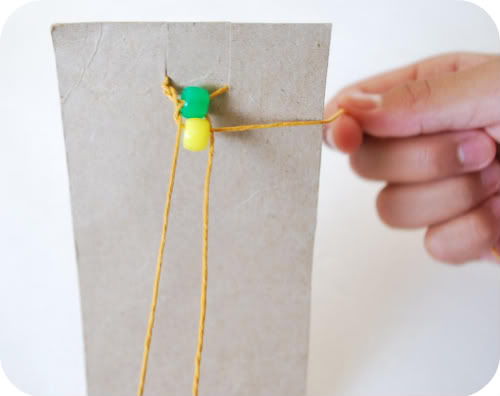
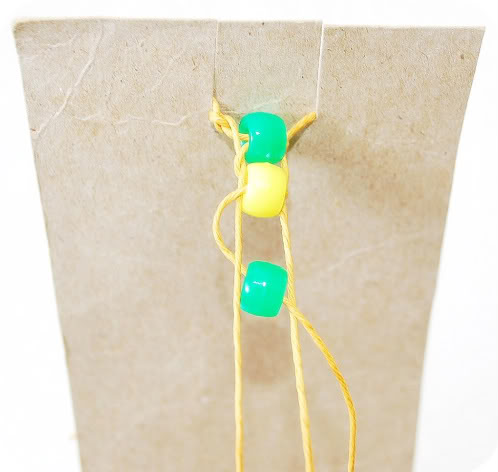
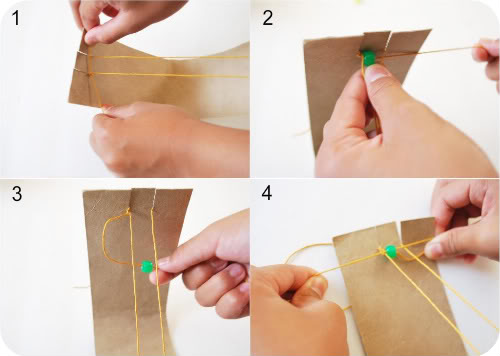
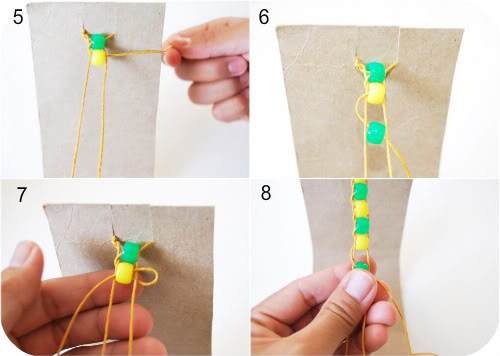
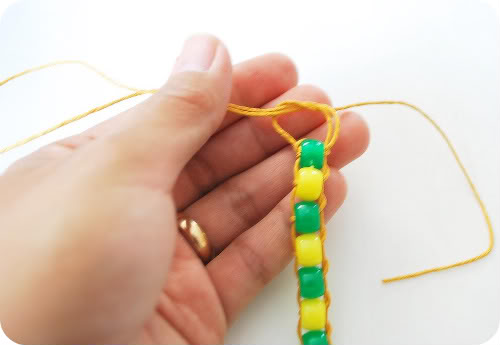
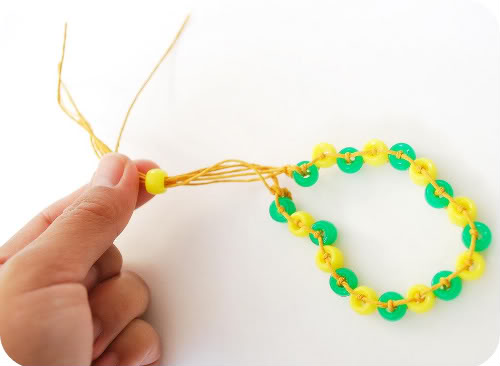
See also: The most amazing polymer clay jewelry (master classes)
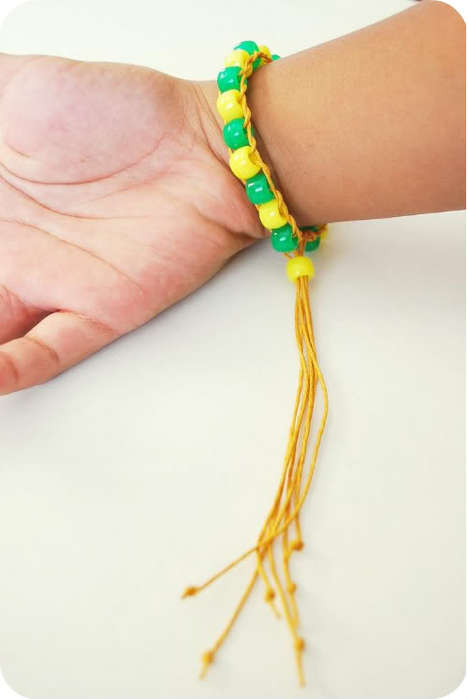
Shambhala bracelet (photo instruction). Option 3.
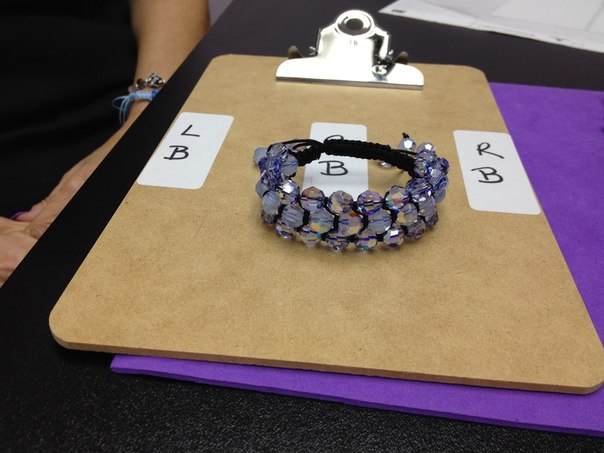
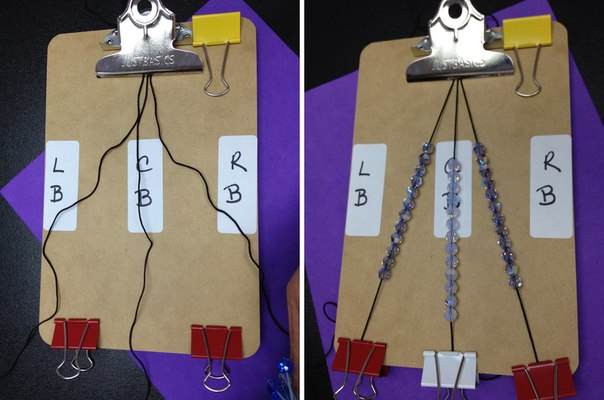
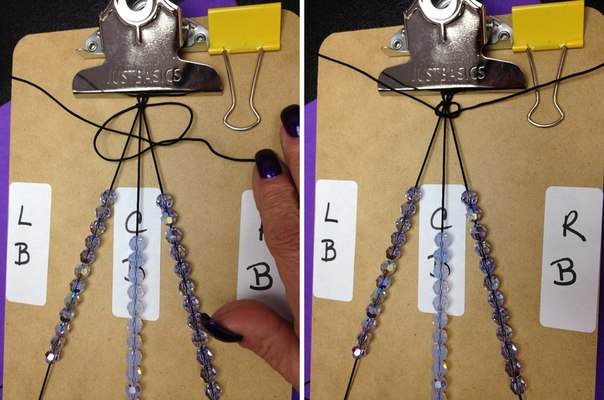
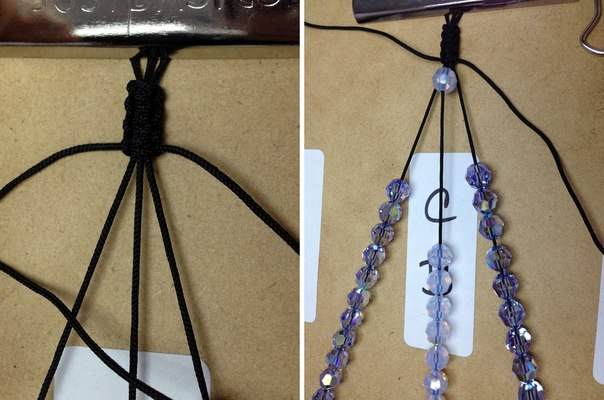
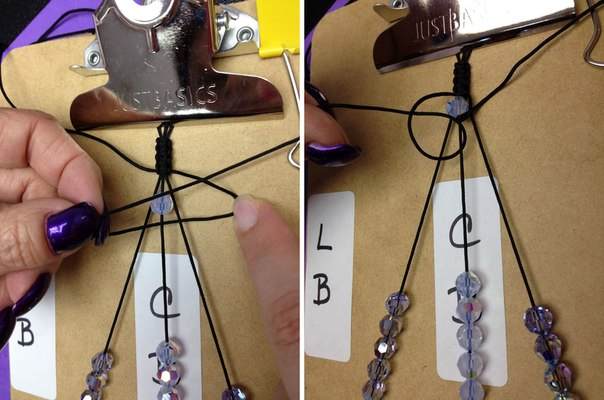
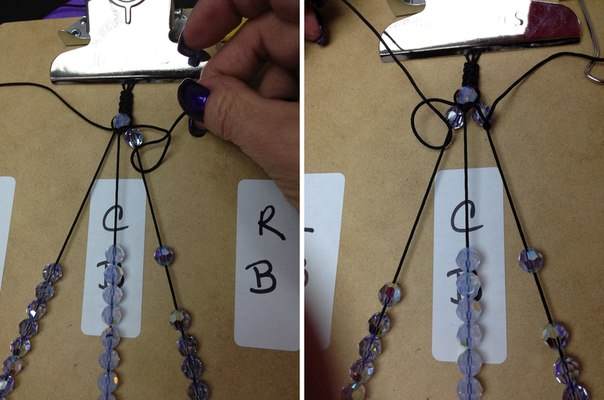
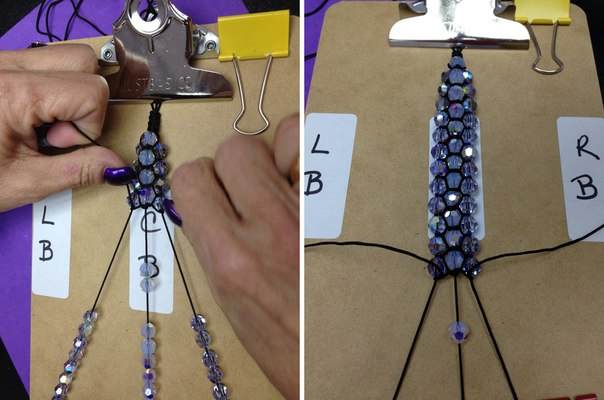
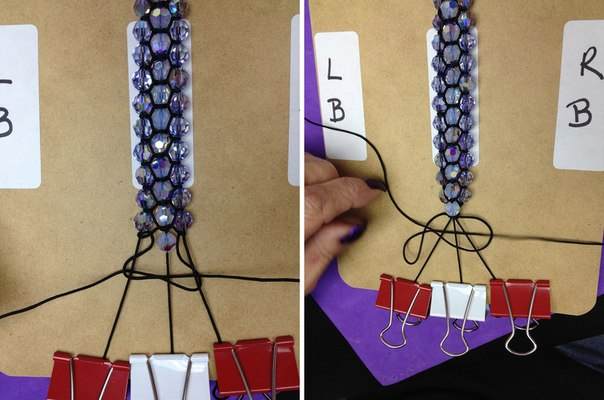
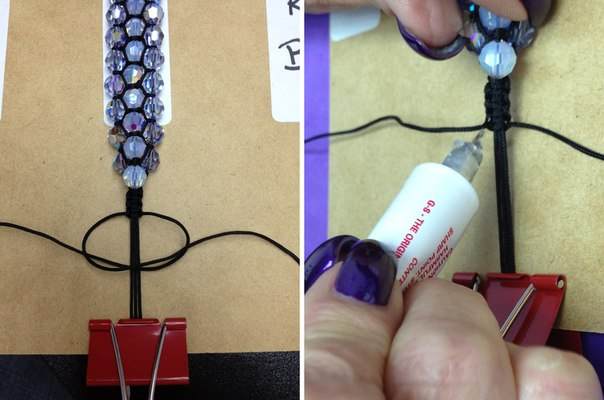
How to weave a Shamballa bracelet. Option 4.
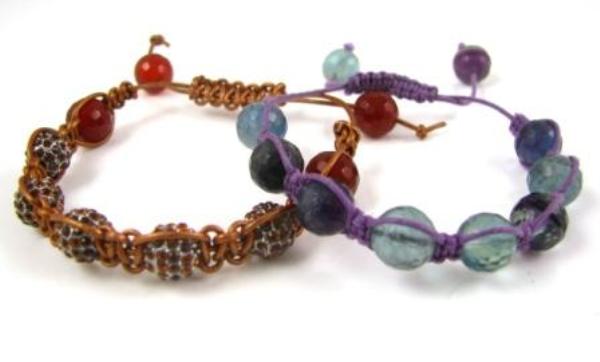
You'll need:
– waxed, nylon or leather cord
– beads of different types with a hole diameter of at least 1 mm
– glue
– colorless nail polish
– thick fabric
– a pin.
* To better understand the principle of weaving a bracelet, watch the videos above.
1. Cut off a 40 cm long cord. Lubricate the ends of the cord with varnish and leave to dry – it will be more convenient to string the beads on the thread.
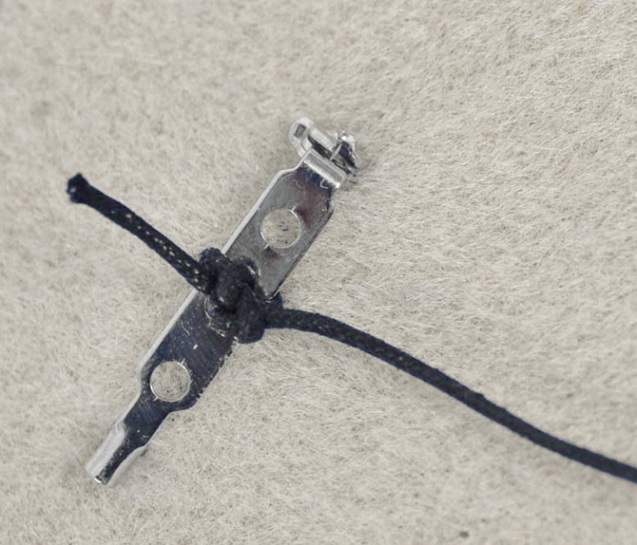
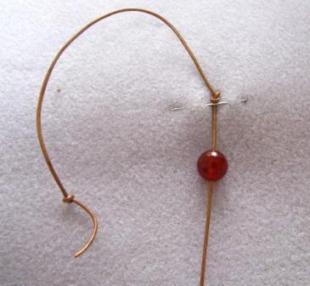
2. Tie the end of the cord into a knot, measure 10 cm from it and tie the knot again, then fasten the cord to the fabric with a pin (see image).
3. Put one bead on.
4. Prepare a 1-meter long cord and tie it to the attached cord as shown in the image.
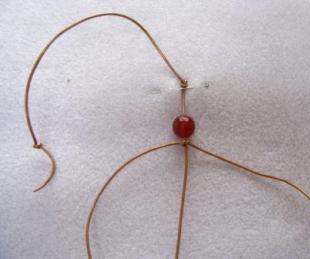
5. Start making knots as shown in the images. Nothing complicated:
– take the cord from the left and make a loop so that this thread is on top of the central cord – it looks like the number 4;
– thread the right cord under both cords and up through the center of number 4.
– tighten your loop, but not too much (the central cord should move through the hinges).
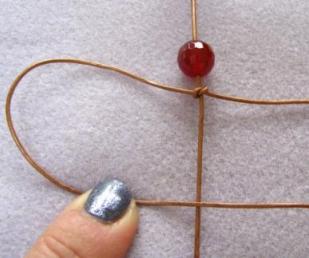
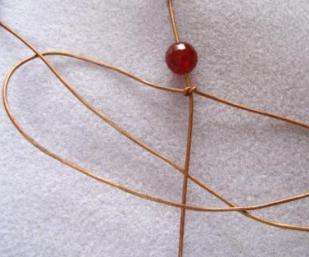
You got half a knot. The other half is in the next point.
6. Do the same as in step 5, but now start with the right cord.
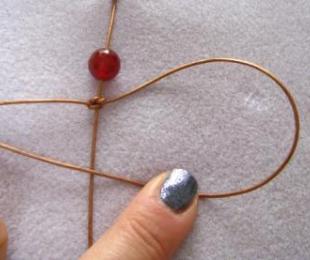
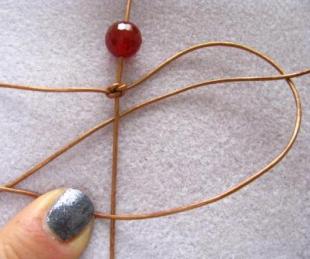
– make a loop so that you have the number 4 inside out
– thread the left cord under the rest of the cords and through the center of number 4
– tighten tightly and you will have a full knot.
7. Make several similar knots and add a bead to the central cord.
8. Wrap the bead with external cords and make a few more knots.
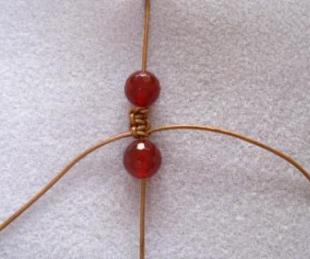
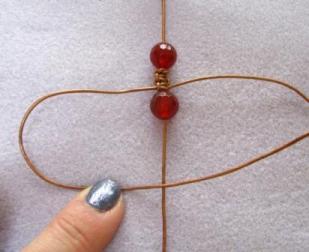
9. Keep adding beads by making a few (2-3) knots between them. Stop when you have 5-7 beads in your bracelet.
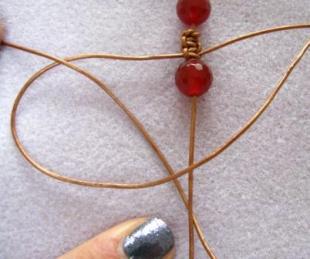
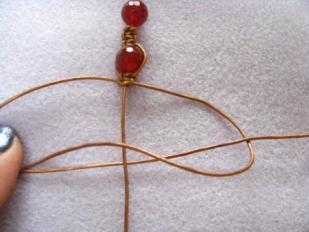
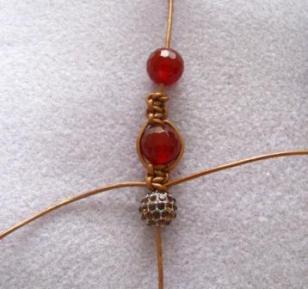
10. Now you can finish – tie a simple knot with two cords, tighten it tightly and add some glue. After that, leave it to dry.
Here's how to tie a simple knot:
11. Add one more bead to the ends of the cord and tie one knot at a time.
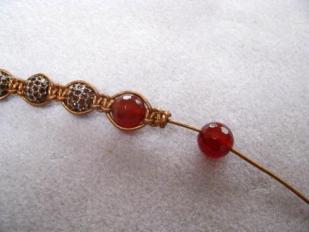
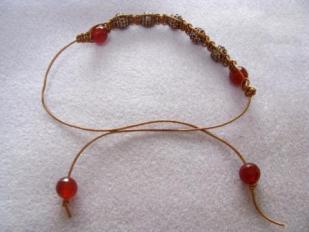
12. Remove the bracelet mount you made at the very beginning. Cross the ends of the bracelet.
13. Prepare a 60 cm long cord and fasten the two ends of the bracelet with a knot.
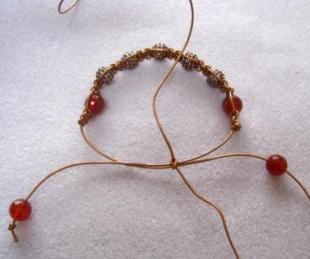
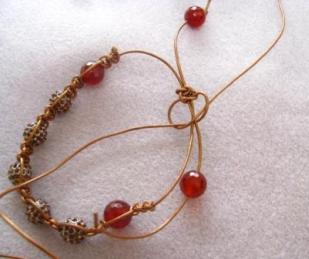
14. Make another series of knots (5-6) on top of the bracelet cords, without tightening too tightly.
15. At the ends of the outer cords, tie in a simple knot and add a little glue.
* You can cut off all excess cord parts (ends).
How to weave Shambhala. Option 5.
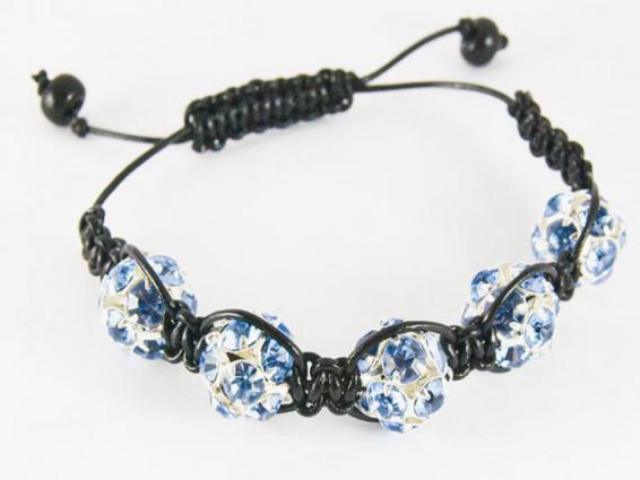
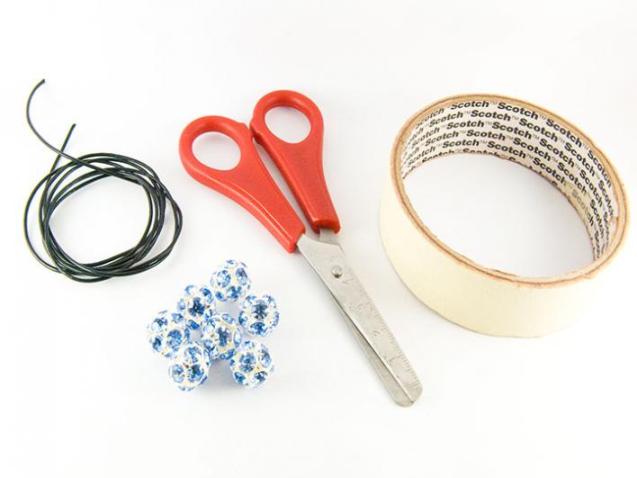
You'll need:
– 4 meters of nylon cord, 1 mm thick
– any beads
– scissors
– adhesive tape
– superglue
* Nodes are made in the same way as in the previous cases (see options 1-4 and video).
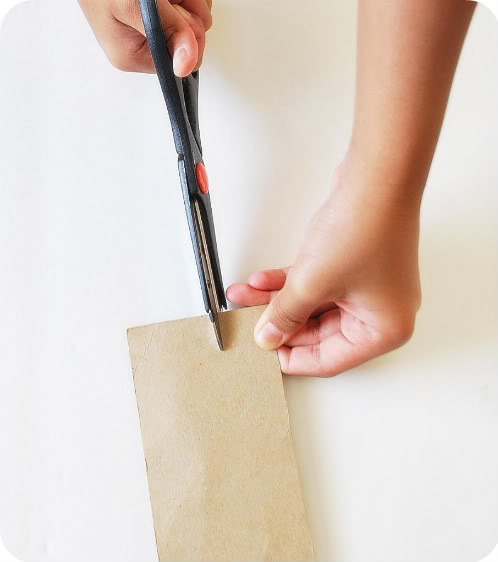
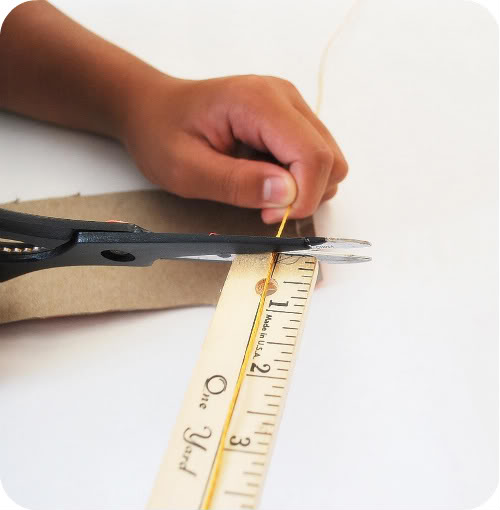
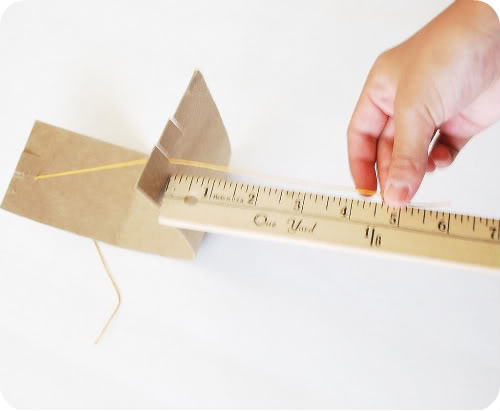
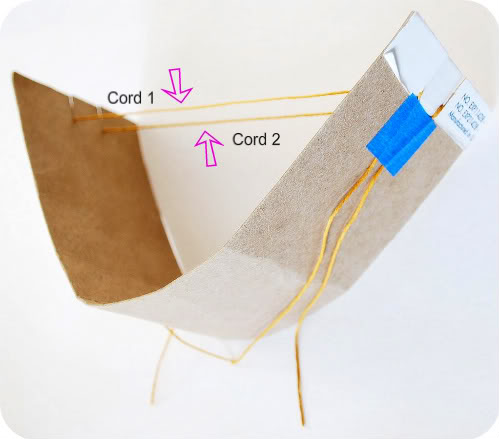
1. First, cut the cord into three equal parts, tie the ends into one common knot and fix them on a flat surface with adhesive tape.
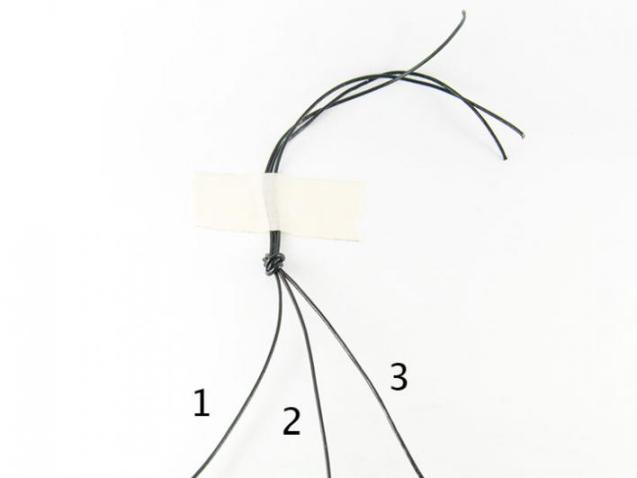
2. Cord 1 on top of cord 2.
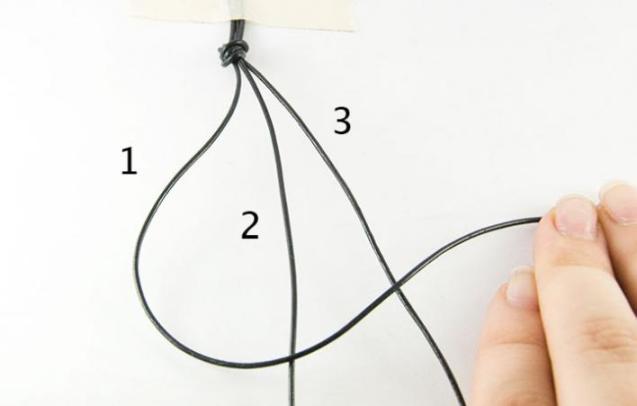
3. Cord 3 on top of cord 1.
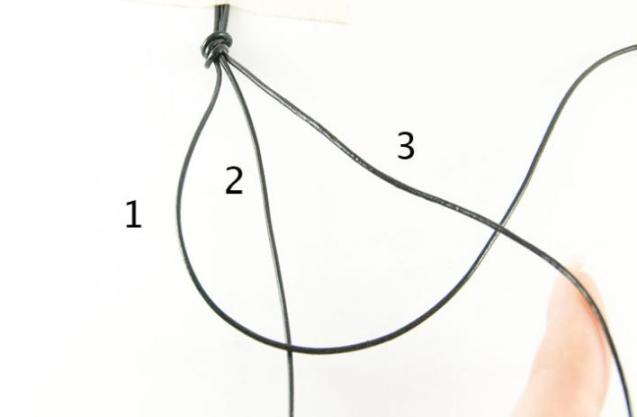
4. Cord 3 under, and then through the loop created by loops 1 and 2. Tie it and you have one knot ready.
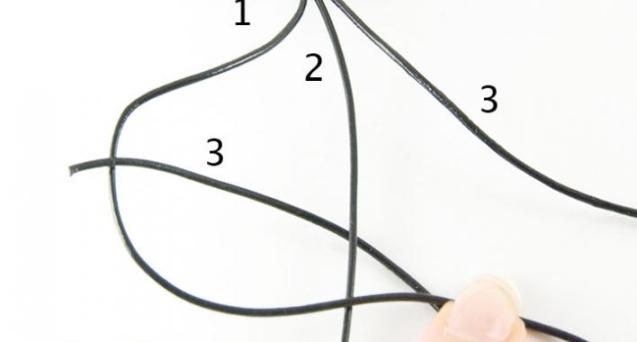
5. Make a few more knots (5-6 pieces).
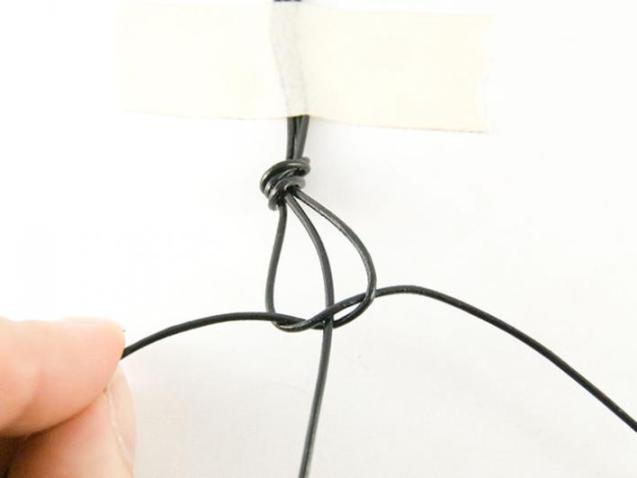
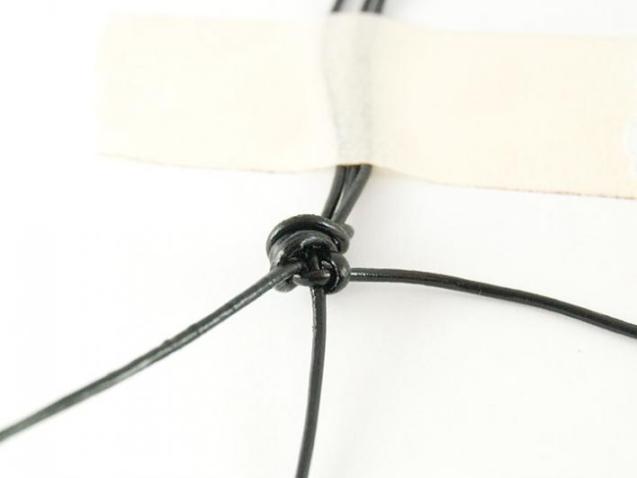
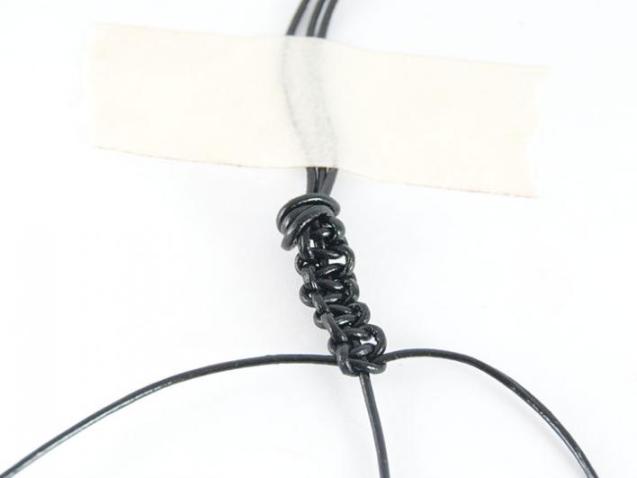
6. Add the bead to the middle cord and make a few knots again (2-3 pieces).
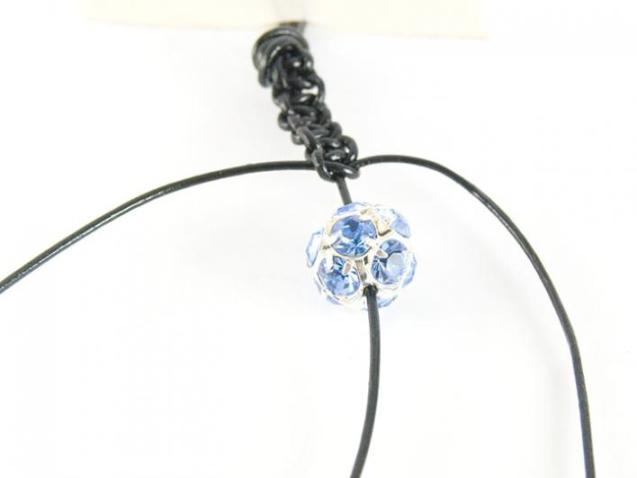
7. Keep adding beads and making 2-3 knots.
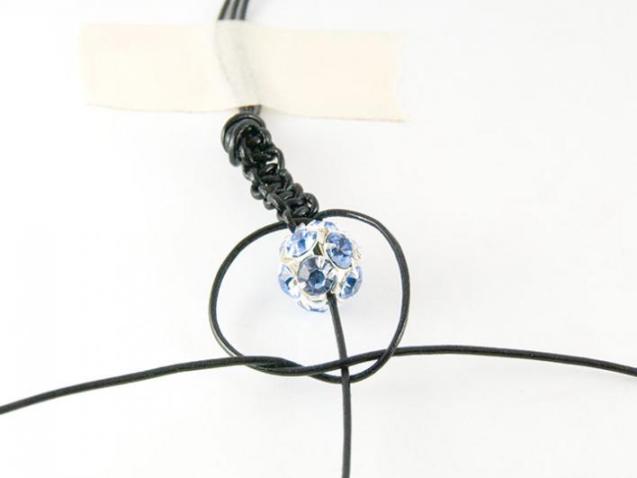
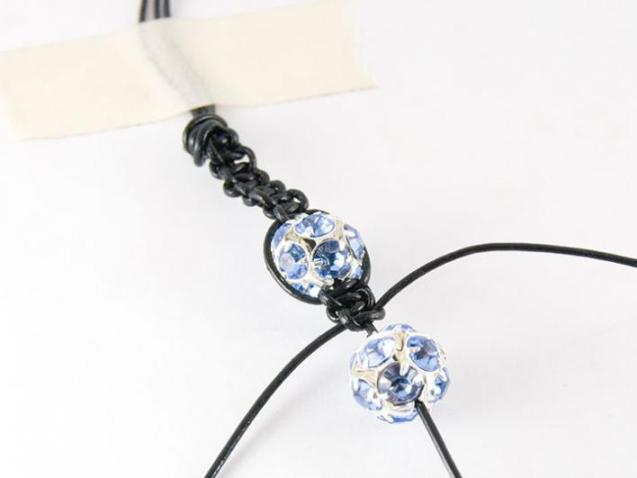
8. After you have added 5-6 beads, make 5-6 knots in a row. Secure the last knot with superglue. After drying, cut off the ends, leaving only the central cord.
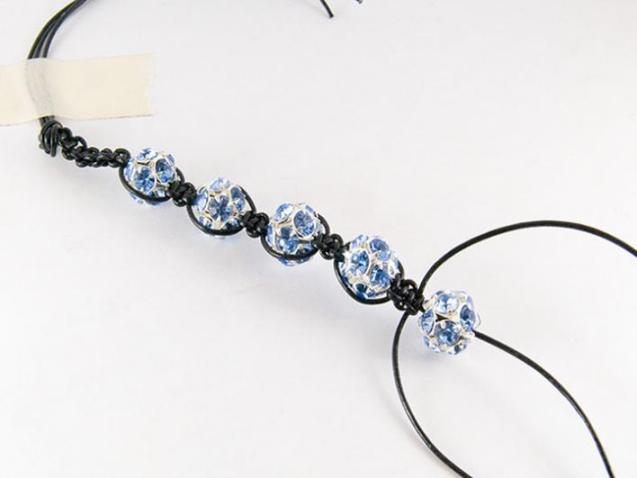
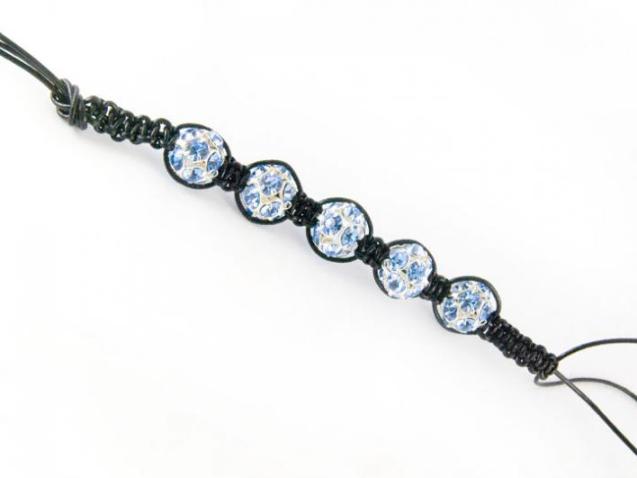
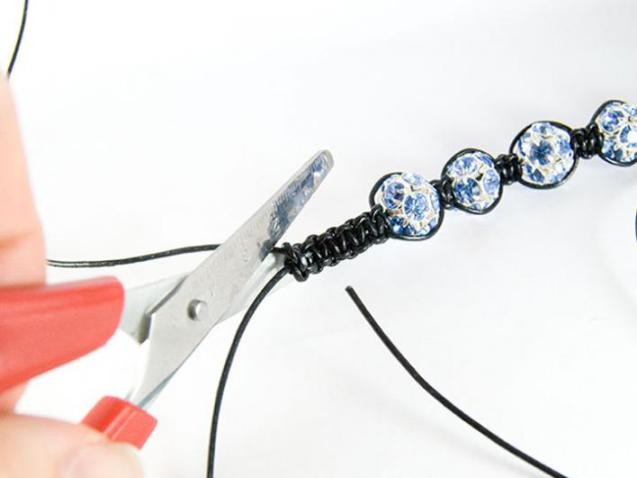
9. Prepare a new 50 cm long cord and start tying simple knots around the ends of the bracelet. Make 6-7 knots. Cut off excess parts.
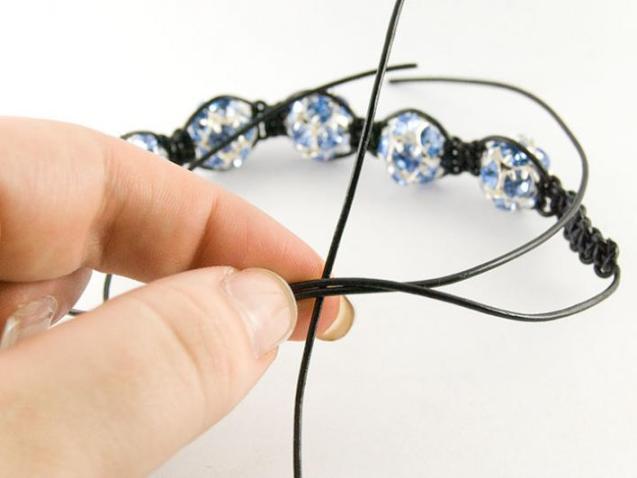
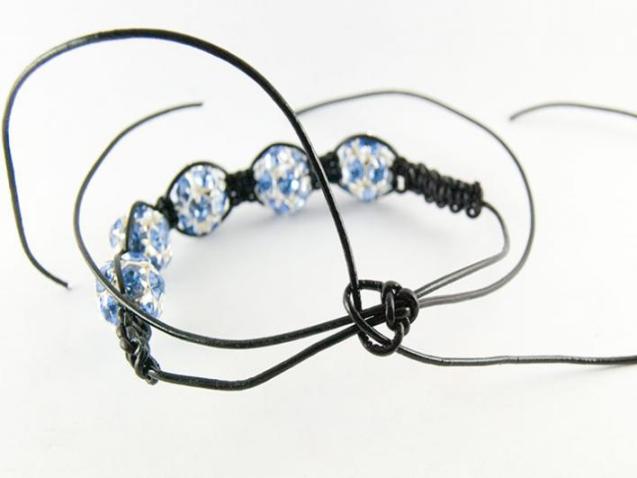
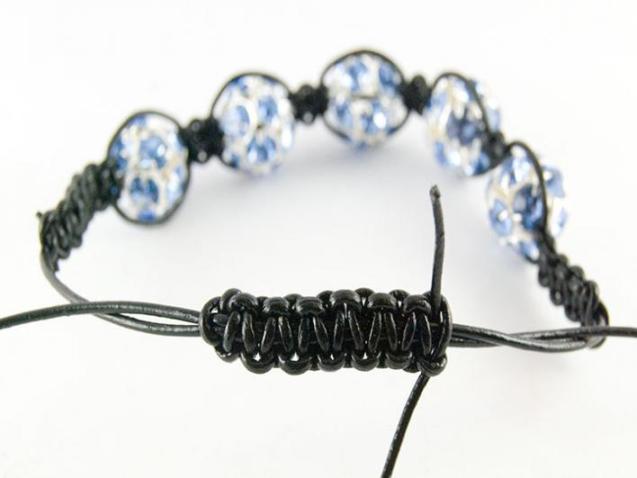
10. Make one simple knot at the ends of the bracelet, add one bead at a time and tie it back in the knot. Remove (if necessary) any excess parts of the cord.
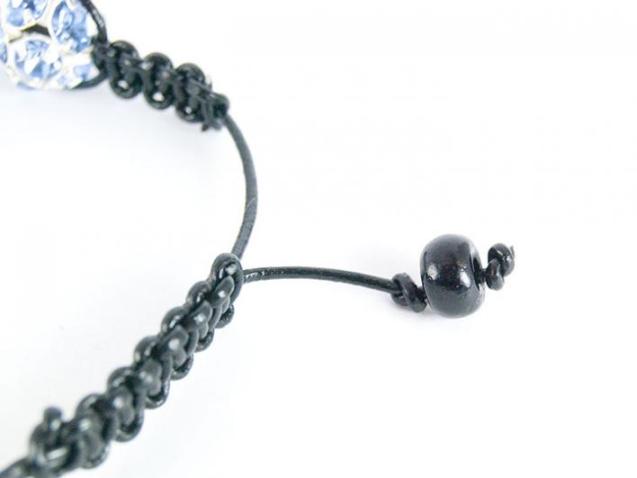
It's done!
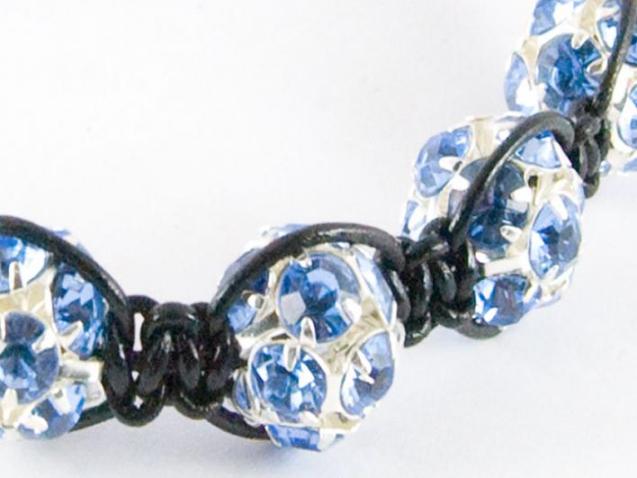
Interesting facts about the Shambhala bracelet
Translated from Sanskrit, the word “Shambhala” means a place of peace and tranquillity that Buddhists have been trying to visit for centuries.
It is quite difficult to answer the question about the meaning of the Shambhala bracelet, because it [the answer] is in the heart of the seeker, not in his words.
According to Tibetan texts, this place is surrounded by 9 snowy mountains, similar in shape and location to lotus petals, near the Sita River. Only those who have an open, pure heart and who are looking can get there.
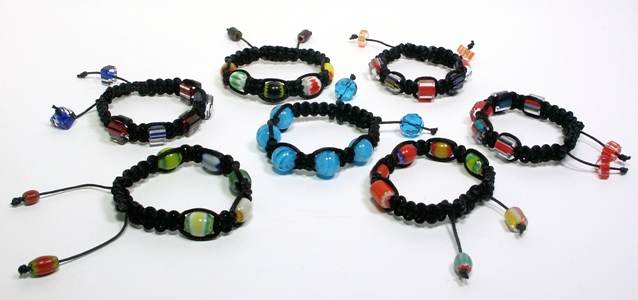
Perhaps, with the help of bracelets, people are trying to understand the mysteries of harmony. The Shabal bracelet can be considered a guide that helps everyone find their own world, where “peace and tranquility” await them.
Is it worth noting that Shambhala bracelets did not look like this at the very beginning? just like today. Buddhist monks wore silk shoelaces called “9 Scorpions”.
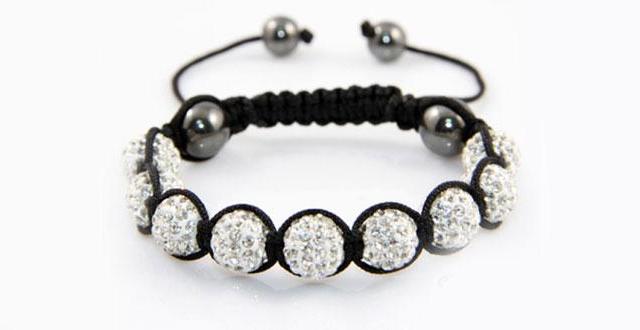
While in solitude, the monks recited special mantras, while making 9 knots on magic laces.
These nodes were believed to help protect against misfortunes.
After that, bone beads, which depicted carved patterns, began to be added to the knots. These beads were supposed to enhance the bracelet's capabilities.
After the bracelet came to India, a country famous for its gems, the simple lace began to change – beads made of natural stones were added to it.
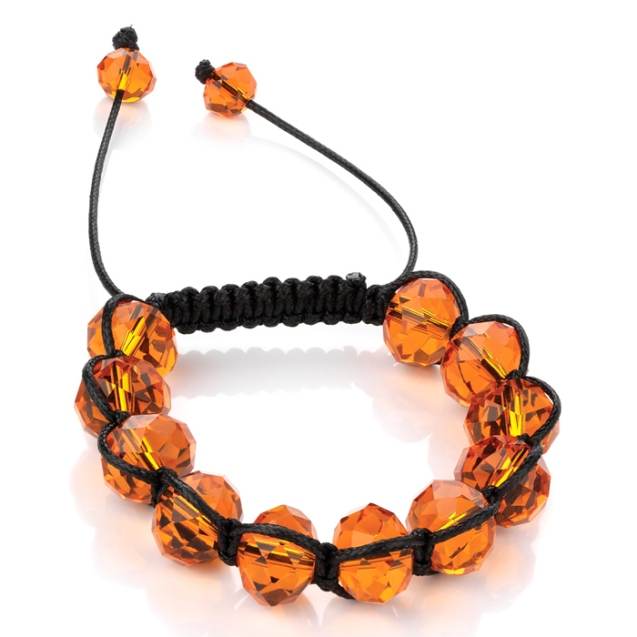
Special stones were woven into the bracelet, which symbolized 9 celestial bodies that are believed to influence a person's fate at birth: the Sun is ruby, the Moon is pearl, Mars is coral, Mercury is emerald, Venus is a diamond, Jupiter is a yellow sapphire, Saturn is a blue sapphire, and the northern lunar node of Rahu is a hessonite stone and the southern lunar node Ketu is a cat's eye.
Jewelry enhances the influence of these celestial bodies. The Shambhala bracelet attracts their positive energy and protects the person who wears it from trouble.
Today it is considered a fashionable piece of jewelry that contains history and ancient meaning.