
 Useful tips
Contents:
Polymer clay stool
Polymer clay lily
Polymer clay rose
Polymer clay orchid
Photo of polymer clay flowers
Polymer clay flowers – Video
Polymer clay is a unique material that can be used to create amazing sculptures, ornaments, crafts and bouquets. It was invented in Germany in 1930 for making dolls, but later in the 1960s clay became widespread and was used to make all kinds of things.
Flowers and flower bouquets are very popular polymer clay products. To learn how to sculpt flowers, you don't have to be a sculptor or have artistic superpowers. It is enough to have good taste, know the basics of sculpting, be patient and train a lot.
There are several types of clay: self-hardening and firing. For flowers and floral arrangements, as a rule, the first one is perfect. After manufacturing, after a certain time, the product will harden by itself. Burned clay is usually used for products that must be very durable, such as jewelry.
1) Polymer clay for flower beginners. Polymer clay stool
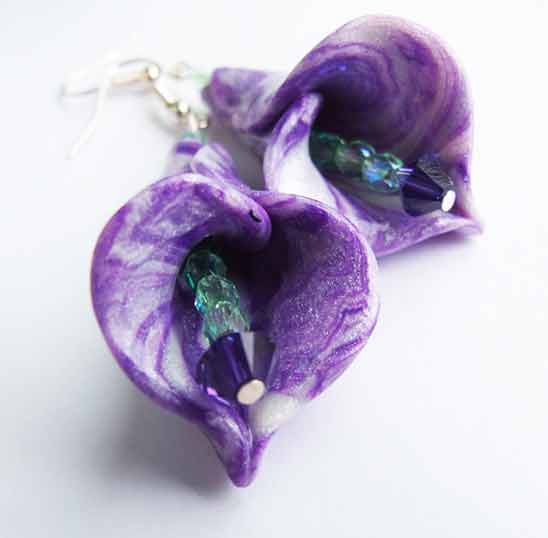
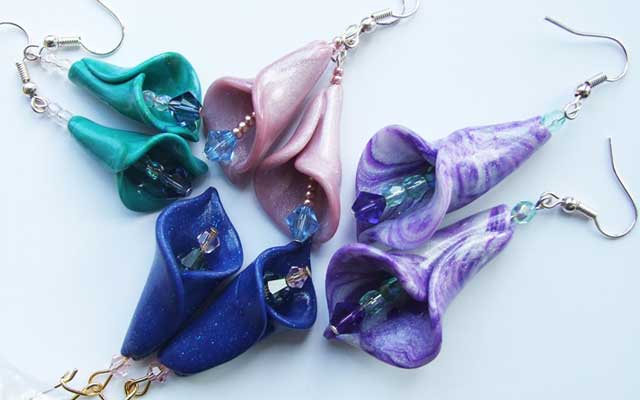
These simple “kala” type flowers are very easy to make and take only a few minutes to make. In this case, the flower is decorated with beads and attached to a hook, so we got very simple but cute earrings.
What you'll need:
– Clay of two colors
– Rubber gloves
– Toothpick
– Knife
– Beads and earring hooks
Let's get to work:
Take two small pieces of polymer clay of different colors that fit together. You will need two colors in order to get a “marble pattern”. You can first practice on clay of the same color.
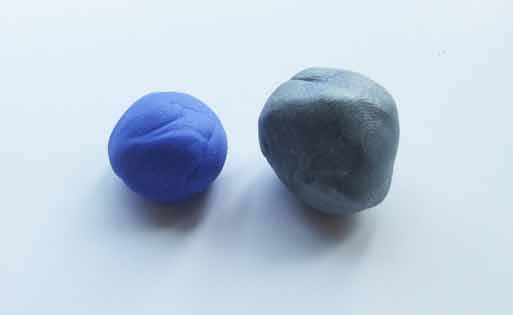
Roll each of the pieces into long sausages.
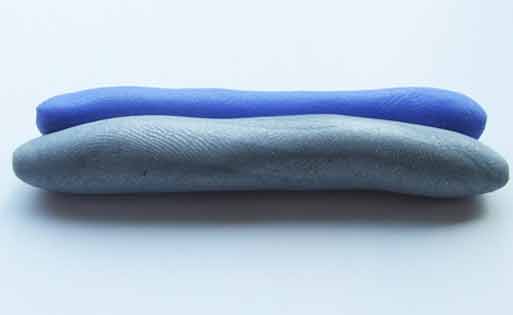
Wrap one around the other.
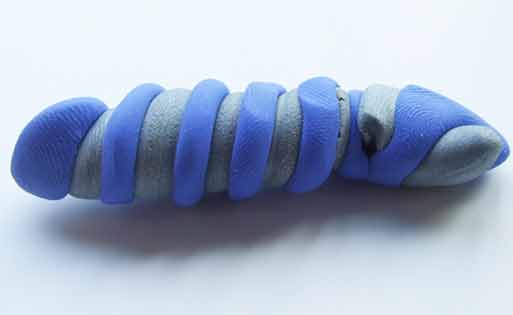
Then roll it into a ball.
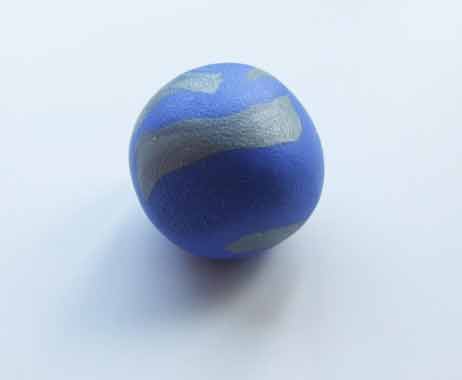
Do this process again from the beginning. This is necessary to obtain a marble effect. Wrap one sausage around the other and then tear it into several pieces. After that, roll it into a ball, as shown in the photo:
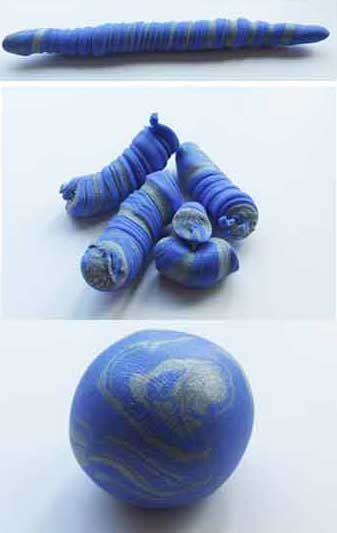
Divide the ball into two equal parts with a sharp knife.
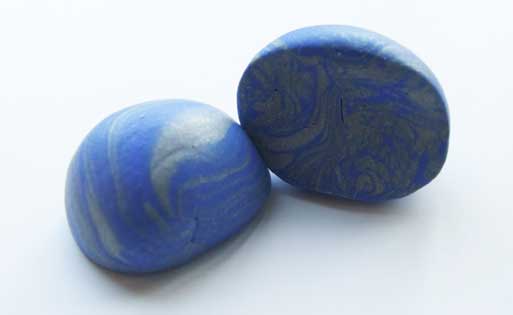
Then start sculpting flowers. Sculpt a flat plate in a round shape, slightly lengthen the edge. Pinch the edge with your fingers, carefully wrap the other edge as the paper bags are folded to form a funnel.
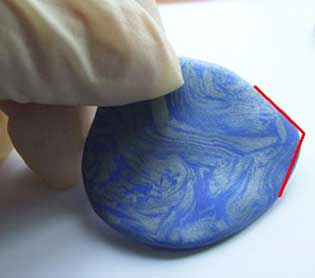
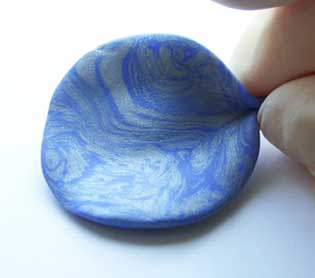
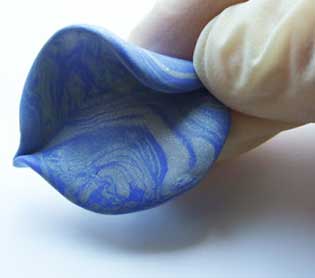
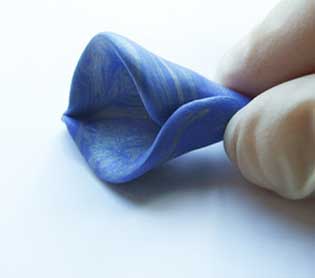
Spread the edges of the flower so that the bud opens. Use a toothpick to make a hole to insert the beads and the earring.
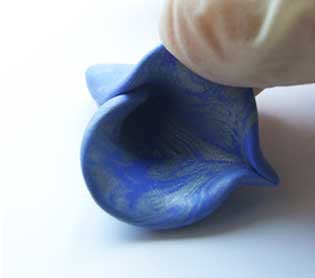
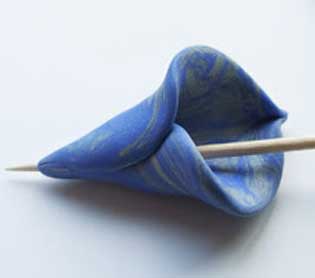
The workpiece for the future earring is ready. Insert hardware and beads.
2) Sculpting flowers from polymer clay. Polymer clay lily
You will have to tinker with this flower a little, but if you understand the principle, everything will be quite simple. This master class shows how to make a very tiny lily, but you can use it to make flowers of any size.
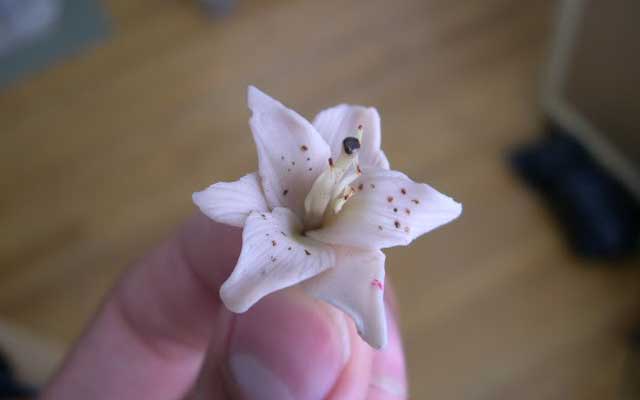
What you'll need:
– Clay of the same color
– Glass rolling pin or bottle
– Knife or scissors
– Needle or awl
– Watercolors and brush
– Clip
Let's get to work:
Take a small piece of clay, preferably white or beige clay — the colors of fresh flowers, but you can use any color you like.
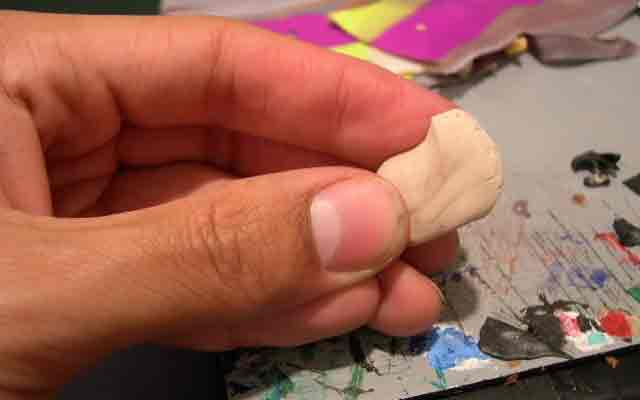
Roll the clay into a thin sheet with a rolling pin. The thickness of the sheet in this example is 3-4 times the thickness of a regular sheet of paper. Make sure that the sheet is not too thin, as it will be difficult to work with it.
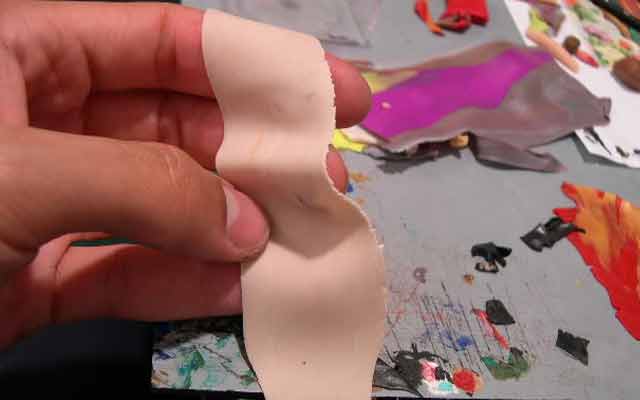
Using a needle or an awl, mark the shape of the petals – a total of 6 pieces, of which three are slightly larger and three are smaller. Smaller petals will be attached closer to the stamens in the product.
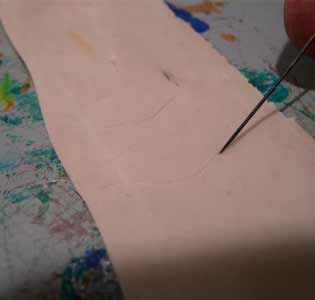
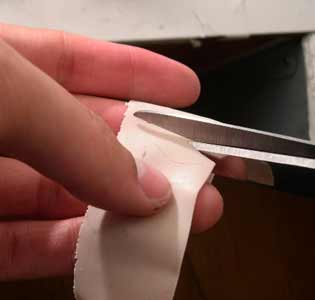
Then use a thin needle to apply ribbing to each petal. Although natural lilies do not have this texture, it will look very beautiful in a polymer flower.
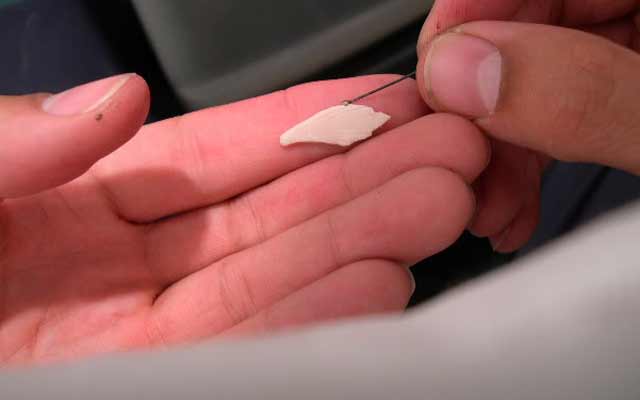
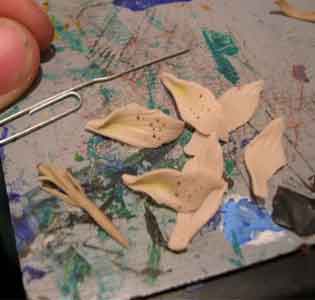
You should get these petals:
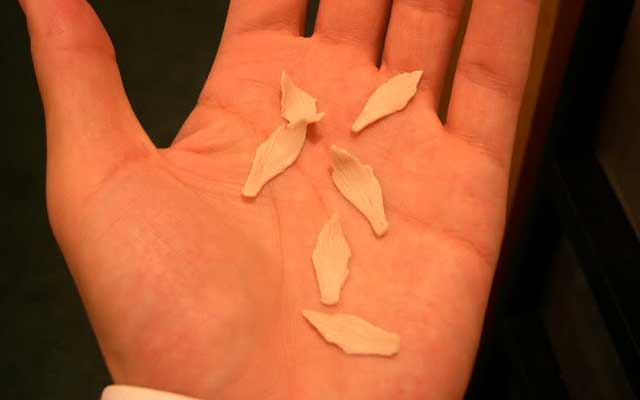
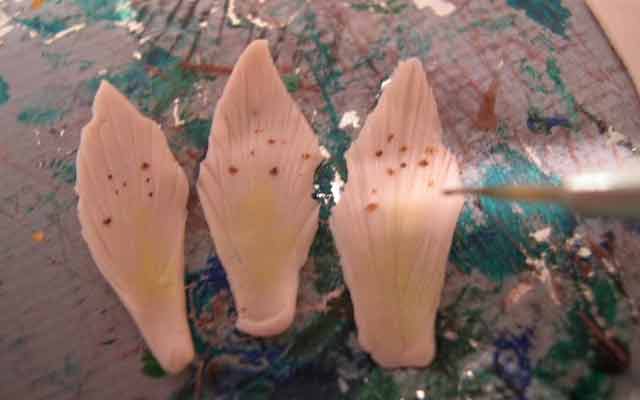
In lilies, the central part of the petals is usually yellow, and there are also brown “freckles”. These details can be applied to the petals using watercolor and a brush.
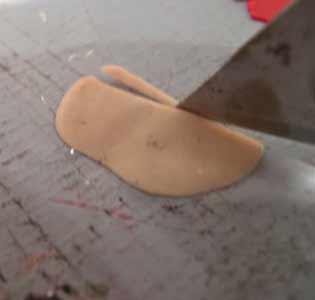
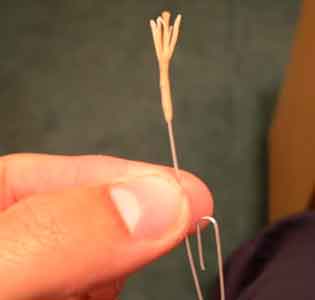
Now we should work on the inside of the flower, or rather its stamens and pestle, which are cut with a knife from the same flat sheet of clay. Make the pestle a little thicker and paint its tip with brown paint.
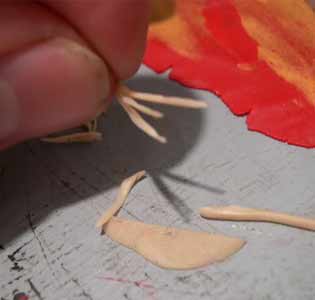
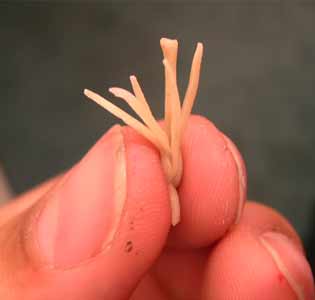
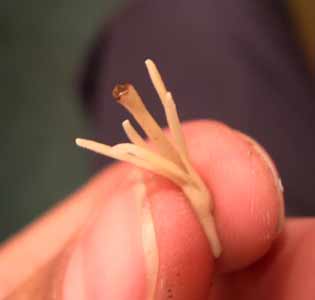
Using an awl, bend the edges of the small petals inward. Prepare a clip with a straightened end. A flower will be attached to it.
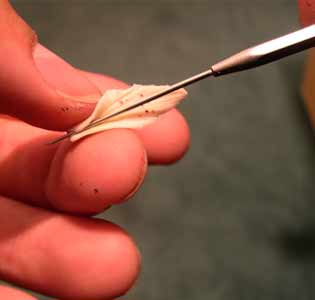
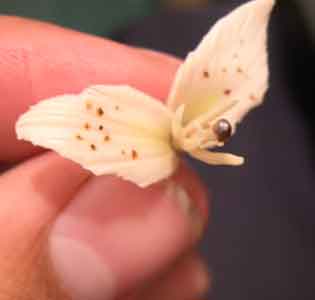
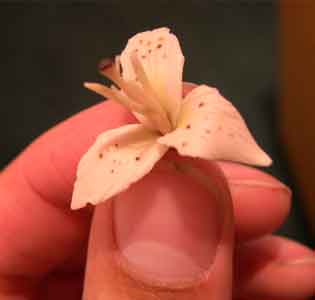
Let's start collecting the flower:
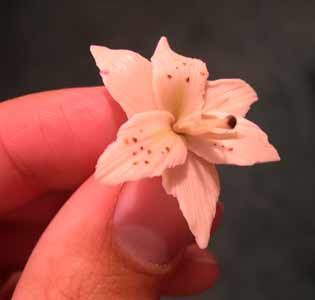
3) Polymer clay for flowers. Polymer clay rose
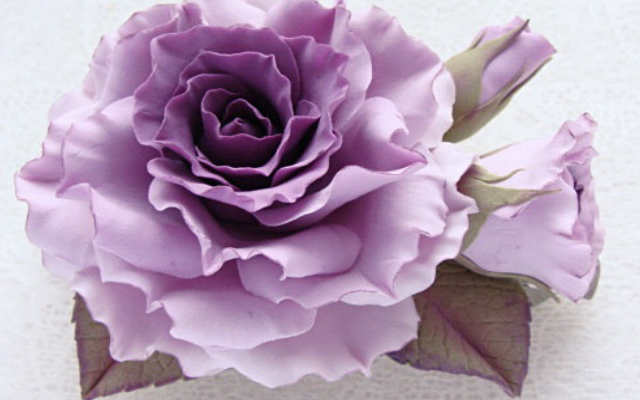
Roses are the most popular flowers that are made from polymer clay. They are usually made from many individual petals that need to be prepared in advance.
Option 1 (easy)
What you'll need:
– Clay of the same color
-Rubber gloves
Let's get to work:
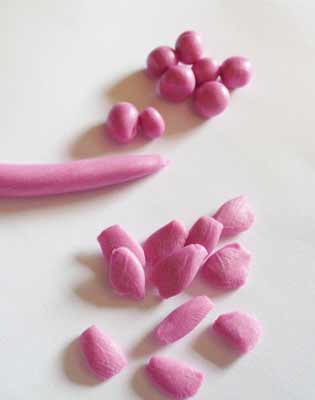
Roll the sausage out of a piece of clay, and then divide it into many parts – future petals. Form petals of different sizes, as shown in the photo.
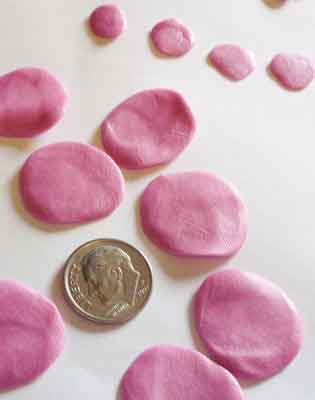
Fold the smallest petal to form the middle of the flower, and then attach the rest of the petals, from the smallest to the largest, one at a time.
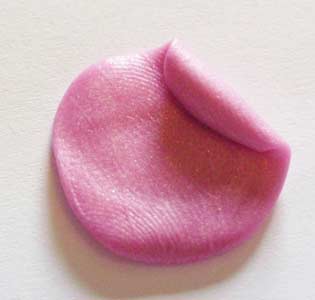
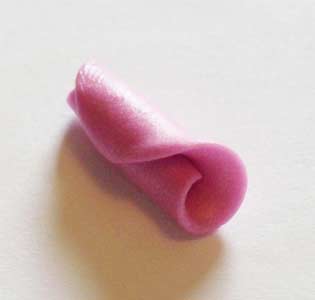
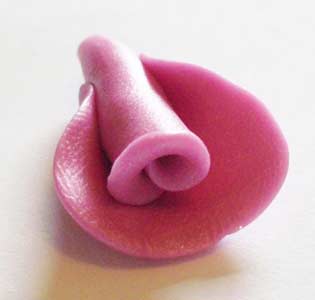
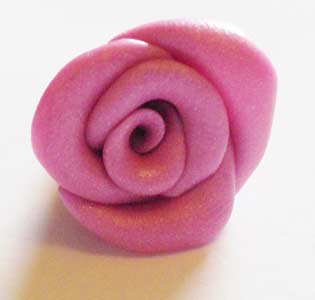
The simplest rose is ready. It can be used for jewelry if you attach accessories to it.
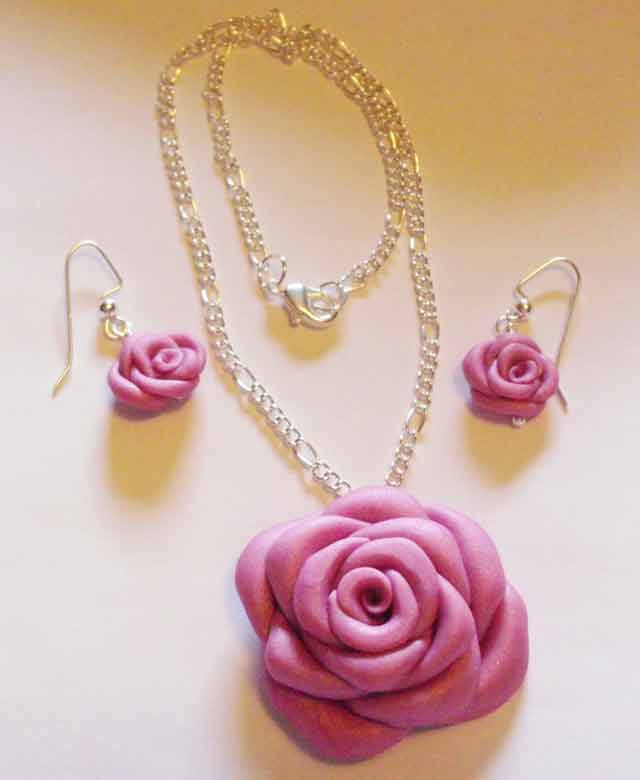
Option 2 (difficult)
If you're already a little familiar with a material like polymer clay, you'll most likely want to learn how to make more complex products. To do this, you will need additional materials and forms that can be purchased at specialty stores or online.
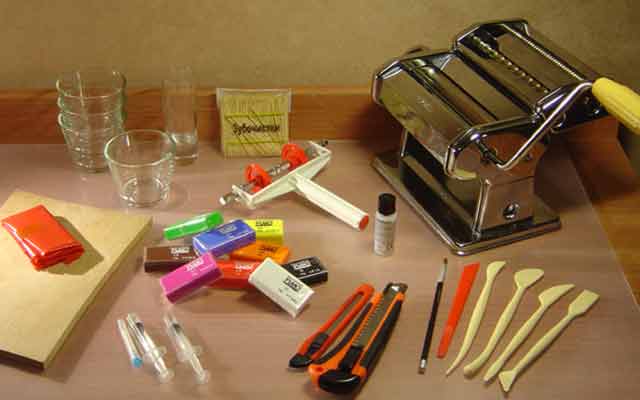
Try to make a more realistic rose using these tools.
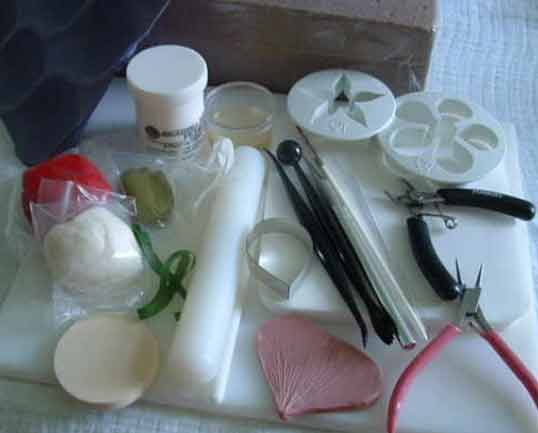
What you'll need:
– Clay of two colors
– Rubber gloves
– Work board
– Rolling pin
– Artificial flower wire
– Cutting molds (for flower-shaped petals)
– Rose petal mold (optional)
– Cup mold (optional)
– Round-tipped stack
– Clay glue with brush
– Knife
– Green tape for stems
Let's get to work:
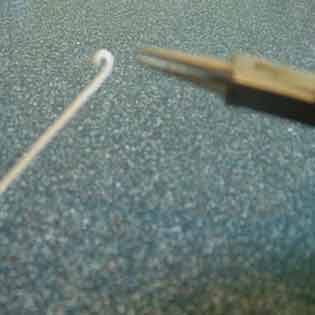
Take a flower wire about 20 centimeters long and bend one end to form a hook. This is the future stem of a rose. Roll a ball out of a piece of clay, and then shape it into a drop.
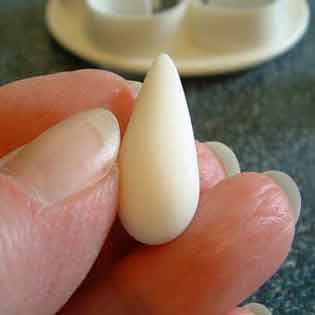
Stick the wire into the base of the drop. If you have a ready-made flower mold, you can compare a drop to the size of the petals. They should be slightly larger to wrap it. This is the base of your bud. The color of the clay for the drop can be any; it will not be visible under the petals.
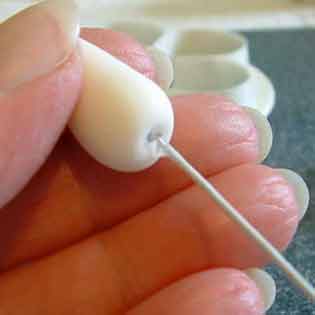
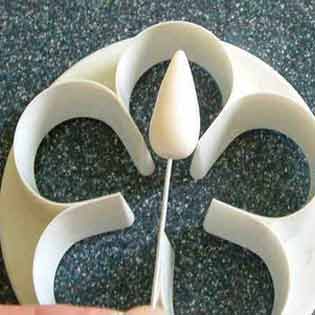
Roll the clay into a thin sheet and use a mold and cut out a five-pointed flower. If you do not have such a shape, make it out of cardboard and cut out the flower with a knife. Cut off 2 petals. Then, with a stack with a ball at the end, process the edges of the petals so that they become thinner. Use the petal mold as well.
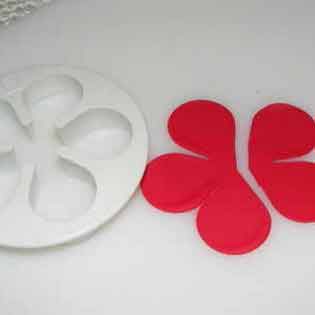
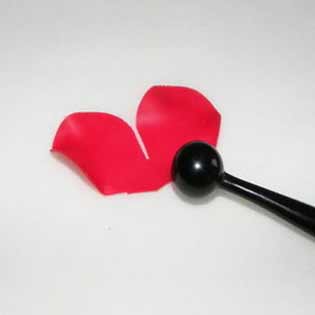
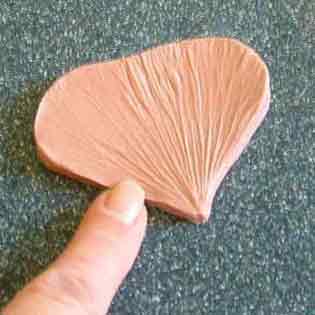
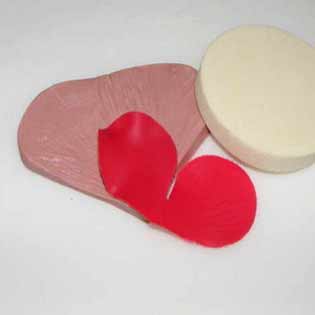
Coat the base of the bud with glue and start wrapping it with petals so that you get a closed rosebud.
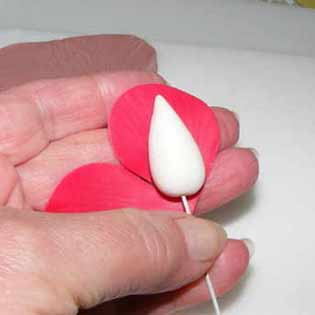
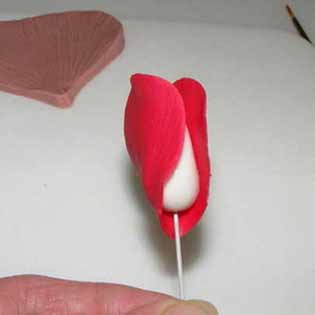
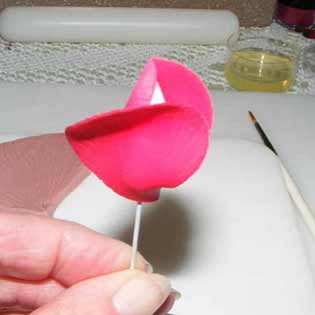
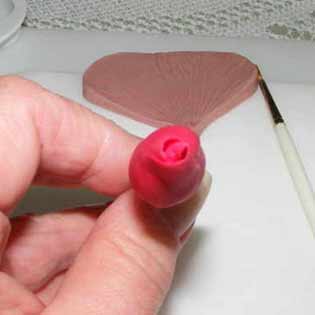
Take two more petals, coat them with glue where they will be in contact with the bud, and wrap them around the bud again, it's not so tight anymore.
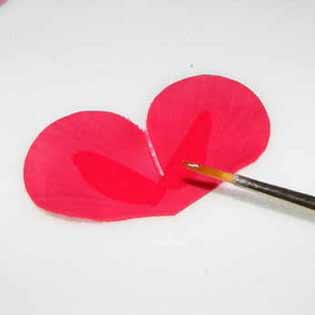
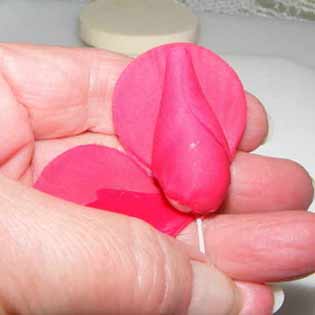
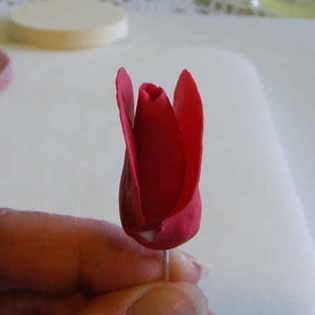
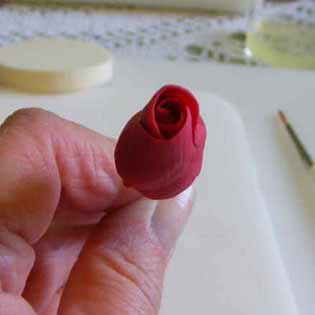
Now prepare the triple petals. Wrap them around the bud, as shown in the photo. Don't forget to grease them with glue. The more petals you have, the more lush the rose will turn out. In this case, three more triple petals were used.
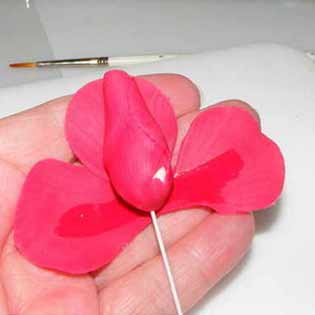
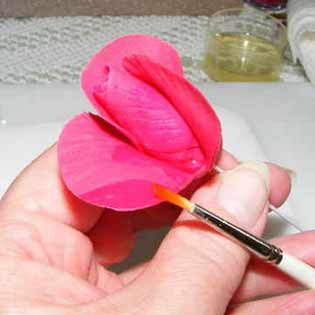
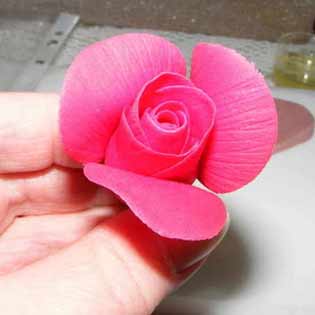
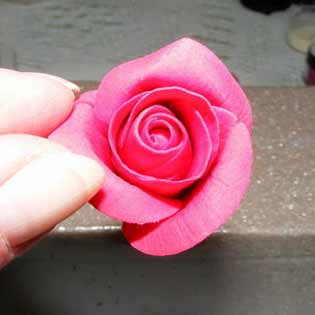
After that, use the full 5 petals. Turn the bud over and press the base of the flower.
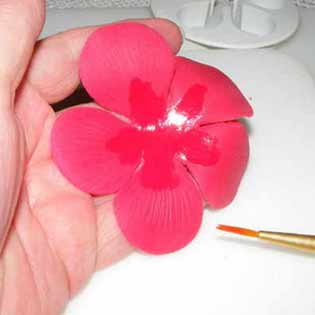
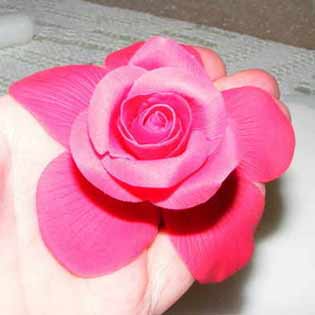
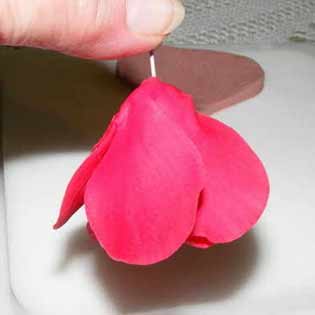
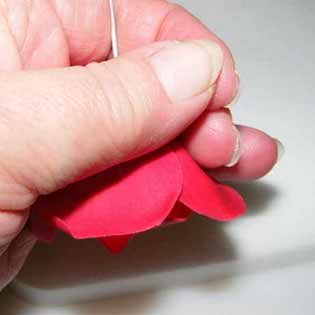
Repeat the procedure with another five-pointed flower. You should get this rose:
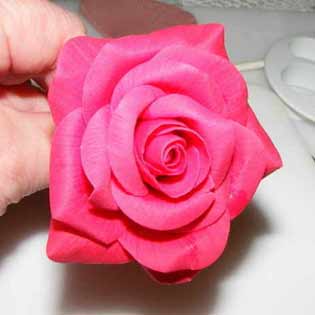
But that's not all. To make the flower look just like the real one, attach 5 more lower petals to it, each of which will be attached to the wire. Fasten all the stems with a ribbon or tape, wrapping them around a bunch of wire.
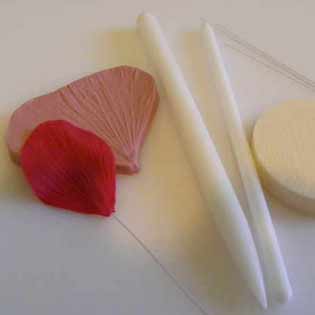
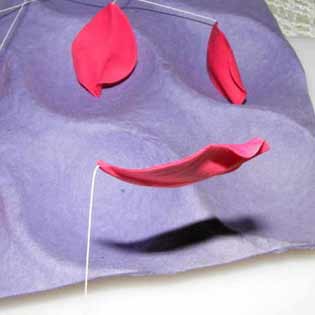
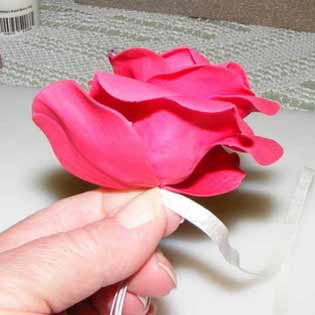
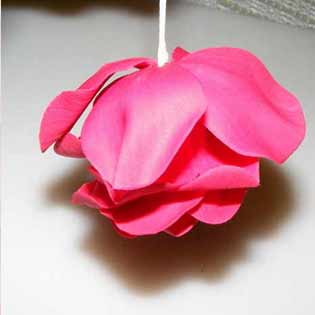
To make a cup of flower, take a piece of green clay. Make a cup shape and roll out the edges with a thin rolling pin. Using a form or knife, cut out a five-pointed “star”. For realism, treat the edges with a knife.
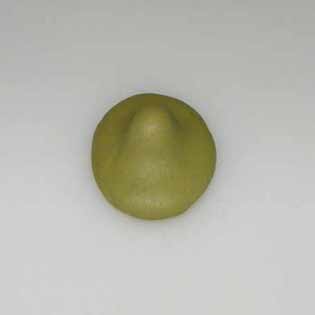
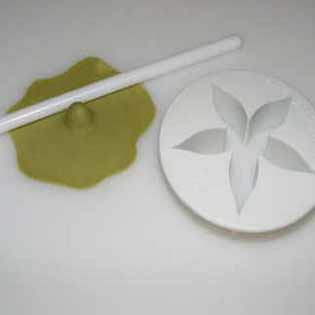
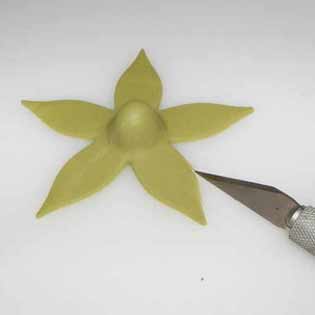
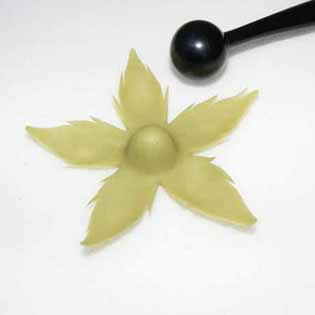
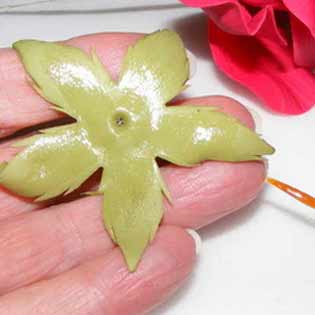
Treat the inside of the bowl with glue and glue it to the base of the flower, making a hole with the stem wire. Wrap the stalk with green tape.
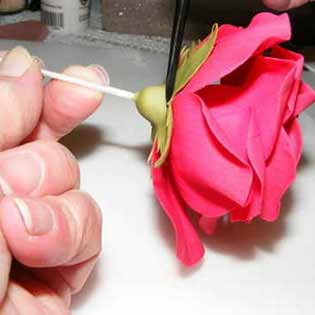
4) Polymer clay sculpting flowers. Polymer clay orchid
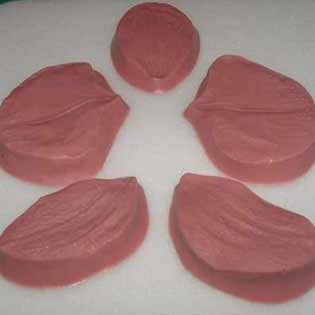
The phaselis orchid (“butterfly”) is a popular flower that is molded from polymer clay using molds. Molds are needed to create a realistic texture of petals. If you don't have them, you can also work, but you will get smooth petals without veins or irregularities.
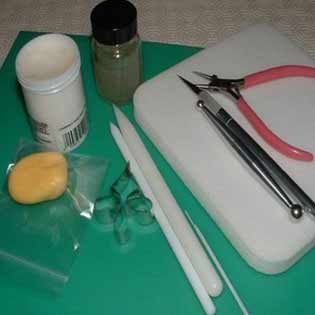
What you'll need:
– Clay
– Rubber gloves
– Work board
– Rolling pin
– Artificial flower wire
– Cutting forms (for the core)
– Petal mold
– Round-tipped stack
– Knife
– Paints and brushes
Let's get to work:
Using a stick, roll out a small piece of clay, leaving a small protrusion in the center, as shown in the photo. Then, using a mold, cut out the core of the future flower in the shape of a cross. In flowers, this core is called a “lip”. If you do not have such a mold, you can draw the core yourself, and then cut it out of clay using a sharp knife. Cut the lower part of this part with a knife.
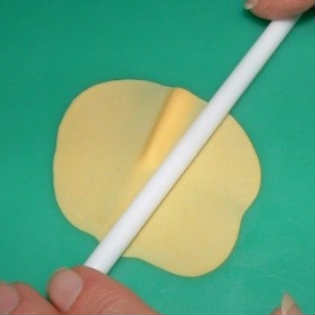
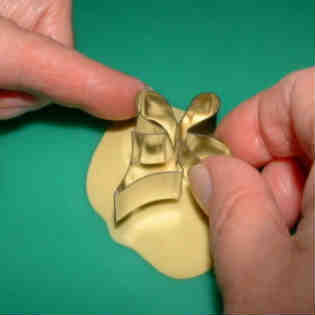
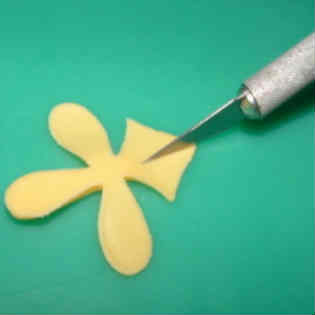
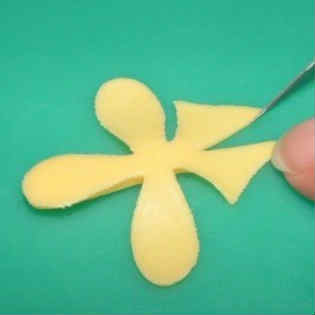
We form the core. To do this, take the cut workpiece in your hand and gently fold the upper part inward. Using a round tip stack, fold the rest of the parts inward.
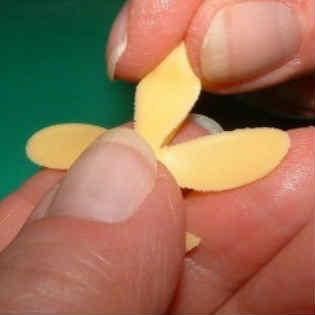
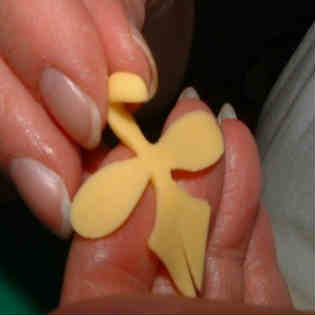
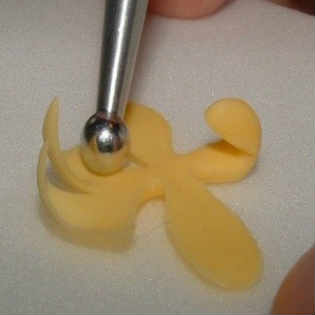
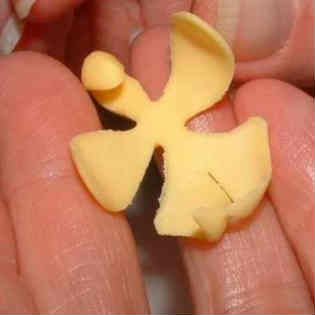
Take a small piece of wire and bend one end at a 90-degree angle. Place the core on this end, pre-lubricating it with glue. Make the central part of the lip out of a small piece of clay. To do this, roll it into an oblong grain and use a knife to make an incision. Then place the seed in the center of the lip, placing it on a wire.
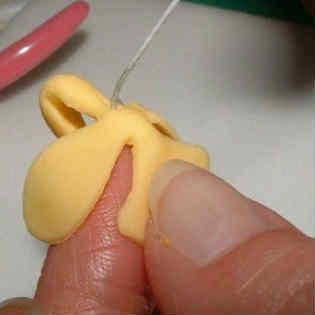
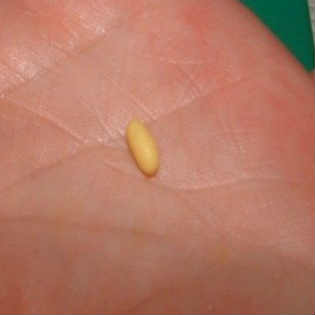
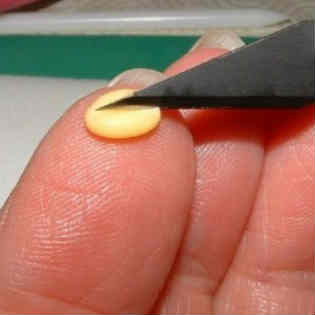
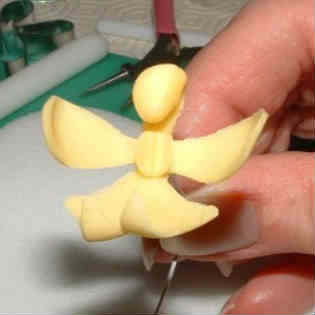
For more realism, color the flower's lip.
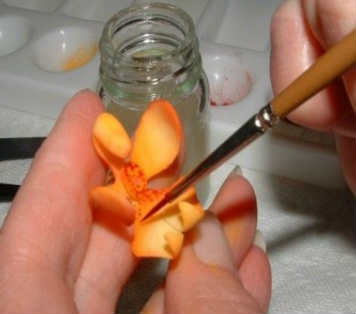
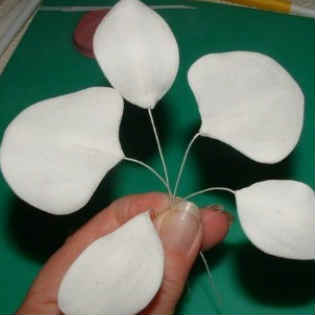
Now let's start making petals. To do this, roll out a piece of clay with a small protrusion, as shown in the photo. Place it on the mold, press it and cut off all the excess. Attach the wire to the base of the petal.
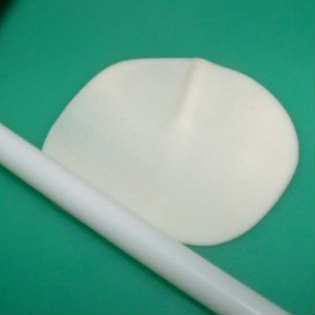
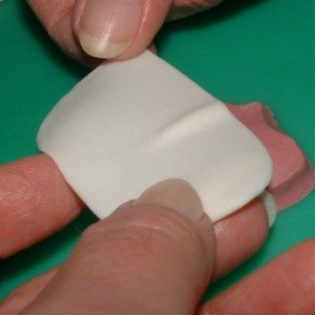
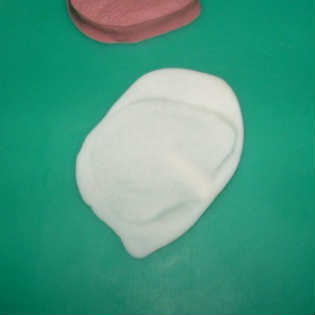
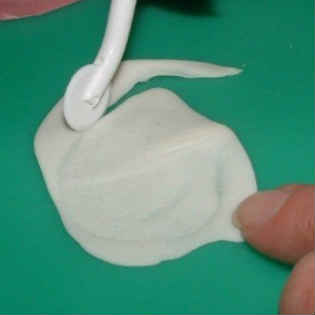
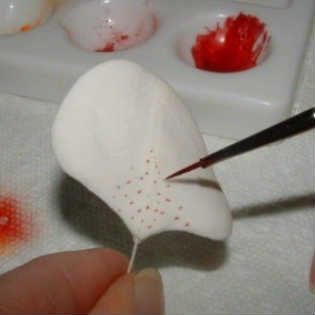
Also make the rest of the petals: you should have a total of 5 petals. Draw a dot pattern on each of them. Gather all the petals together, add the lip.
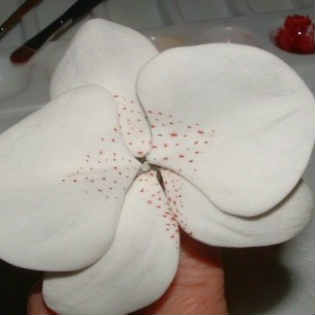
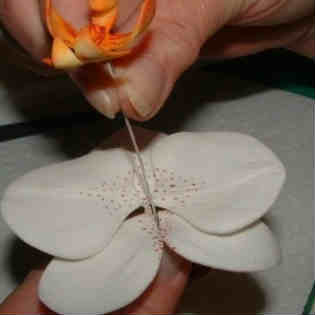
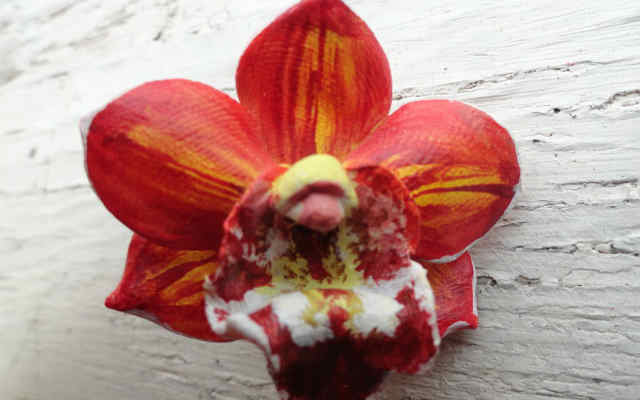
As a result, you should get this flower:
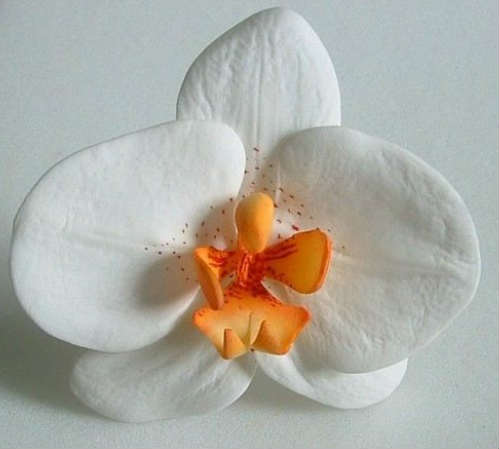
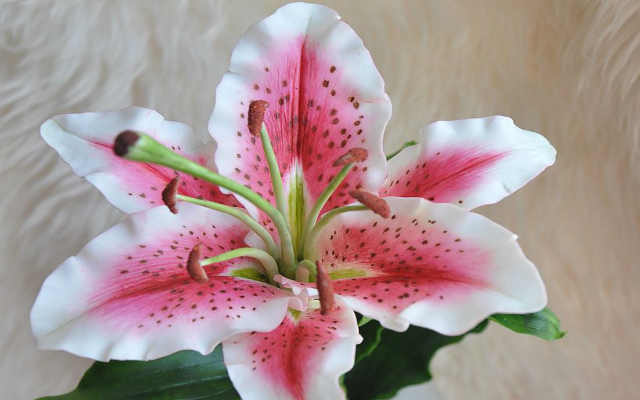
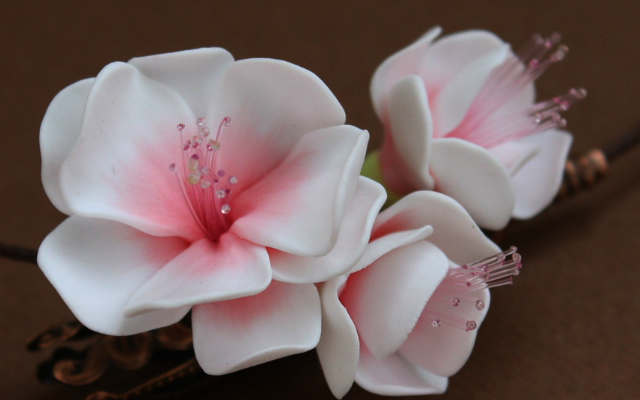
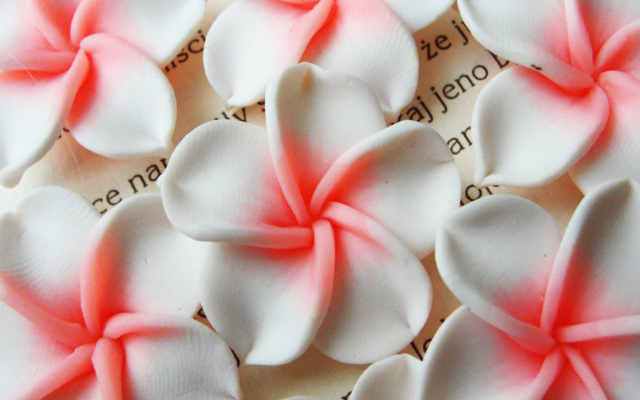
Photo of polymer clay flowers
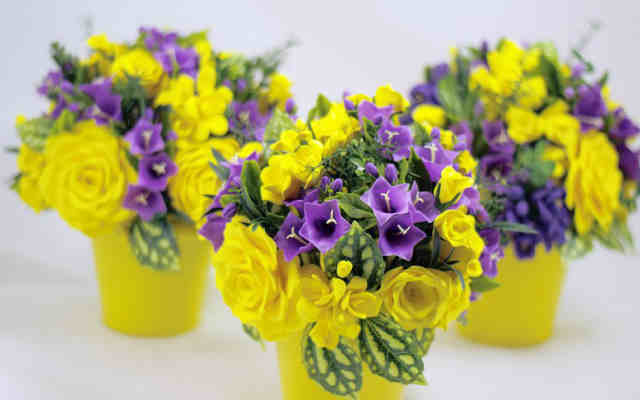
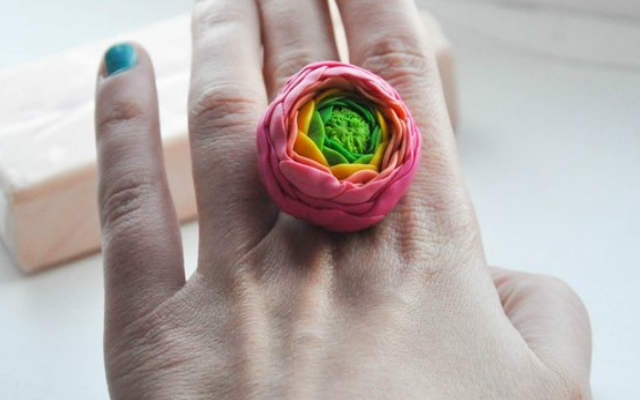

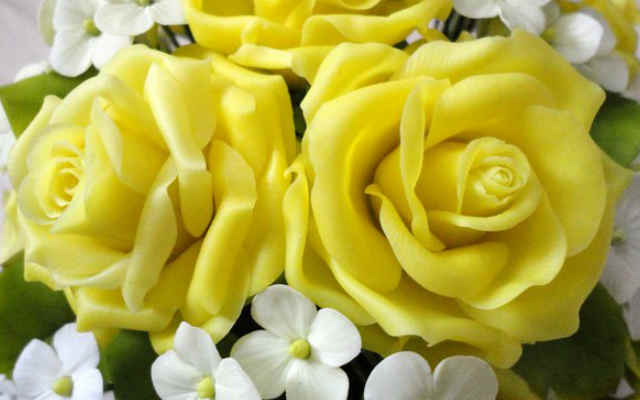
Polymer clay flowers – video