 Useful tips
Content:
Bird
dispenser Seedling dispenser
Pencil case
Crafts from lids Plastic bottle
toys Plastic bottle
vase
Large garden lamp
Universal spoon
Making food containers
Watering from plastic bottles
How to make an organizer with your own hands
A boat from plastic bottles
A house made of plastic bottles
Crafts from plastic bottles (photo)
Handmade things are always more valuable and more expensive. We offer you a master class, thanks to which you can learn how to make not only beautiful, but also useful things from plastic bottles.
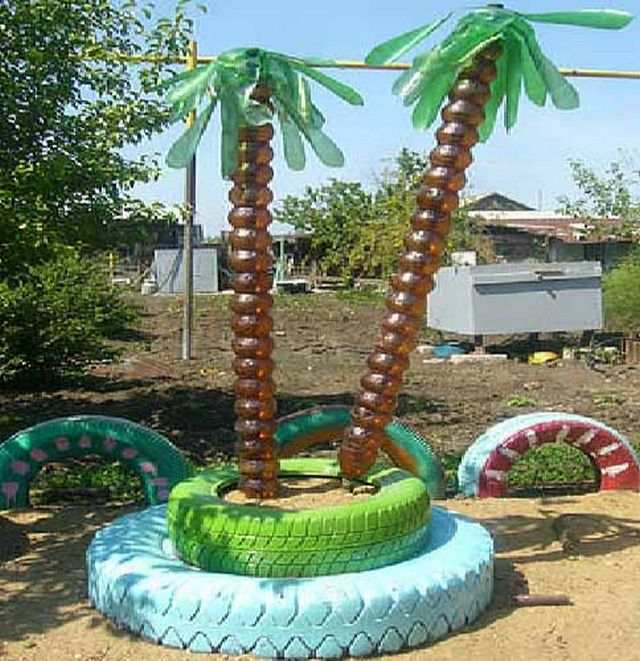
See also: Palm tree made of plastic bottles
Plastic bottle bird dispenser
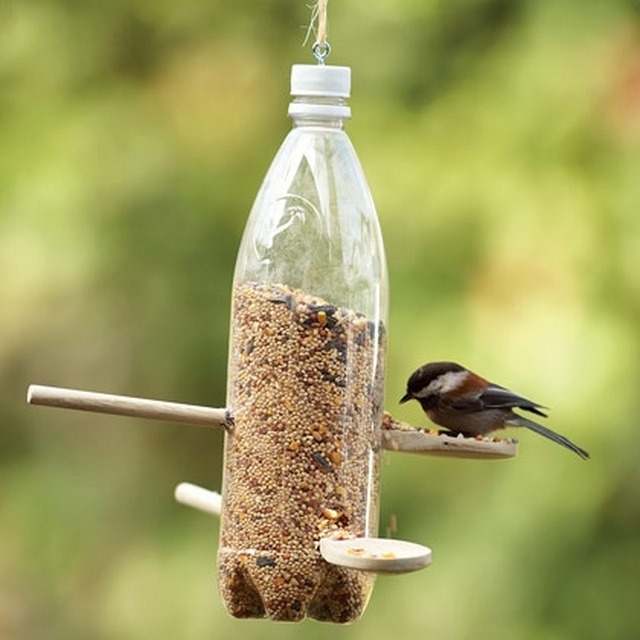
You'll need:
1 liter plastic bottle.
A knife.
2 wooden spoons.
Screw.
Rope.
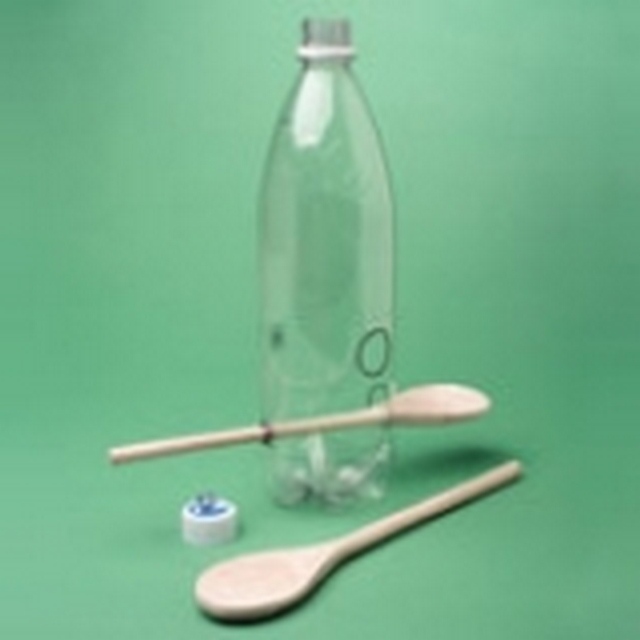
1. Draw a hole with a radius of 1 cm at a distance of 10 cm from the bottom.
2. Rotate the bottle 90 degrees and draw another 2 cm hole opposite the first one.
3. The same process must be repeated at a distance of 5 cm from the bottom.
4. Then carefully cut out all the painted holes with a knife.
5. You can now insert spoons.
6. To hang the bottle, you must screw a screw or screw to the bottle cap and hang it on a rope.
7. Finally, you can fill your tank with poultry food.
DIY seedling dispenser from a plastic bottle
This is a real garden that moisturizes itself, and you need to make a minimum of effort. In addition, the crafts of such pots diversify children and fresh parsley, sage, rosemary and thyme are always needed in the kitchen.
See also: Crafts from plastic bottles
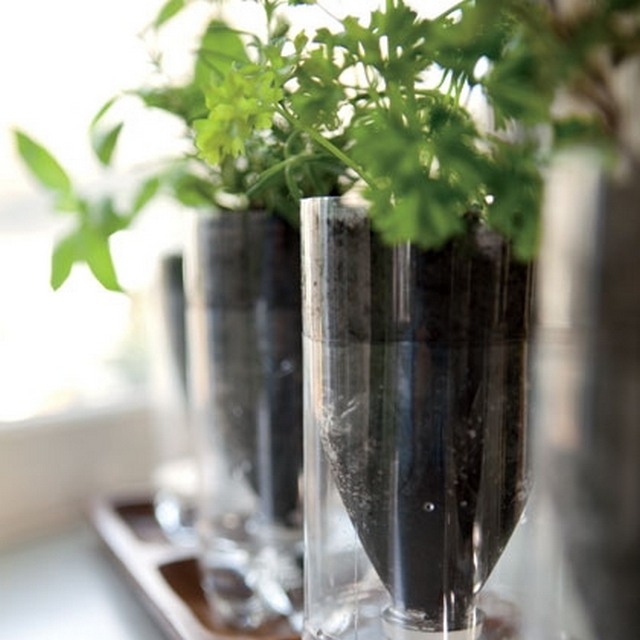
You'll need:
A marker.
Durable 1-liter plastic bottles with lids.
A knife.
Scissors.
Label remover (e.g. vegetable oil).
Soil.
Seedlings (they can be purchased at the vegetable departments of supermarkets).
1. Mark a 12 cm line from the bottom of the bottle.
2. First, pierce a hole in the marked line with a knife, and then use scissors to cut the bottle in a circle.
3. Remove labels with vegetable oil.
4. Insert the upper part of the bottle together with the cap into the lower base.
5. Fill the upper part with soil.
6. Secure the seedlings by gently pressing them with soil.
7. Add water to the bottom of the bottle so that the water covers the cap.
8. After that, some water will be absorbed by the soil and you need to add water by following the instructions for the particular plant.
Craft pencil case from a plastic bottle
Unnecessary plastic bottles can be useful for a useful and convenient pencil case. The proposed item can be improved, it all depends on your imagination.
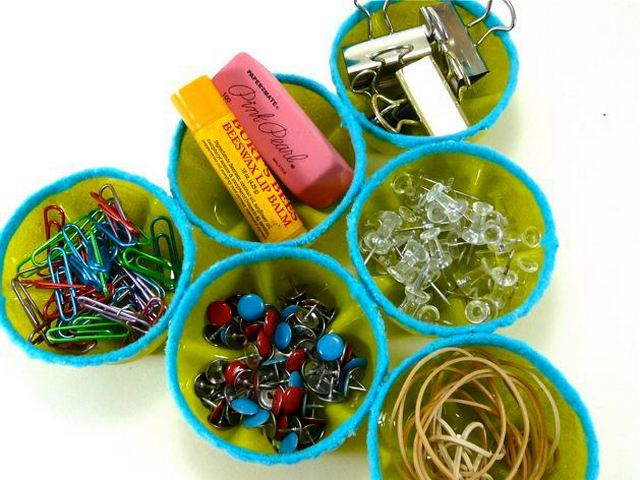
You'll need:
Empty, washed and dried plastic bottles (6 in this case).
A knife.
Scissors.
Old newspapers.
Paint in the bogs.
Clips.
Glue (it is necessary that it glues the plastic well, but does not corrode it).
1. Place the bottle on its side and gently insert the knife blade at the base. Cut it along the lower contour.
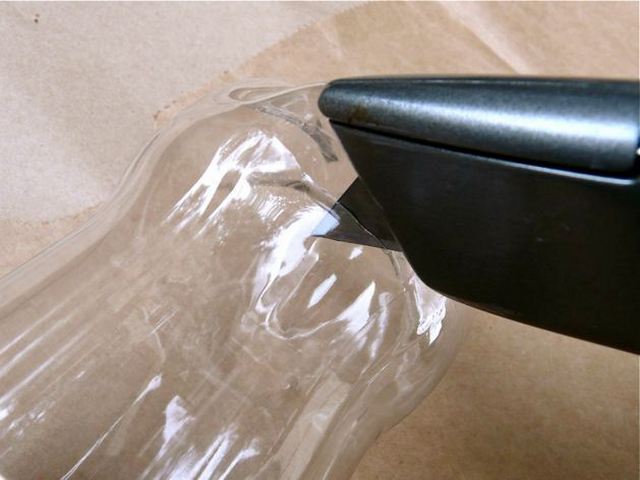
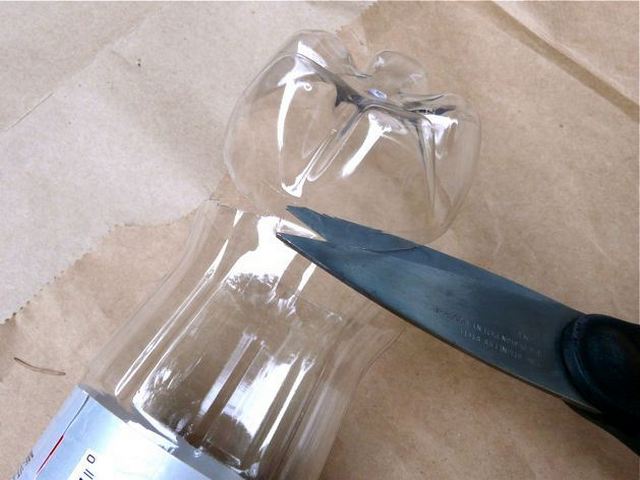
2. Repeat the procedure with the rest of the bottles.
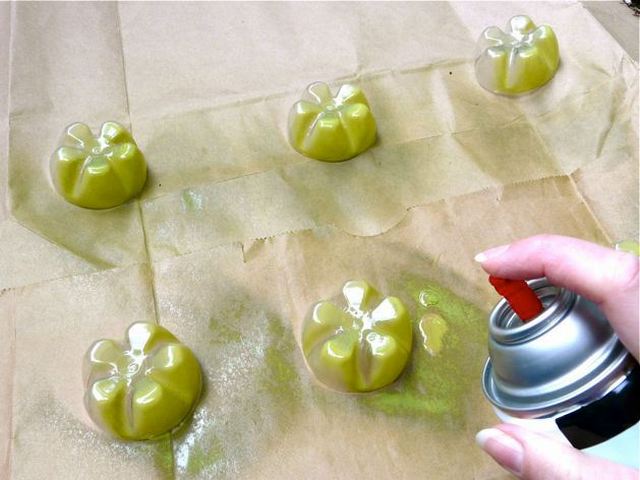
3. Place all the received items on the old newspaper with the bottom facing up.
4. Spray the paint on the outside of the products in several layers.
5. After the bottles are dry, it is time to line the edges of the cut with felt. The felt strips should be slightly longer than the circumference of the bottle. Glue the material evenly and carefully to each section of the bottle.
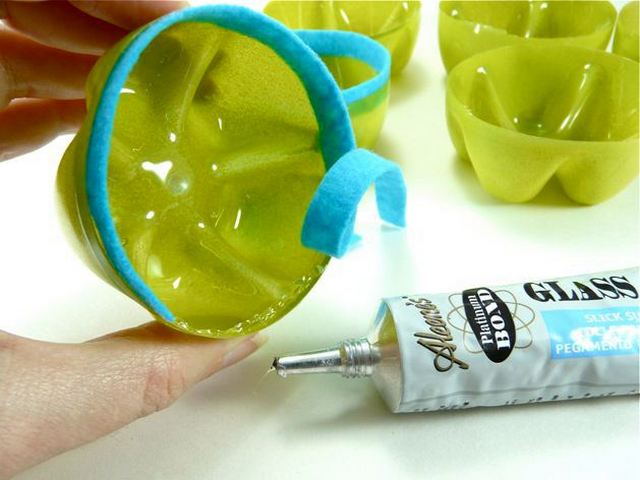
6. Wait 15-20 minutes for the glue to dry. It's better not to touch the extra, leftover felt for now.
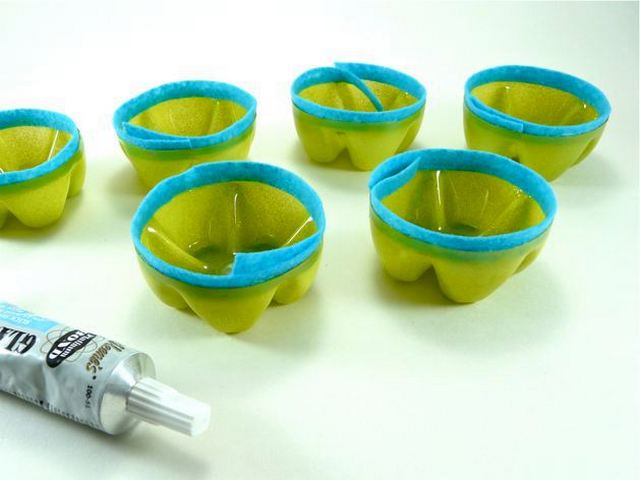
7. Secure the felt with clips for better bonding. Wait another hour and then cut off any leftovers.
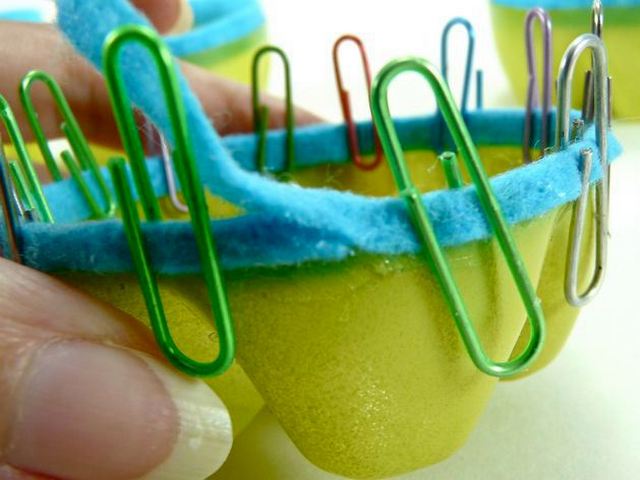
8. Determine exactly where the whole structure will stand, and glue all the bottles together from the felt side along the edges. For a good strength of the entire pencil case, do not spare glue.
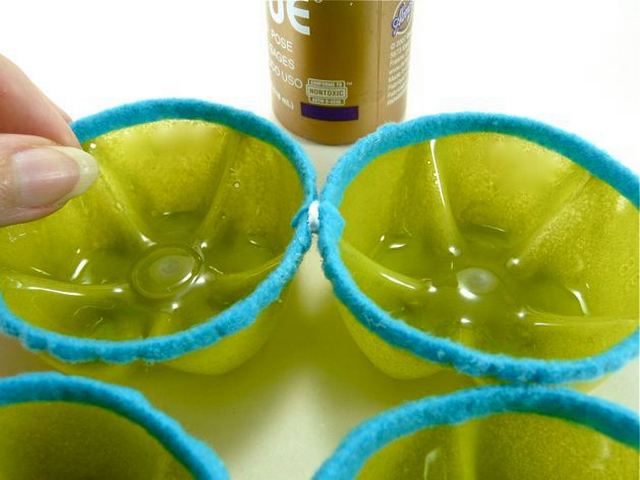
9. The glue must be completely dry. It is possible to fill your pencil case. It's all ready!
Read also: Flowers from plastic bottles
Crafts from plastic bottle caps for the garden
Airtight bag
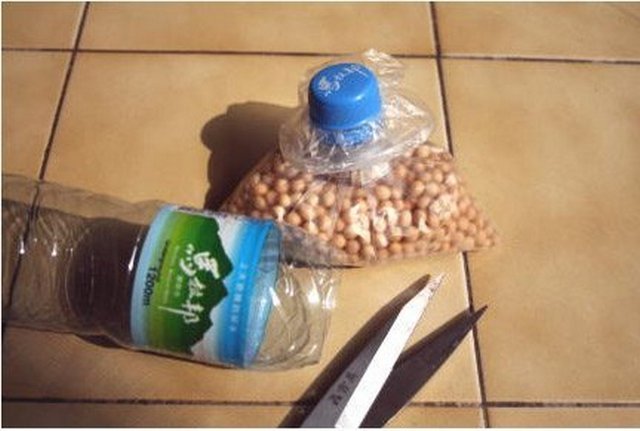
1. Cut the thread on the neck of the bottle.
2. Place the plastic bag through the neck and tighten the lid.
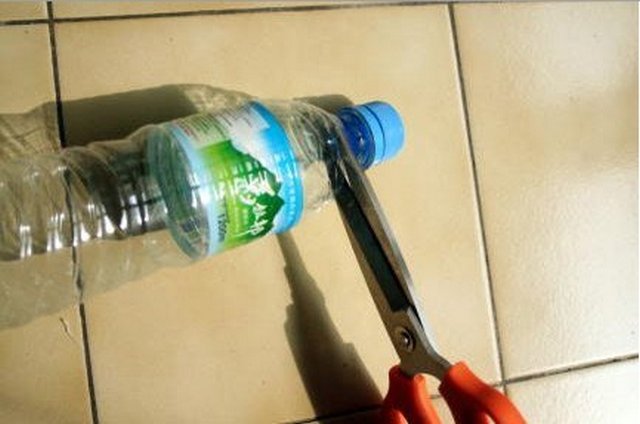
This seals the bag, which contributes to the long-term storage of products.
Read also: What to make from plastic bottles
Original curtains made of covers
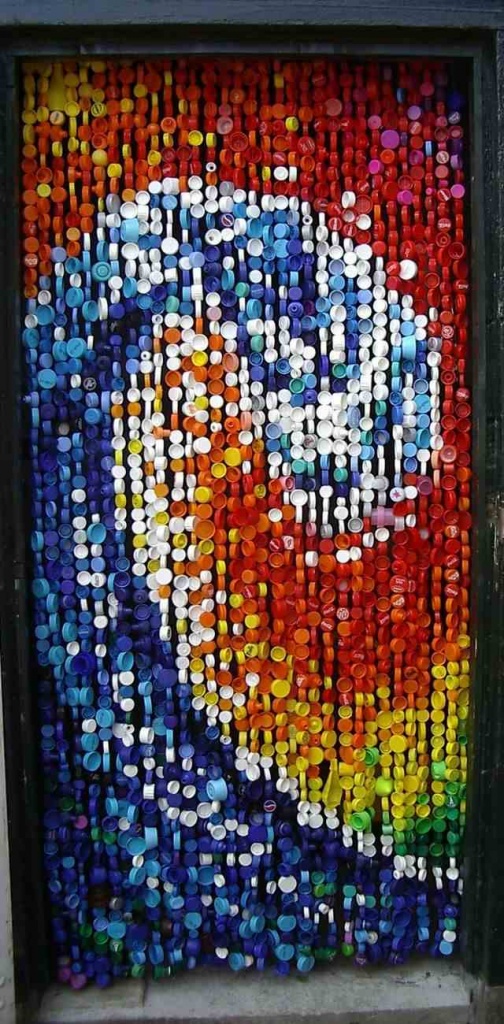
These original curtains as interior doors can decorate a house, cottage or apartment.
Simply connect the caps from the plastic bottles together with a fishing line or thread. At the same time, the curtain pattern can only be limited by your imagination.
DIY paintings from covers
Plastic bottle caps can be useful even in fine art.
Try to make such a picture, because even children can do it.
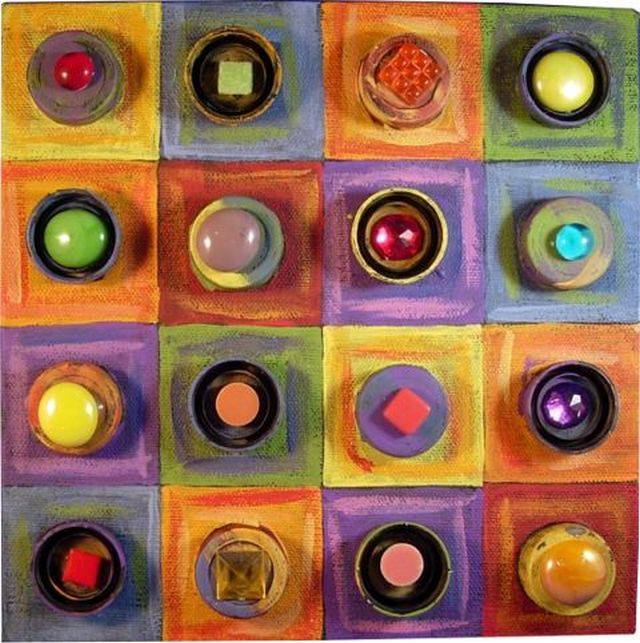
You'll need:
Canvas (any size you want).
Plastic bottle caps.
Paint (acrylic) and brush.
A pencil.
Ruler.
Glue (does not dry quickly).
An assortment of jewelry, balls, mosaics or buttons.
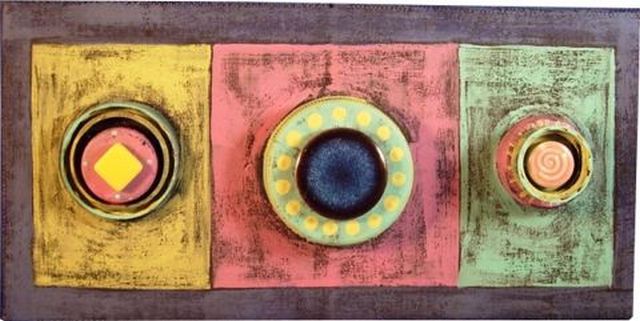
1. Using a pencil and ruler, mark the sections on the canvas.
2. Glue one large plastic cover in the center of each section. Then you can glue covers of different sizes and shapes first.
3. Paint the entire canvas with black paint and let it dry.
4. Glue the assortment of jewelry in the center of each cover and let it dry.
5. The sections can now be painted as you like.
How to make toys from plastic bottles DIY snake
toys
Make funny snakes out of foam by creating a simple device at home!
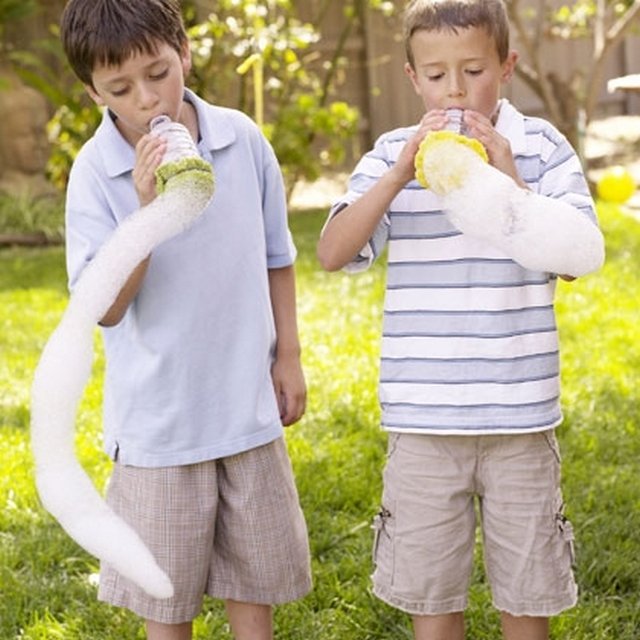
You'll need:
Scissors.
Plastic water bottles.
Old towels.
Rubber strip.
A small bowl.
Dishwashing detergent.
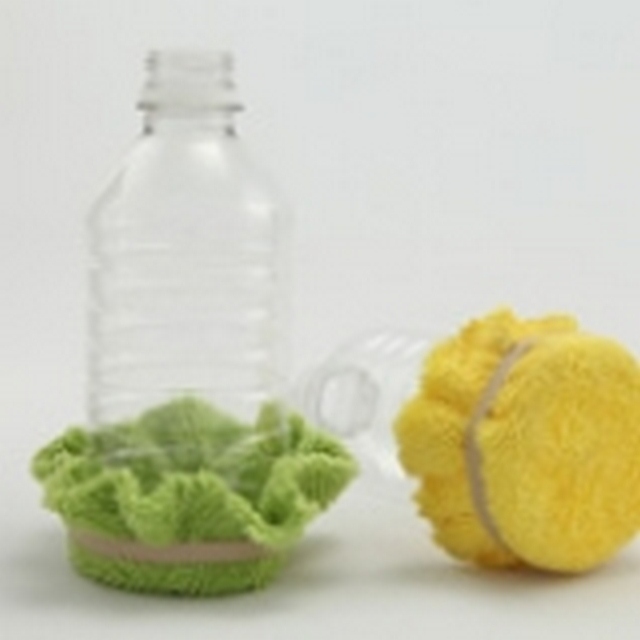
1. Cut off the bottom of the plastic bottle.
2. Secure the towel to the bottom of the bottle with an elastic band.
3. Put the bottle with the towel down in a bowl of soapy water. You can then create snakes from tiny bubbles.
It's important! Care must be taken to prevent soap from entering the mouth and eyes.
DIY crocodile toy
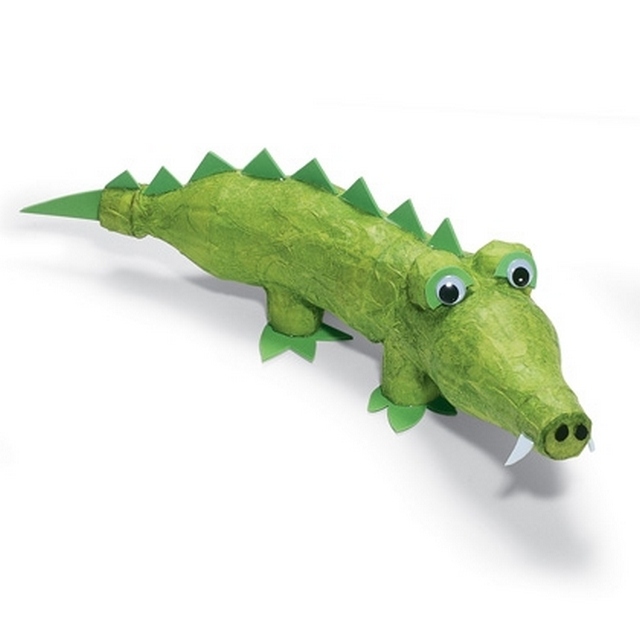
You'll need:
Two half-litre plastic bottles.
Bottle corks.
A knife.
Scissors.
Glue.
Thin paper.
A brush.
Paraffin paper.
Eyes (buttons can be used, for example).
1. Cut the bottles in half with a knife and scissors, then cut one part so that a height of 7 cm remains.
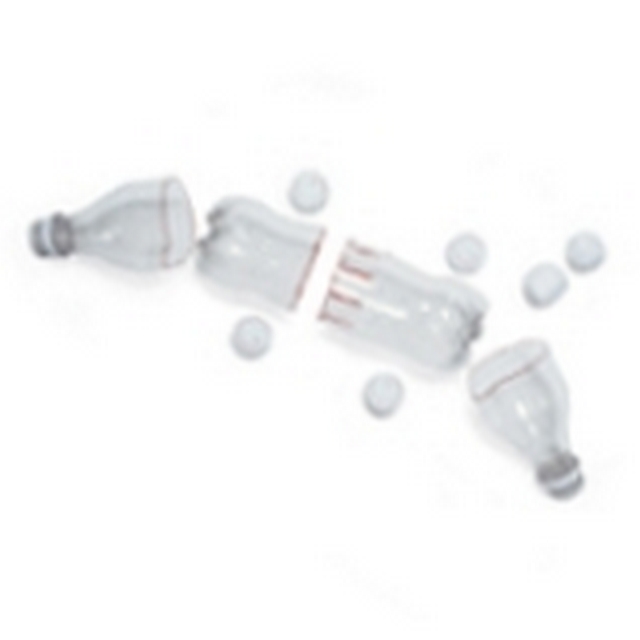
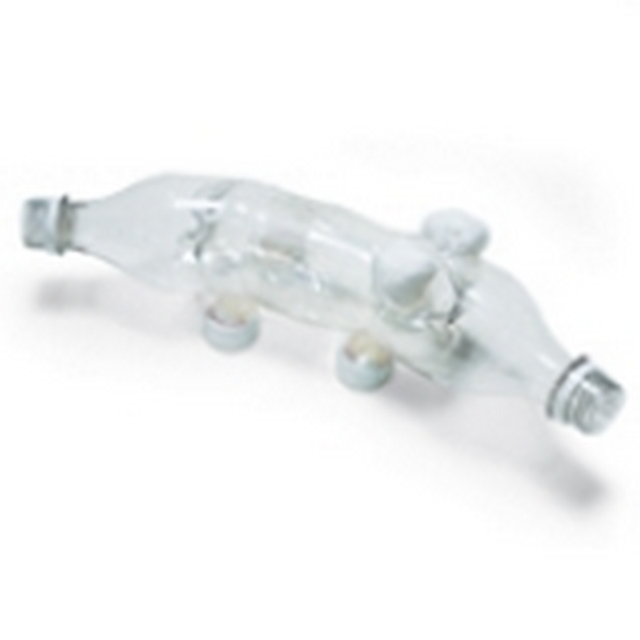
2. Cut the edges of the bottles so that the crocodile is bent.
3. Glue the legs-covers to the crocodile evenly.
4. Make thick paper balls and attach them like crocodile eyes.
5. Cover the entire case with thin green paper.
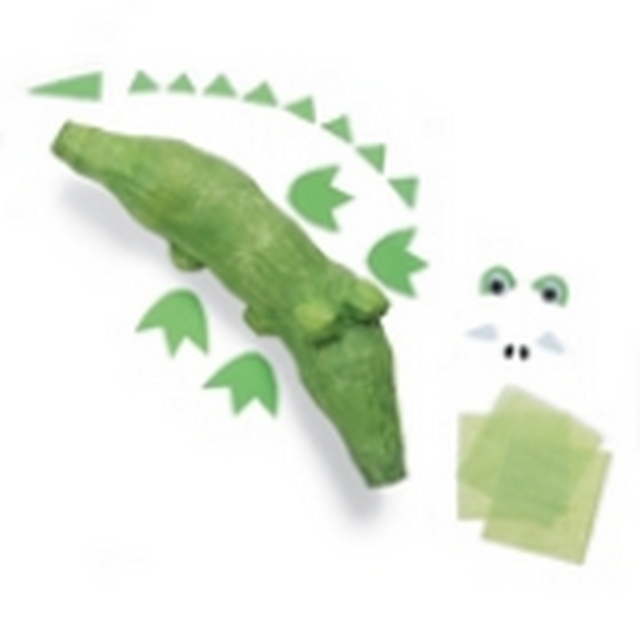
6. Cut out of paraffed paper and glue the legs, eyes and teeth. Paint your teeth white and your nostrils and eyes black.
Instructions: plastic bottle vase
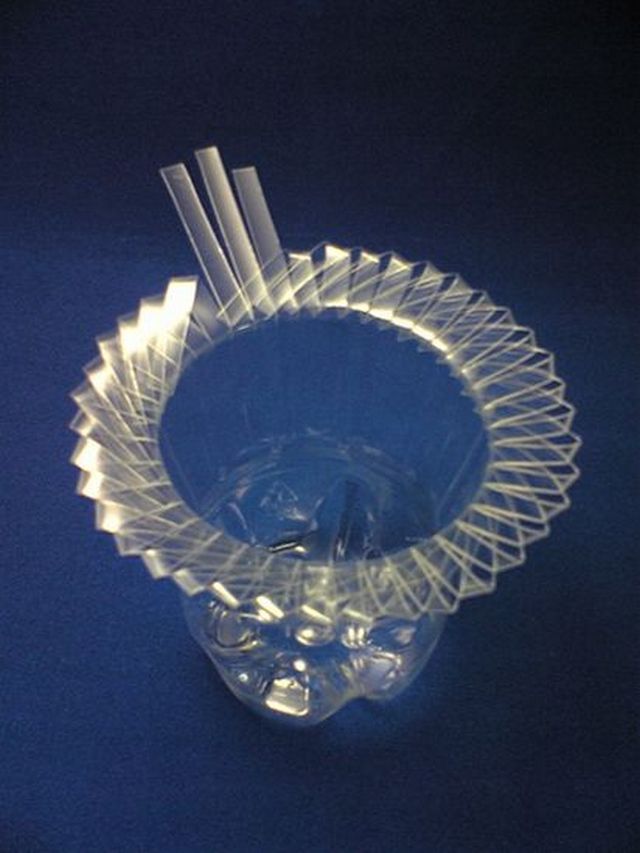
1. For convenience, cut the bottle on the upper contour.
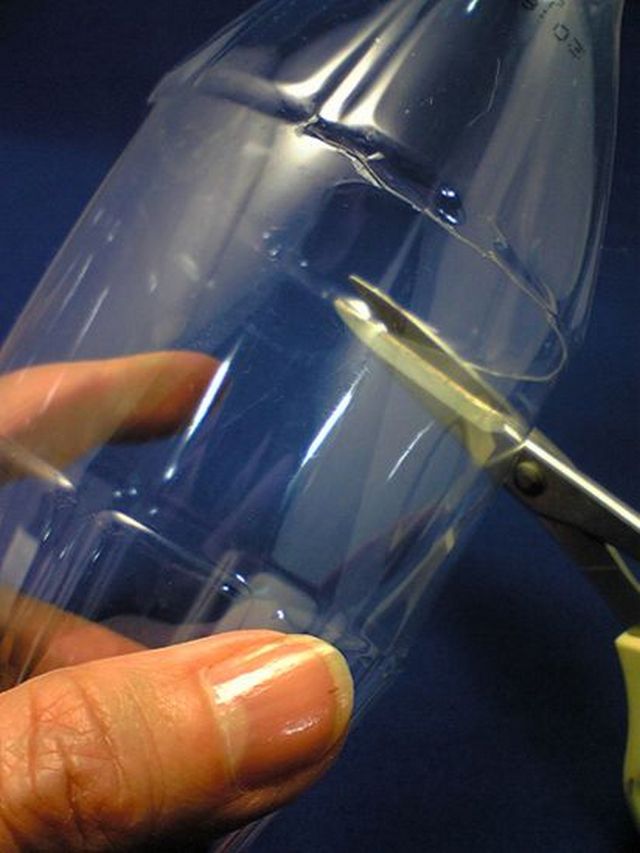
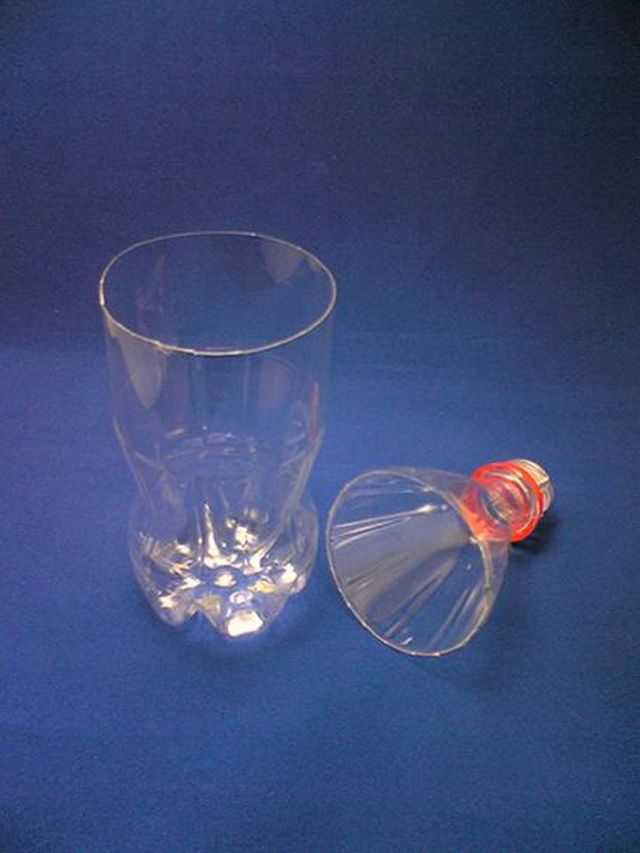
2. Measure and cut the strips evenly around the bottle. It is more convenient to do this by cutting the wider segments in half.
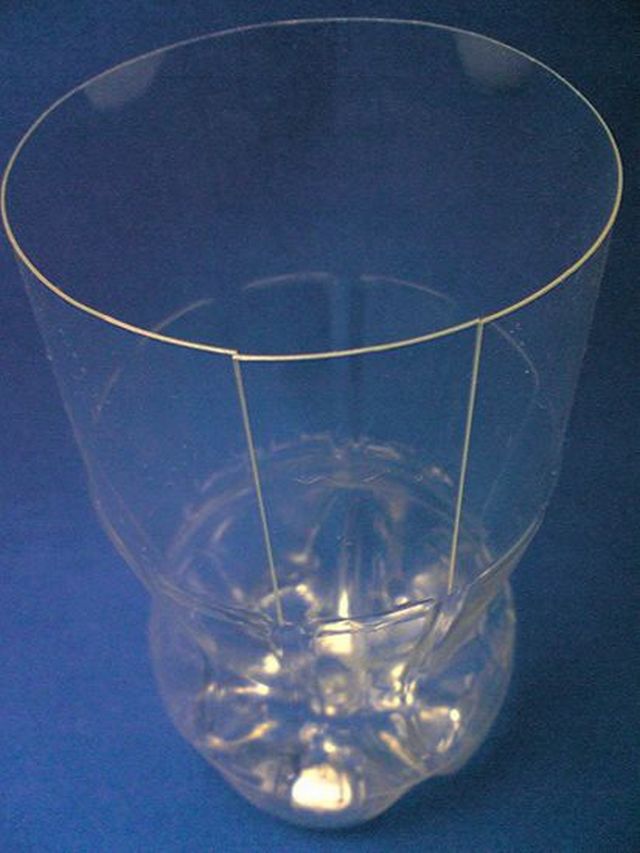
3. Press gently and fold all the strips outward.
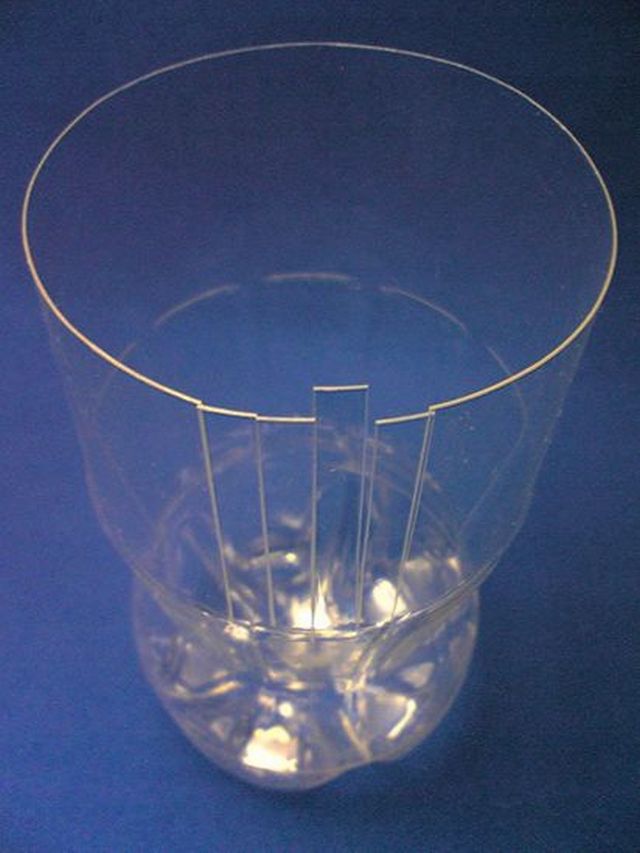
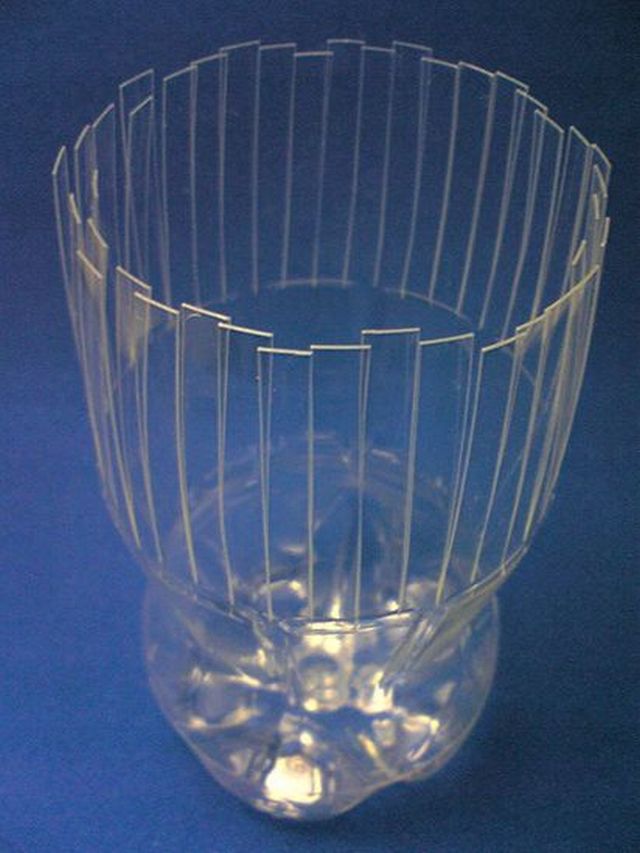
4. Press the bottle by placing it upside down on a flat surface. This will help straighten the edges.
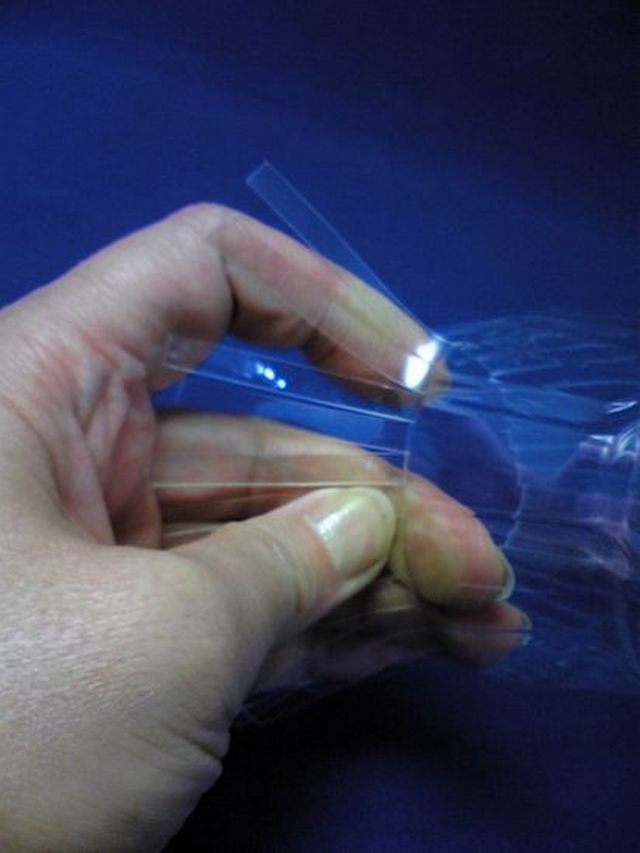
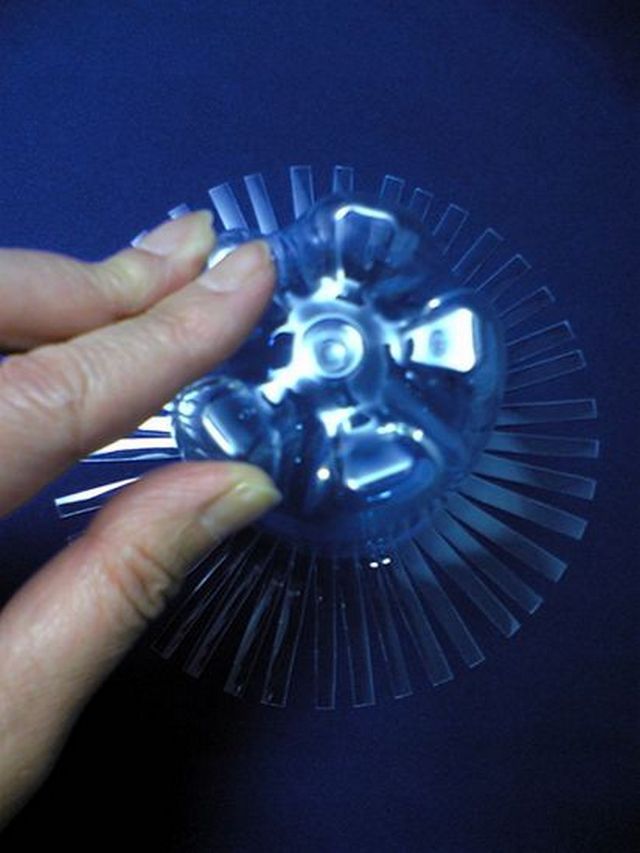
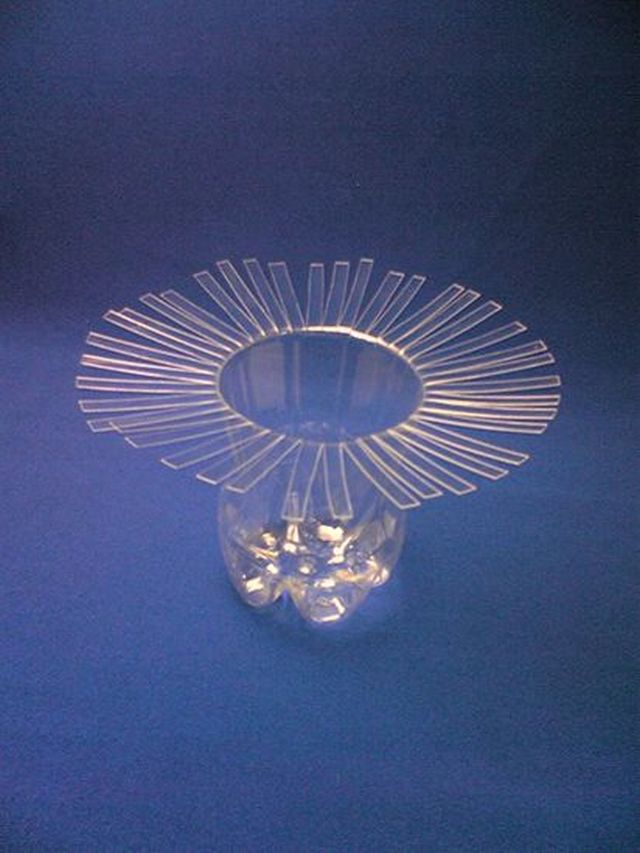
5. Bend the end of each strip under the next two. Do this so that the tip of each strip is in the place indicated in the photo.
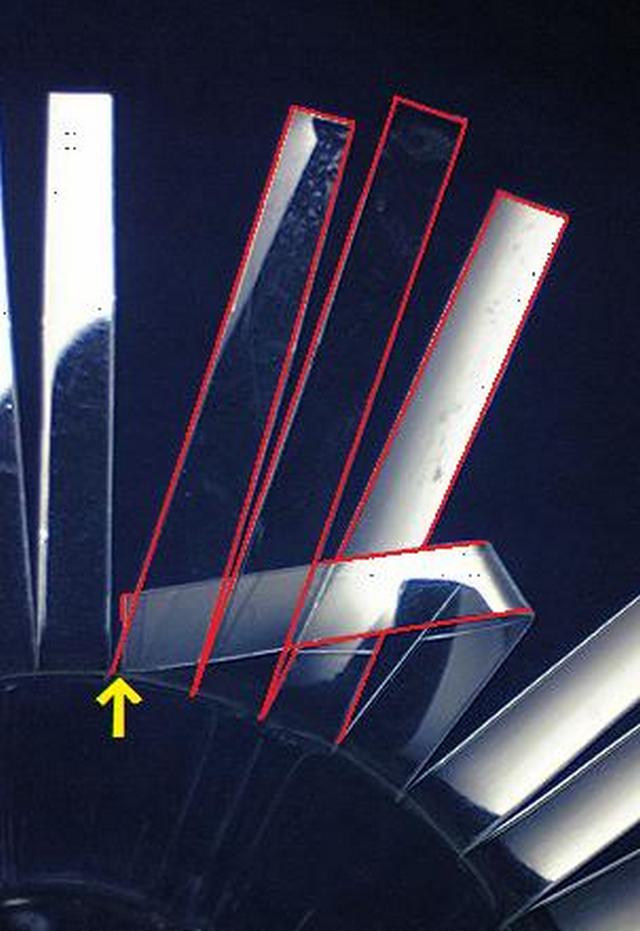
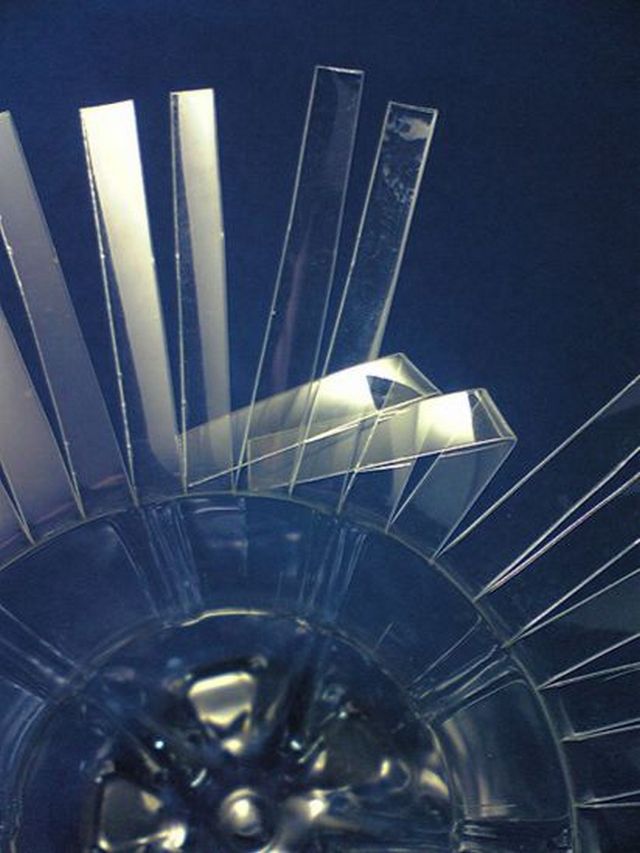
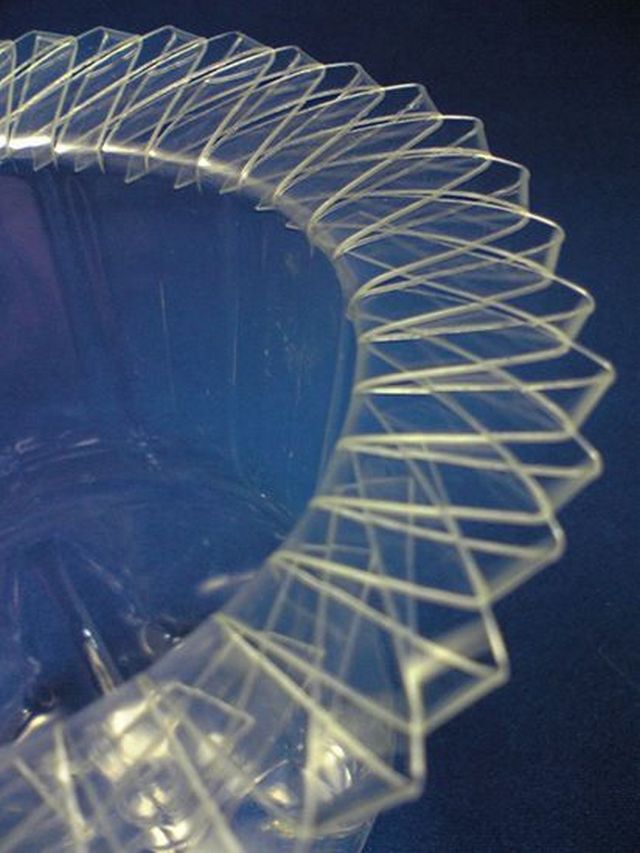
You can add balls and stones to produce a beautiful play of light in the sun. Since the vase will be very light, the load can contribute to proper balancing.
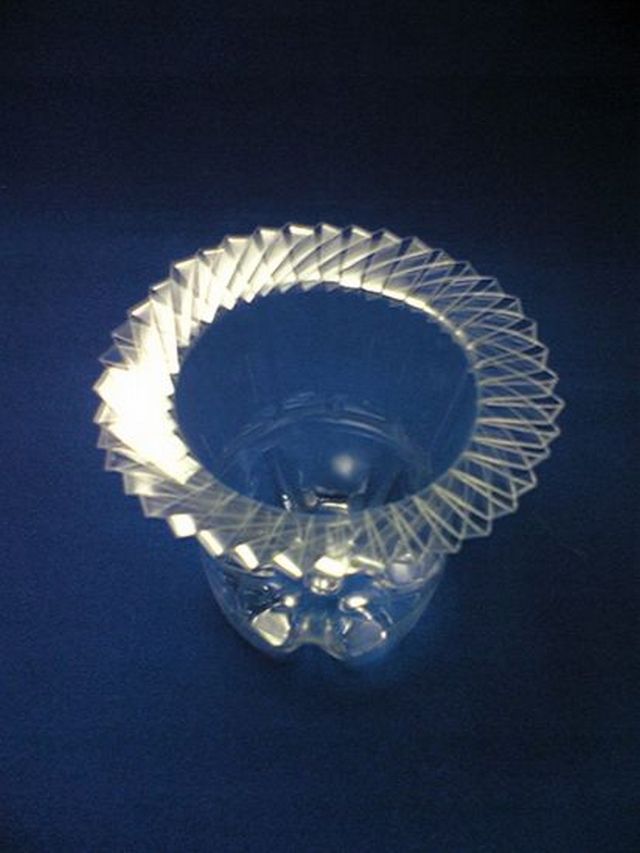
Warning! Such a vase will be subject to large temperature changes. Therefore, do not leave it near the heating units to prevent thin strips from spreading.
Large garden lamp made of plastic bottle
The bottle is used as a light source. Such an invention can turn a small lantern into a lamp with a large illuminated space.
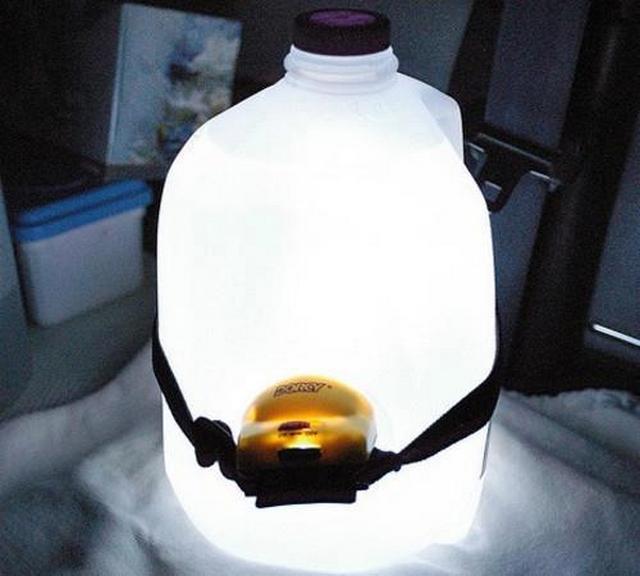
Alternatively, a bleach solution in the bottle can be used to best diffuse light.
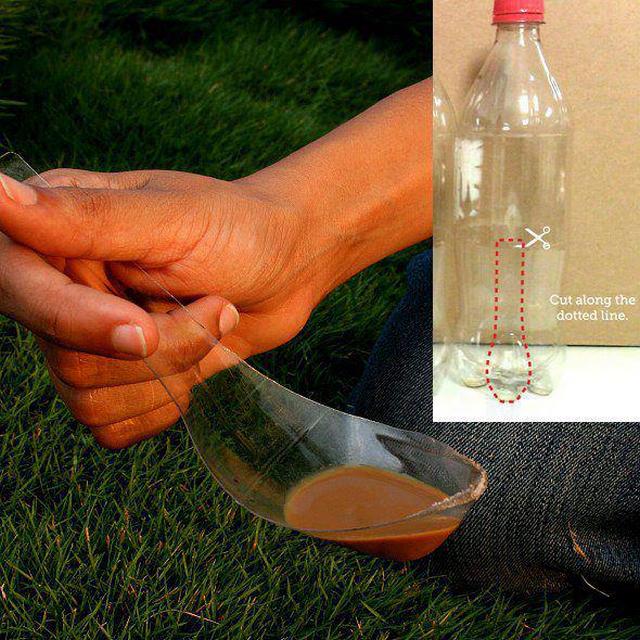
Universal plastic bottle spoon
Such a simple, but at the same time, sometimes very necessary spoon (for example, at a picnic) can be cut out of an empty plastic bottle.
Making food containers from plastic bottles
The idea is to use two plastic bottles to make a container to store food such as beans, rice, noodles and sugar.
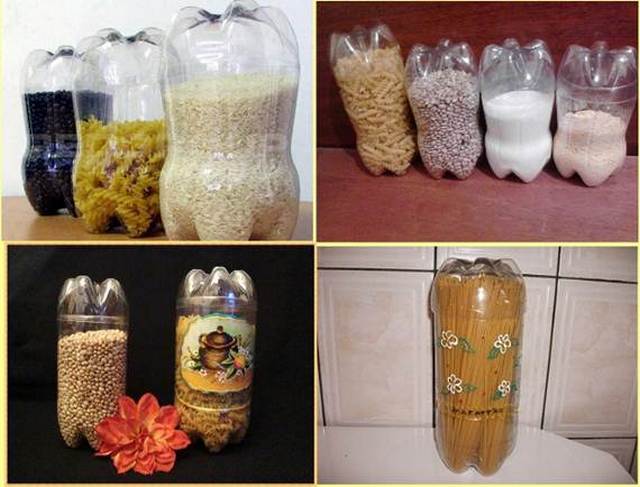
Simply cut out bottles of different sizes: the long one will be the base and the short one will be the cap. Choose the size so that the lid closes easily and tightly at the same time.
Watering from plastic bottles
If you have a large garden, but do not have time for watering and you do not want to spend money on newfangled expensive structures, then we present a simple sprinkler idea.
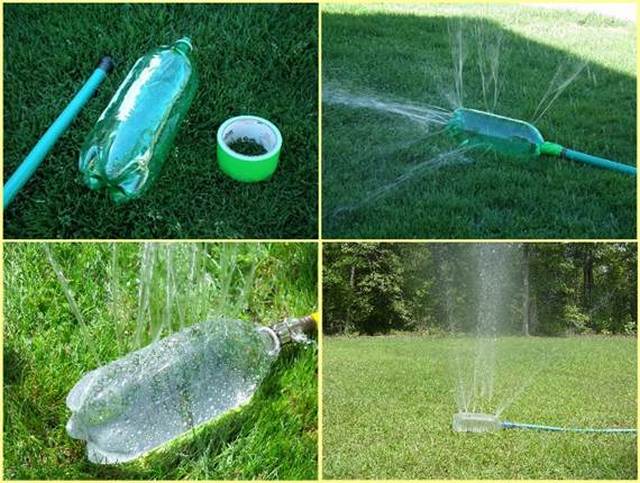
Just make a few holes in the bottle with a nail and tightly attach it to the hose, additionally using tape.
How to make an organizer with your own hands
This design is ideal for waiting rooms and offices.
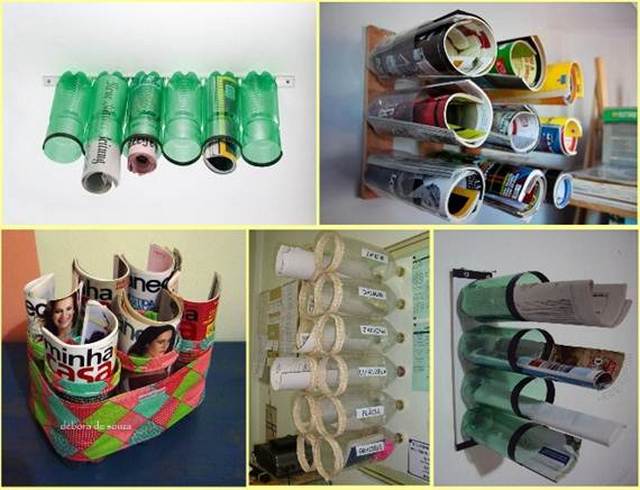
Cut off the top of the plastic bottle and firmly attach several of these bottles to the base (this can be wood, metal or other materials).
You can also use this organizer on the floor. To do this, simply tie the bottles together using a rope or cloth.
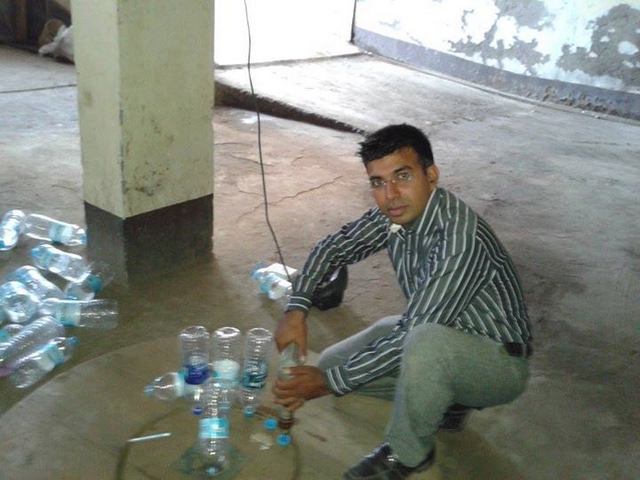
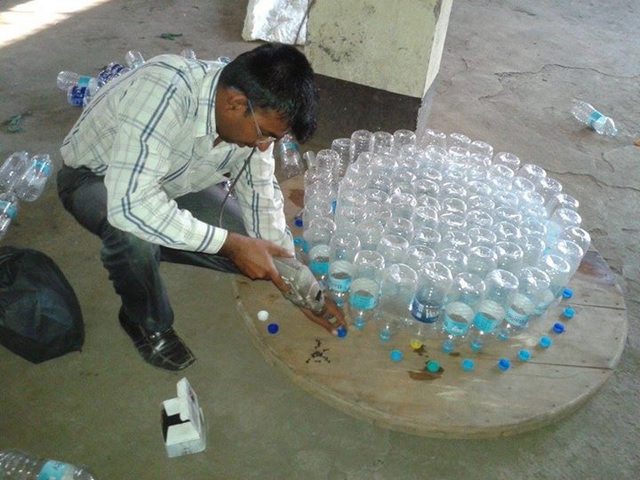
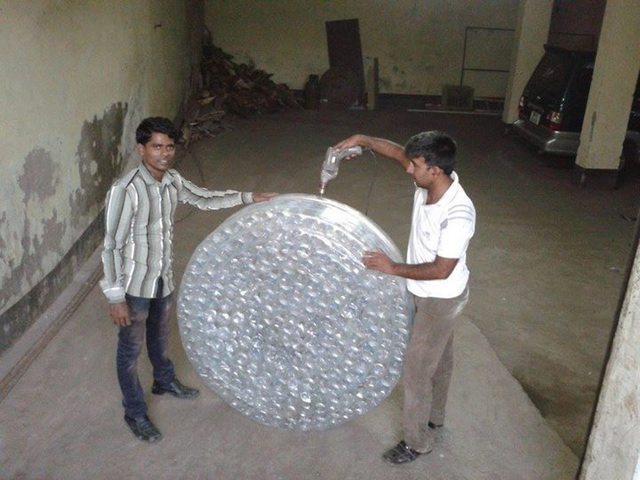
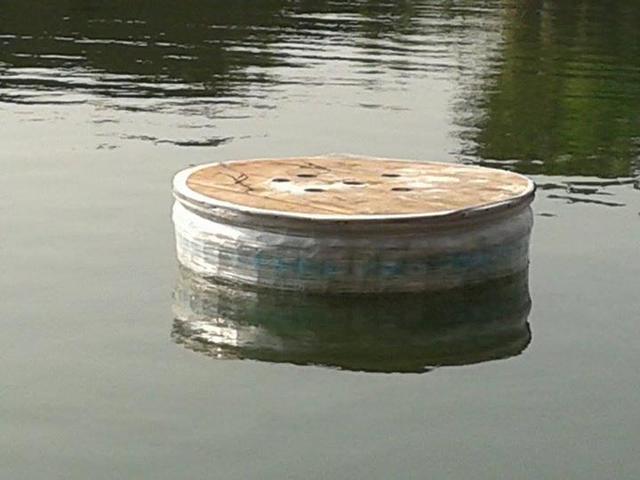
Plastic bottle boat
Such a boat can be based on any form of wood or plastic.
First, we attach the bottle caps with screws, and then you just need to screw the bottle to the cap.
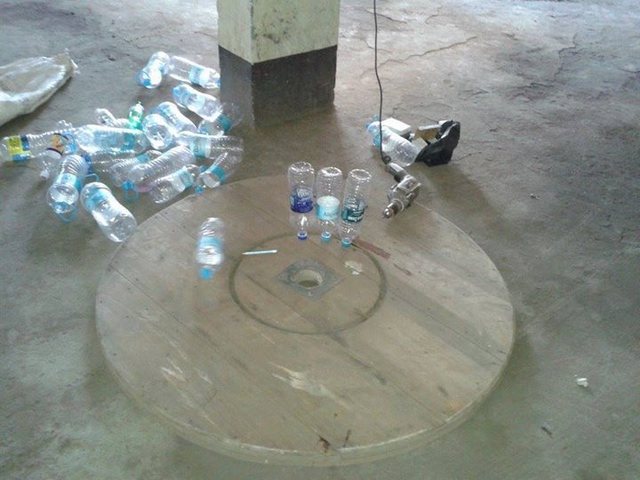

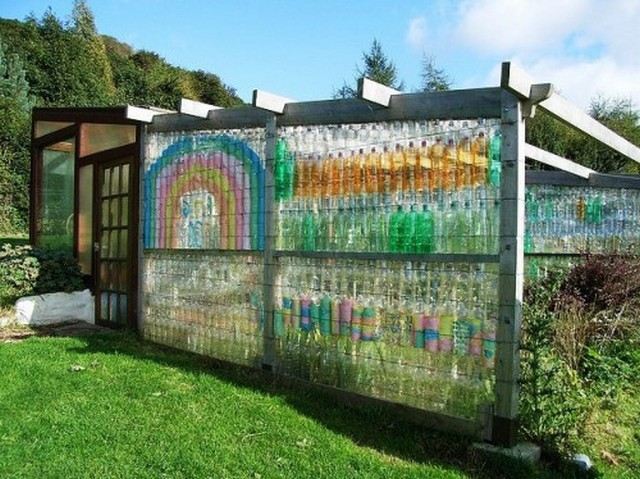
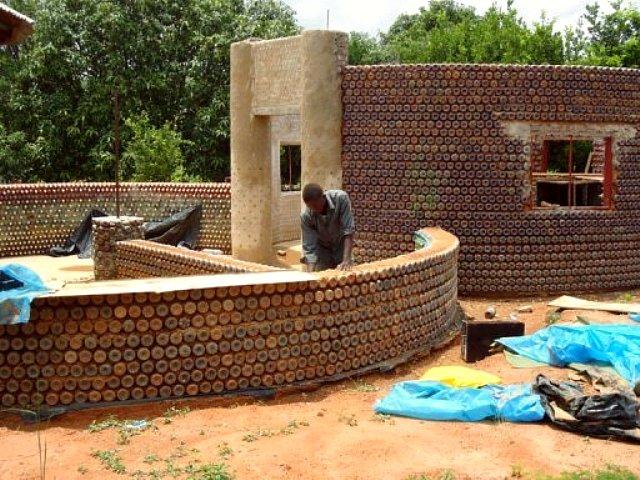
A house made of plastic bottles for a summer residence
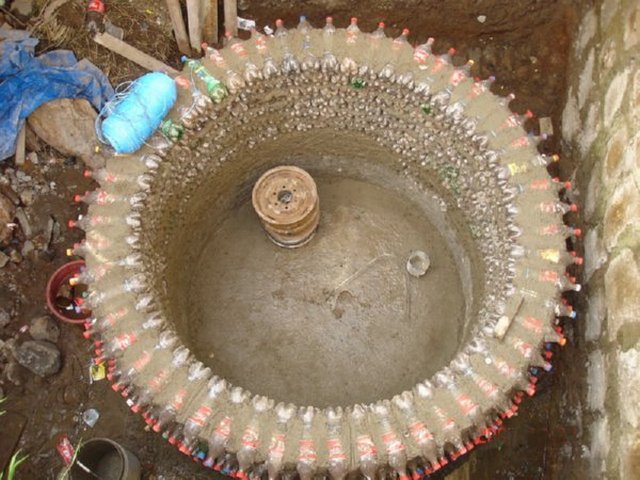
The walls are based on a frame made of plastic bottles, and plastering materials can be taken from classic ones.

Crafts from plastic bottles (photo)