
 Useful tips
In autumn, you can make a huge number of different crafts, especially considering that tree leaves take on a beautiful color.
Leaves can be used to create and/or decorate all kinds of crafts, but there are also other natural materials that you can use: fallen branches, cones, acorns, walnut shell, etc.
Read also: 10 cool DIY Halloween decorations
Here are just a few of the crafts that can be created using natural materials:
What to make from natural autumn materials: a vase of autumn leaves
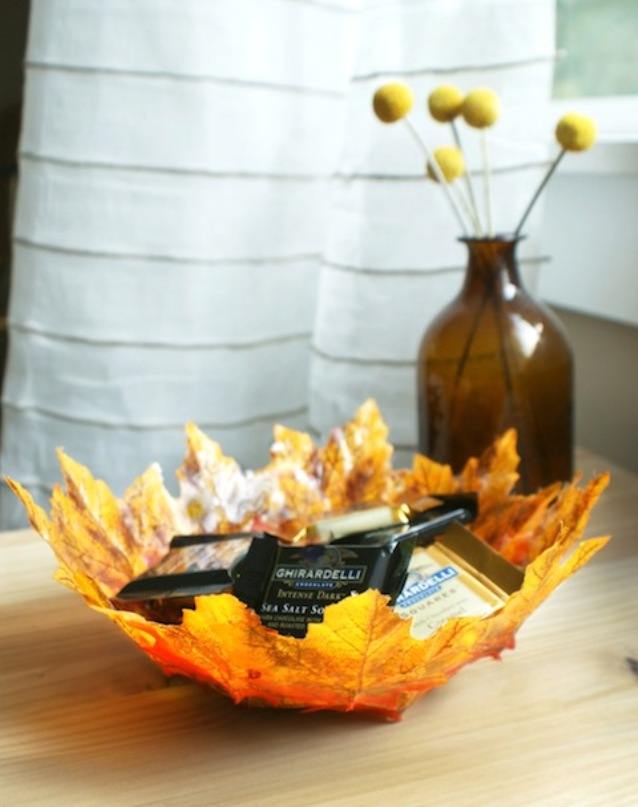
You'll need:
– autumn leaves
– PVA glue
– balloon
– brush.
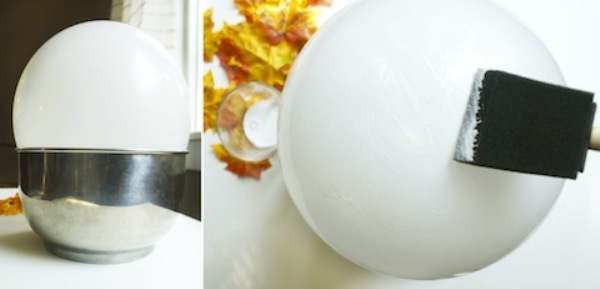
1. Inflate the balloon and place it on a cup or bowl.
2. Clean the leaves from the cuttings.
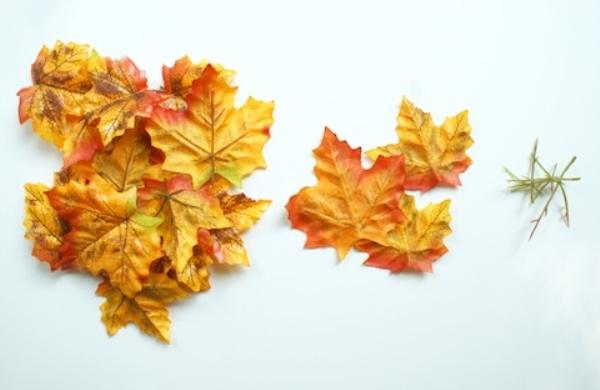
3. Start gluing one leaf per ball, using plenty of PVA glue.
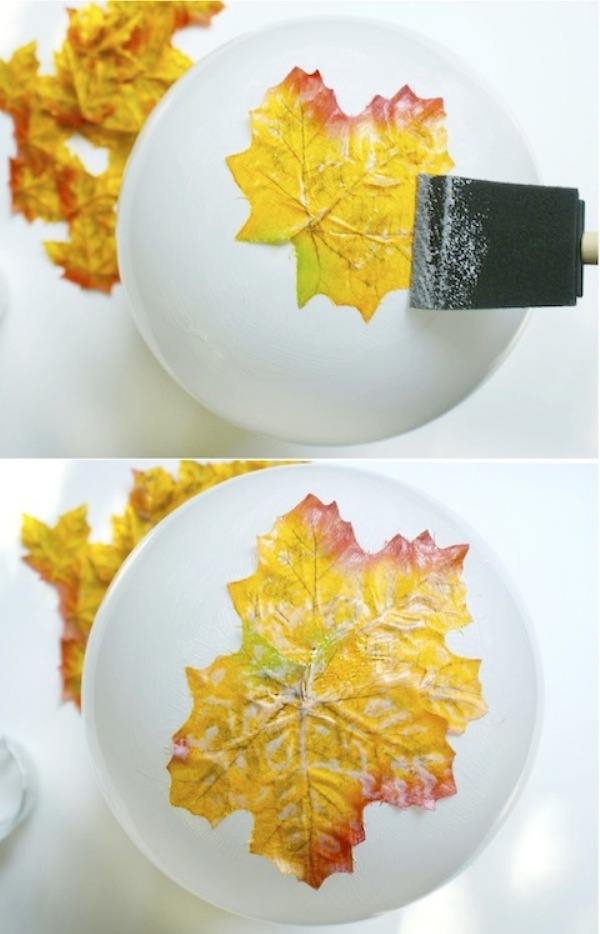
4. Lay out several layers of leaves, which also need to be covered with glue on top.
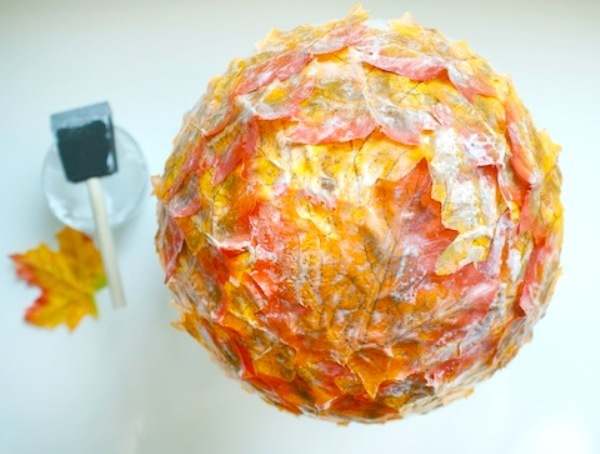
5. After the glue has dried, gently blow off the ball and you will have a vase.
Read also: What interesting things can be made from old things
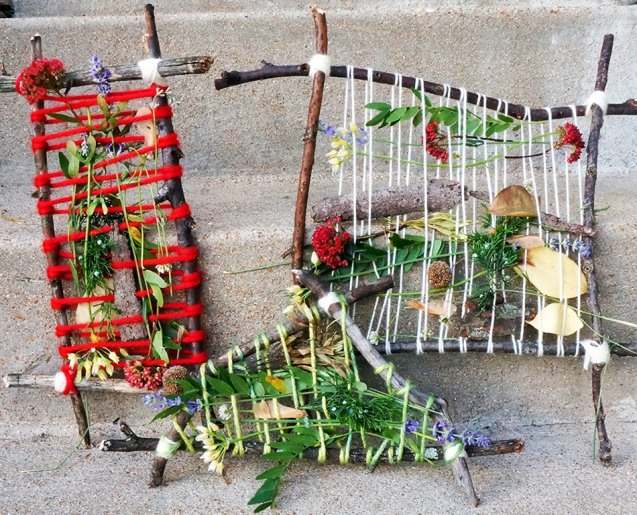
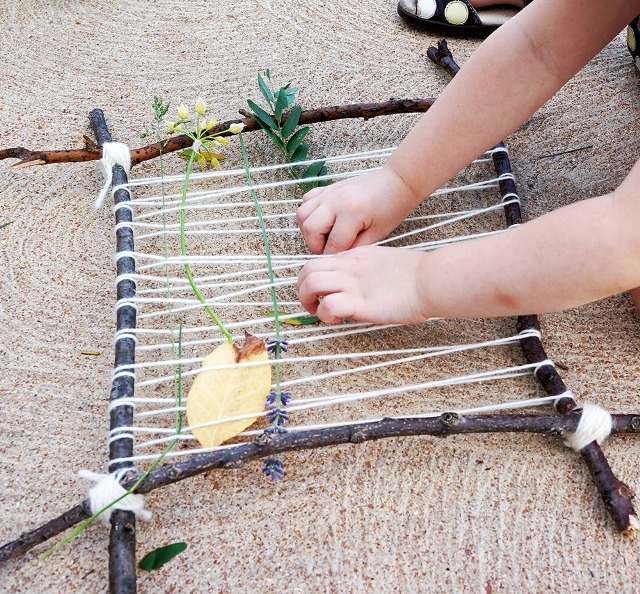
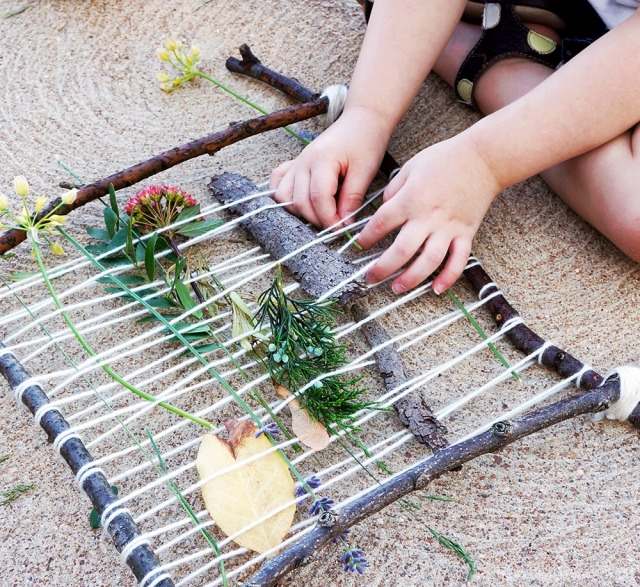
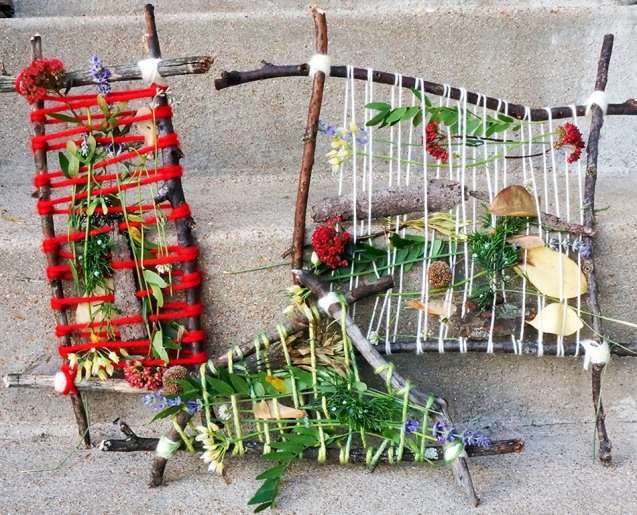
Painting made from natural materials
See also: DIY air conditioner
You'll need:
– small branches (choose the size yourself)
– thread of several colors
– various natural materials (leaves, cones, acorns)
* You can make a triangular or square shape.
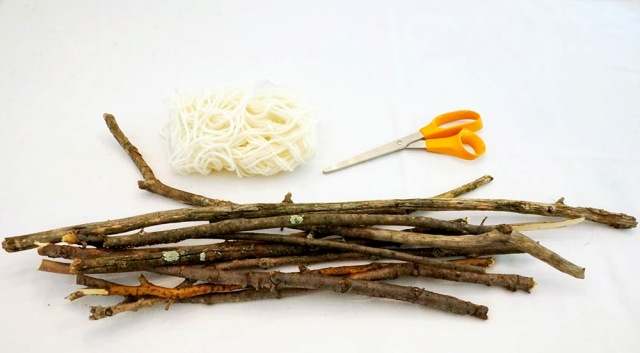
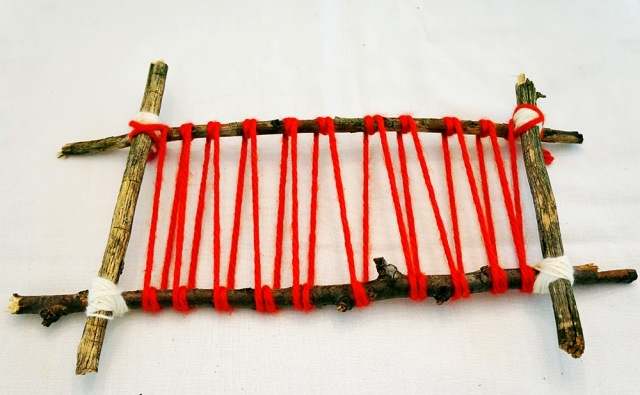
1. Connect the ends of the sticks with a thread (see image). You will get a frame for work.
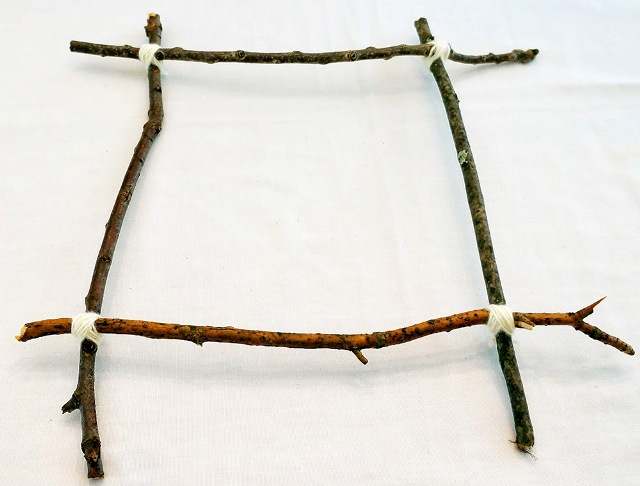
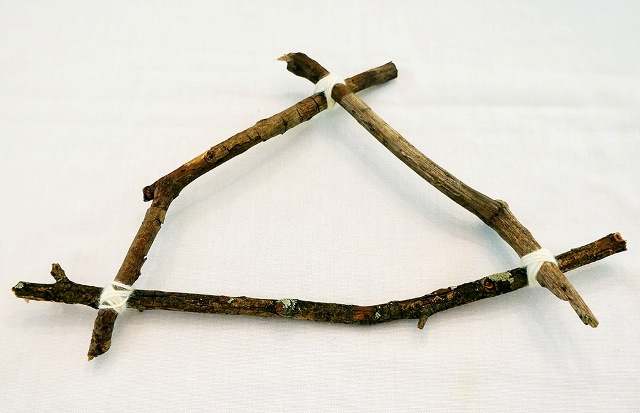
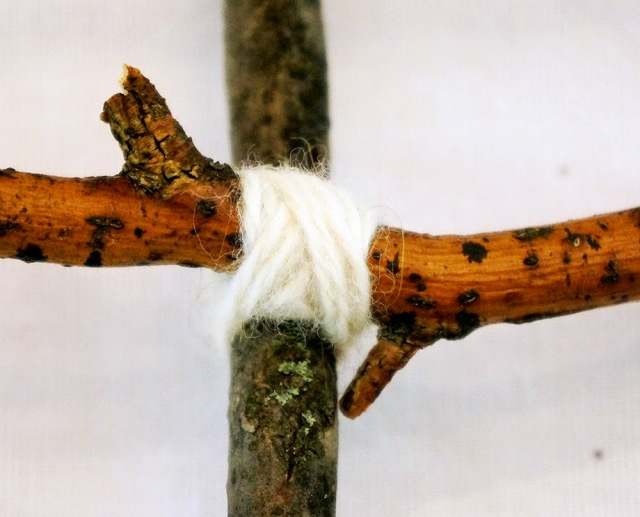
2. Tie one end of the bright thread to the corner of the frame and start wrapping the thread around your frame, leaving plenty of space for jewelry.
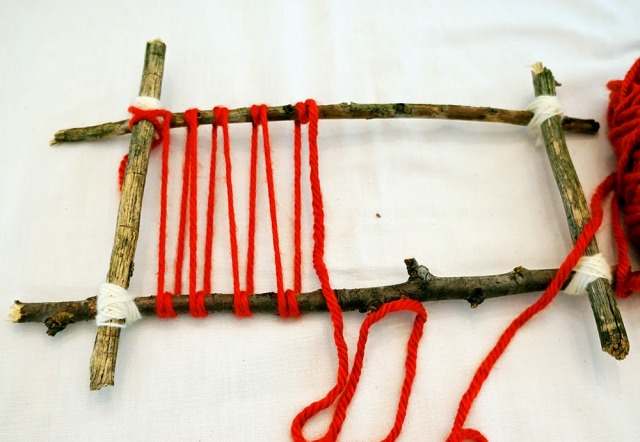
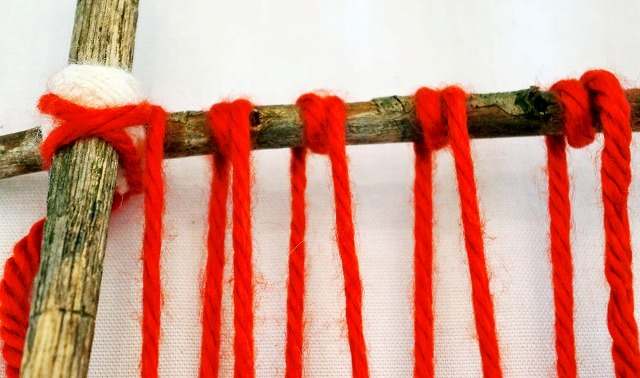
* Try wrapping each branch twice (see image).
3. When you've wrapped the entire frame, tie the end of the thread to the opposite corner of the frame.
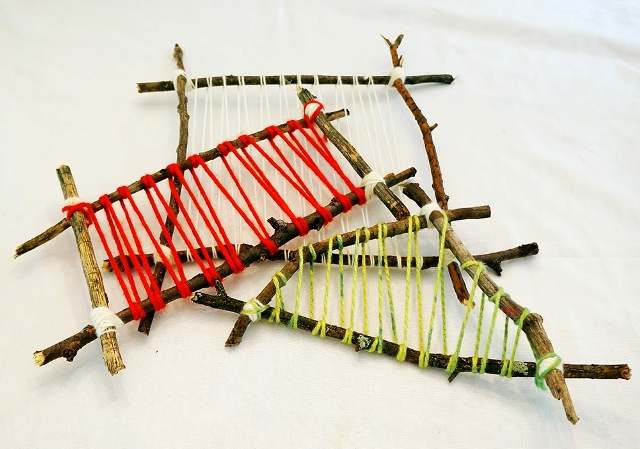
4. Start collecting natural materials in forests, parks and/or yards (leaves, flowers, nuts, etc.).
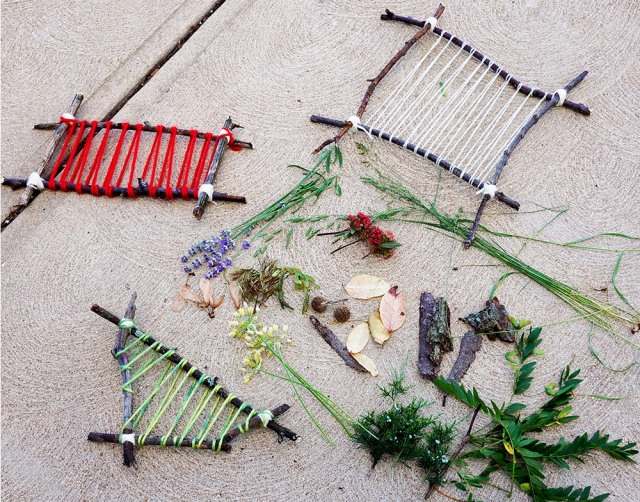
5. Try to secure the collected material between the stretched threads. Use your imagination to create different paintings.
See also: Plasticine crafts
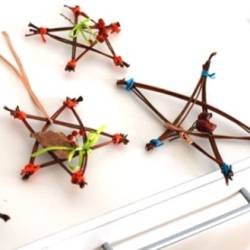
Crafts made from natural material for children: autumn shooting stars
For one star, you'll need:
– 10 long stalks from leaves (in this case, stems from chestnut leaves)
– wire or multicolored threads
– decorations (small leaves, berry branches)
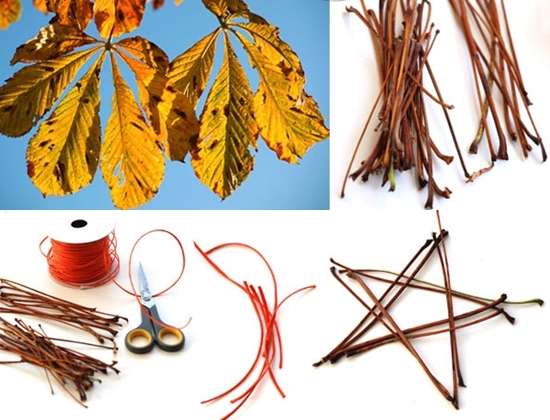
1. To make one star element, connect two stalks for strength. Fasten them together with wire or thread. You got one workpiece (star element).
2. Start collecting the star by swiping each element over and under the other two intersecting pieces (see image).
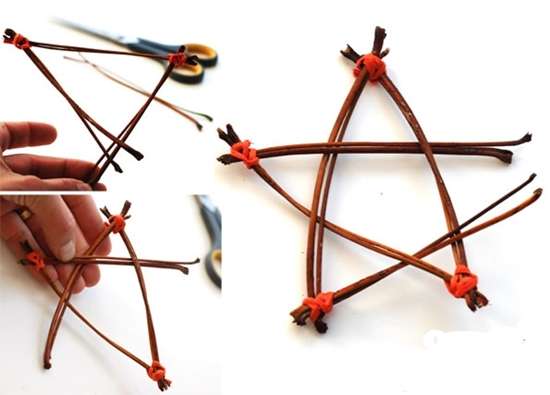
3. Start decorating the star by tying berry twigs, leaves, and other ornaments to it.
* These stars can be used to decorate houses, cottages, corridors, verandas, etc.
See also: We make crafts with our own hands: photos, diagrams, instructions
Children's crafts made from natural material: leaf mask
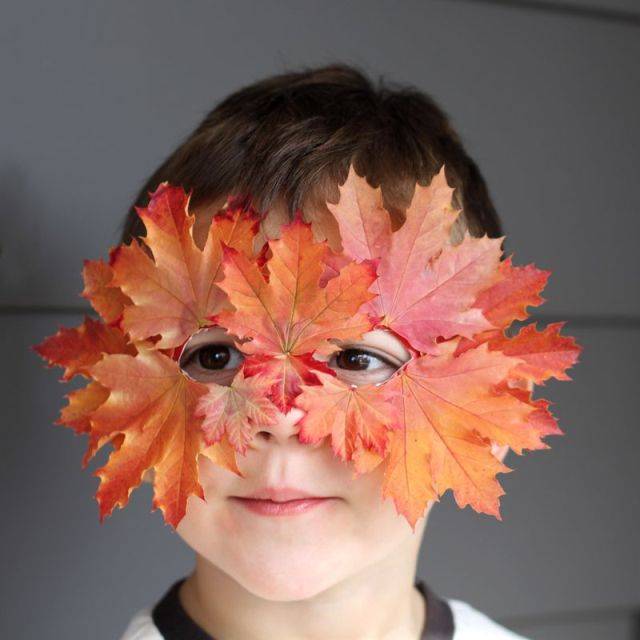
You'll need:
– leaves of different sizes and colors
– cardboard (you can use a cereal box, for example)
– strong thread or elastic band
– scissors
– PVA glue or “Moment”
1. Draw a mask on the cardboard and cut it out.
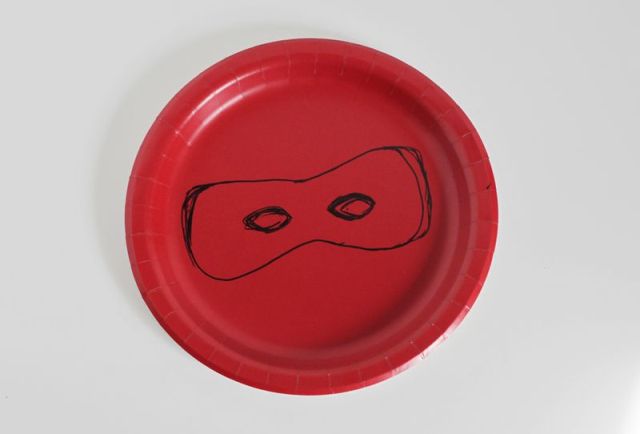
2. Check where the eyes will be and make the right holes in the paper.
3. Make small holes along the edges of the mask (you can use a stapler) and tie a thread or elastic band to keep the mask on your head.
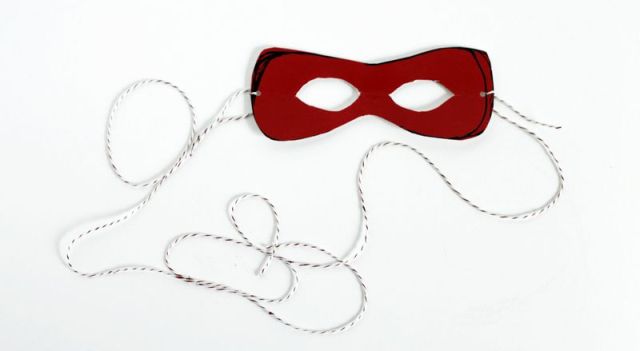
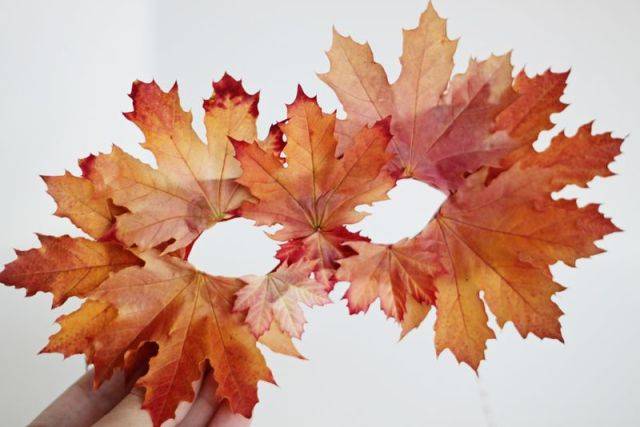
4. Using glue, start attaching various fallen leaves to the mask. You should start with large leaves around the edges and slowly cover the mask, ending with small leaves closer in the middle of the mask.
See also: Children's crafts for kindergarten
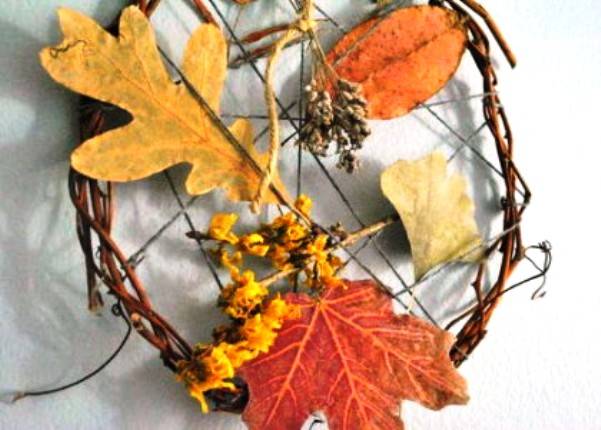
Natural crafts in autumn: collage
You'll need:
– dried thin branches (in this case, a vine)
– thread of different colors
– decorations (leaves, flowers)
1. From the branches, make a circle, as shown in the image. You can secure the structure with thread or wire.
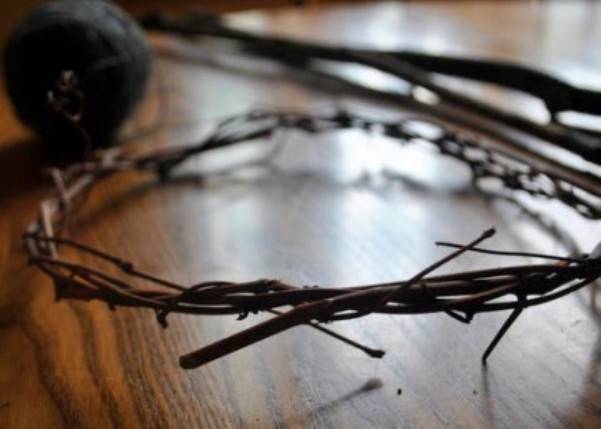
2. With a colored thread, start wrapping a circle of branches to make a “web”. At the end, tie the thread tightly to the knot.
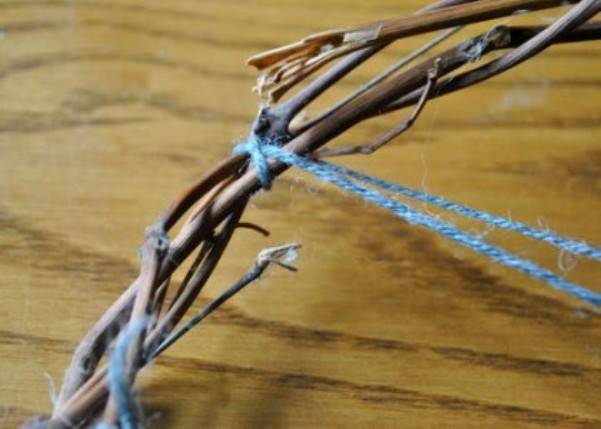
* You can wrap the thread as you like.
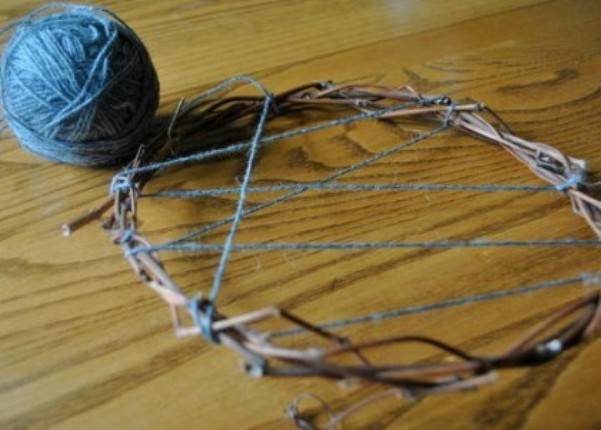
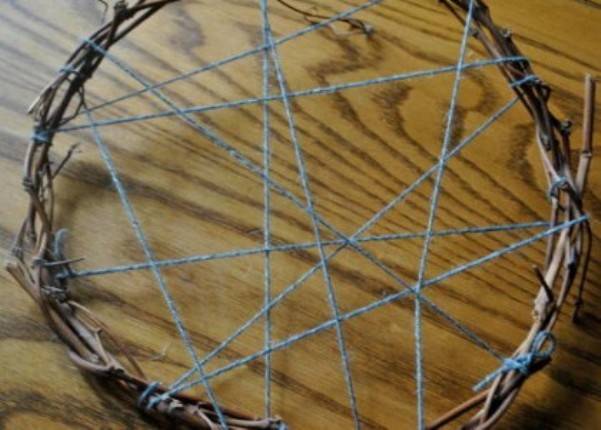
3. You can decorate the round frame with leaves (insert them between the web threads) and other natural material.
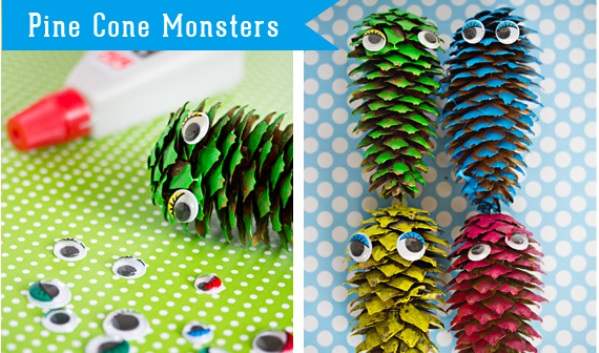
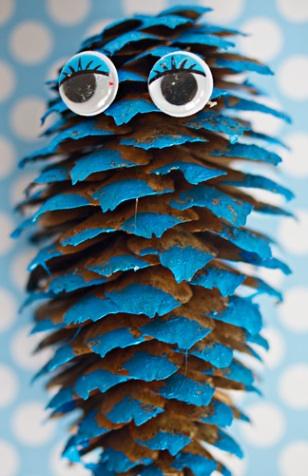
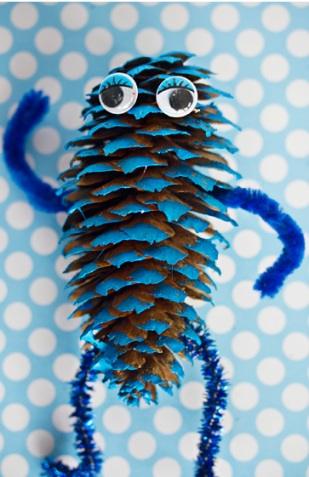
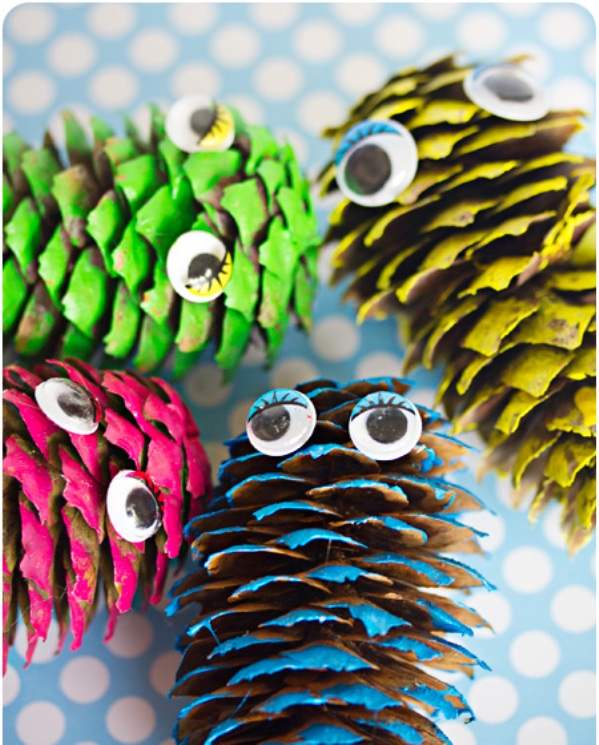
Crafts made of natural material in autumn: monsters made of cones (photo instruction)
Compositions made from natural material: autumn crown
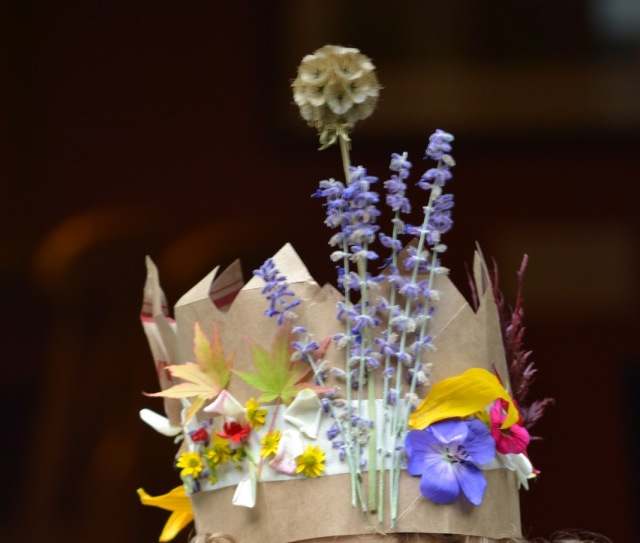
You'll need:
– adhesive tape
– cardboard or thick paper
– scissors
– leaves of different colors and other natural materials that can adorn the crown
1. Measure the head circumference of the future king or queen. Use this data (adding a few more centimeters) to cut a 5 cm wide strip out of cardboard.
* You can cut several strips and glue them together if one sheet of cardboard is not enough.
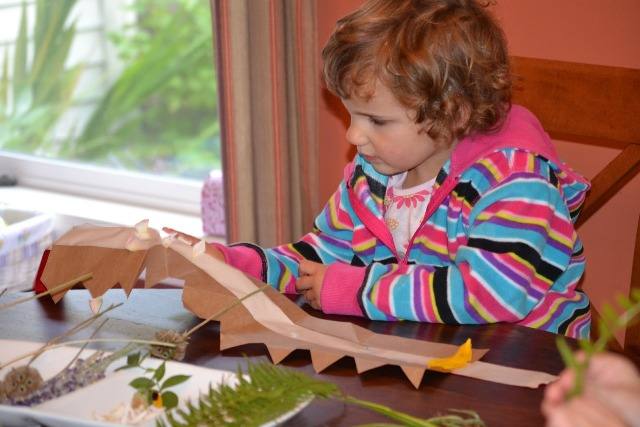
2. Cut another strip out of another cardboard, but this time cut one side of it in a zigzag.
3. Cut a piece of duct tape the same length as the cardboard strip and place it on a flat surface with the adhesive part facing up.
4. Glue one cardboard strip to the upper half of the adhesive tape (just above the middle of the tape), and the serrated part to the lower half (just below the middle of the tape). In the middle, you'll be left with an uncovered piece of adhesive tape.
It is to the uncoated part that various natural materials can be glued.
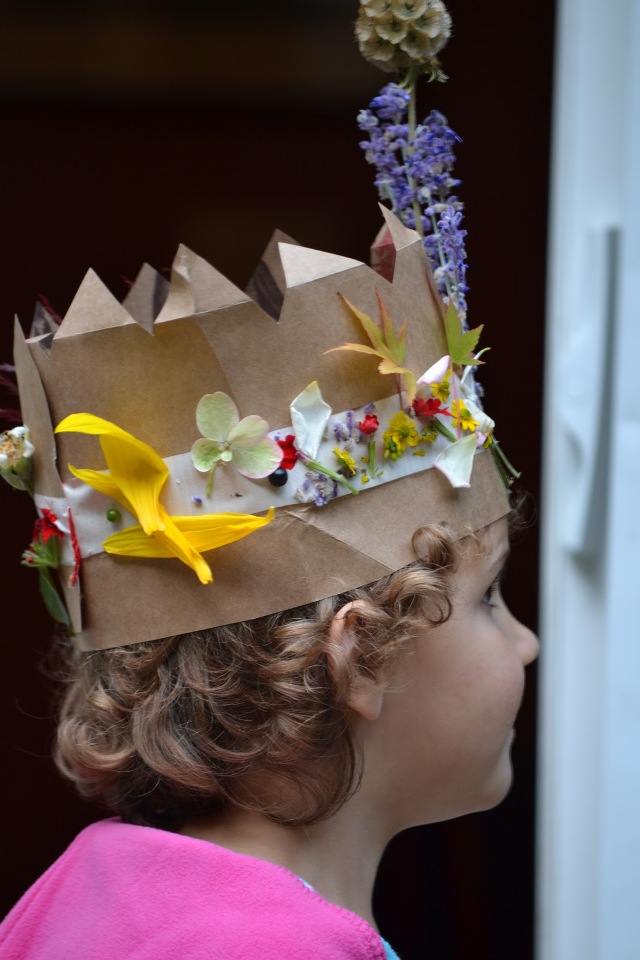
* Alternatively (if you have covered all the adhesive tape), you can use Moment glue (or PVA) or another strip of adhesive tape that you will attach to the crown of jewelry in the form of natural materials.
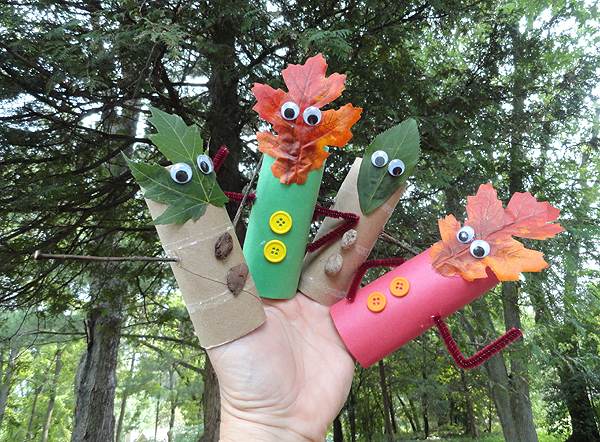
Crafts made from natural material in kindergarten: finger dolls
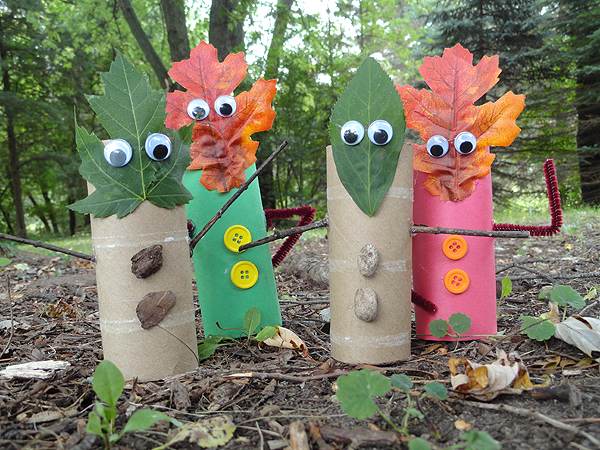
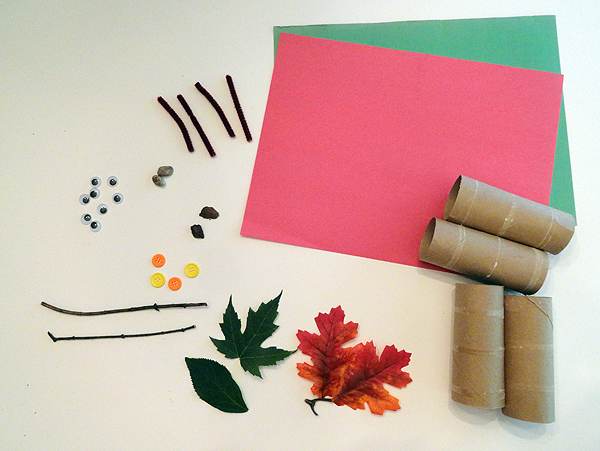
You'll need:
– cardboard cylinders (from toilet paper or paper towels)
– thin twigs or a thin brush
– colored paper (if desired)
– leaves
– plastic eyes or plasticine
– buttons or small pebbles
– scissors
– glue stick
– PVA glue
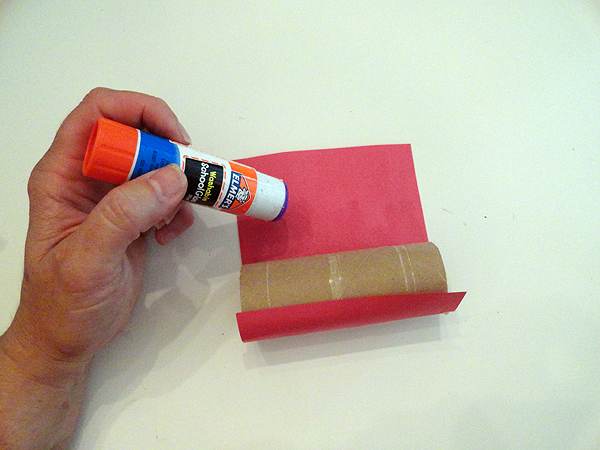
1. Start gluing the sheet evenly to one end of the cardboard tube.
* If you want, you can first glue the cardboard cylinder with colored paper, or you can do both options – without and with colored paper.
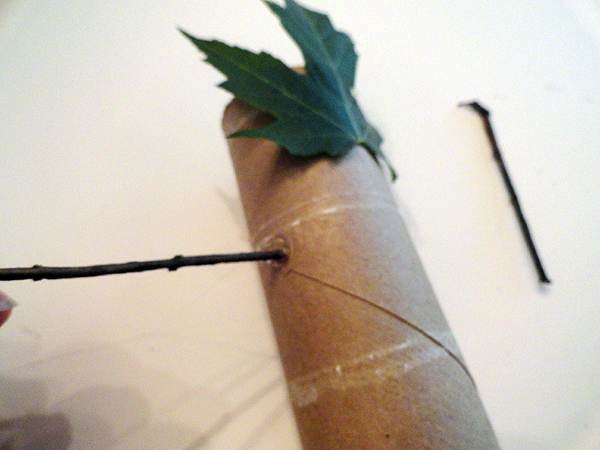
2. Glue small branches on the sides – they will play the role of hands.
3. Glue buttons or pebbles along the cylinder.
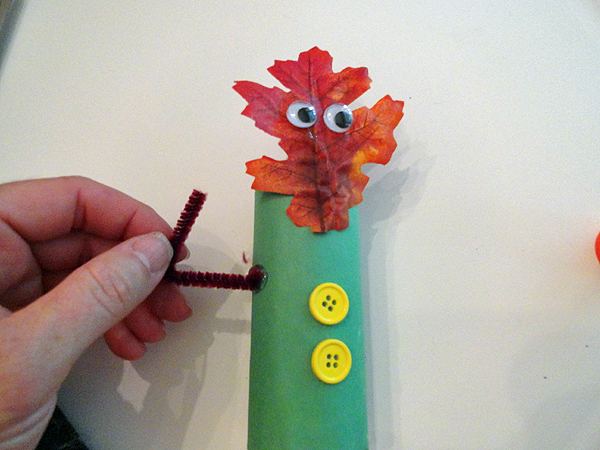
4. Glue the eyes or make them out of plasticine and add them to the cardboard cylinder.
Children's autumn crafts: a spider made of a cone
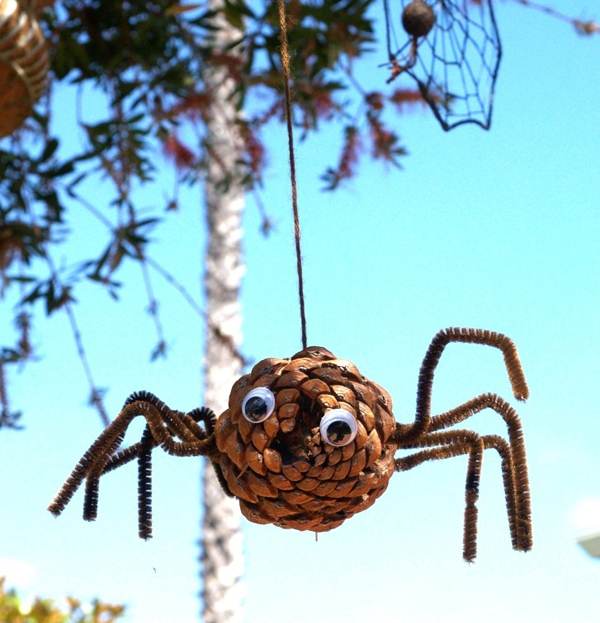
You'll need:
– lump
– 4 branches resembling spider paws or 4 pieces of a thin brush
– plasticine (for making eyes) or plastic eyes
– “Moment” glue (superglue)
– a thread to hang a spider.
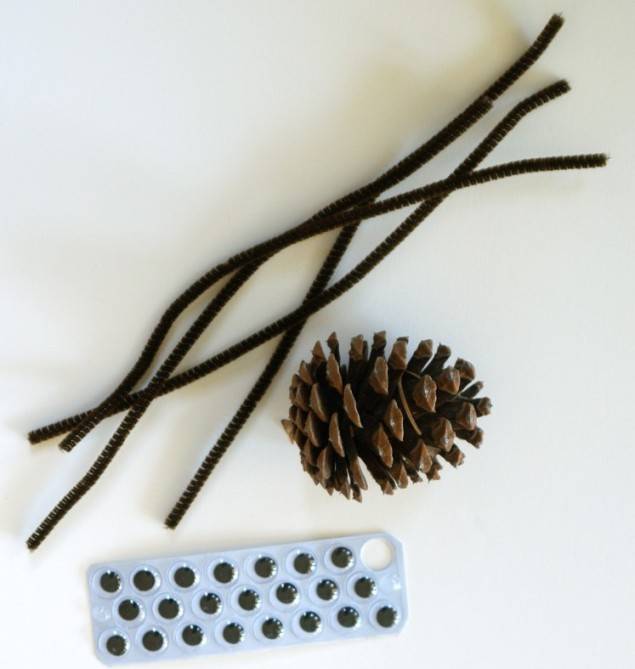
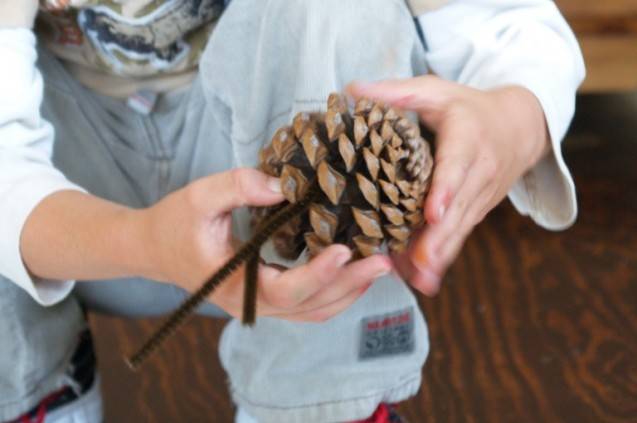
1. Use 4 brushes to make paws – thread each to the middle and bend them so that the ends of the brushes look like spider legs on both sides.
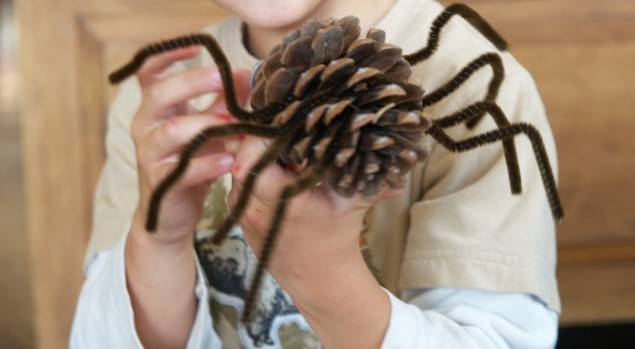
2. Add eyes – this is easier to do at the bottom of the cone, where it is not loose.
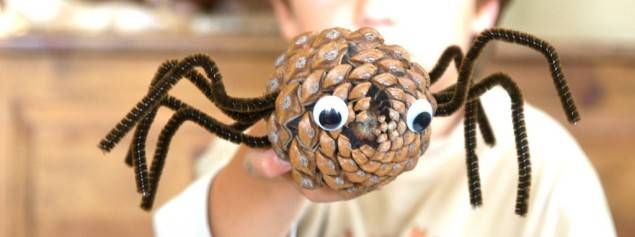
3. Tie a thread and hang it somewhere for beauty.
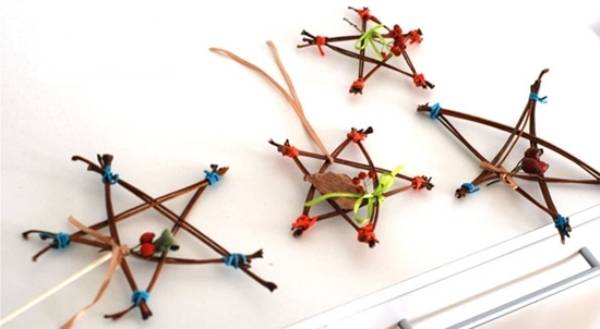
DIY autumn crafts: stars from twigs
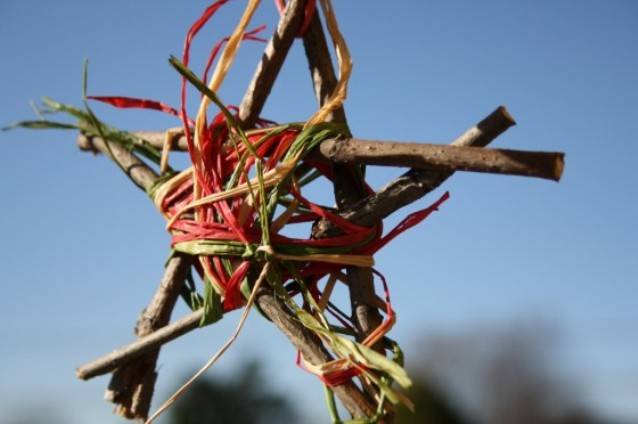
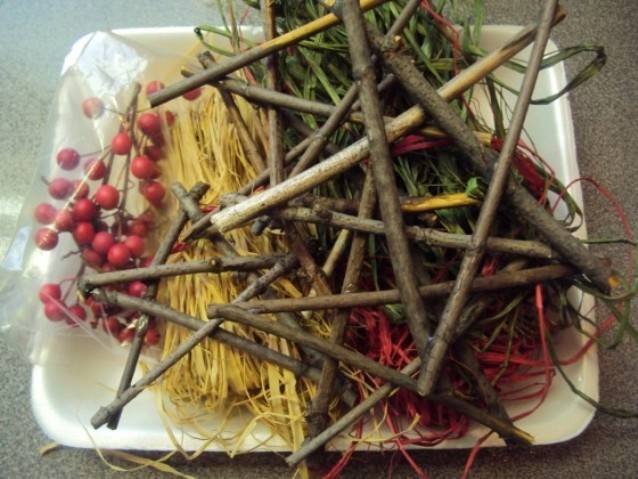
You'll need:
– branches of the same length and diameter
– raffia (or just bright fabric or paper tapes)
– superglue (or hot glue gun)
– acrylic paint or gouache (if desired)
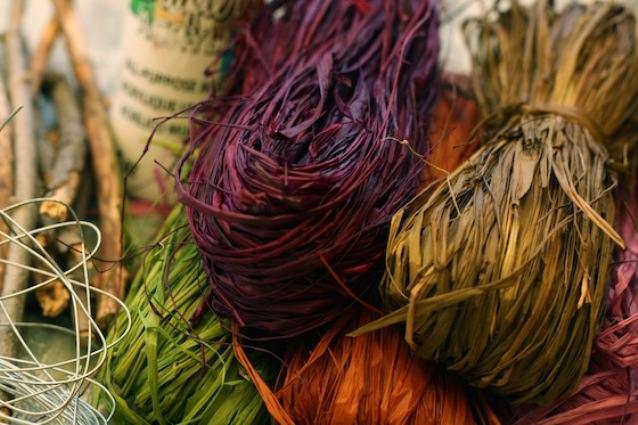
1. Collect branches from the forest and cut them so that they are the same length. You need 5 pieces.
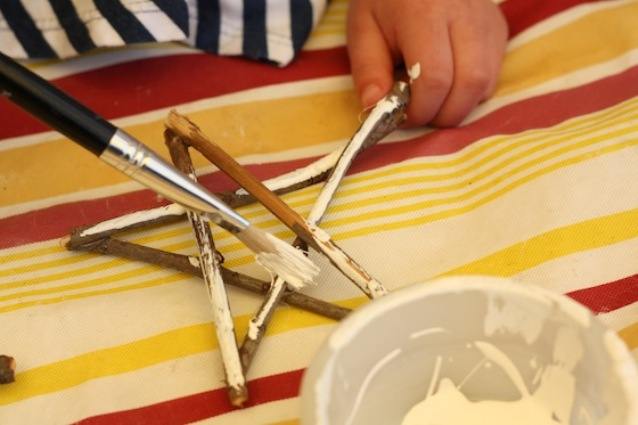
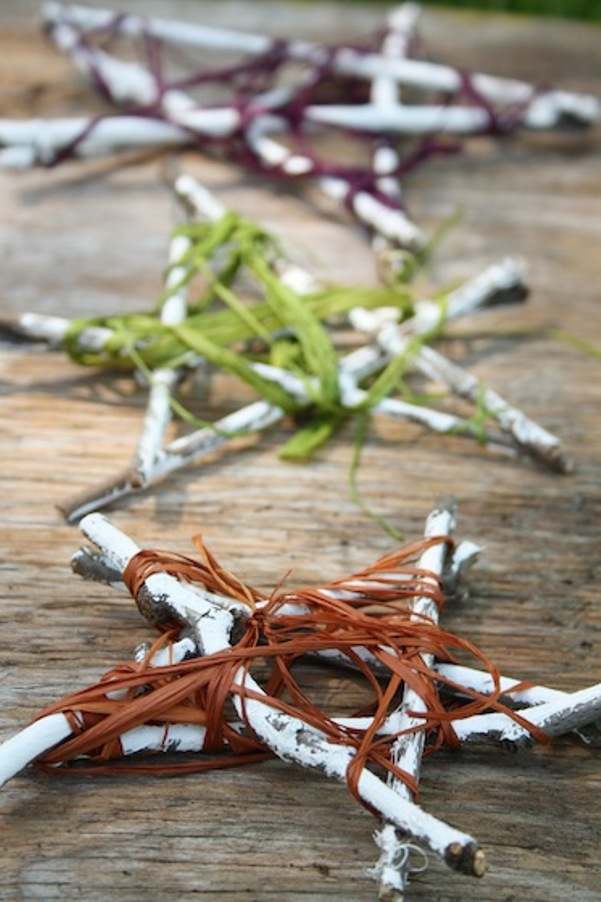
2. Form a star out of the branches.
* If you wish, you can paint the sticks with white acrylic paint or gouache.
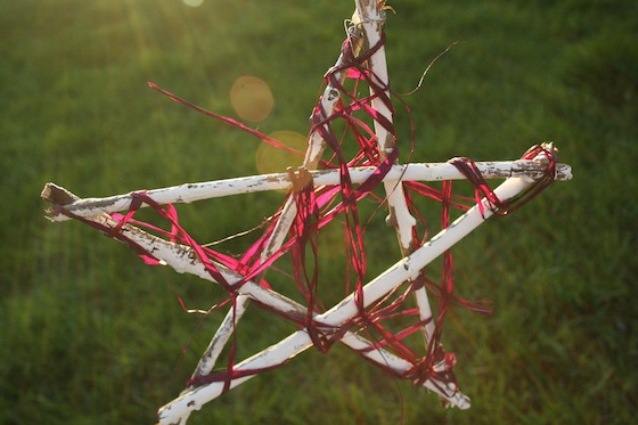
3. Grab raffia or ribbons and put the branches together to make a full-fledged star.
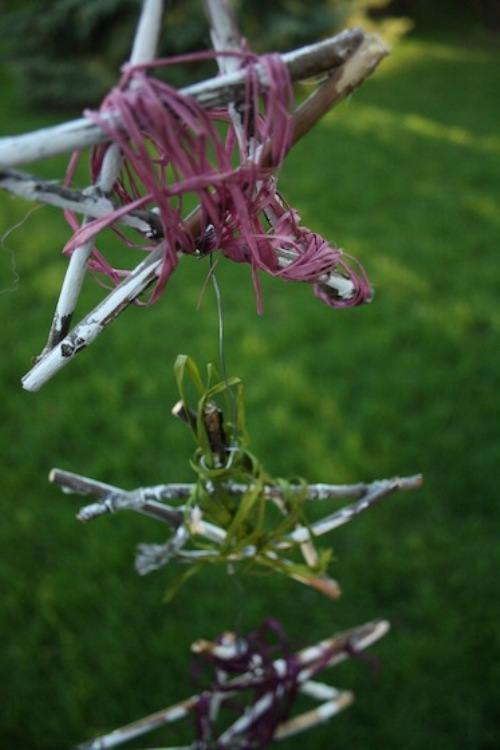
4. To make the star more beautiful, you can wrap it with raffia or bright ribbons.
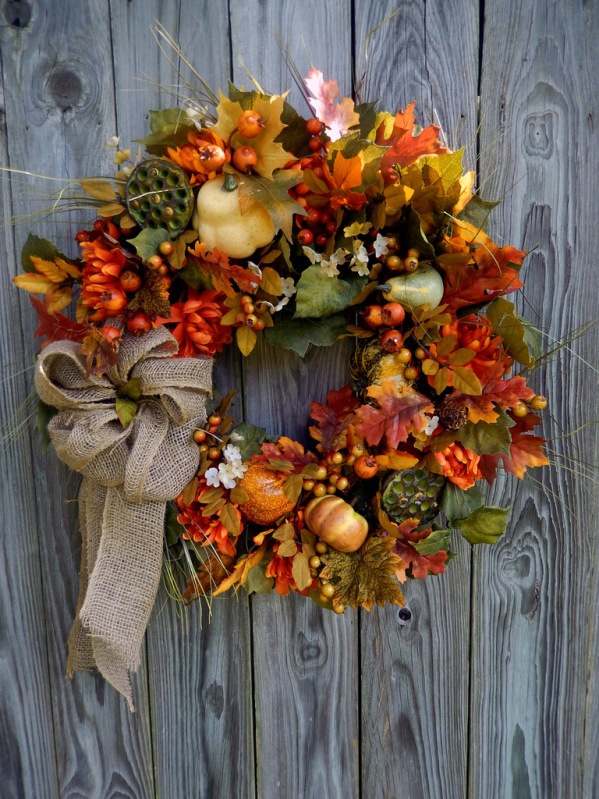
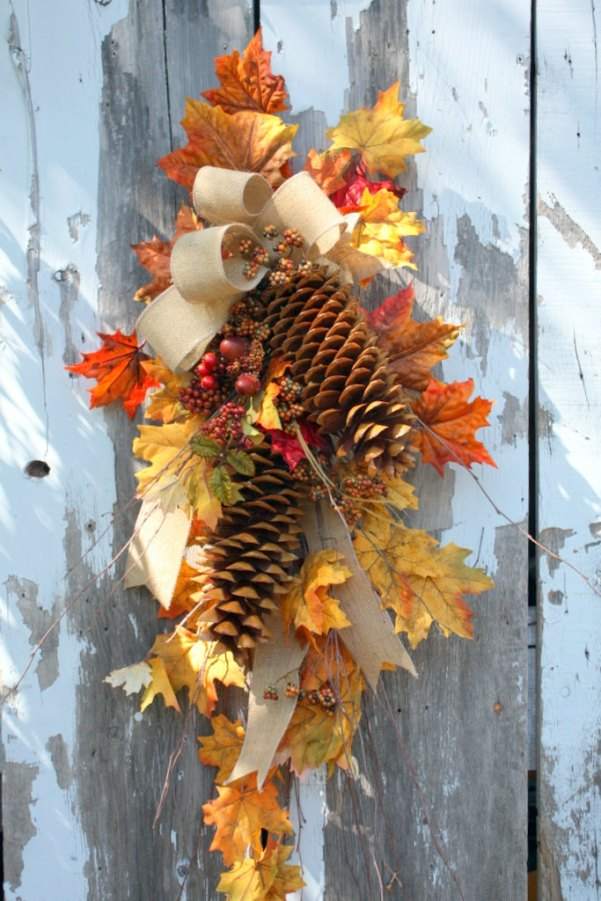
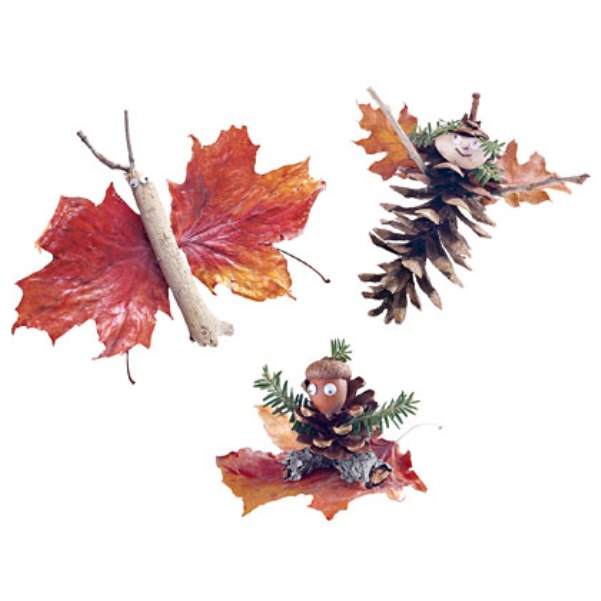
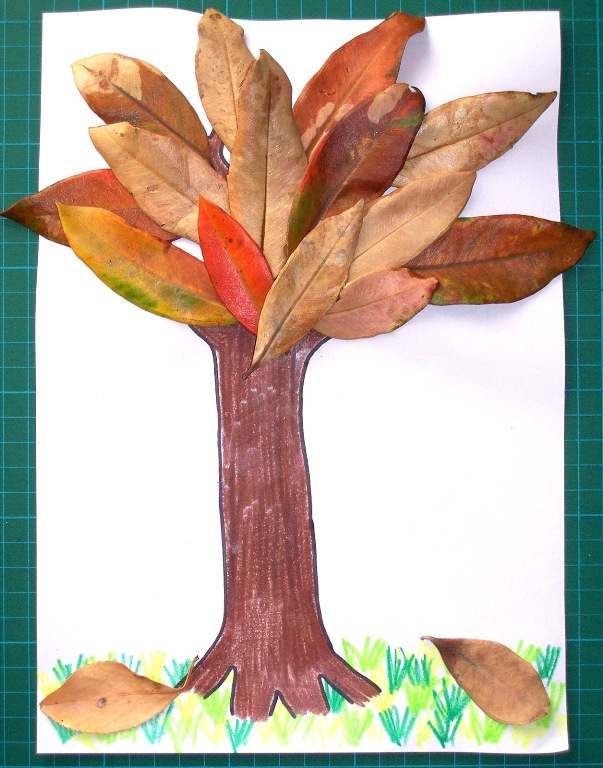
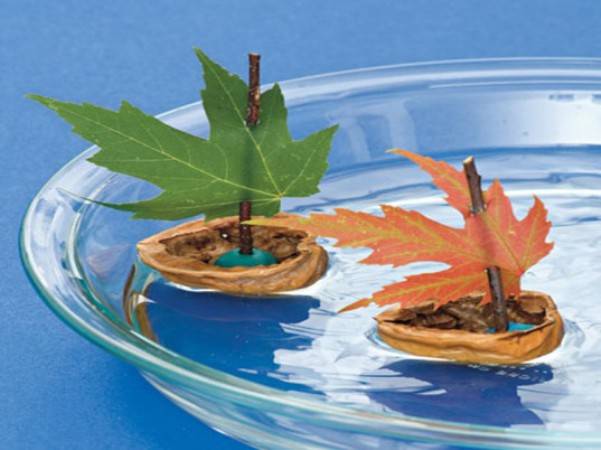
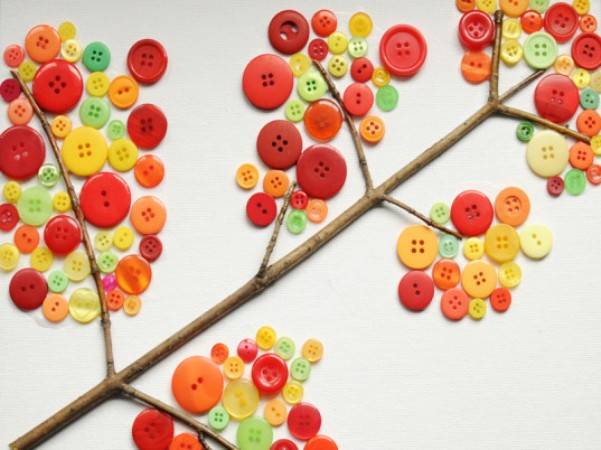
What else can be made from natural material (photo)
On our site you will also find:
Crafts from cones with your own hands DIY acorn
crafts Crafts on the topic “Autumn” with your own hands
We make crafts with our own hands: photos, diagrams, instructions
Crafts for home
Beautiful and simple appliques for those who love autumn
Crafts from improvised material
Children's crafts for kindergarten
Crafts from natural material with your own hands DIY leaf
crafts