
 Useful tips
If you have small jars of jam, baby food or something else, you should not put them in the pantry, let alone throw them away.
Of course, you can store something in such jars – spices, tea, coffee – or you can make interesting crafts out of them, and attract children to creative work.
Here are some interesting crafts that can be made from ordinary jars:
DIY flower pots and vases
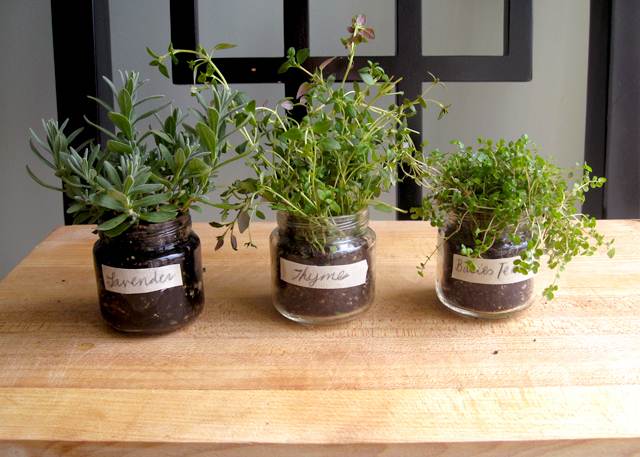
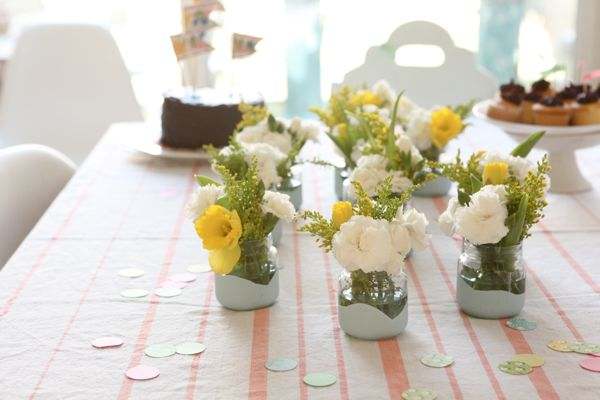
From small jars you can make beautiful flower pots.
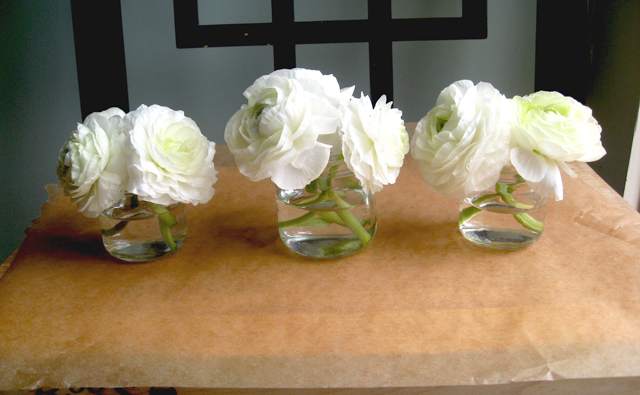
You can also make a flower vase. These buttercups were almost in bloom, so they decided to cut them off and place them in a decorated jar of water.
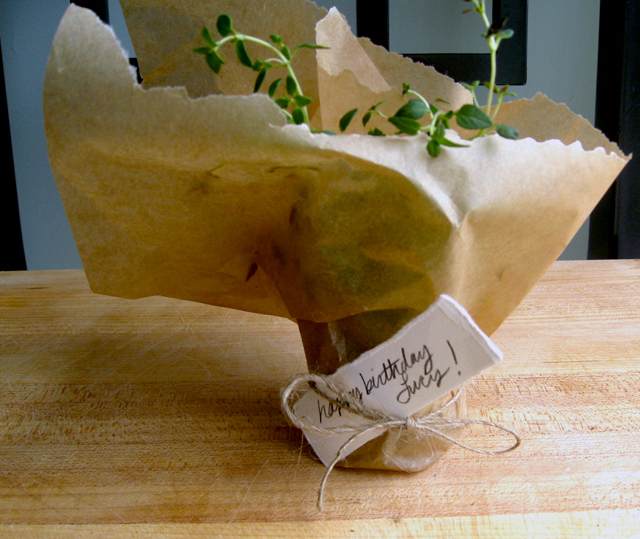
If you wrap them with beautiful paper, tie a twine and add a tag with a wish, you can create a beautiful gift or bonus to the main gift.
Read also: The 20 easiest crafts for everyone
Holiday vases made of glass jars
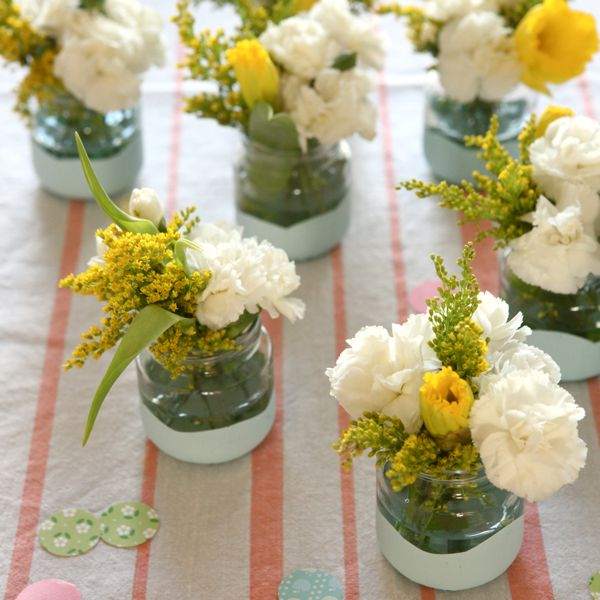
You'll need:
– acrylic paint
– water
– flowers.
1. Pour some paint into the jar.
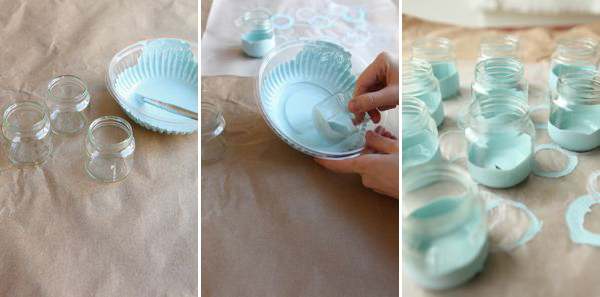
2. Start turning the jar little by little so that the paint “draws” the waves inside the jar.
3. Place the jars on their side and leave to dry overnight. Then turn the jars with your throat down and leave for a couple more hours for the jar to dry at the bottom.
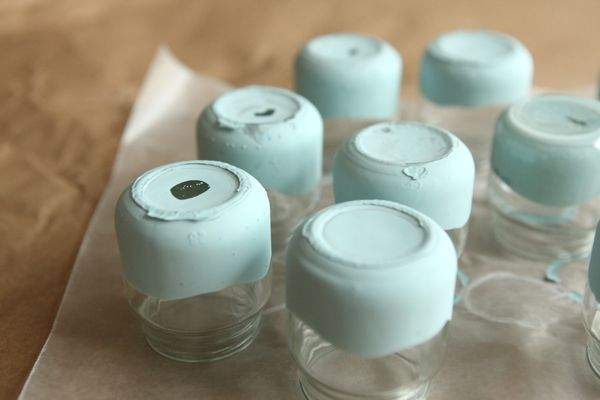
* You can use different colors, or paints of similar shades.
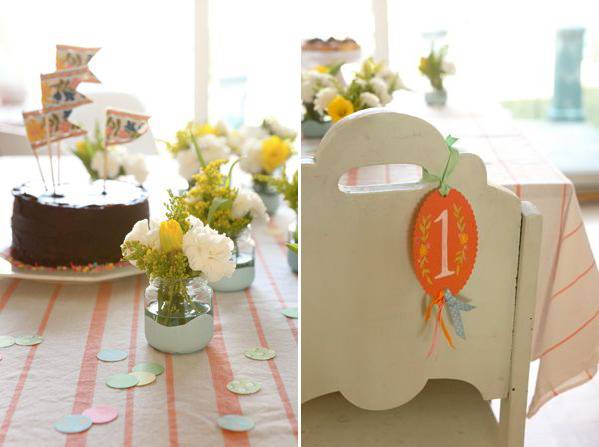
* If you use a brush, you can draw patterns.
See also: DIY crafts for the home
Crafts from glass jars: a convenient tool for removing nail polish
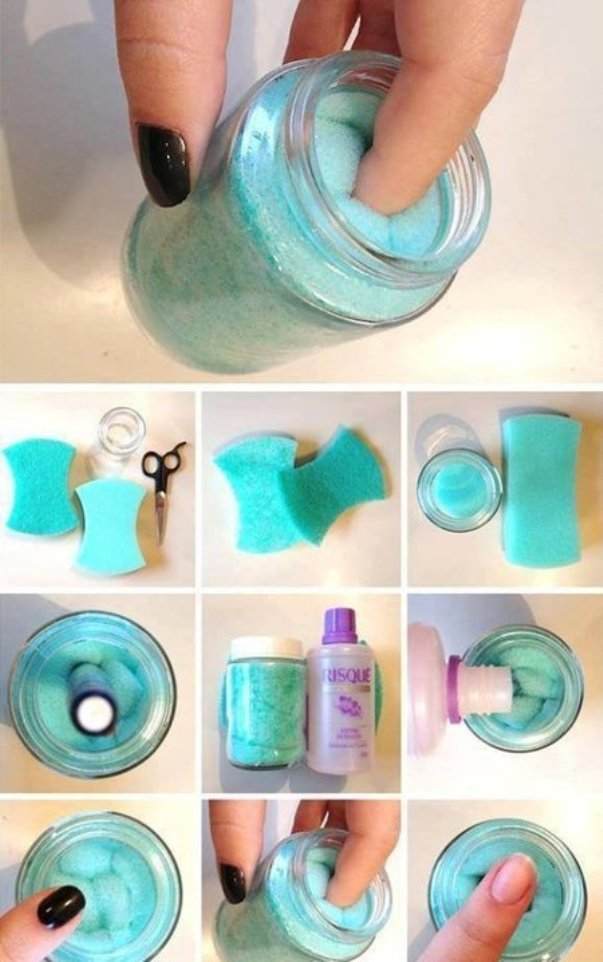
You'll need:
– sponge
– nail polish remover.
How to make a snow globe out of a glass jar
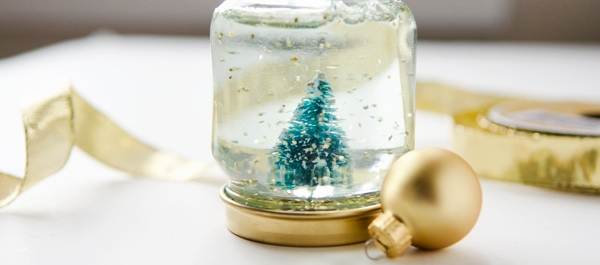
You'll need:
– small jars with screw caps
– small artificial (possibly toy) trees
– degreasing agent (if necessary)
– spray paint or acrylic paint (optional)
– glycerol
– superglue
– sparkles
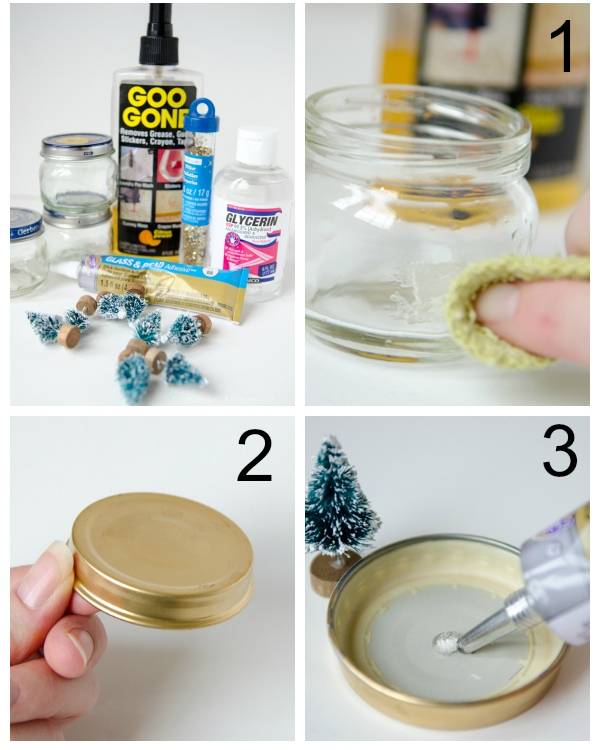
1. Remove the label and wipe the jar with a degreaser. If the jar does not have a label, just skip this step.
2. If you wish, you can paint the lid of the jar in any color.
3. Apply some superglue to the inside of the jar lid and to the bottom of the artificial wood.
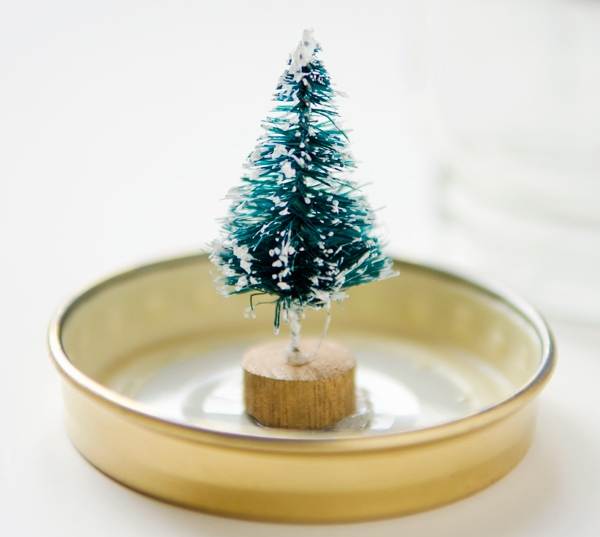
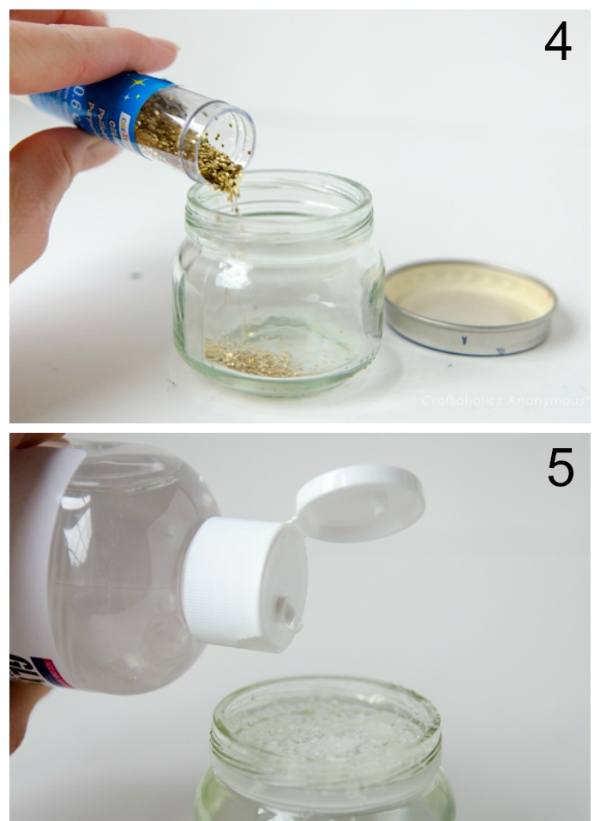
4. Leave to dry for 24 hours, then pour 1 teaspoon of glitter into the jar and add water, adding 5 drops of glycerin.
5. Close the lid tightly and turn the jar over (so that the tree is in the correct position).
It's done!
See also: How to make a vase yourself
Beautiful “pumpkin” jars
You'll need:
– acrylic paint
– glitter paint
– brushes.
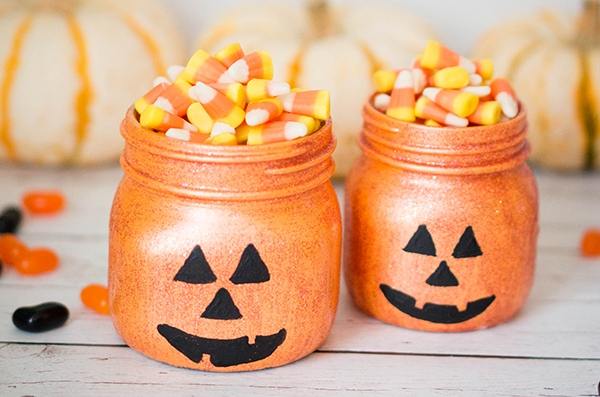
1. Start painting the jars. It will take 2-3 coats of paint. If the theme is “Autumn” or “Halloween”, then you can use orange paint (for a pumpkin).
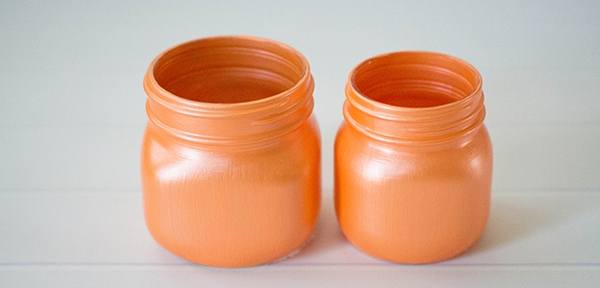
2. When the paint is dry, apply a layer of glitter paint on top.
3. You can paint eyes and mouth on the jar with a brush and black paint.
* Fill the jar with sweets and you're done!
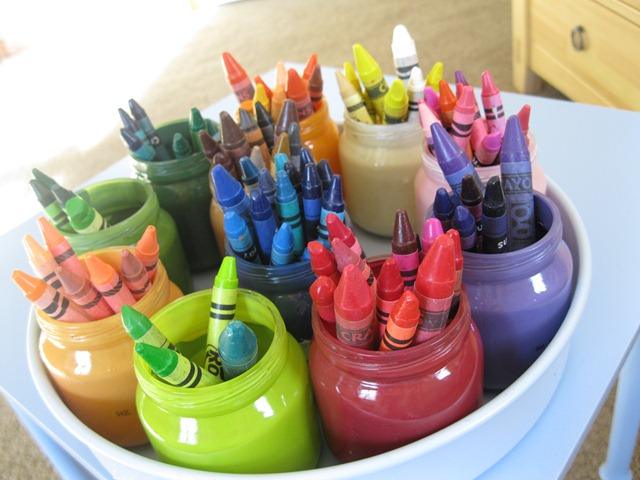
Craft from cans: organizer for wax crayons
You'll need:
– round tray
– small jars
– spray paint (optional)
– glue (for glass or superglue)
– masking tape
– acrylic paint in different colors.
1. Place all the jars on the tray to see how much you can put on it. Mark where each jar will stand with a piece of masking tape.
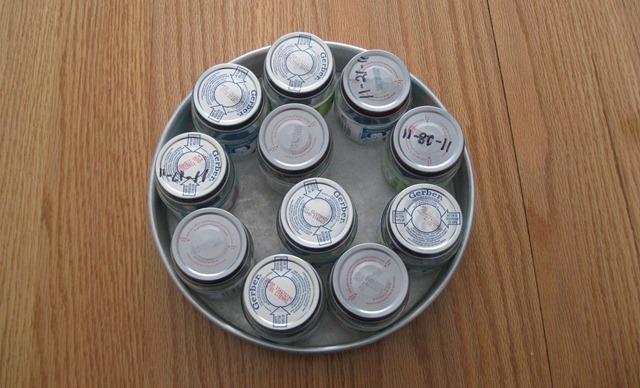
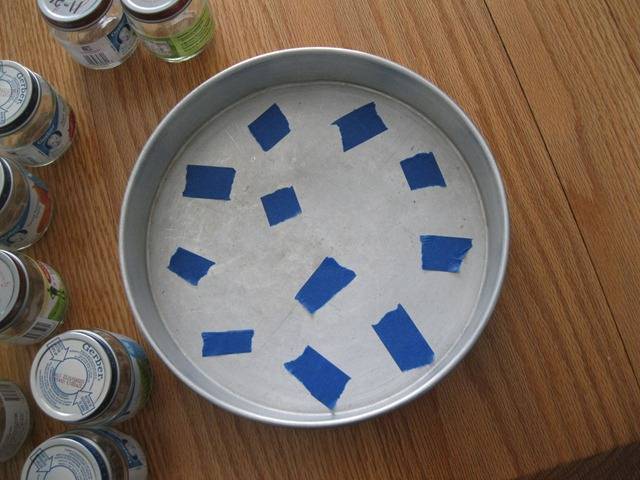
2. If you wish, you can paint the tray (directly with pieces of masking tape). To better paint it with spray paint, place the tray in a box (it will protect it from the wind). It is better to paint on the street.
3. Choose acrylic paint for each jar. You only need to paint the inside of each jar.
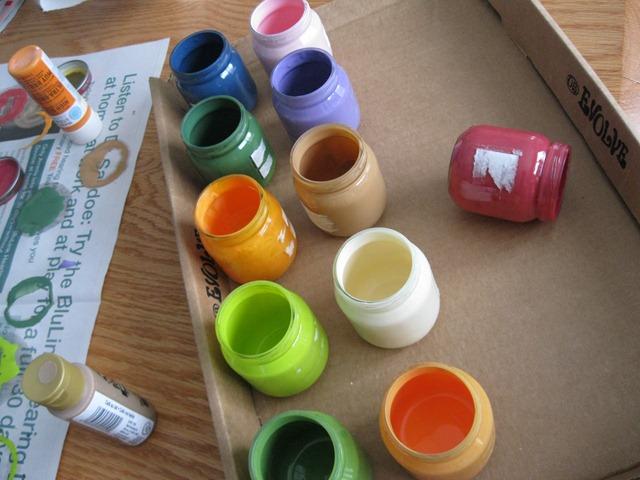
To make it easier to paint the jar inside, pour a little paint inside, add some water, close the lid and start turning the jar over so that all the paint spreads over the inner walls.
4. Turn the colored jars downwards (removing the lids) and place them on a newspaper or paper towel to dry for about 1 hour.
5. Then turn each jar on its side and start twisting it so that the paint is evenly distributed across the walls of the jar. The paint will need at least a day or even two days to dry.
6. Remove the masking tape from the tray, apply glue to its place and place a jar on each mark with glue.
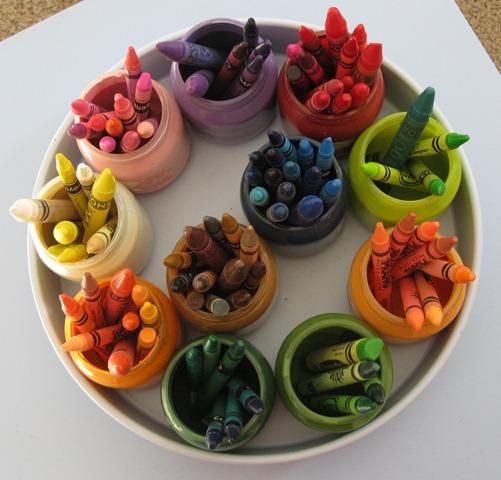
You can now arrange crayons, pencils and/or markers by color.
Chocolate snowmen made of glass jars with screw cap
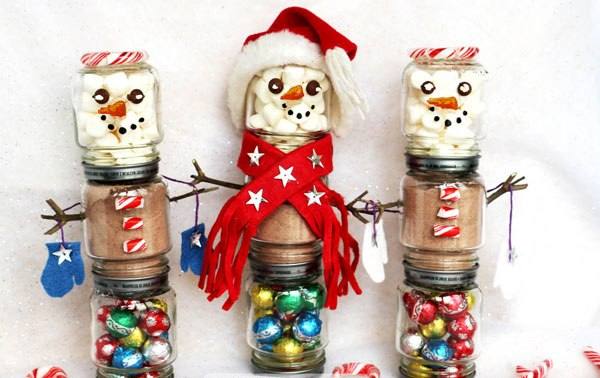
For one snowman, you will need:
– 3 small clean jars (no labels) with screw caps
– hot chocolate
– a small marshmallow
– candy
– chocolate chips white glaze for eyes (optional)
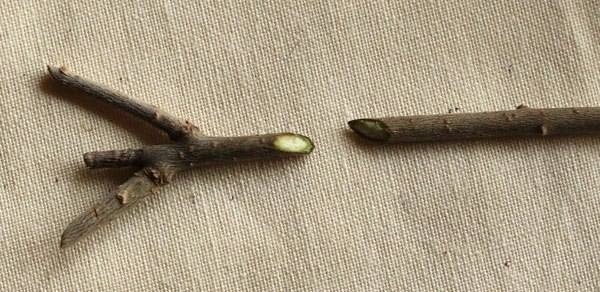
– small twigs
– felt or a small piece of cloth (for a snowman scarf)
– embroidery thread
– jewelry (in this example these are star stickers)
– polymer clay (for the nose) or plasticine
– small lollipops (for buttons and hats)
– a small Santa Claus hat
– glass marker
– superglue or hot glue gun
– secateurs or scissors (to cut off small branches).
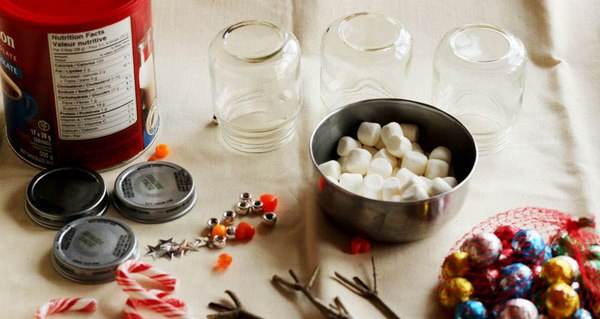
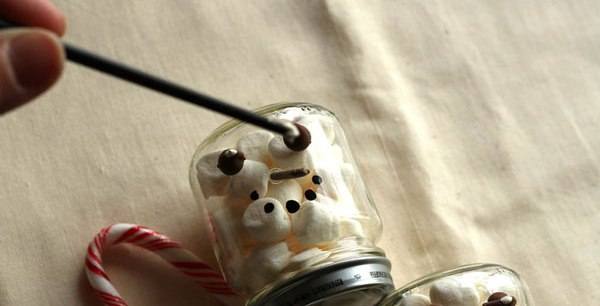
1. Fill one jar with marshmallows, another with chocolate powder or cocoa, and a third with small candies. Close the lids.
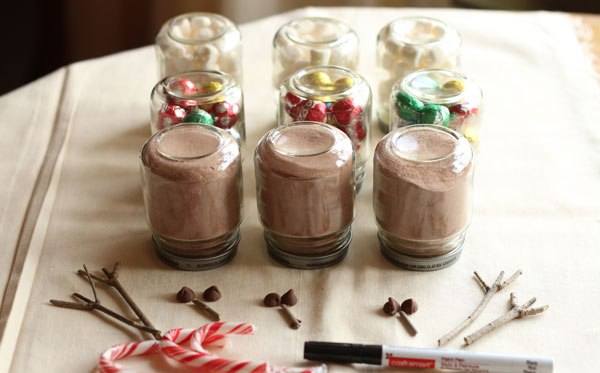
2. Glue to the jar, which will play the role of a snowman's head, eyes and nose. You can use chocolate chips with glaze, felt (brown and white for the pupils) and superglue, polymer clay, plasticine, marker or acrylic paint – there are many options.
3. Using glue, attach small branches to the jar that will be in the middle, which will play the role of a snowman's hands.
4. Glue one jar onto the other.
5. Cut a scarf and snowman mittens out of felt.
5.1. Wrap the scarf around the snowman and secure it with glue.
5.2. Take a small piece of embroidery thread and glue one mitten to each end. Hang the mittens on the snowman and secure them with glue.
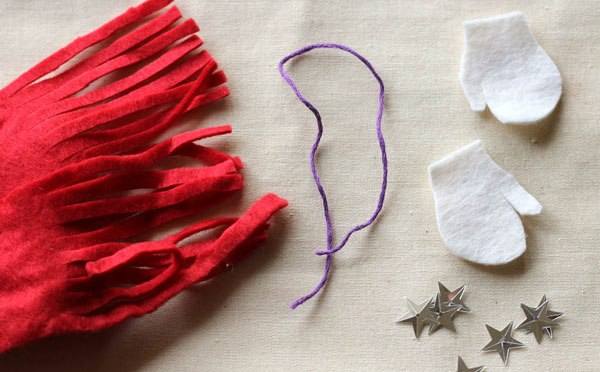
6. You can add different decorations to the snowman: stars, stickers, glue pieces of felt, small hats, etc.
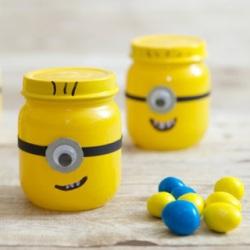
DIY can crafts: minions
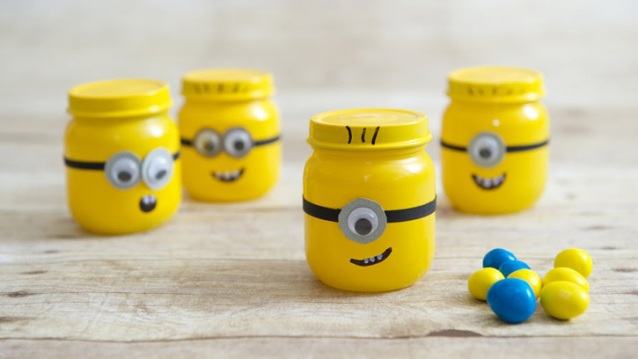
You'll need:
– small jars
– yellow paint
– toy eyes (they can also be made from plasticine or painted with a marker or paints)
– colored cardboard
– superglue and/or hot glue.
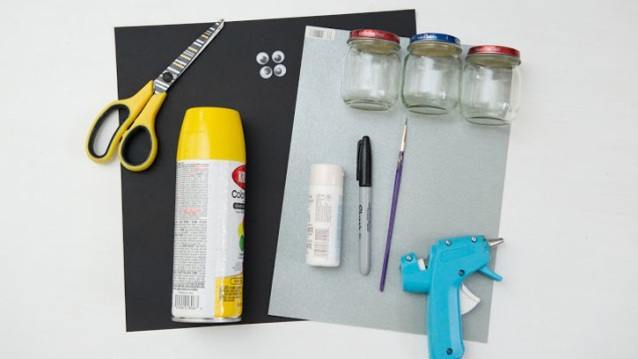
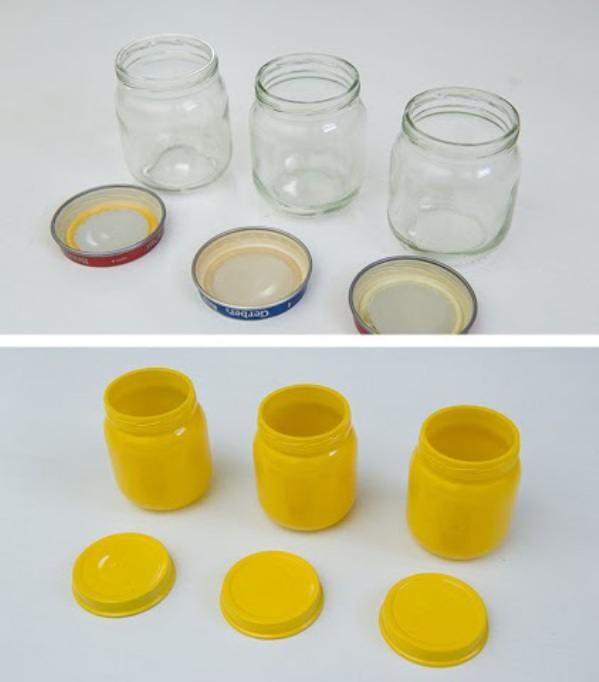
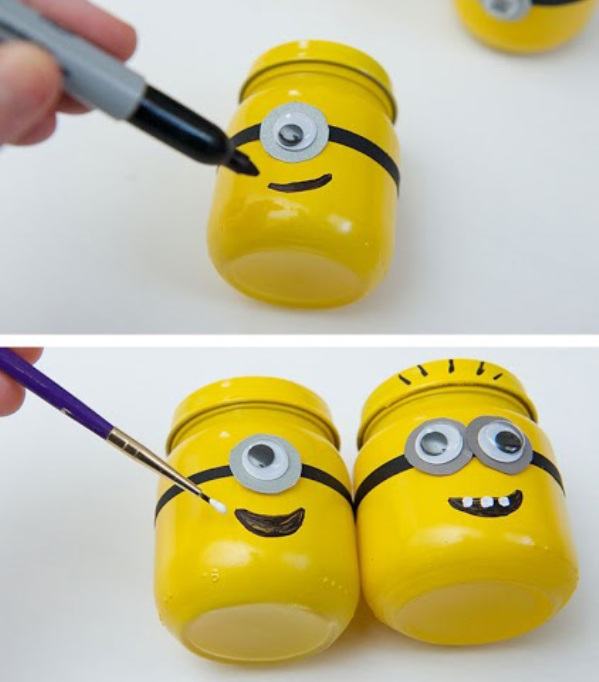
1. Paint the jars yellow. You will need to apply 2-3 coats of paint.
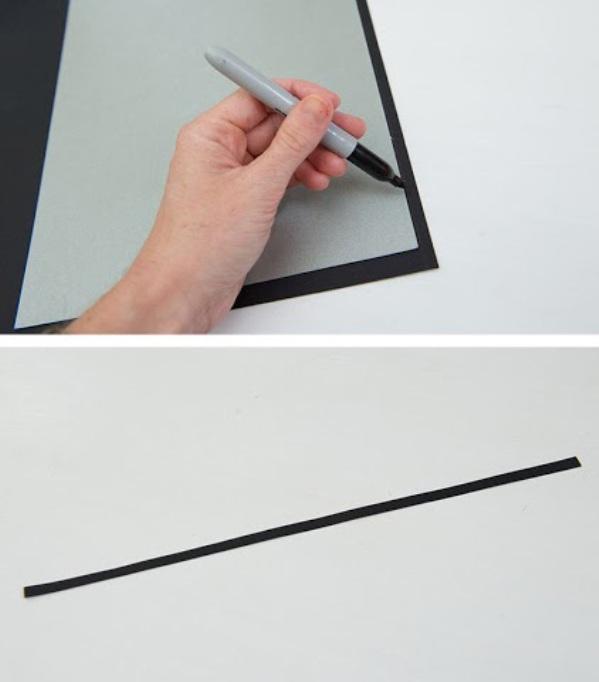
2. After the paint has dried, cut a thin strip of black cardboard sheet and glue it just above the middle of the jar, where the minion's eyes will be located.
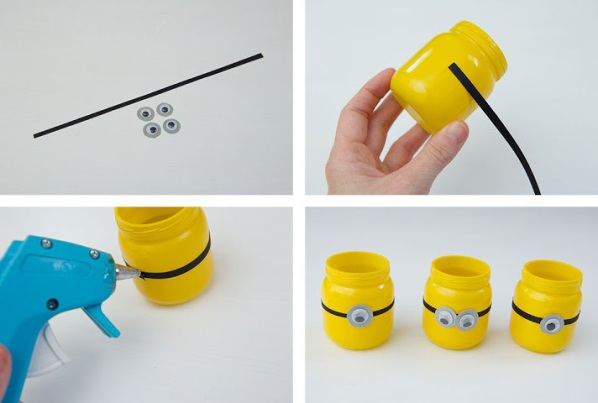
3. Glue the toy eyes on a black strip or you can use plasticine instead of plastic eyes.
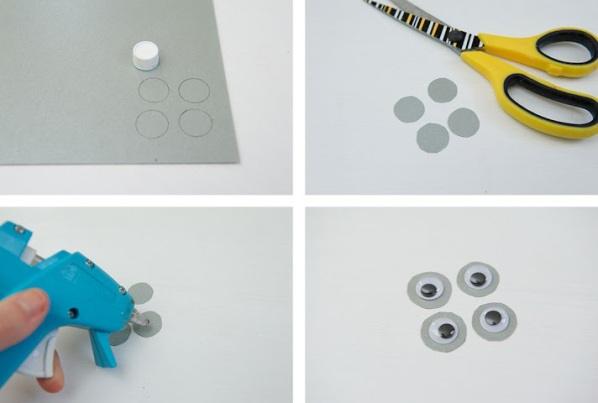
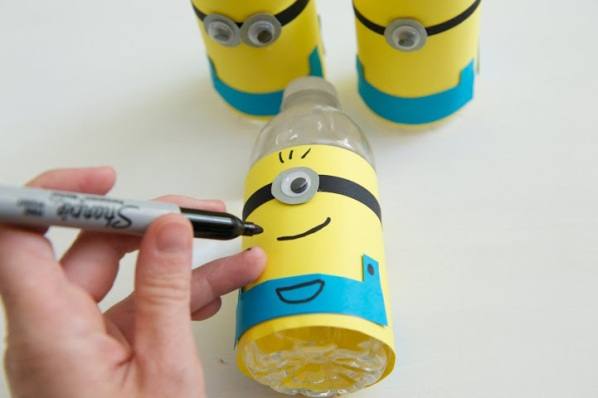
4. Use a marker or acrylic paints to paint a smile and you're done!
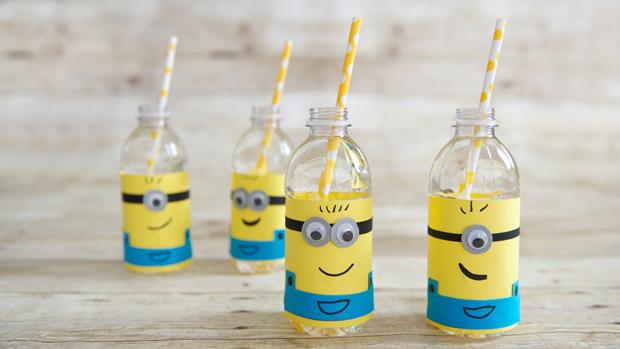
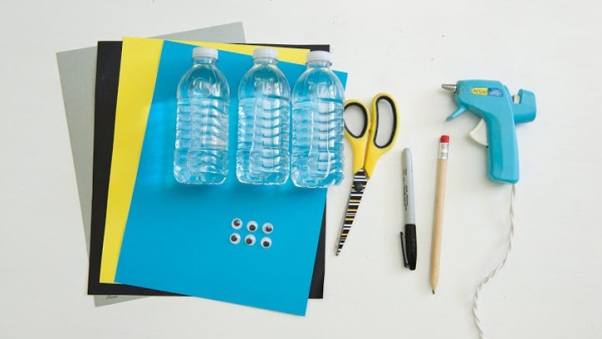
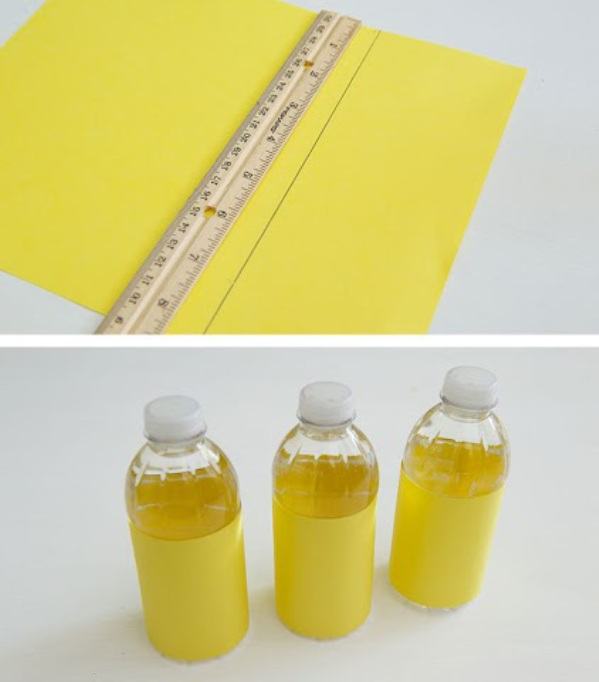
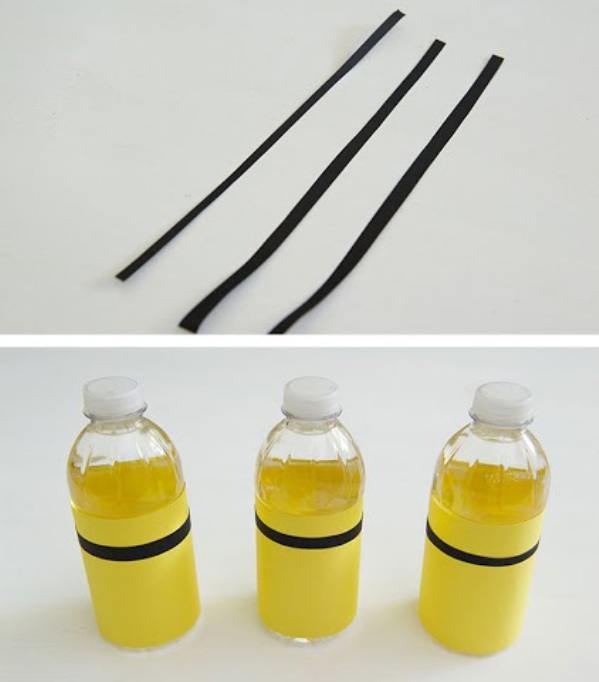
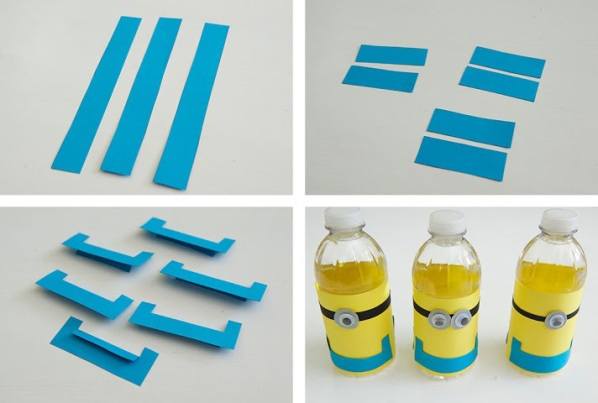
In a similar way, you can decorate other bottles, but colored paper can be used instead of paint:
Glass jar decoration for home or garden: candles on a branch
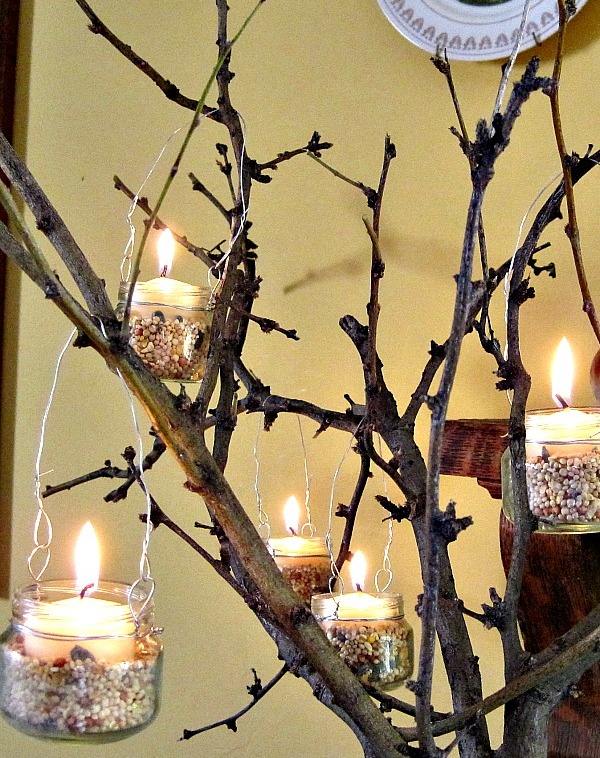
You'll need:
– a large branch and a pot or tree in the garden
– decorative pebbles (you can try ordinary small pebbles)
– wire
– clippers
– small jars
– small candles (church) or artificial (battery-powered).
1. Wrap the neck of each jar with one piece of wire. Leave more wire on the sides so that you can twist it and make loops for the future handle (see image).
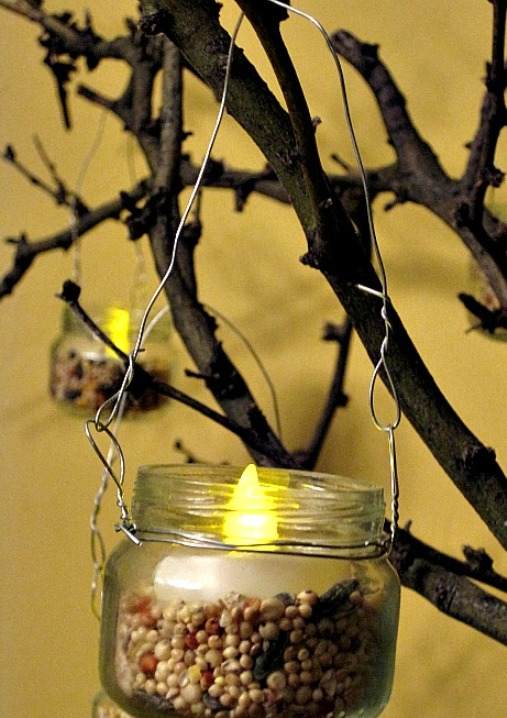
2. Take another piece of wire and attach it to the loops of the first wire. This is how you will make a pen so you can hang your lamp. Cut off excess parts with clippers.
3. Put some decorative pebbles into the jar.
4. Put your candles in a jar on pebbles.
Now you can hang your crafts and light candles.