
 Useful tips
Watch the video, If you are too lazy to read
Watch the video, If too lazy to read
Today we suggest that you make a wonderful piece of decor with your own hands that can decorate any interior, be it your apartment or workplace. These will be cute little butterflies that we will make using the most common colored paper and floral mesh.
You can offer your children to take part in making this craft, and then decorative butterflies made by them will be able to decorate their children's room or become wonderful an addition to the interior of the kindergarten or school where your child goes.
To make our craft, today we will need:
butterfly pattern;
colored sheet of paper;
floral mesh;
decorative flower stamens;
a small clothespin;
a piece of cardboard;
a piece of felt;
pin;
pencil;
scissors;
hot melt adhesive.
So let's get started!
To make the main part of our butterfly, we will need colored paper (we took pink), a floral mesh (can be found in a flower shop) and cut out of plain paper, in fact, butterfly pattern.
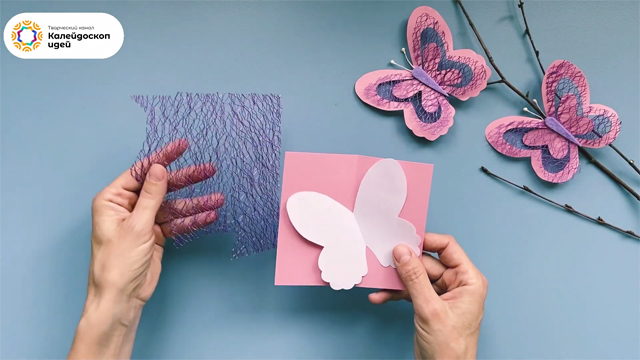
Fold a rectangular piece of colored paper exactly in half.
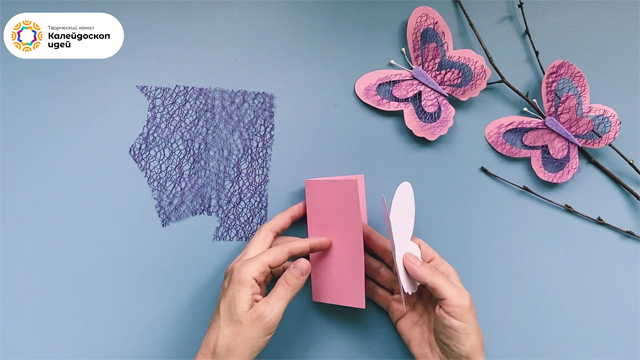
Now we fold the template of our butterfly in half and attach it to the paper so that the fold lines of both parts coincide.
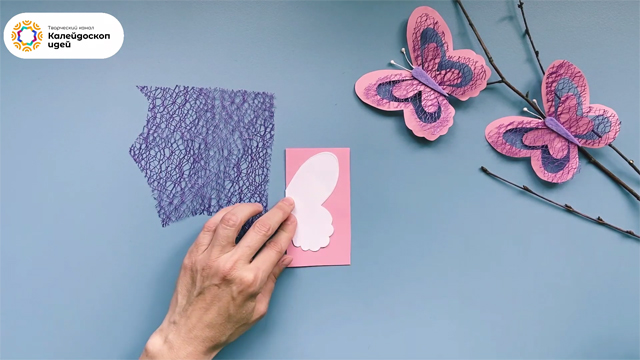
Draw a pencil around the butterfly pattern.
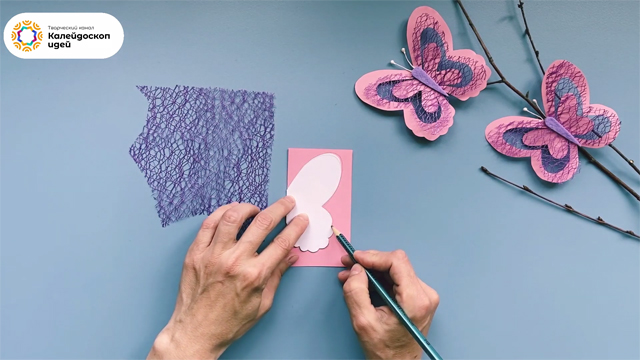
Take scissors and cut a butterfly out of paper along the drawn outline.
Please note that we do all these actions as if with half of our butterfly. And since the paper was folded in half, when unfolded, we will get an absolutely symmetrical figure.
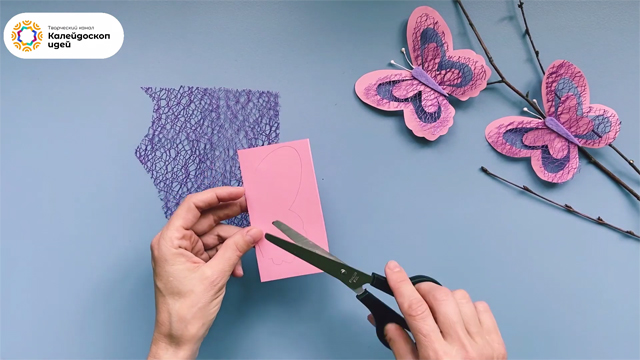
Take the pencil again and draw a line approximately parallel to the contour, like this.
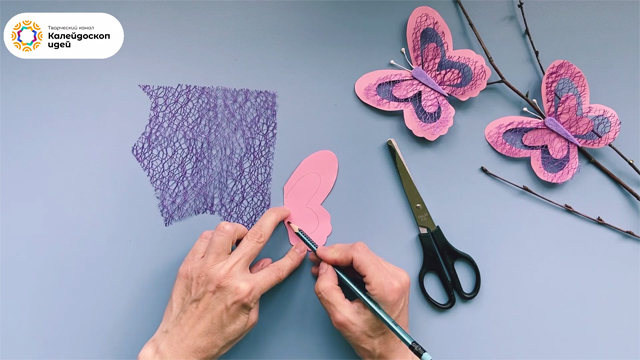
Now cut along the contour of this line with scissors.
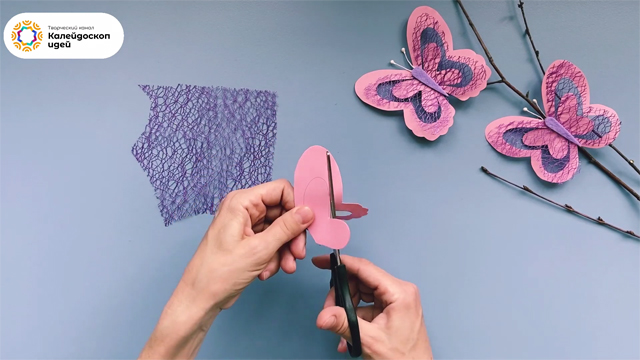
The cut inner part is slightly reduced, once again cutting it along a line parallel to the outer contour.
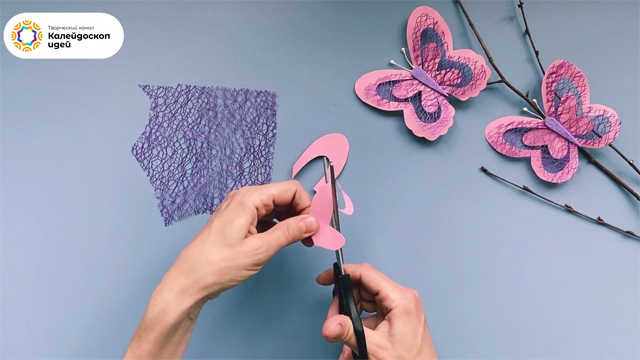
We unfold both parts, and we get two such parts of our future butterfly.
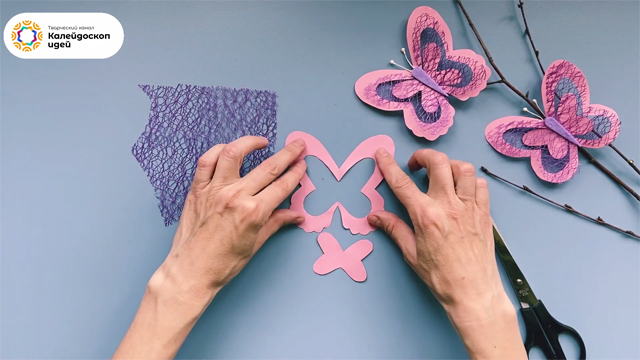
We place the smaller part in the center of the larger one, and now we have almost begun to see the appearance of our future craft.
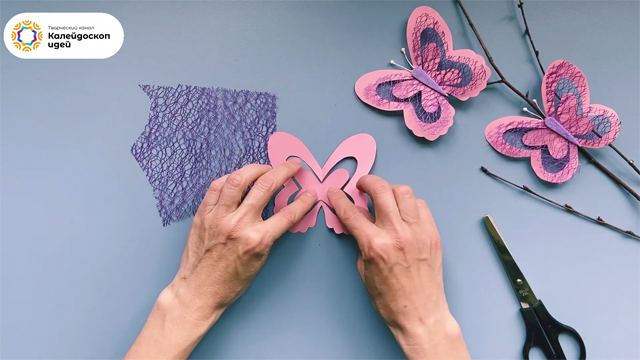
Now we take the butterfly template again, attach it with a pin to the floral grid and carefully cut out another butterfly from the mesh with scissors along a line parallel to the contour of the template into a smaller one side.
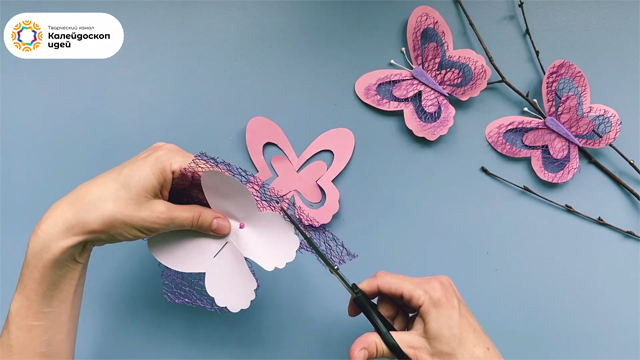
As a result, we get this butterfly outline from a floral mesh.
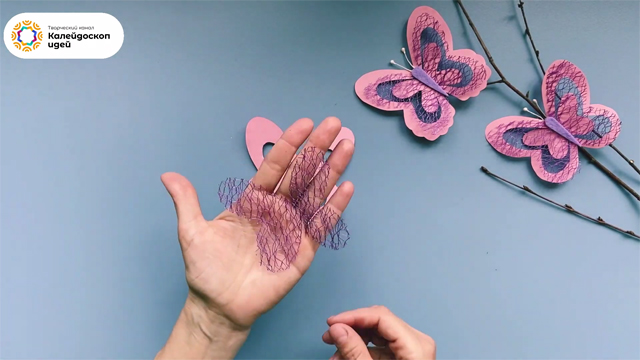
We apply the part cut from the floral mesh to the butterfly assembled from paper parts.
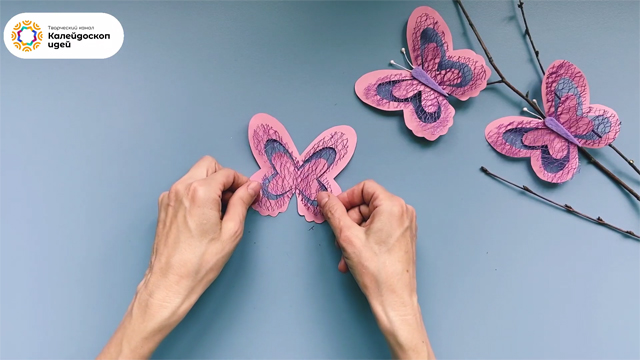
Now we will prepare the fixing element of our craft, and at the same time we will also make the body of our butterfly.
To do this, we need small pieces of cardboard and felt.
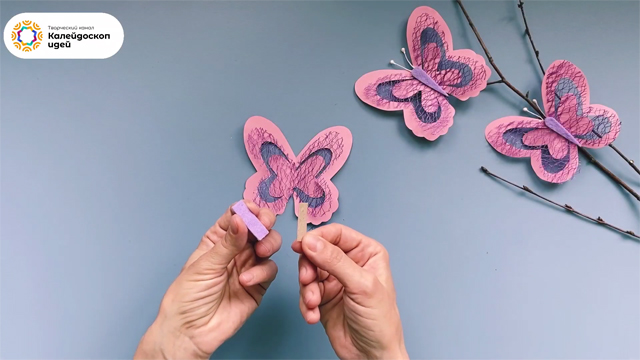
Cut out two identical parts from felt and cardboard in the form of an elongated drop.
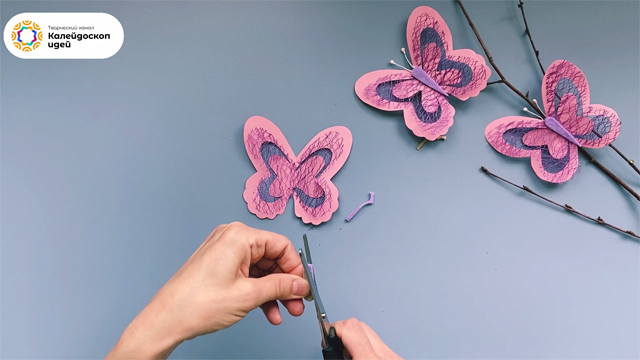
The part carved from felt will be located on the front side of the butterfly and will act as its body, and with a cardboard detail we will fasten the butterfly parts together on the reverse side.
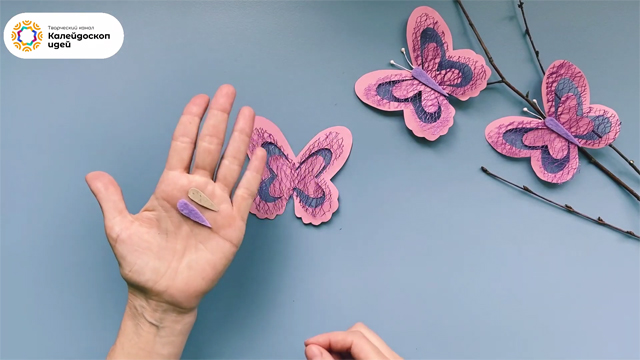
Now we will prepare these decorative flower stamens, from which we will make the antennae of our butterfly a little later.
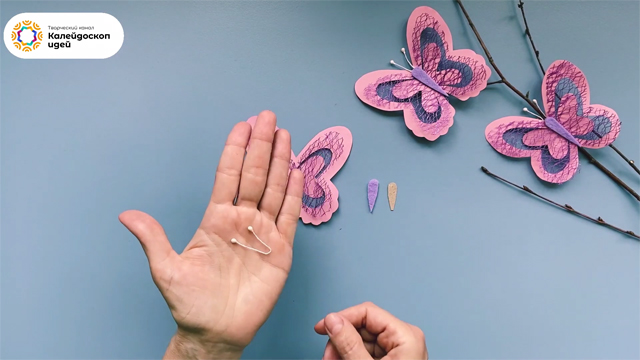
We start assembling.
We apply some hot melt glue to the cardboard part we cut out to fasten the parts of the craft.
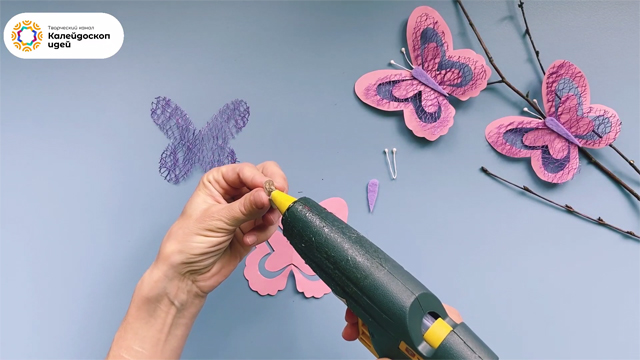
Carefully glue the cardboard so that the butterfly parts cut out of colored paper are evenly relative to each other, and the small part is exactly in the center big.
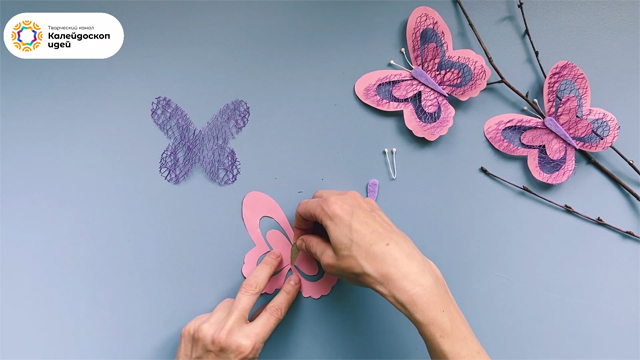
Now apply a drop of hot melt glue to the place where the antennae bend.
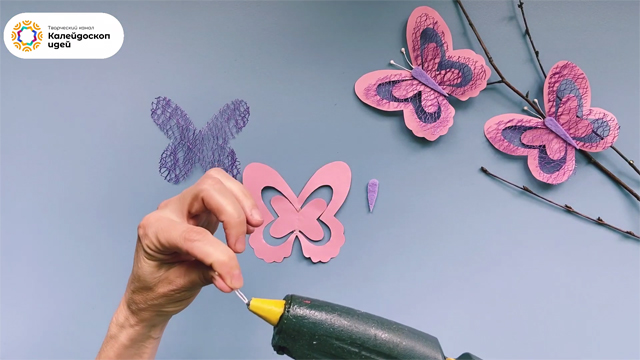
Glue the antennae to the butterfly.
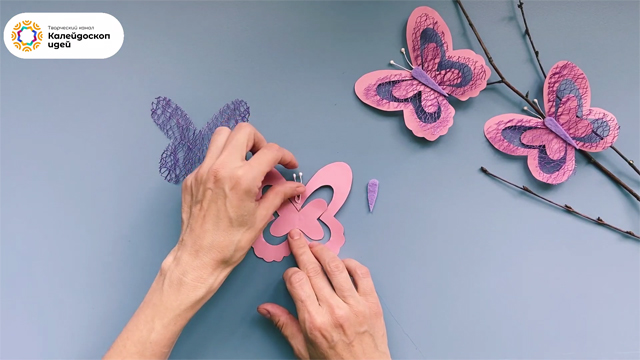
On the butterfly with the antennae already glued on the back side with cardboard, we apply a part cut from the floral mesh.
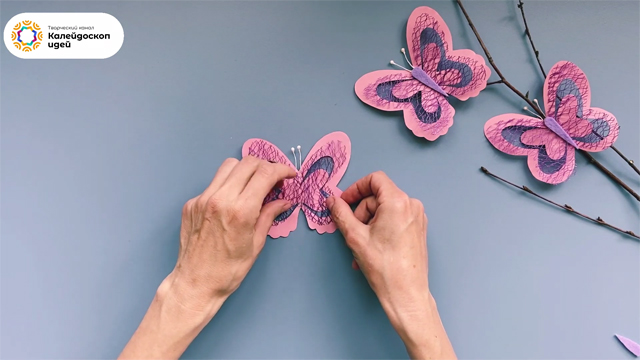
Apply hot melt adhesive to the butterfly's body cut out of felt earlier.
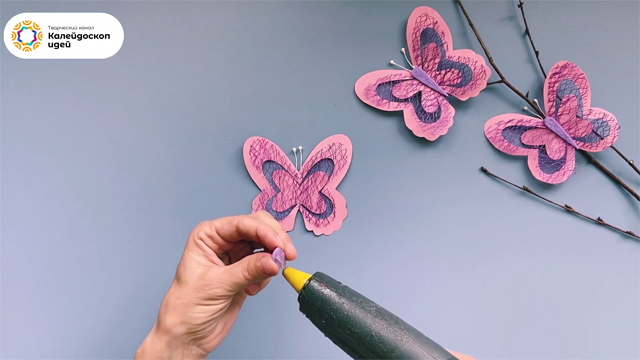
We glue the body to the butterfly so that it is located exactly along the central axis and fastens together all the details of the craft.
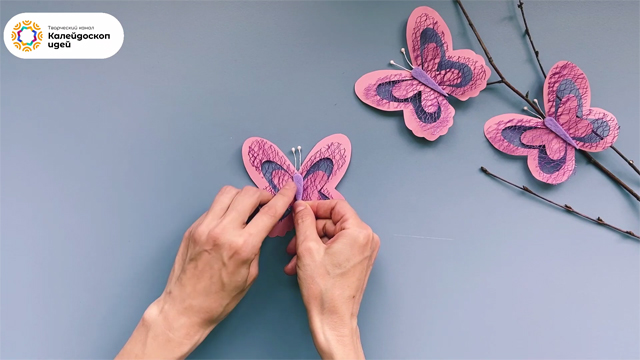
That's it! Our butterfly is almost ready.
It remains only to make a mount on its back side.
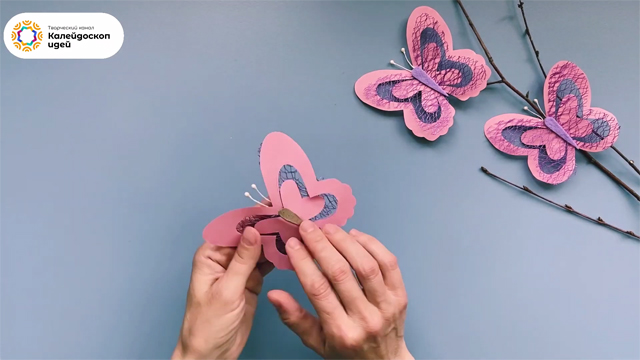
To fasten the butterfly, we need this small clothespin.
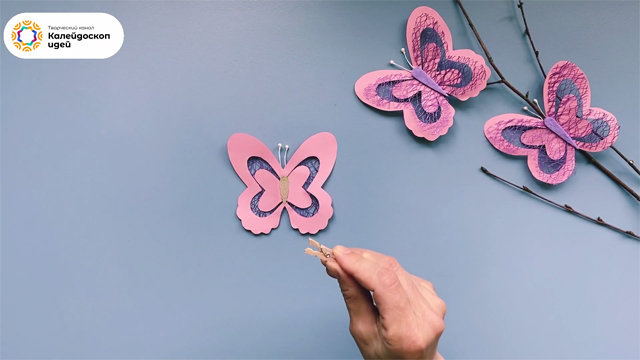
Apply a little hot melt adhesive to one side of the clothespin.
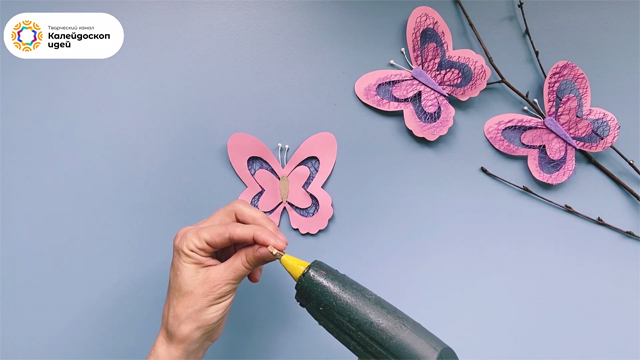
We glue the clothespin on the back of the butterfly to the cardboard strip that fastens the parts of our craft together.
Please note that it is better to place the clothespin not along the butterfly axis, but at an angle of approximately 45 degrees. So it will be more convenient to fix the craft, and it will look more advantageous this way.
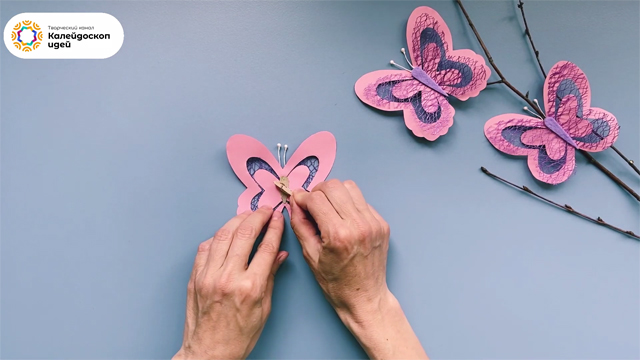
Now you can take, for example, a branch and use a clothespin to attach our butterfly to it.
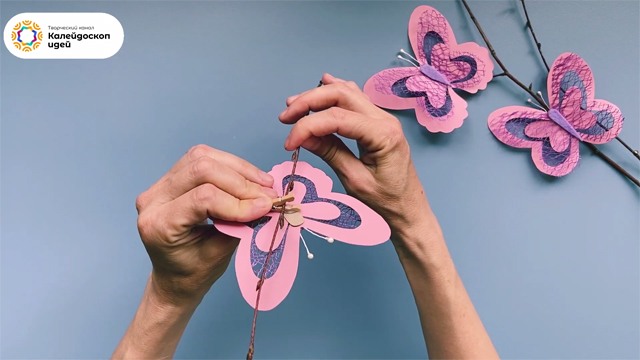
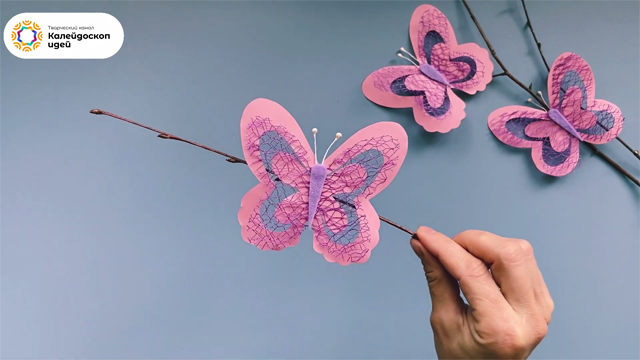
Our decorative butterfly is ready!
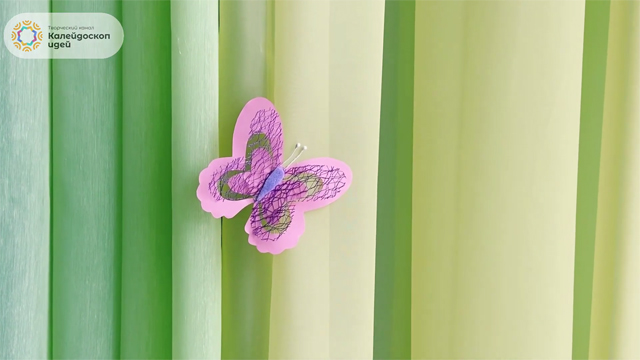
Since the clothespin is a fairly versatile mount, we can place our butterfly on almost any surface to which the clothespin can be attached.
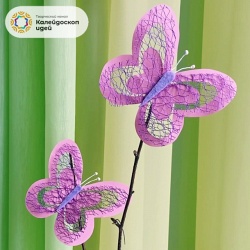
For example, this is what our butterfly on the curtain would look like.
If you still have any questions, or you did not understand something, you can see how the whole process of making this craft looks like in our video.