
 Useful tips
Watch video, If you're too lazy to read
Watch the video, If you're too lazy to read
Decorating your home has always been one of the favorite activities of many people. Today, of course, this issue can be solved quite easily. It's enough just to go to the store and buy any decorative item that you can use to decorate your home. However, it is worth noting that the popularity of homemade jewelry is still quite high, and many people try to create cute simple crafts with their own hands that can not only decorate the interior, but also will keep the hands and soul of the author himself warm.
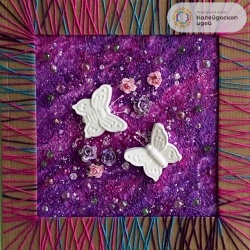
Today we will tell you how to make a bright three-dimensional panel with your own hands, on which wonderful butterflies cast from gypsum will be located.
To create our panel, we will need:
silicone butterfly shape;
gypsum;
water;
disposable cup;
a small spoon;
drawing paper;
dishwashing sponge;
gouache;
drawing brush;
beads;
wire;
floral mesh;
decorative flowers;
cardboard;
yarn;
scissors;
hot melt adhesive.
Let's get started!
Let's start directly with butterflies.
First, we will prepare gypsum, from which we will cast our butterflies.
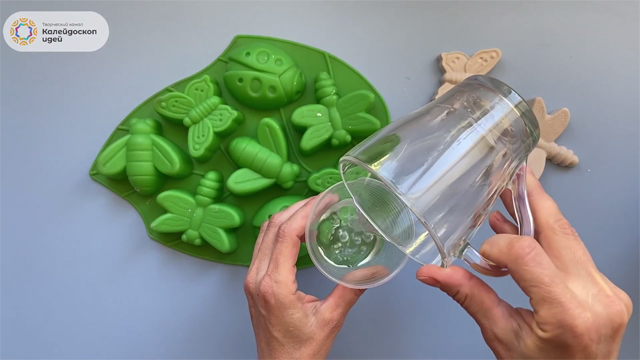
To do this, pour some plain water into a disposable cup.
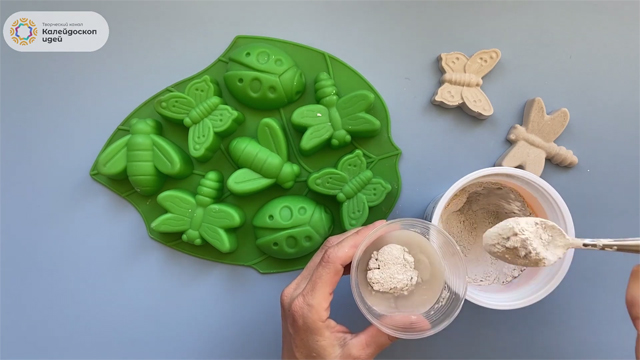
Take a small spoon and use it to pour dry gypsum powder into the water.
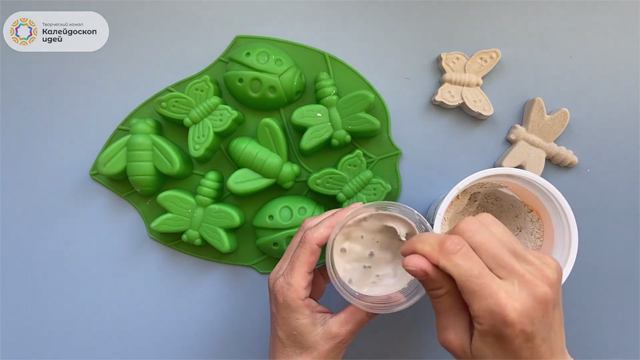
Stir the solution thoroughly until a homogeneous mass is formed.
Now we need this silicone mold with images of various insect figures.
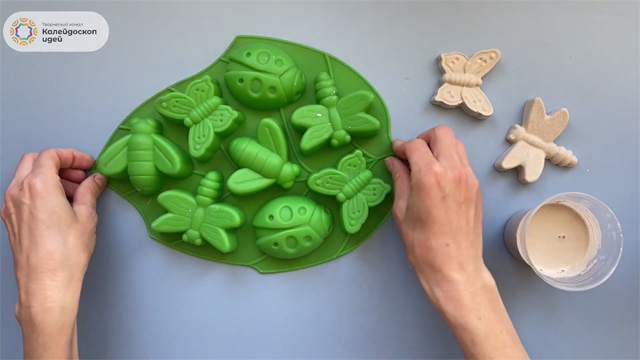
Turn the mold upside down so that you can fill the necessary depressions with gypsum mortar.
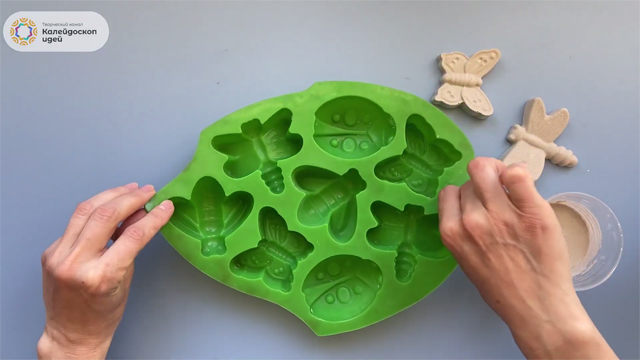
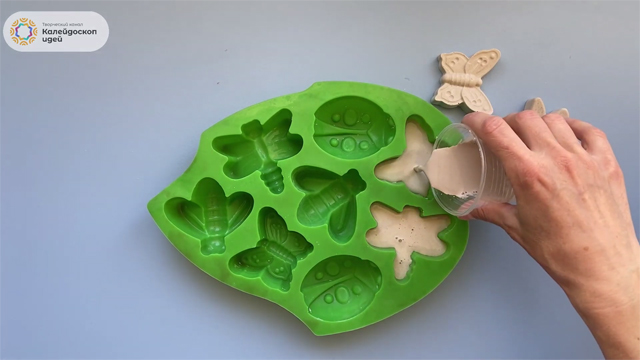
Fill the selected molds with gypsum.
We're going to make two identical butterflies. You can also choose any other figures you like.
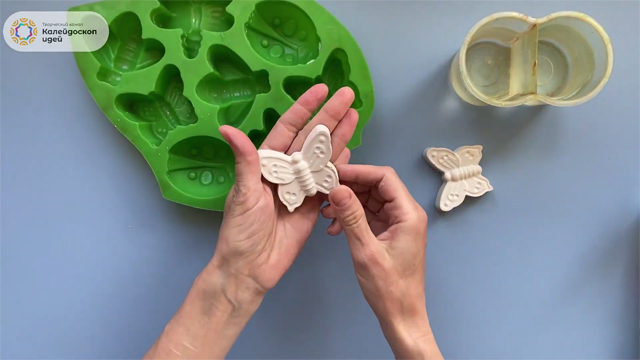
After the gypsum has hardened, we remove the finished figure of our butterfly from the mold.
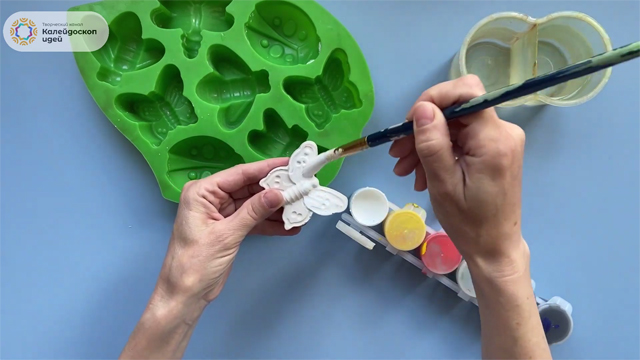
We take white gouache and use a paint brush to paint our butterflies white.
Now let's make the basis for our future panel.
To do this, we need a sheet of white drawing paper and a dishwashing sponge to soak in water.
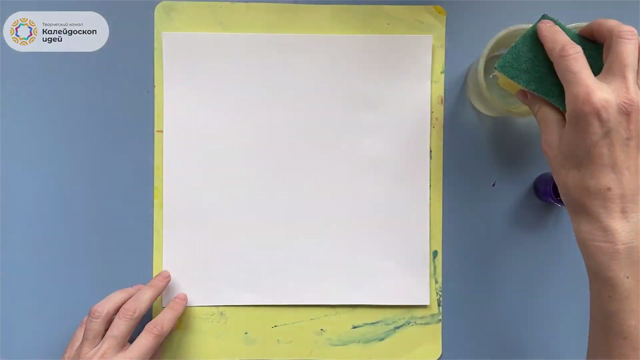
Using a sponge soaked in water, we moisten the surface of the paper over its entire area.
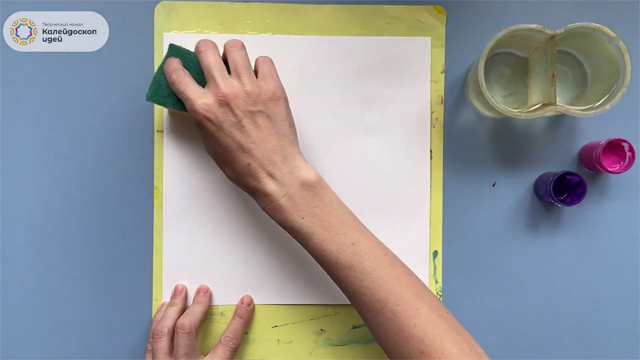
Take purple gouache and use a brush to apply paint to moistened paper.
You do not need to completely paint over the entire sheet. It will be enough to make several strokes in different parts of the sheet, and the paint itself will spread over the surface of the canvas.
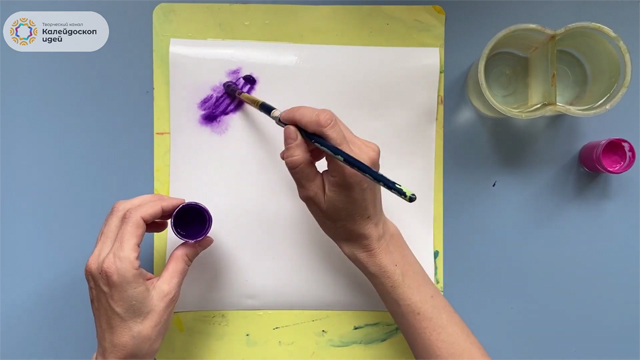
In the same way, we apply pink gouache to the paper.
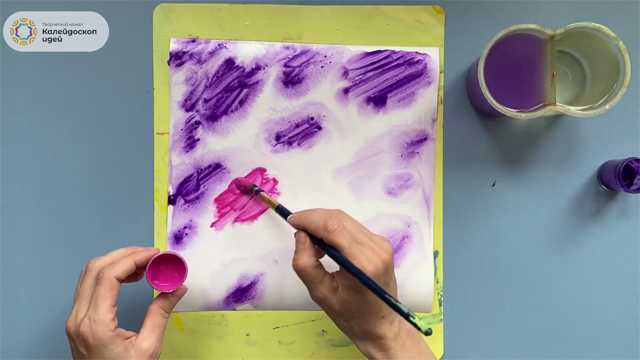
As a result, we should have this purple-pink background.
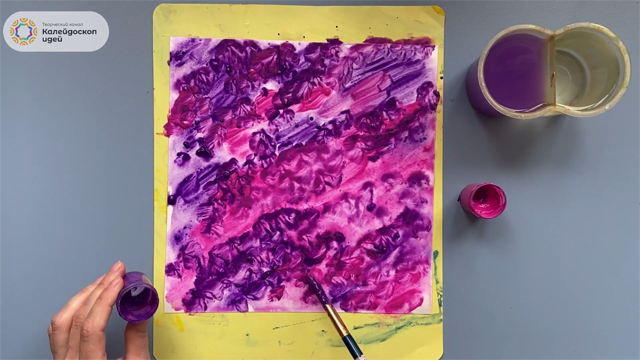
Rinse the brush, apply white gouache to it and lightly shake a few drops of paint onto the canvas.
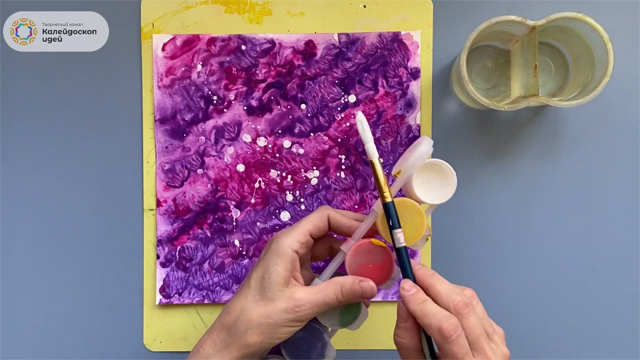
In the end, we get a picture like this, which we leave until it dries completely.
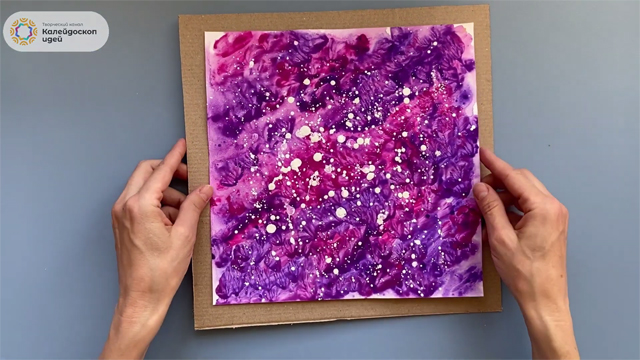
Now let's give density to the basis of our future panel.
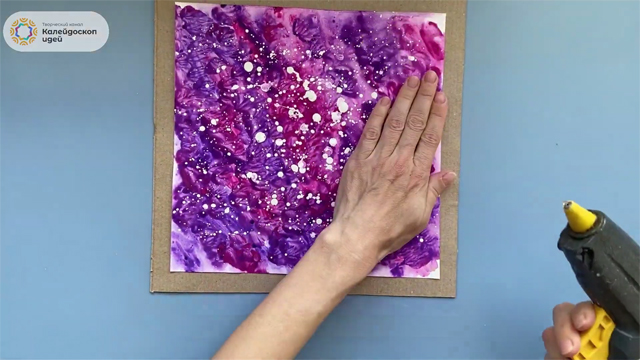
Cut out an even rectangle of slightly larger area from a piece of cardboard with scissors than the background pattern we created earlier, and use hot melt glue to fix our pattern on cardboard around the perimeter.
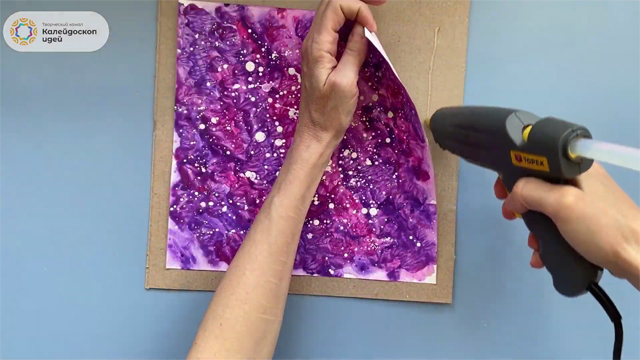
Firmly press the background pattern against the cardboard base and leave it to dry completely.
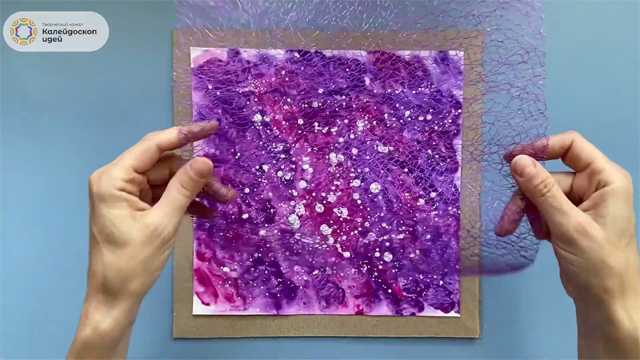
Now we need a blue or purple floral grid. In principle, any color that is in harmony with the background is suitable, or you can simply choose any color you like, and you can find such a grid in any flower shop.
Cut out a rectangle of the same size as our background image from the floral grid.
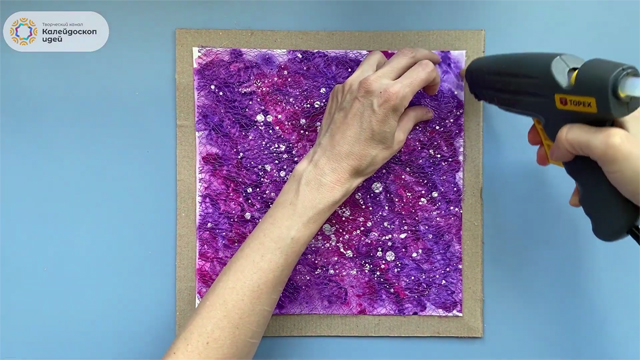
Using hot melt glue, we glue the mesh to the pattern around the perimeter.
We continue to design the base of our panel.
Now we need large beads and pieces of thin wire.
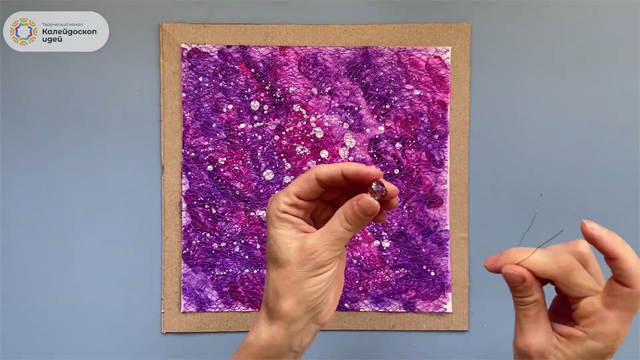
We string the bead on the wire so that it is in the middle.
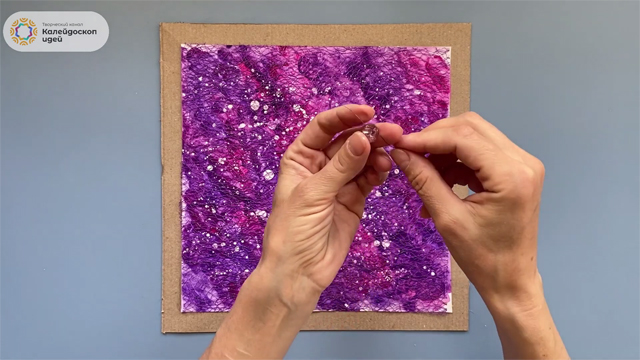
Bend the wire and scroll it several times so that the bead holds tightly.
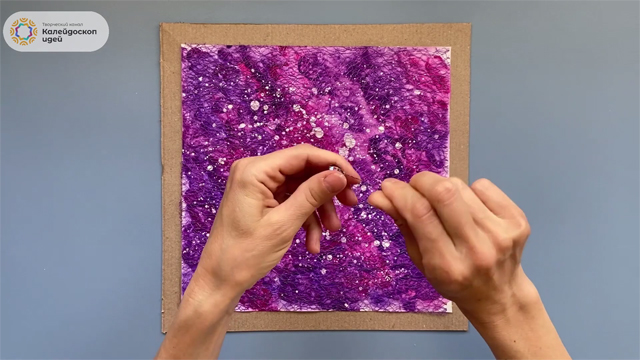
We will make several of these beads on the wire.
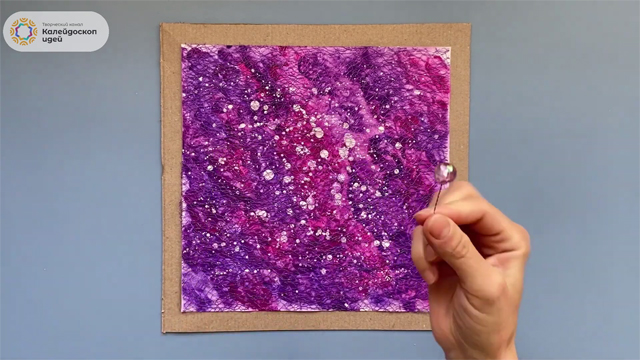
We place beads strung on a wire around the perimeter of our drawing.
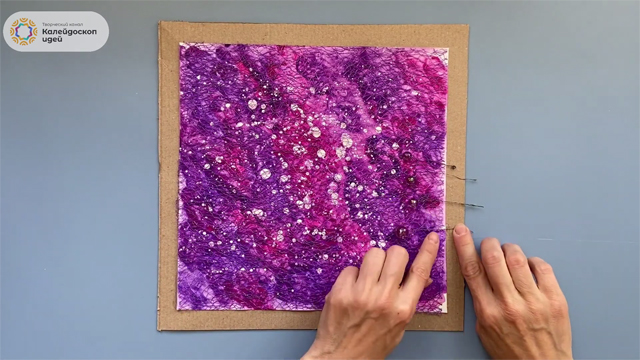
When the approximate location of these design elements of our panel is clear, apply a drop of hot melt adhesive at the edge of the background pattern in the place where each of them will be attached.
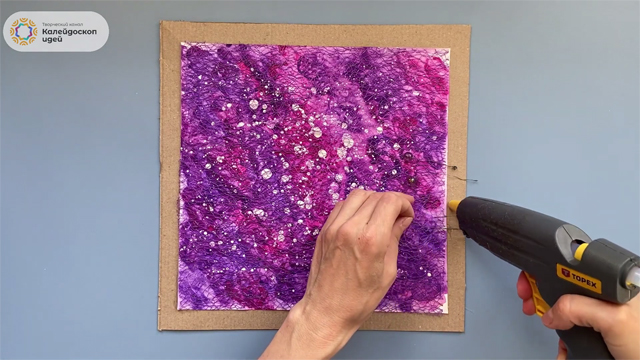
Fix the wire to the hot melt adhesive and press it tightly.
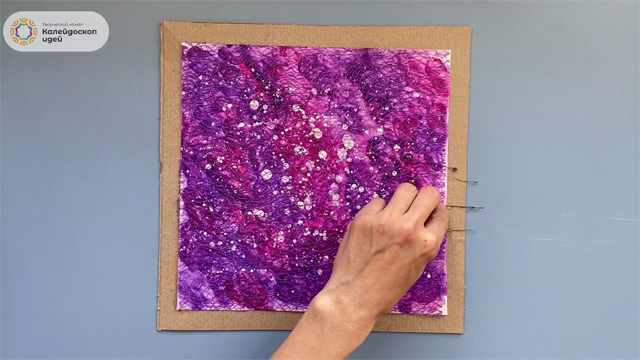
Hot melt adhesive can also be applied directly to the wire, and thus we decorate the entire perimeter of our drawing.
Please note that the length of the wires on which the beads are attached may vary. This will give an even greater volume effect to our panel.
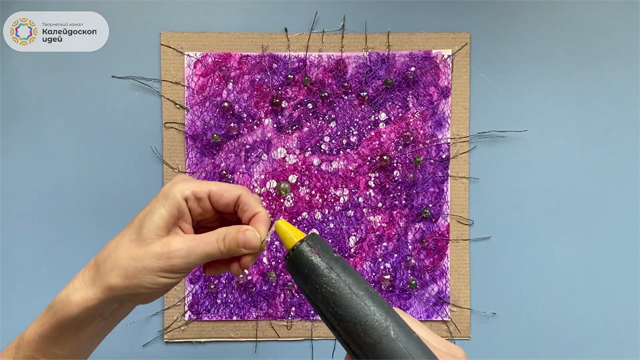
Now we will make a frame for our panel.
Cut a rectangular frame out of cardboard and wrap it with multi-colored pieces of yarn like this.
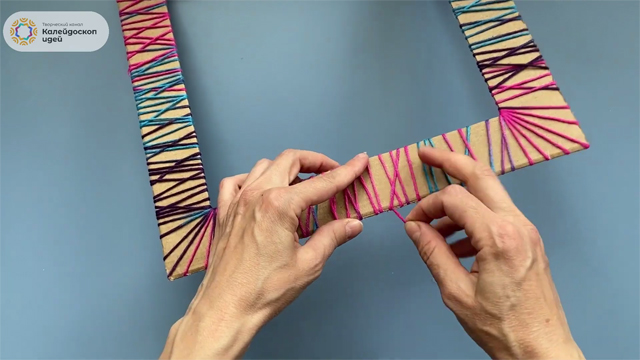
To prevent the yarn from blooming, we fix its ends on the back side of the frame with hot melt glue.
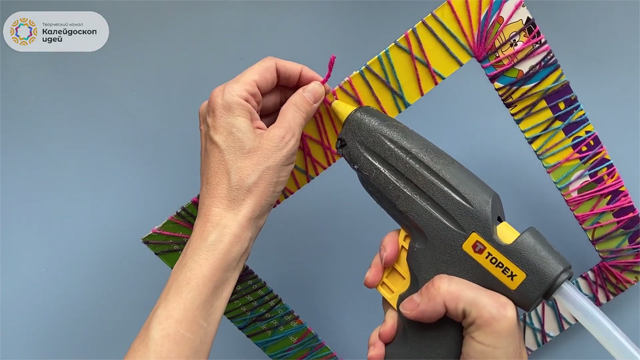
We return to the preparation of our panel and apply a layer of hot melt glue around the entire perimeter of the substrate.
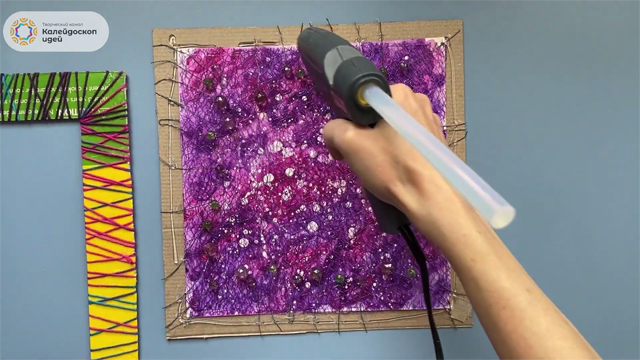
Carefully glue the frame to the base, and now we have an almost finished panel, which will have to be decorated a little more.
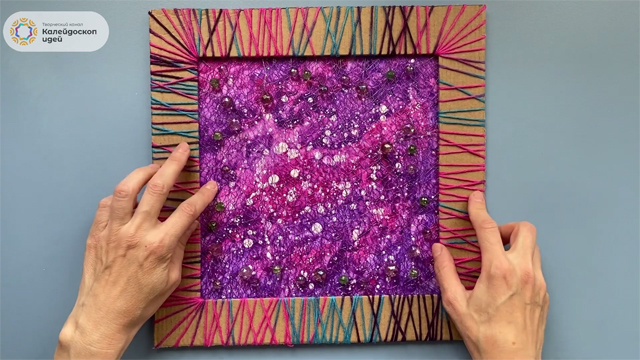
We take our white butterflies and use hot melt glue to fix them on the panel.
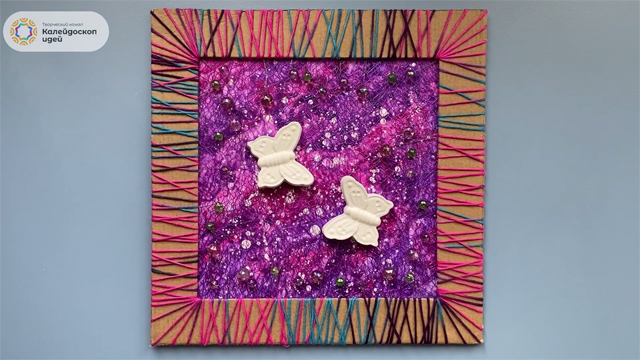
Now we need a few decorative flowers like this.
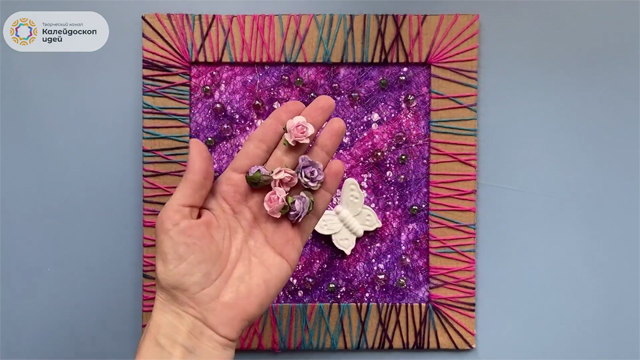
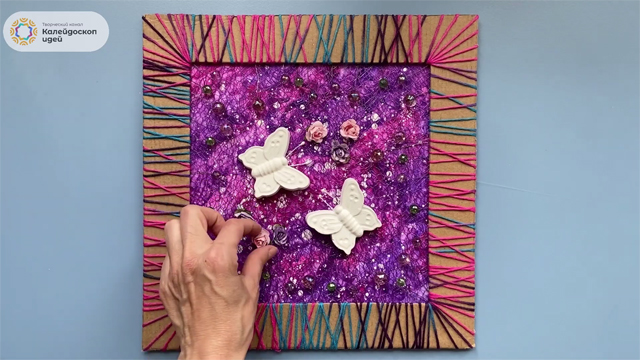
Using hot melt glue, we glue flowers in several places on our panel around butterflies.
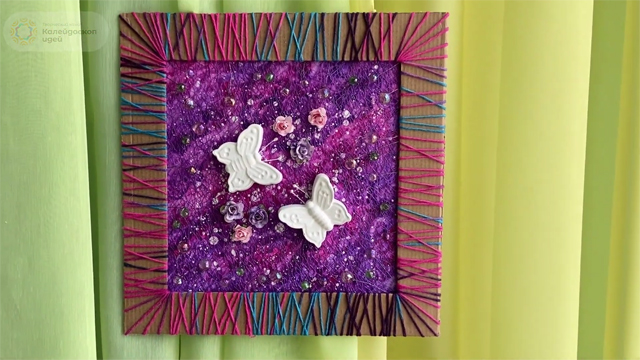
That's it! Our 3D panel with butterflies is completely ready!
See how the whole process of creating this interior decoration looks like in our video.