
 Useful tips
Content:
Autumn decoration
Traces of autumn leaves on paper
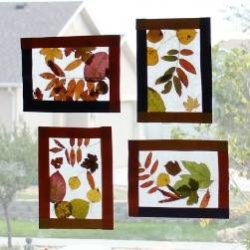
Stained glass window of autumn leaves
Labyrinth
Tree in autumn Tree in a jar
Autumn garden in a frame
Postcard from autumn leaves
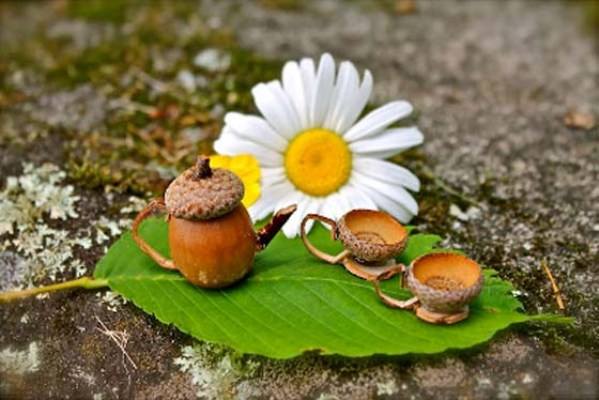
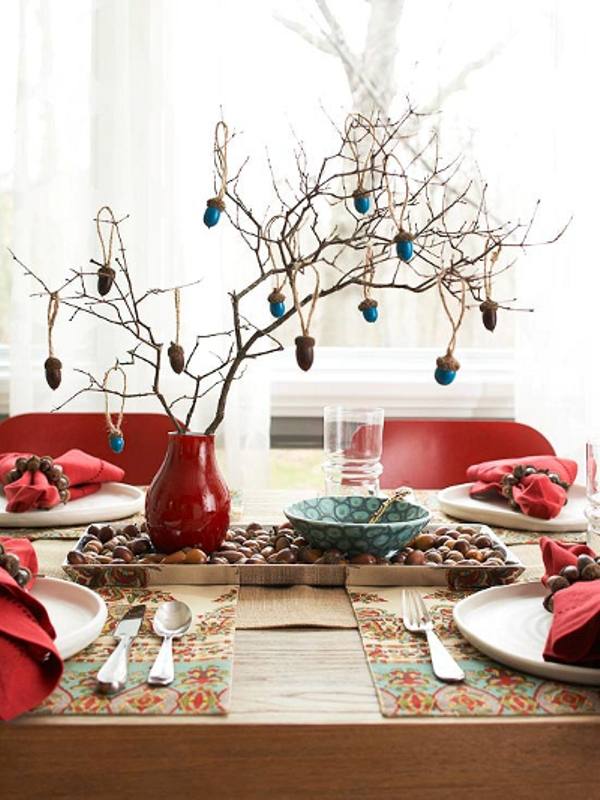
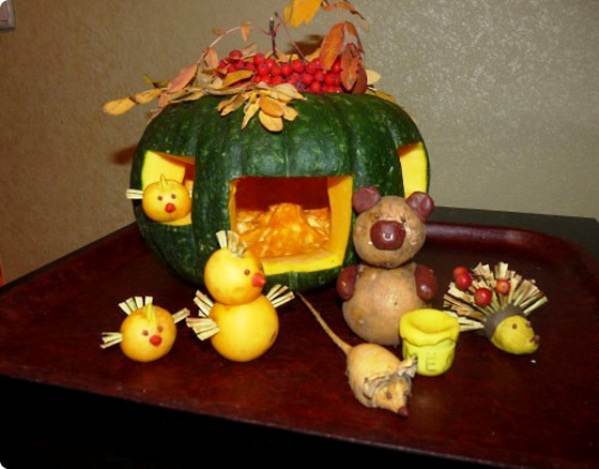
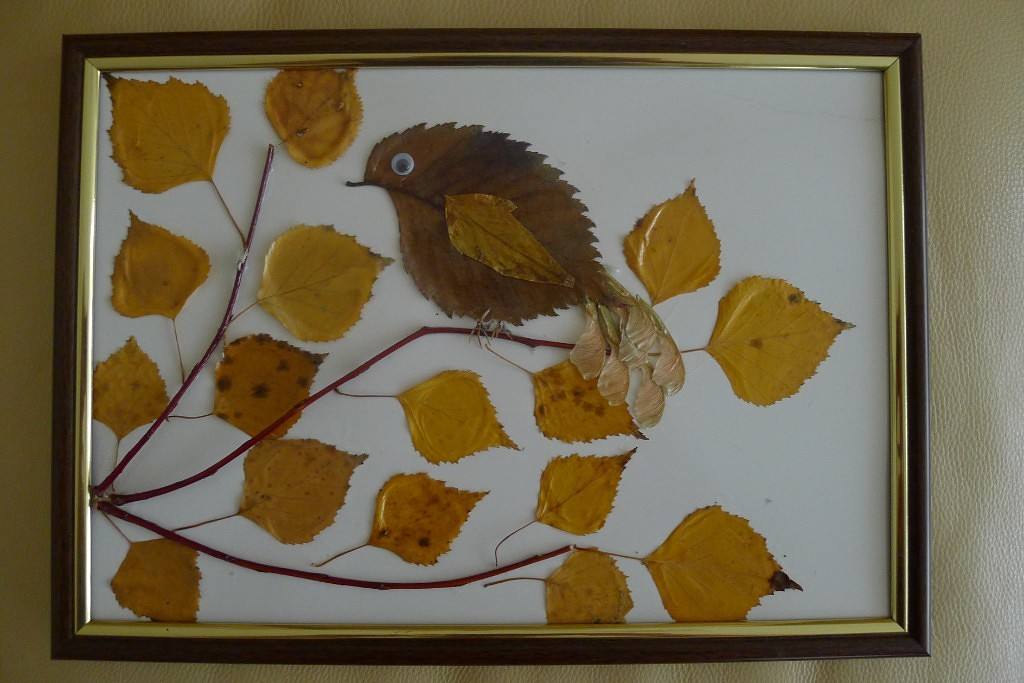
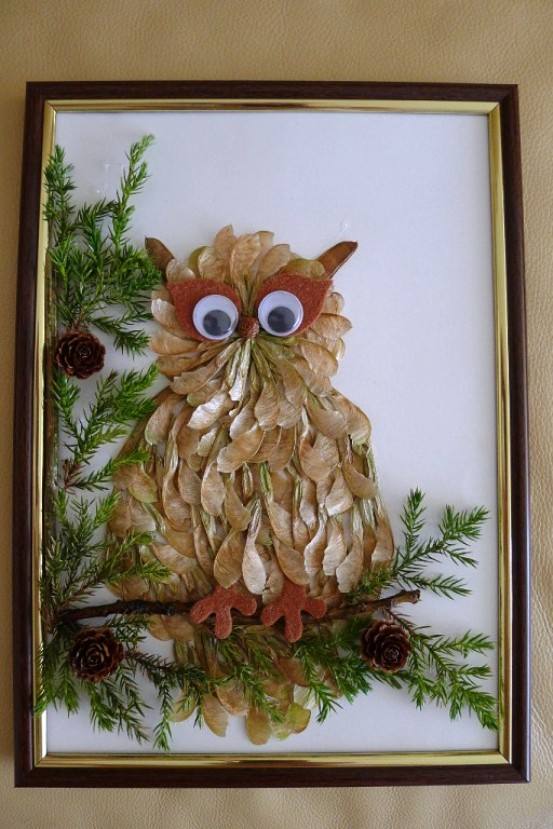
Photos of crafts on an autumn-themed theme
On an autumn theme, you can create a large number of crafts.
A variety of natural materials, including leaves, acorns, dry branches and cones, can be used to make beautiful paintings and figures.
Read also: 10 cool DIY Halloween decorations
Here are some interesting autumn-themed crafts that you can do with your kids:
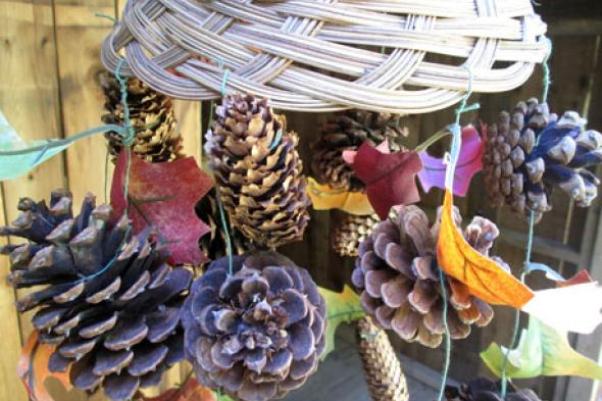
Crafts made of natural material on the theme of autumn: autumn decoration
This craft is so simple that even a child can make it, and is so beautiful that it will harmoniously fit into any interior at home, on the porch or at the cottage.
You'll need:
– different leaves, cones and other gifts from nature
– wire
– scissors
– a wicker bowl or something that can hold all the jewelry.
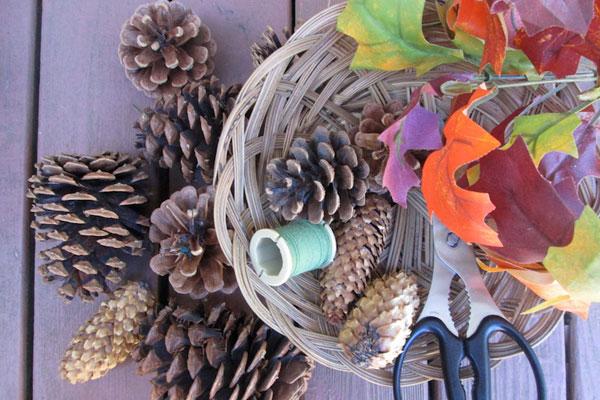
1. Arrange all the gifts of autumn on the table.
2. Cut the thin wire so that you have several segments to which you can attach autumn decorations.
3. Start attaching leaves, cones, etc. to the wire by wrapping the wire around them.
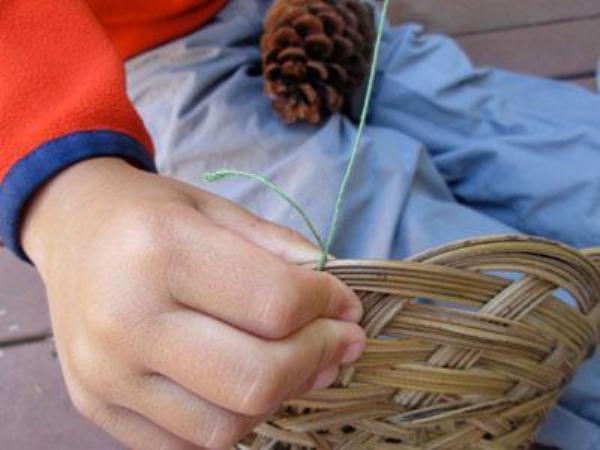
4. When all the ornaments are added to the wires, attach your blanks to a wicker vase or other similar item.
See also: DIY leaf crafts
We make a craft on the theme “Autumn”: traces of autumn leaves on paper
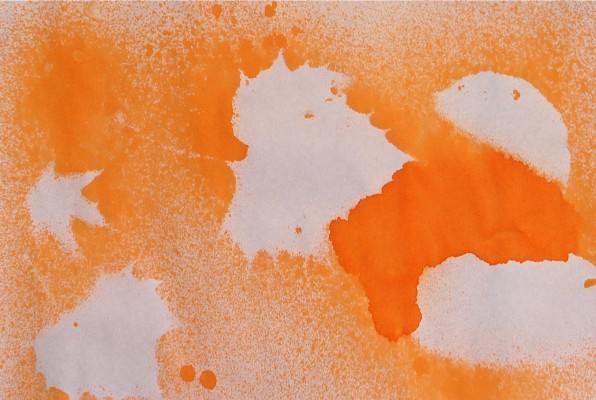
You'll need:
– leaves of different shapes and sizes
– white paper
– spray paint or fluffy brush and watercolor paints.
1. Pick the leaves and place them on paper.
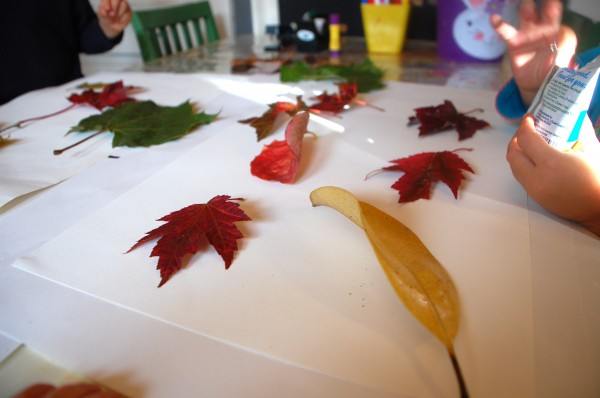
2. Start spraying paint over and around the leaves, or you can spray watercolors around the leaves with a fluffy brush.
See also: DIY crafts made of natural material
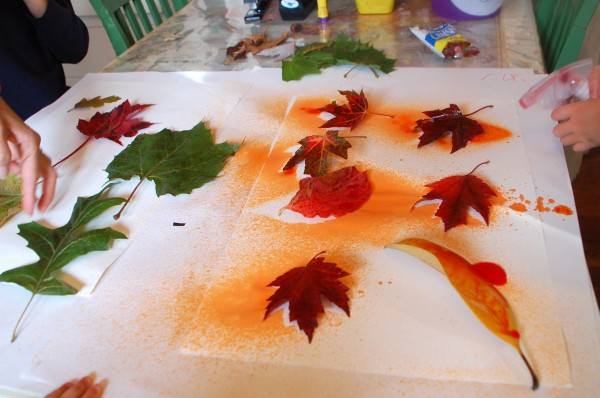
3. Carefully remove the leaves and let the paint dry.
It's done!
Such pictures can be hung anywhere, thereby decorating the interior.
DIY natural crafts on the theme “Autumn”: stained glass window made of autumn leaves
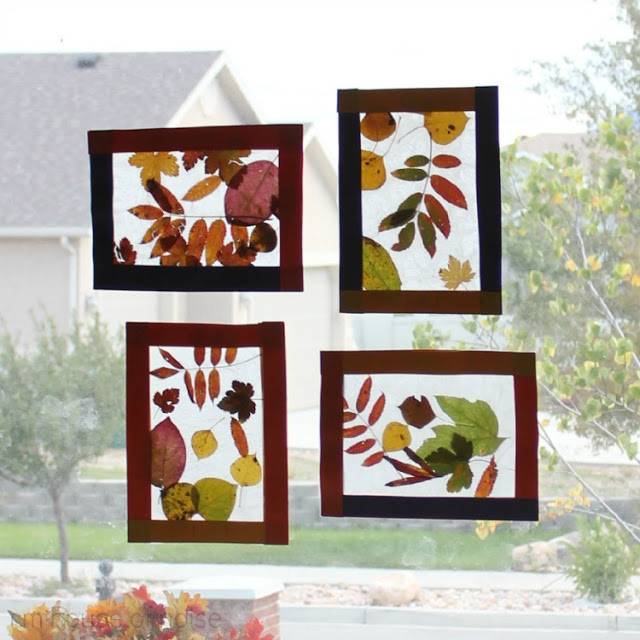
You'll need:
– small leaves of different shapes
– self-adhesive film or baking paper and glue
– colored cardboard.
1. Attach the leaves to film or paper.
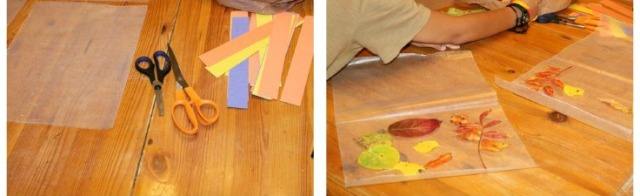
2. Cut several strips out of colored cardboard and attach them to the paper so as to form a frame.
3. The resulting stained-glass windows can be glued to the window so that sunlight passes through them.
Children's crafts made from leaves: a labyrinth
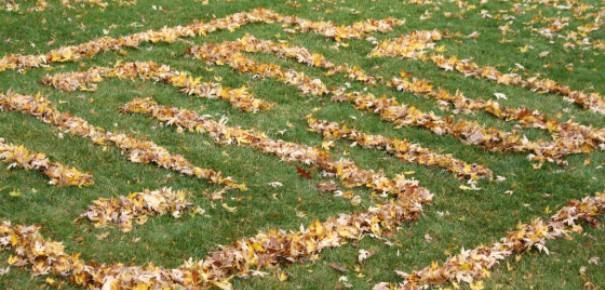
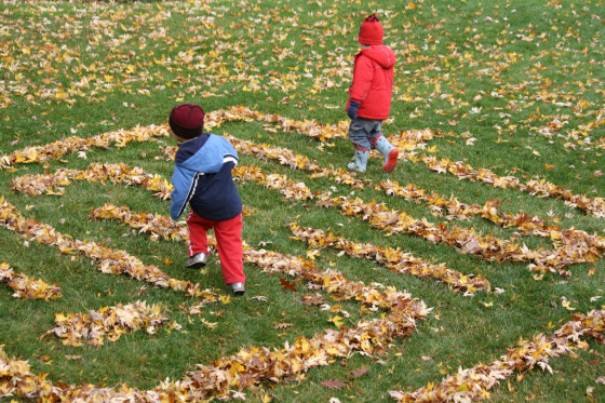
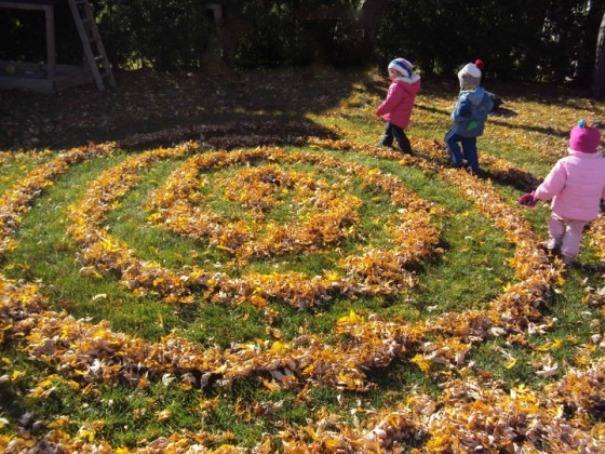
Such a labyrinth can be made in a forest or park.
All you have to do is collect the leaves and arrange them to form a labyrinth from which the children will search for a way out.
See also: Beautiful crafts made of natural material with your own hands
Crafts on the theme of golden autumn: tree in autumn
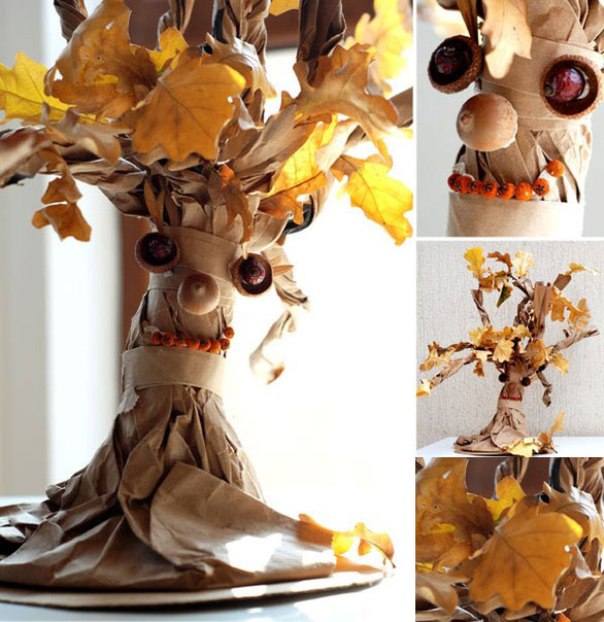
You'll need:
– paper bag
– plasticine
– leaves
– acorns
– maple lionfish (“helicopters”)
– Rowan berries
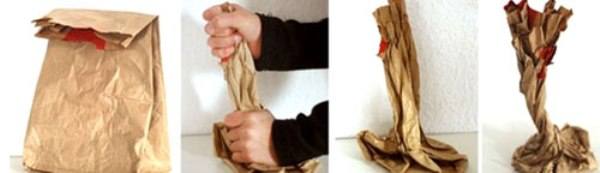
1. Take a simple paper bag, remove the handles of the bag and twist it so that it looks like a spiral: one end in one direction and the other in the opposite direction.
You will get a tree trunk, which should have a thickening in the lower part, where the roots are – this way the tree will be more stable.
2. At the top of the twisted bag, you need to make branches. Just gently tear off the paper and “dissolve” the branches and twist them in a spiral.
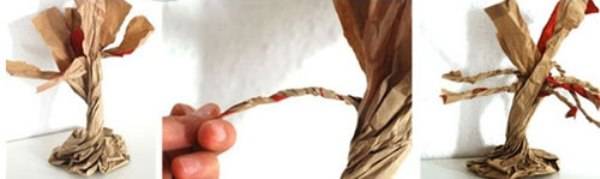
3. Use the bag's handles to wrap them around the tree trunk and seal them. This will make the craft stronger and more stable.
4. Prepare plasticine or glue and start attaching the autumn leaves to the tree branches.
* If you wish, you can attach lionfish to the tree.
* If you want to “revive” the tree, you can make eyes and nose out of acorn hats by gluing them to the trunk. Plasticine can be used for pupils.
* Rowan berries can be used to make a mouth and your tree is ready!
Crafts for the exhibition on the theme “Autumn”: a tree in a jar
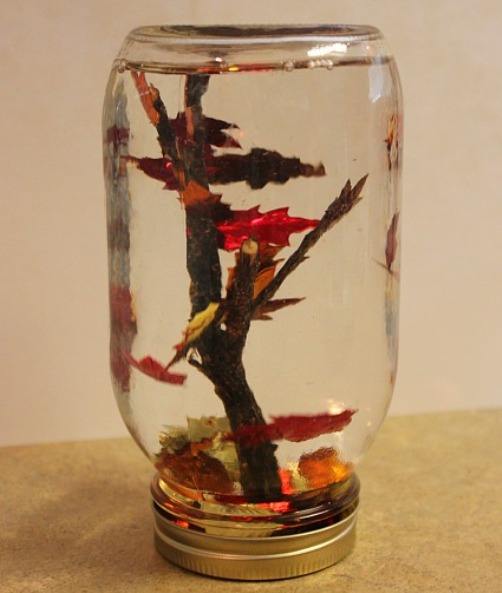
You'll need:
– a small jar with a lid
– leaves (preferably artificial and small)
– superglue or hot glue
– a small branch
– water
– glycerol.
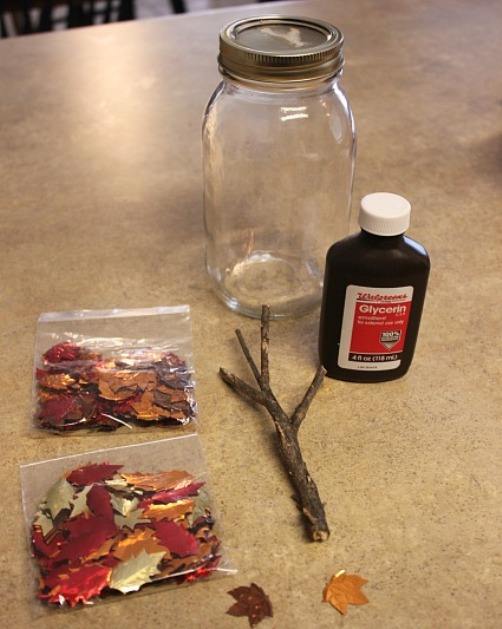
1. Take the branch and cut it so that it can fit into the jar.
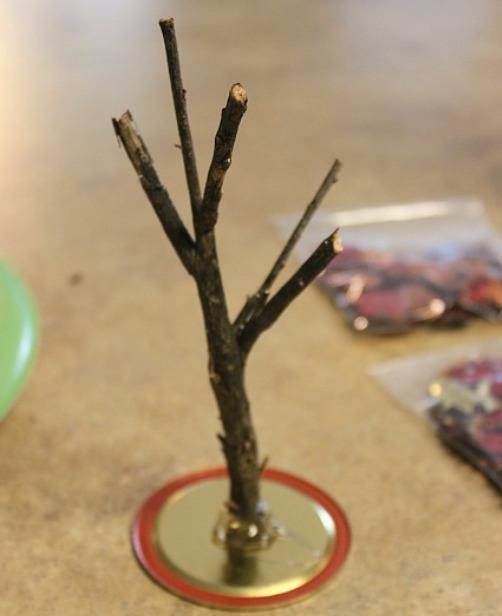
2. Glue the branch to the inside of the jar lid. You can also glue a few small pebbles around the future tree.
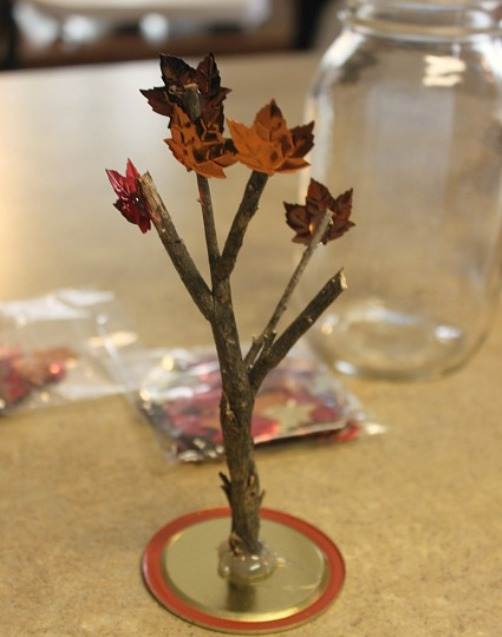
3. Take a few small artificial leaves and glue them randomly onto the branches of the tree.
4. Pour glycerin and some water into a jar and stir.
5. Insert the wood lid into the jar.
* If you are afraid that a child may accidentally open the lid of the jar, you can glue this lid. But first, it's best to leave it unglued, in case you have to fix the tree and/or leaves.
This craft will last for several months. Then the water will begin to change its color from contact with internal materials.
Leaf crafts on the theme “Autumn”: an autumn garden in a frame
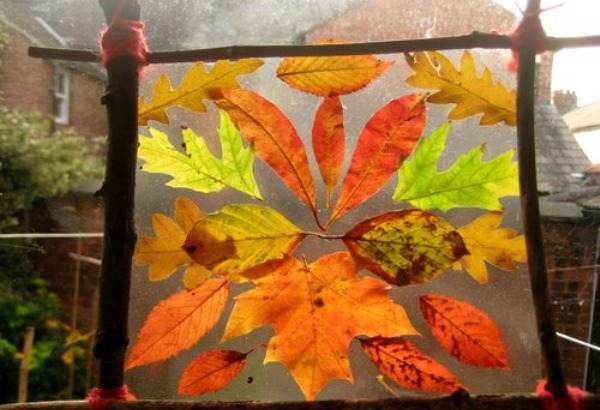
You'll need:
– twigs
– thread
– leaves
– self-adhesive film
– buttons.
1. Using a thread, connect 4 branches into a frame.
2. Use the buttons to secure a piece of self-adhesive film to the frame.
3. Attach the leaves to the film so that they stick well.
* You can tie the ribbon to the frame so you can hang it.
Paper crafts on the theme “Autumn”: a postcard made of autumn leaves
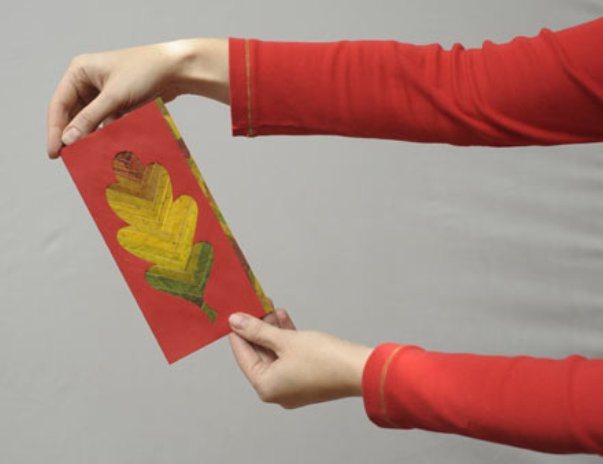
You'll need:
– leaves of different colors (35 leaves in this example)
– PVA glue
– A4 cardboard sheet
– scissors
– simple pencil
– line
– scotch tape (if necessary)
– a sheet of A4 paper
– a thick book.
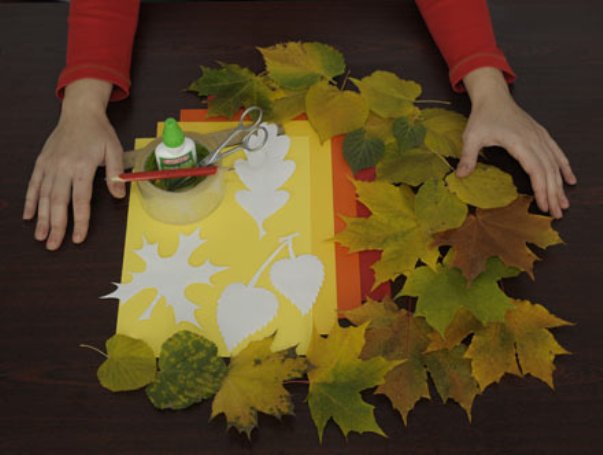
1. Cut off the petiole from each leaf. Fold all the leaves in half along the midrib so that the underside of each leaf is inside.
2. Place the leaves between the pages of a thick book. Leave it overnight to get straight leaves.
3. Take a sheet of paper and draw a leaf of any shape on it. Cut this sheet to get a stencil. In this example, an oak leaf stencil was used – its dimensions are 7.5 x 17 cm.
4. Take your leaves out of the thick book and carefully arrange them according to the color scheme. In this example, all the leaves were spread from green to red.
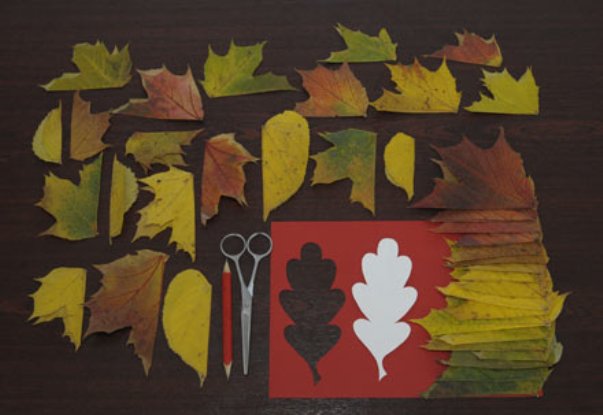
5. Take a sheet of cardboard and place it on the table. Step back 1 cm from the left edge, attach your stencil and circle it. Cut out the shape on cardboard. After the cut out figure, step back 1 cm again and cut it off. You will get a rectangle with a sheet cut in the center.
Read also: Beautiful and simple applications for those who love autumn
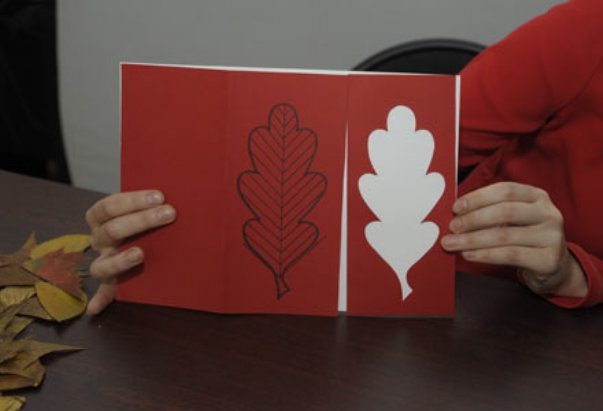
6. Fold the remaining sheet of cardboard in half – you will get part of the cover of the future postcard.
7. Place a rectangle with the cut sheet on the cover and outline the leaf pattern.
8. Using a ruler and pencil, draw a vertical strip on the resulting sheet drawing right in the center, and draw veins from it. The distance between the veins is about 1 cm.
9. Take one sheet (folded in half), measure 1.5 cm from its fold and cut off the strip with scissors. The remaining clippings do not need to be discarded.
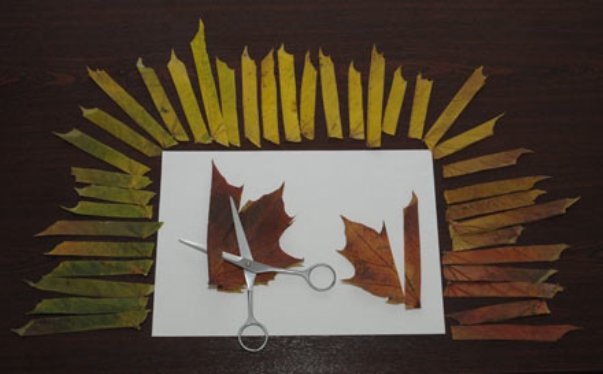
10. Repeat with the other sheets. For each cut strip, cut one edge at a right angle.
11. The resulting strips must be glued to the drawn sheet in a certain order, in accordance with the lines drawn. To do this, each strip must be cut so that it roughly follows the outline of its place on the painted sheet. After that, the strip can be glued.
12. Continue to glue strips of colored sheets to the drawing. It is desirable to smoothly move from darker sheets to lighter ones or vice versa.
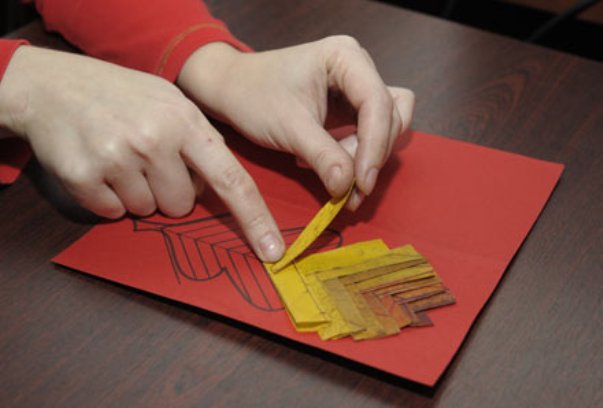
13. You can glue a strip from scraps of sheets and cut off one edge. You can glue the strip to the edge of the postcard.
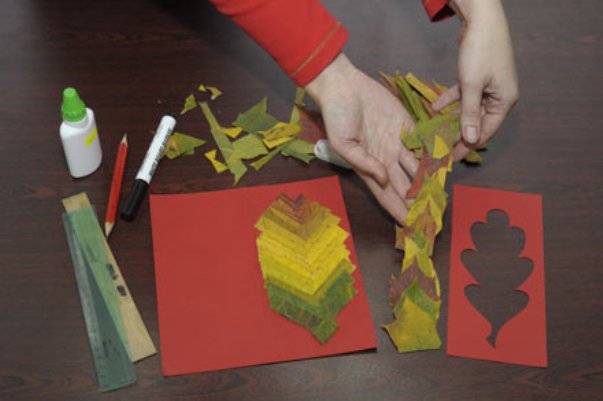
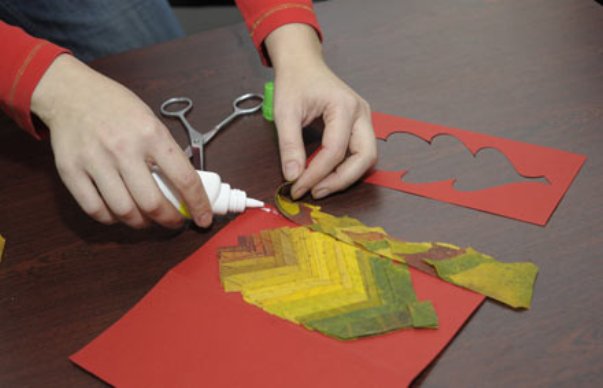
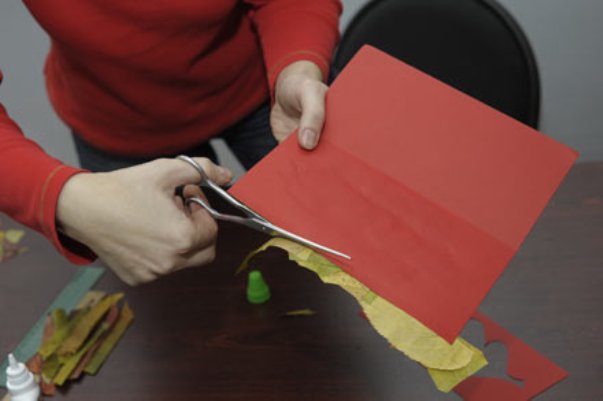
14. Take a rectangle with a cut sheet, spread it with PVA glue and glue it over the leaf strips. You will get a beautiful, neat and colorful leaf.
* You can hold the card in a thick book for a few days so that it is more even and the leaves dry.
* Then you can write your greetings.
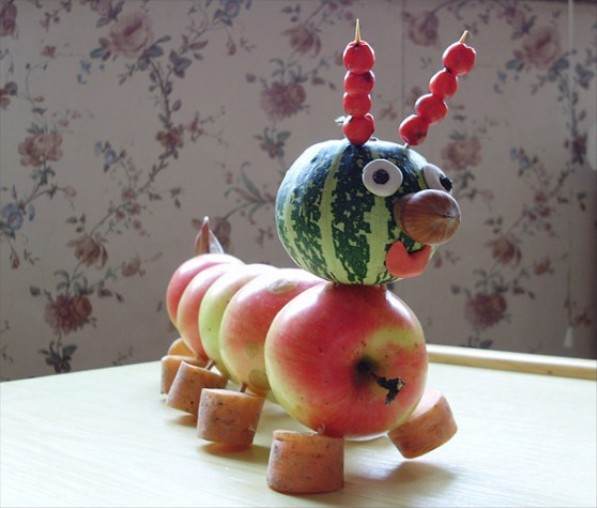
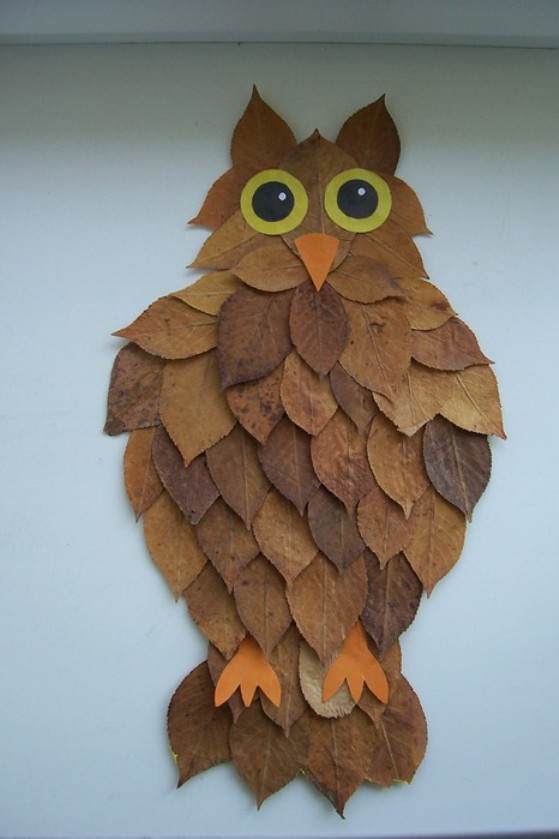
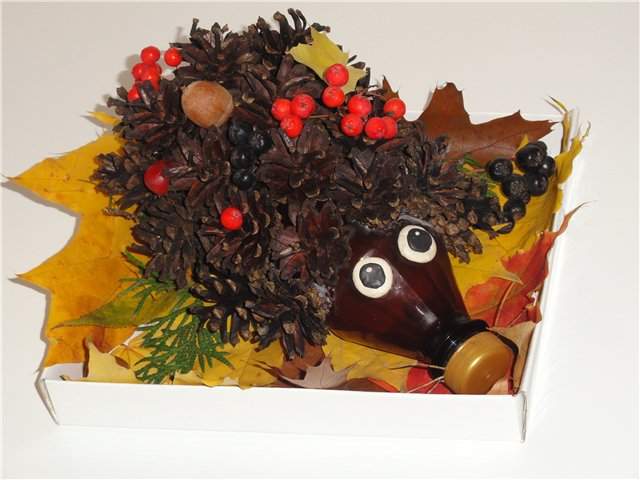
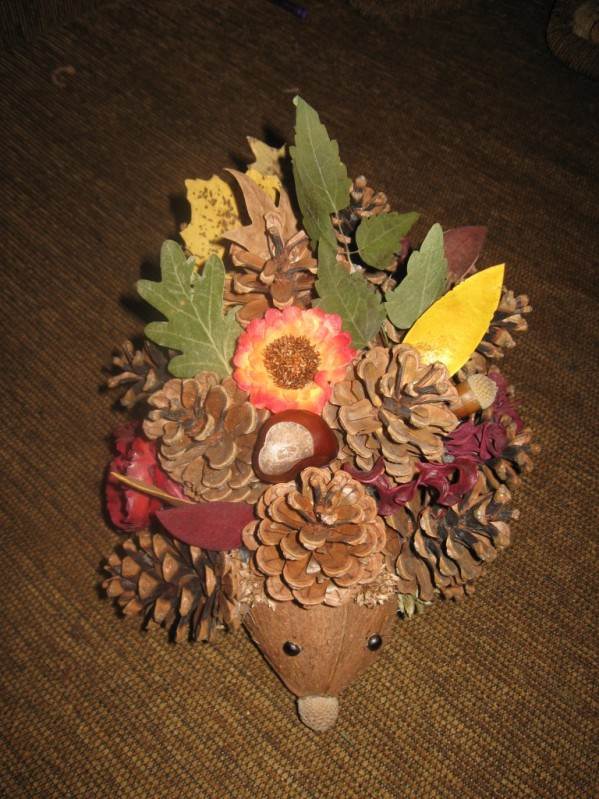
Photo crafts on the theme “Autumn”
On our website you will also find:
DIY crafts made of natural material
Beautiful and simple appliques for those who love autumn
Crafts from leaves with your own hands DIY pumpkin
crafts