
 Useful tips
Watch the video, If you are too lazy to read
Watch the video, If you are too lazy to read
While preparing for Easter, many people try to give their homes a kind, festive atmosphere. There are a lot of ways to create an Easter mood in the interior, and we talked about some of them on our website. For example, how to make a colorful Easter cockerel with your own hands, who holds a painted egg on his back, or about creating an Easter nest in which you can put all the same painted eggs, which are one of the main symbols of this beautiful Holiday.
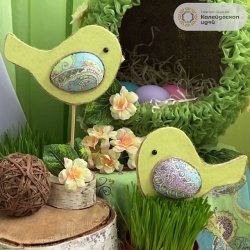
Today we suggest you make another Easter craft, and these will be wonderful colorful birds whose wings will resemble those same Easter eggs in shape.
To make this craft, we will need:
kinder surprise shell;
paper cup;
gypsum;
water;
a teaspoon;
cardboard;
felt;
jute rope (twine);
thin fabric with a pattern;
bead;
wooden stick;
wooden disc;
fabric flower;
artificial leaves;
pencil;
paper knife;
scissors.
So let's get started!
Let's start with the wing blank, as waiting time will be required for its further use.
We're going to need a kinder surprise egg shell.
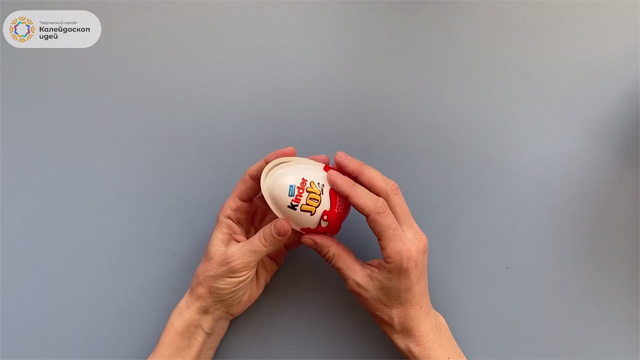
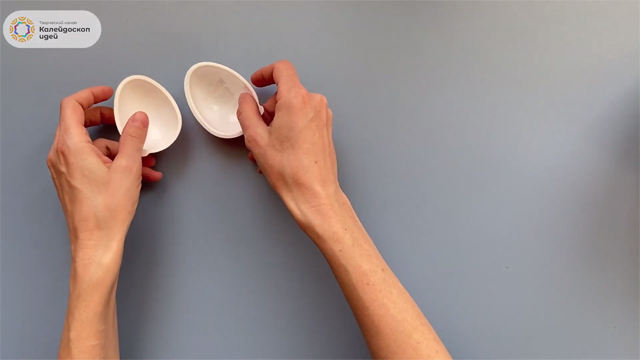
We divide the kinder surprise shell into two halves.
We take the simplest paper cup.
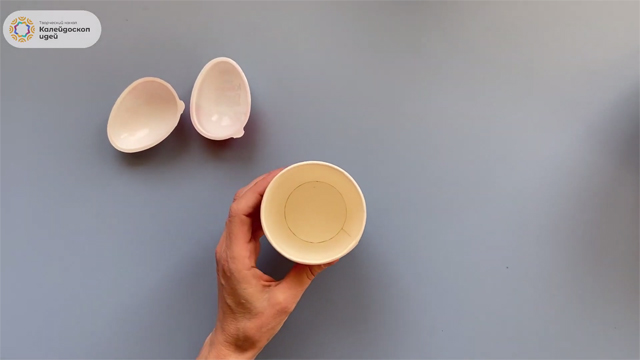
Pour water into the glass, filling it approximately half.
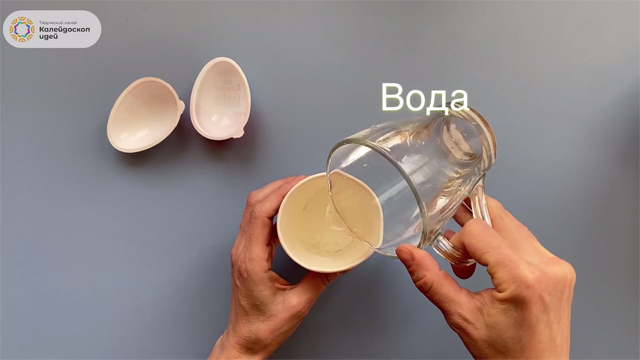
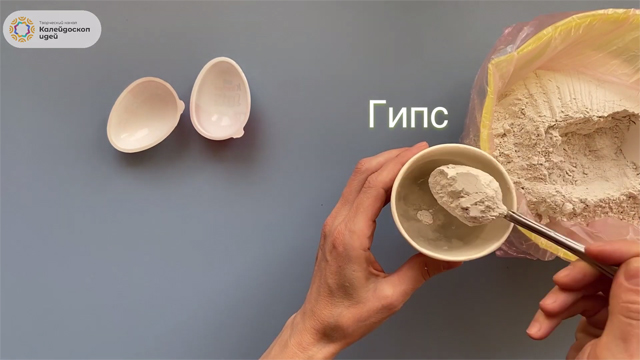
Pour a few teaspoons of gypsum into a glass of water.
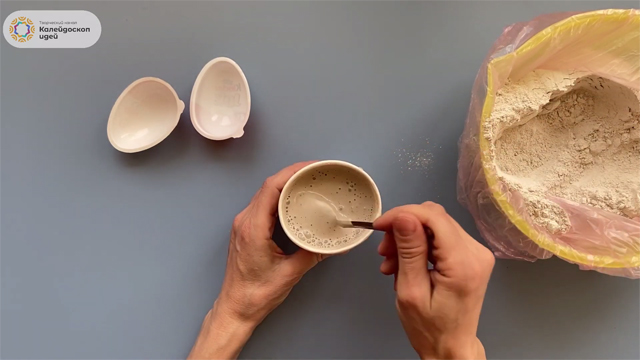
Thoroughly stir the gypsum in water until a homogeneous mass is formed.
Pour the resulting gypsum mixture into the molds we have prepared from the halves of the kinder surprise shell.
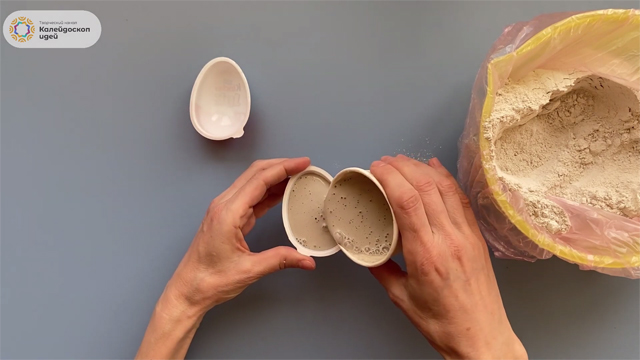
We will prepare two such preparations at once to make two Easter birds at once.
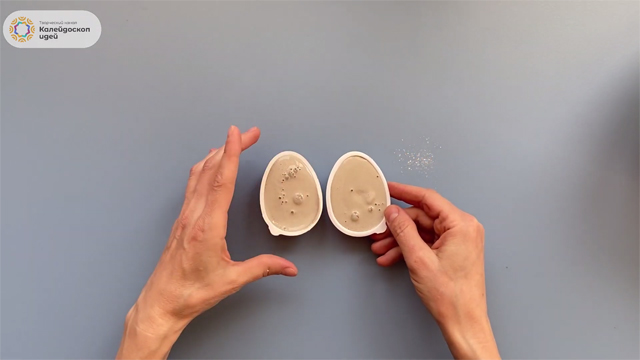
And now, this is the waiting time we talked about at the very beginning.
To continue using these blanks, it is necessary to wait until the gypsum has completely hardened. To do this, leave our filled molds to dry for about a day. To prevent the molds from turning over, you can support them with small wooden blocks.
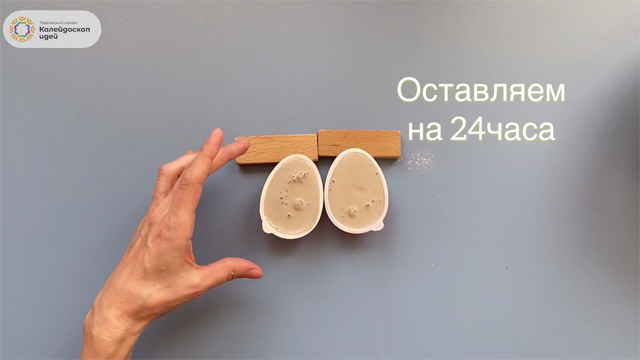
When the gypsum hardens, you can safely proceed to continue.
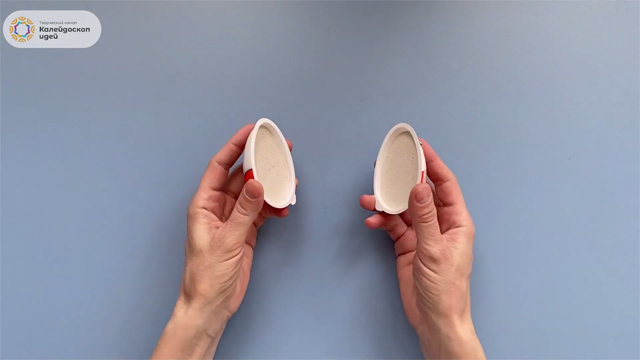
Turn the molds over and carefully remove the frozen pieces of gypsum from them, which will resemble an egg cut in half. These are our preparations for the wings.
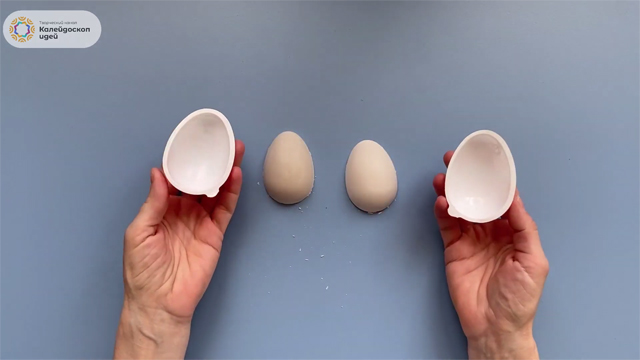
Now we need a stencil like this, which resembles a bird in shape.
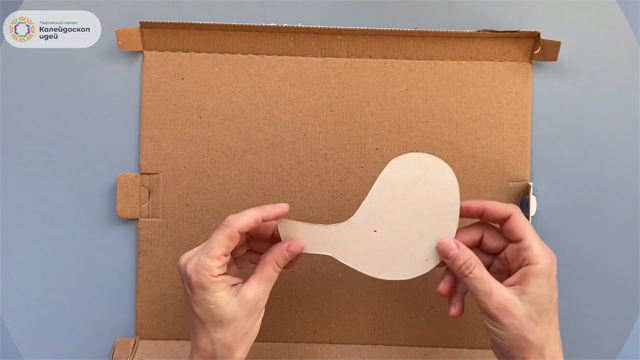
We take a piece of cardboard and outline our stencil with a pencil.
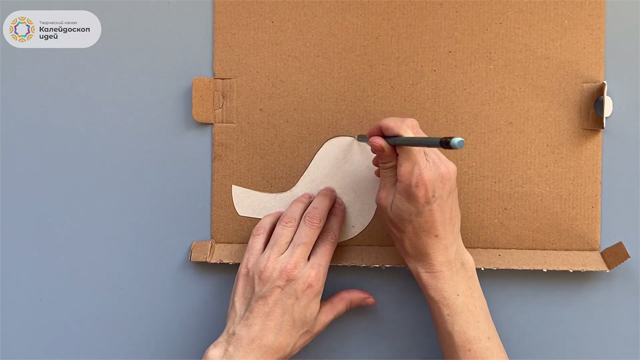
We draw two identical contours, because to make one bird we need exactly two identical cardboard blanks.
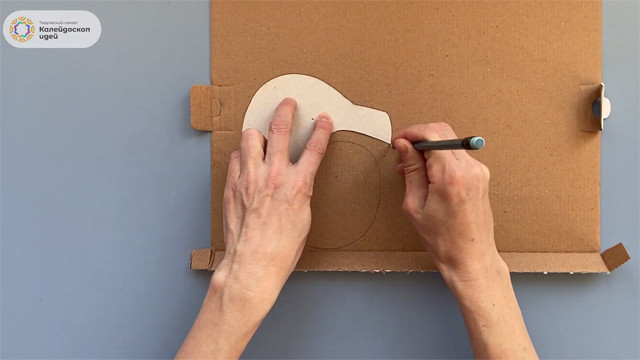
Using a paper knife, we will carefully cut our cardboard blanks along the drawn contour.
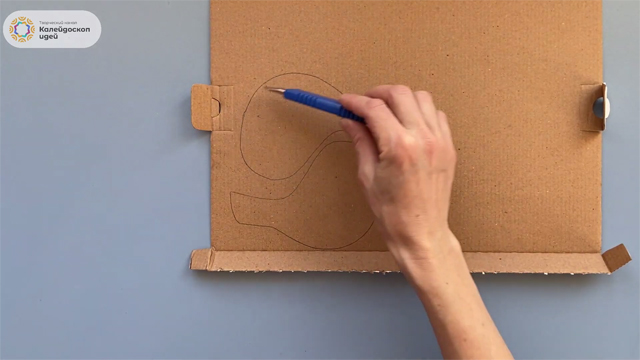
This is what we end up with.
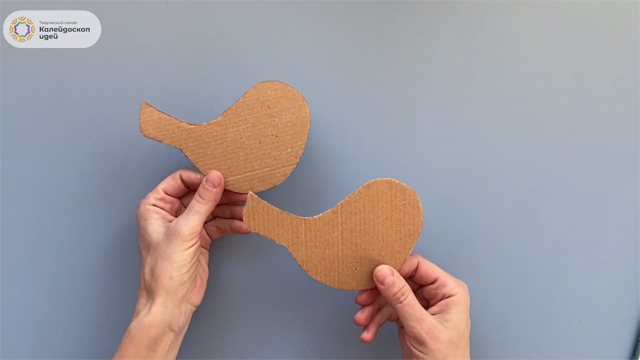
Now we take one of the gypsum blanks and attach it to the cardboard in the place where, approximately, the wings of our future bird should be located.
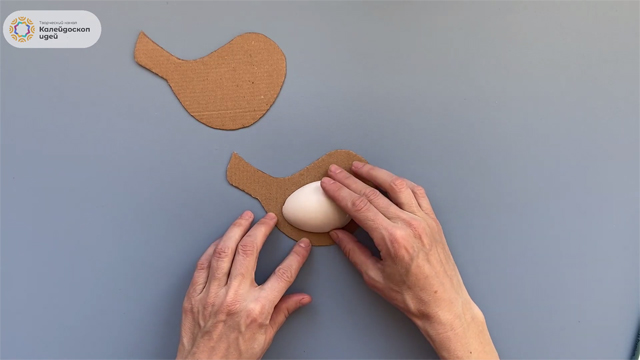
We outline the gypsum workpiece with a pencil.
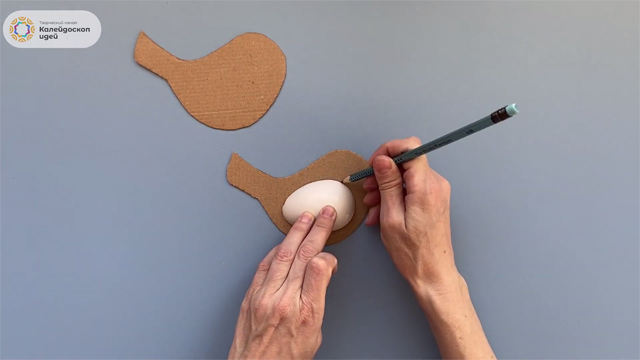
Using a paper knife, carefully cut a hole in the shape of an egg along the drawn contour.
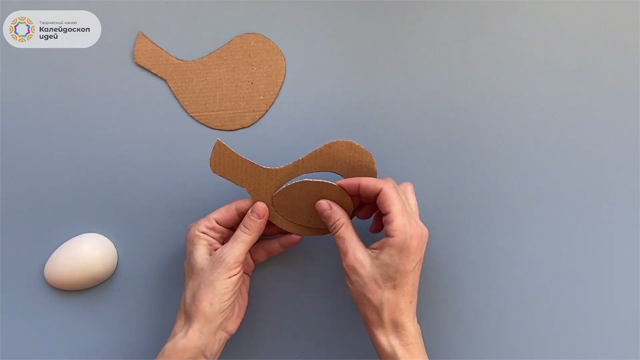
We take the second (whole) part of the cardboard and now attach the gypsum blank to it in the same place as to the first one.
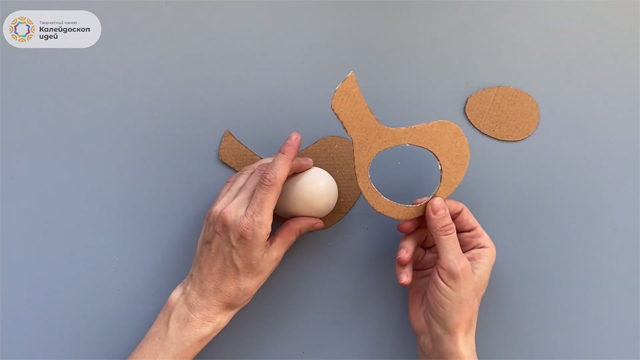
We put the first cardboard blank on top so that the egg attached to the second cardboard half enters the hole, which we cut along its contour in the first cardboard blank.
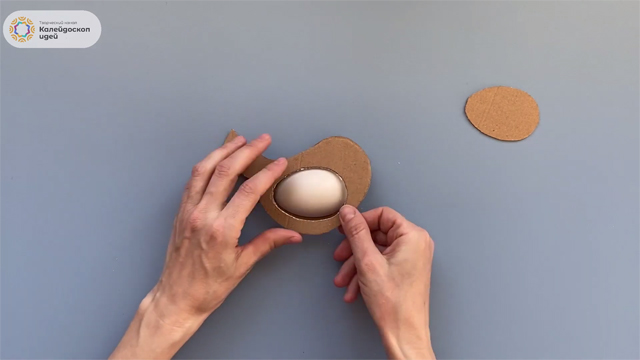
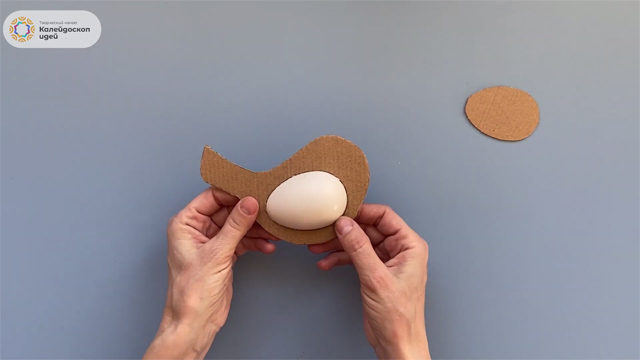
This is what our future bird looks like now — two cardboard halves folded together with an egg-shaped wing protruding on one side.
Now we take a piece of bright felt and apply both of our cardboard blanks to it.
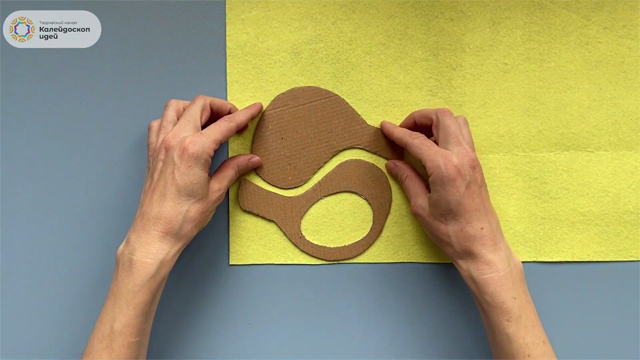
We draw a pencil around the cardboard blanks – one solid and one with a hole already cut out.
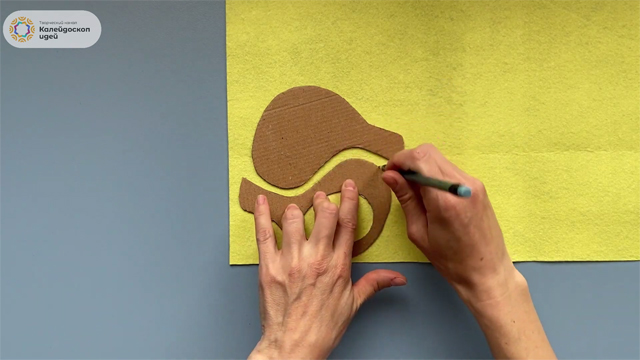
We will have two such contours on felt.
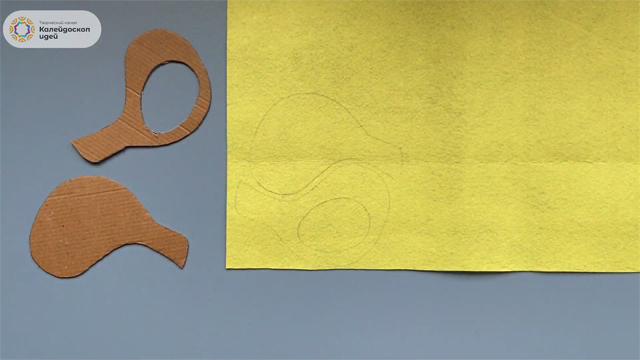
We cut out felt blanks with scissors, and now we have identical parts made of cardboard and felt.
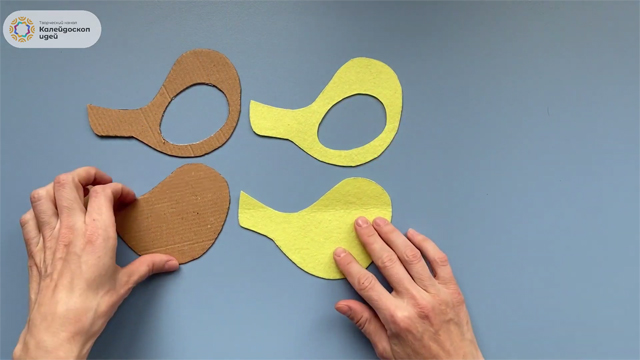
We put a solid cardboard blank on top of the whole felt part.
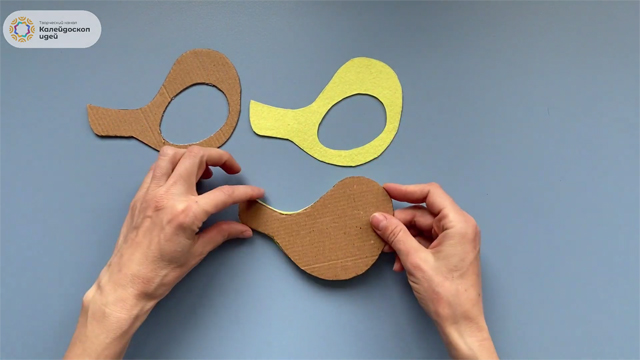
The felt blank with the hole cut out is placed on top of the corresponding cardboard part.
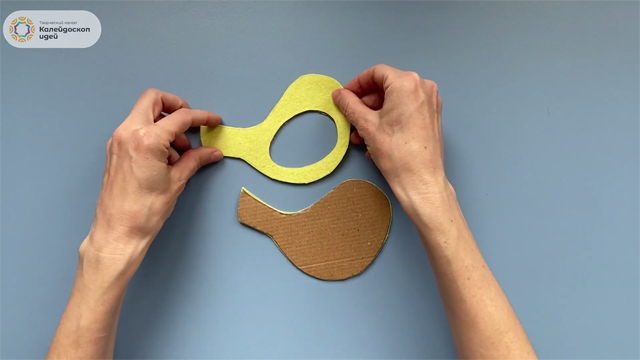
Using hot melt glue, we glue the felt to the cardboard on both assembled pieces.
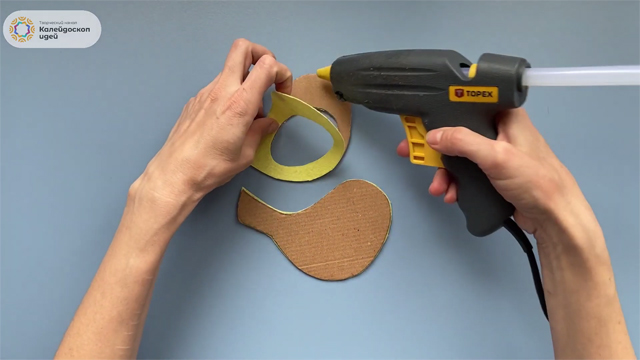
It's time to make our bird's beak.
Apply some hot melt glue to the whole half of our future craft in the place where the beak will be located.
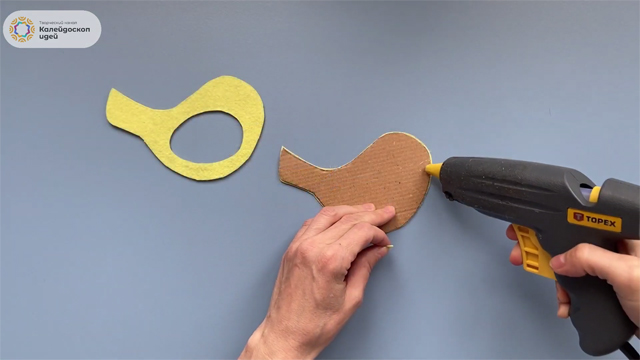
Cut a small triangle out of felt and glue it to the cardboard.
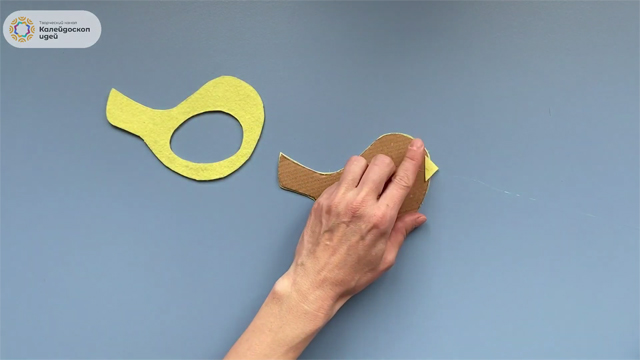
Now let's make a leg.
To do this, we need a small flat wooden stick.
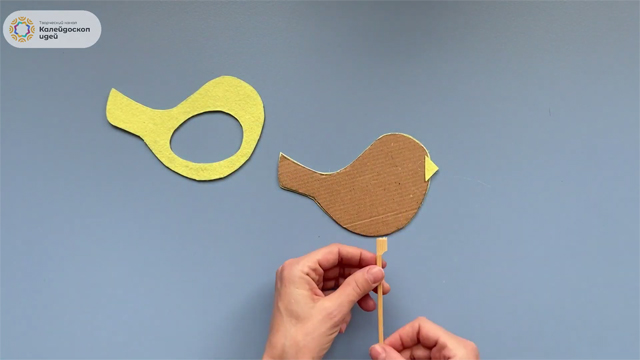
Apply a drop of hot melt glue to the tip of the stick.
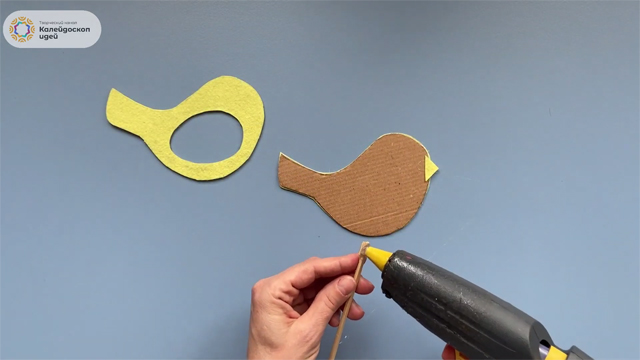
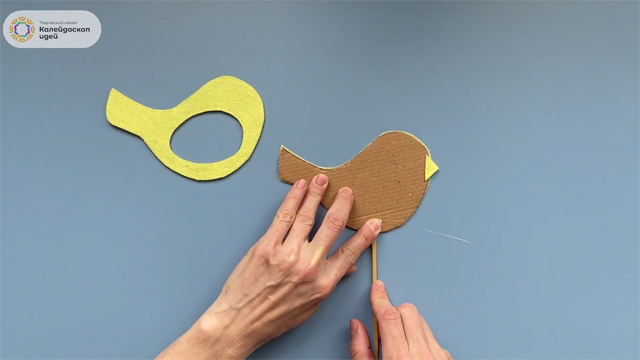
Glue the stick at the bottom of the whole half of our craft.
Let's go back to making the wing.
We take our gypsum preparation.
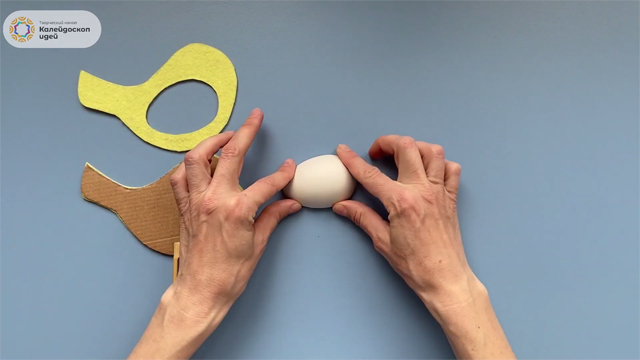
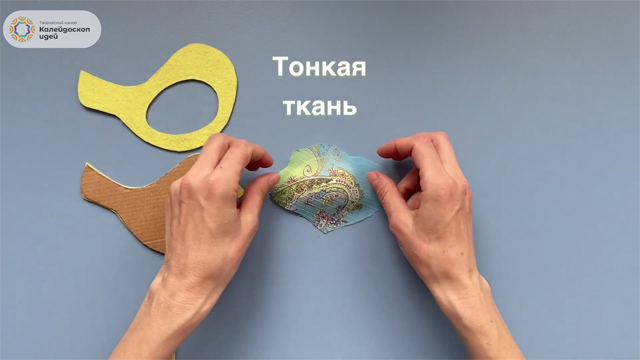
Cover the gypsum wing blank with a piece of any thin fabric with some bright pattern.
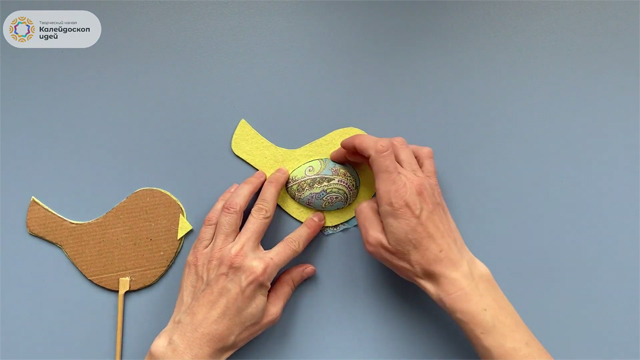
We take a piece of cardboard and felt with a cut hole and put it on a gypsum blank covered with a cloth.
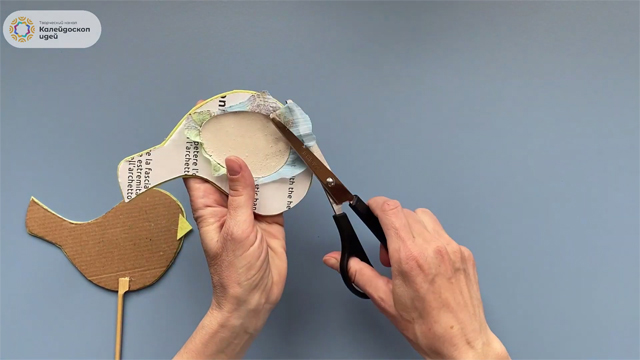
Carefully cut off the excess fabric left on the back side with scissors.
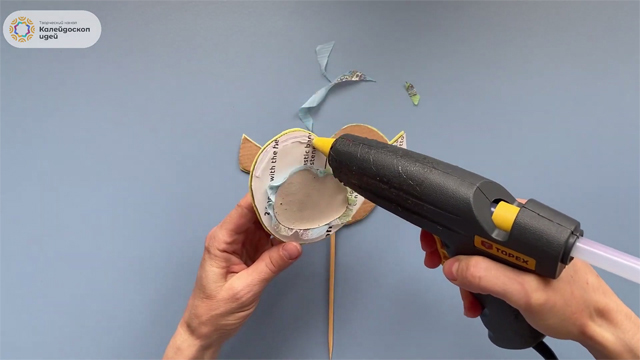
We apply hot melt glue over the entire back surface of the resulting part of our craft.
We attach the half of the bird collected with the wing to the part to which the beak and leg are already glued.
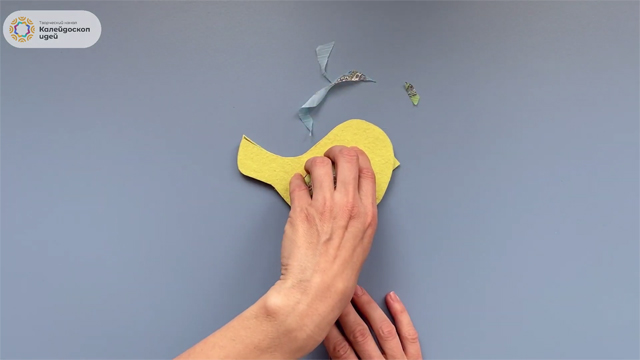
Firmly press both parts of the craft together.
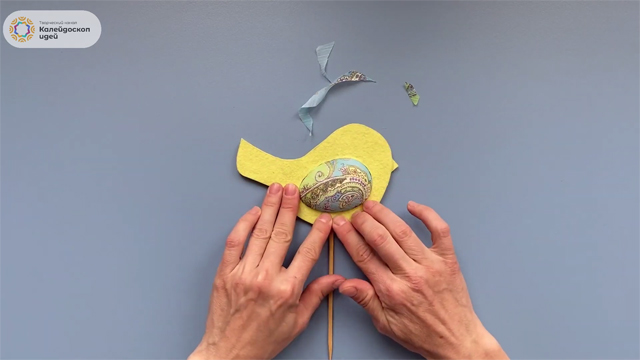
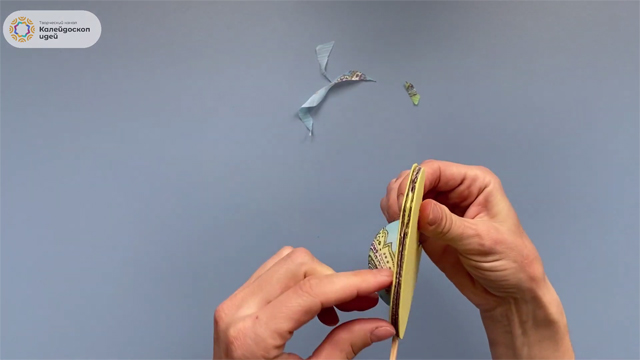
If you now look at our craft in profile, it will look like this.
To decorate the contour of our bird, take a jute rope (or twine) folded in half and fix it with hot melt glue near the leg.
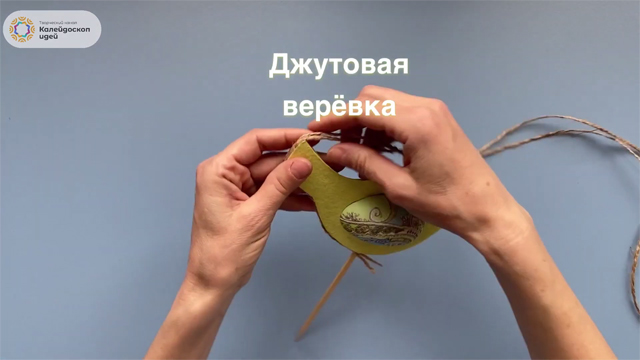
When decorating the contour, it is better to apply hot melt adhesive little by little, and not around the entire perimeter at once, so that it does not have time to dry while we glue the twine.
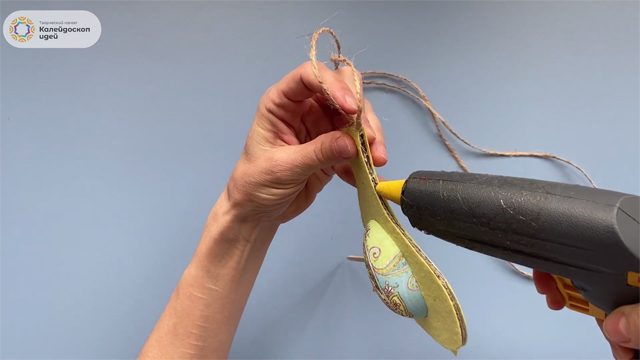
This is how the profile of our craft around the perimeter should now look like.
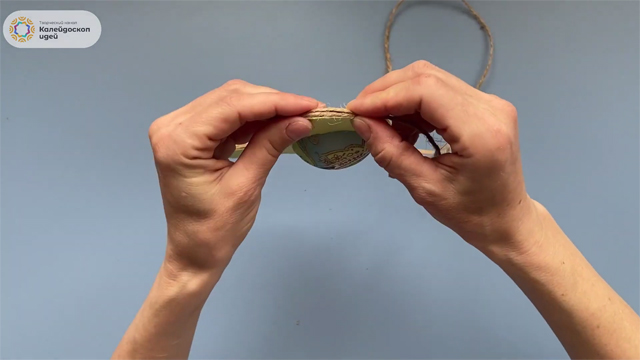
When we reach the beak, we stick the jute rope so that the beak is between the layers of the rope.
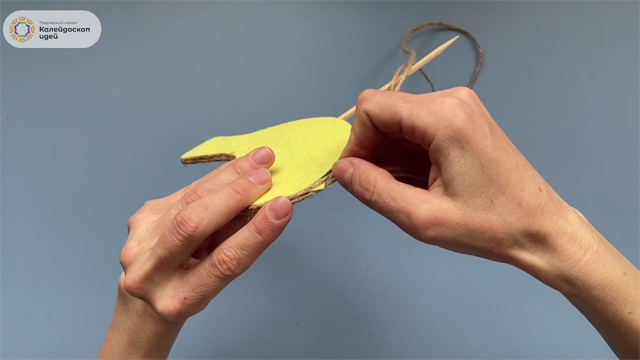
Now let's make an eye.
For this purpose, for example, any small bead may be suitable.
Apply a drop of hot melt glue to this bead.
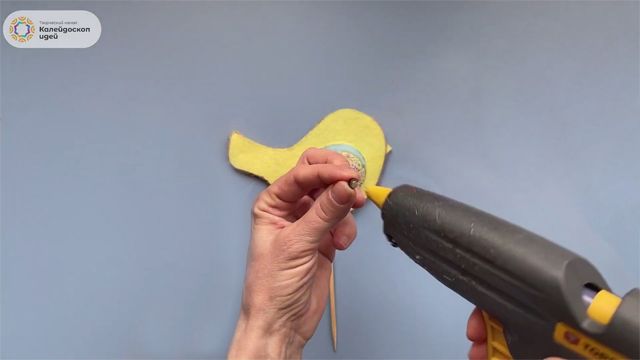
We glue the bead to our craft, and now our bird already has an eye.
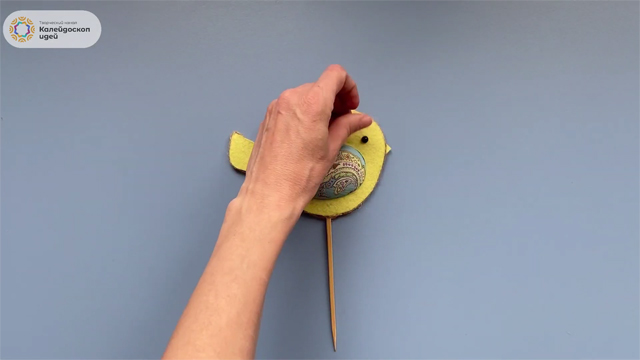
It's almost ready!
It remains only to make a stand for our craft.
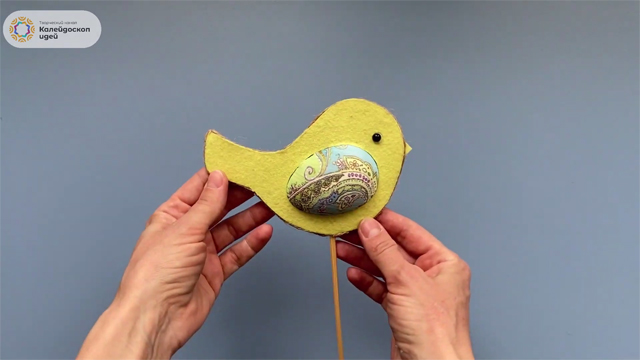
To make a stand, we need a small wooden disk with a small hole in the center.
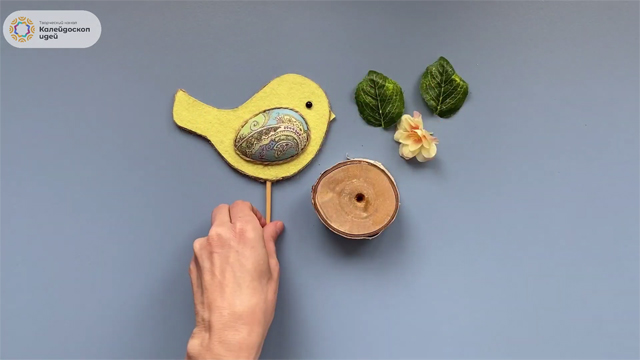
Fill the hole in the center of the wooden disc with hot glue.
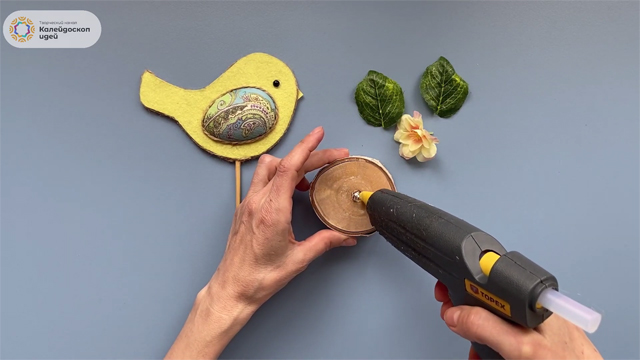
Insert the leg of our bird into the hole.
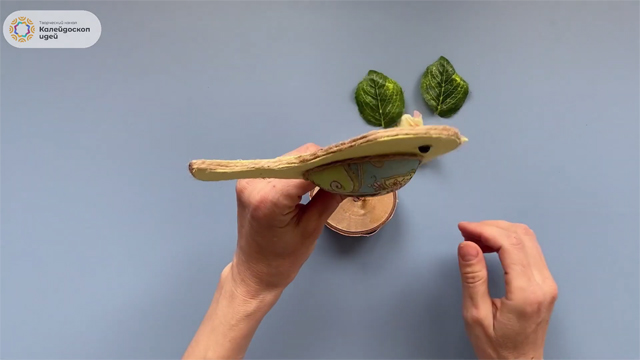
Until the hot melt adhesive is completely frozen, we decorate the junction of our bird's leg with the stand using a fabric flower and a pair of artificial leaves.
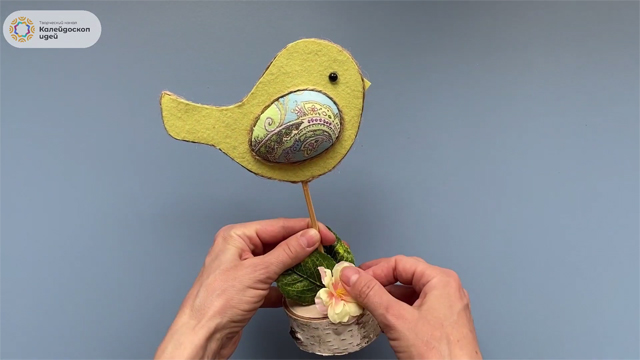
That's it! Our Easter bird is ready!
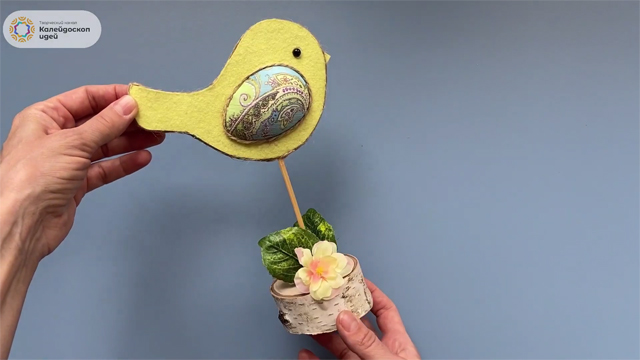
Well, since at the very beginning we were going to make two birds at once, so be it. Moreover, for the second bird, you can not even make a stand, but simply fix the leg by inserting it, for example, into a flower pot with earth.
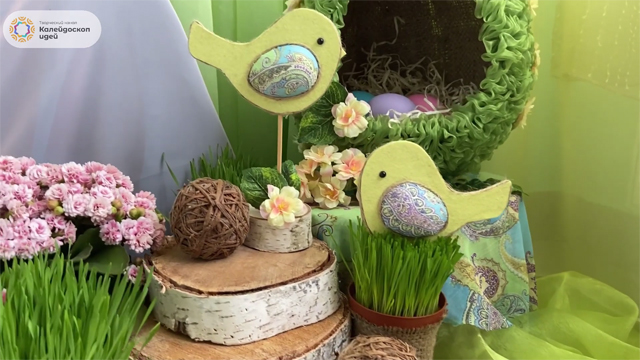
If you did not understand something, you can see how the whole process of making this craft looks like in the video.