
 Useful Tips
Watch the video, If you're too lazy to read
Watch the video, If you're too lazy to read
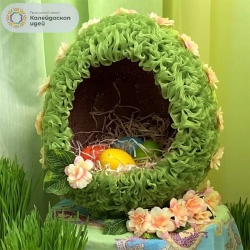
At Easter, there is always a desire to decorate your home. And I would especially like to place one of the main symbols of this Holiday in a special way in the interior — painted Easter eggs.
Today we suggest that you make a beautiful decorative Easter nest with your own hands, which will become the basis for a beautiful festive composition for this Bright Day, and will simply be able to make bright spring colors for your interior.
To make this craft, we will need today:
balloon;
burlap;
jute rope (twine);
organza ribbon (thin transparent fabric made of silk, viscose or polyester);
plastic can cover;
fabric flowers;
artificial leaves;
thin tracing paper;
wide brush;
PVA glue;
hot melt adhesive;
scissors.
Well, let's get started!
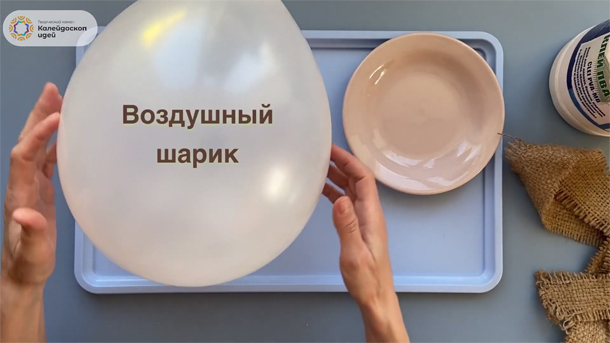
First, we need to inflate the most common balloon.
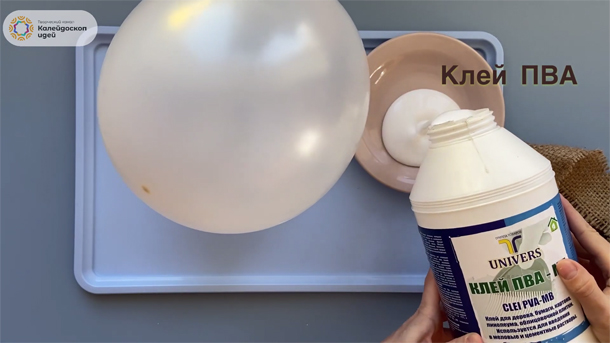
Pour PVA glue into the plate.
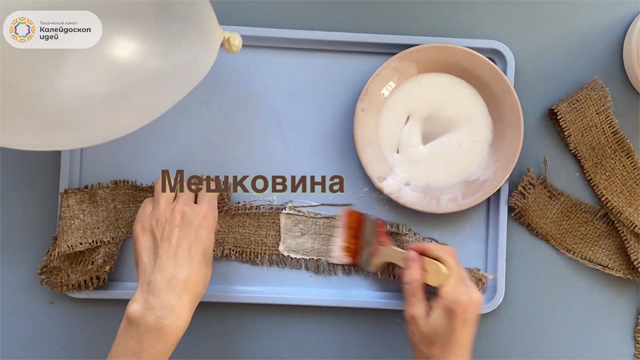
Now we take the burlap, cut into strips from the most common bag, and use a wide brush to thoroughly coat it with glue.
We begin to carefully glue our inflated balloon with strips of burlap coated with PVA glue.
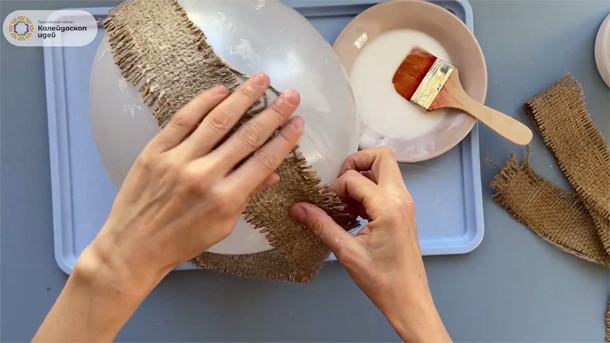
During the gluing process, we continue to glue the burlap so that it is well soaked, and cover the entire surface of the ball with it, leaving a small window on one of its sides.
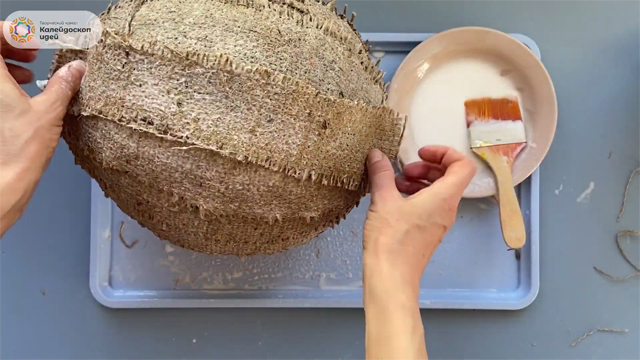
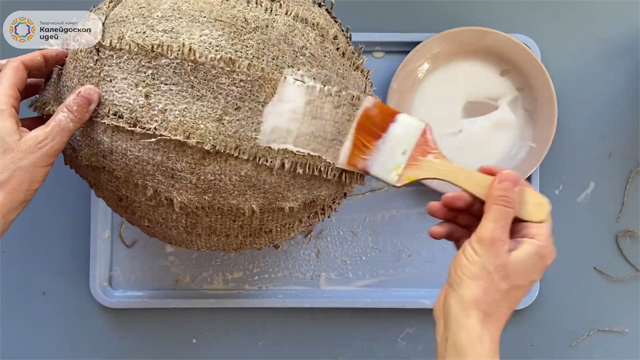
After gluing the burlap, we again apply a layer of PVA to the surface of the resulting workpiece.
Now we take a jute rope (or twine) and wrap it around our ball over the glued burlap.
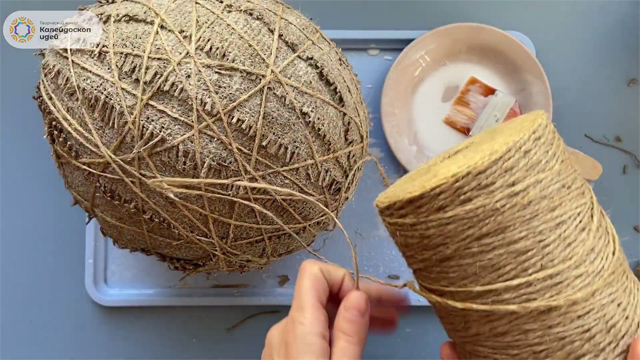
The end of the rope is fixed to the top of the ball.
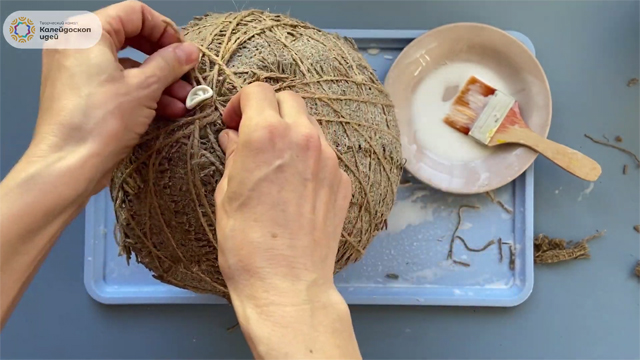
Again, coat our workpiece with PVA glue.
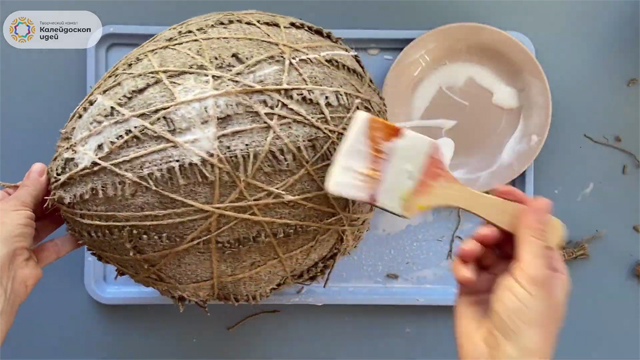
This is what our future craft should look like with the very window we mentioned just above.
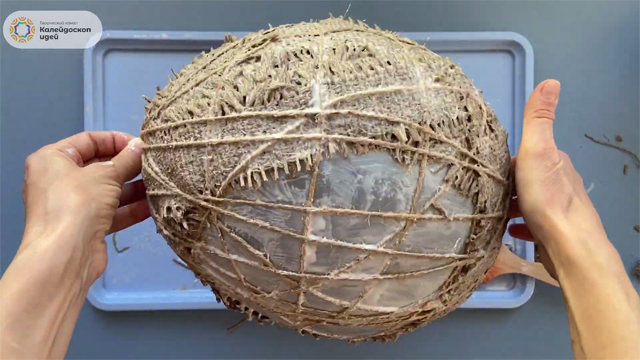
Now we must wait until the PVA is completely dry so that the burlap hardens and our craft does not lose its shape.
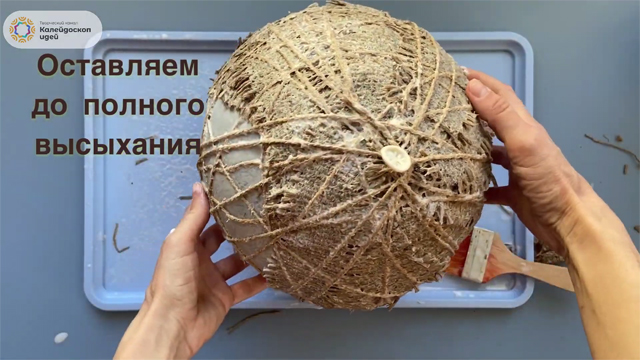
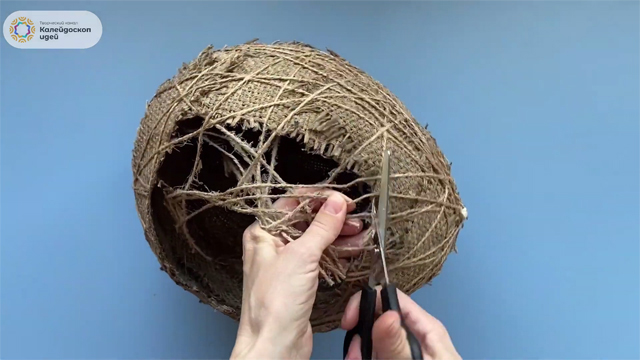
When the glue is completely dry, pop the ball and use scissors to cut off the twine around the perimeter of the window we left earlier.
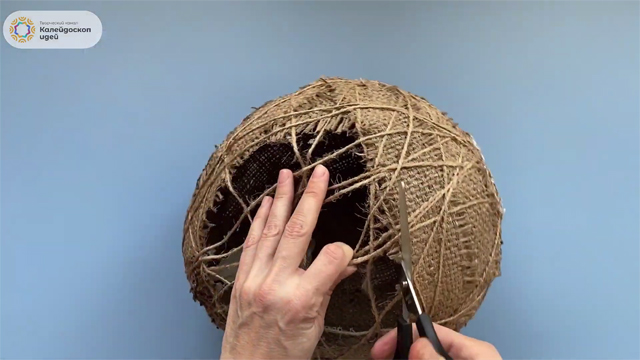
In the end, we get a piece of burlap, very similar in shape to an egg with a window cut out on one of its sides.
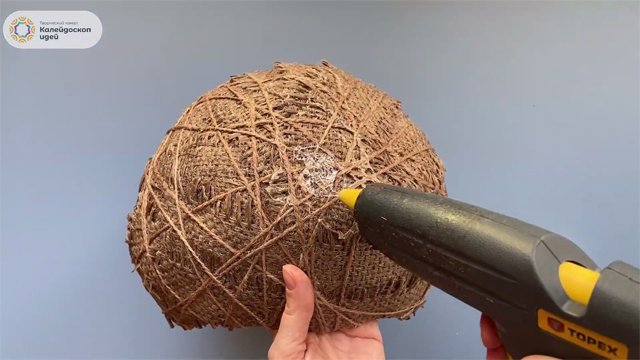
We apply hot melt adhesive to the lower part of our workpiece.
We take a plastic cover from some screw jar and glue it to the bottom of our craft.
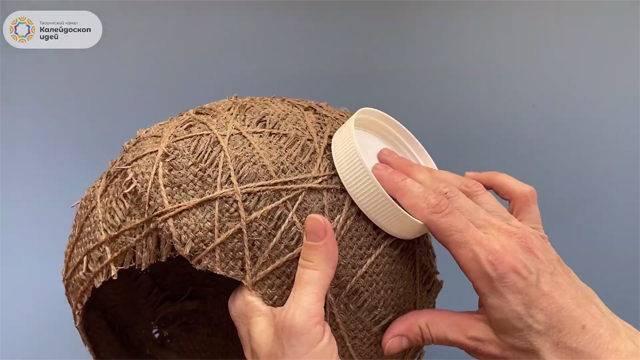
Now our future Easter egg has a stand, but it will stand for.
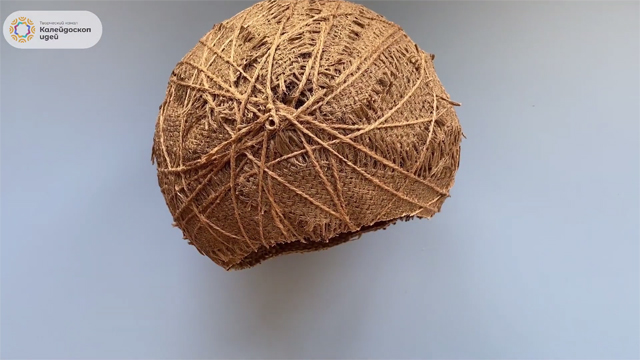
Let's start decorating our nest.
To do this, we need an organza ribbon, that is, a thin transparent fabric made of silk, viscose or polyester.
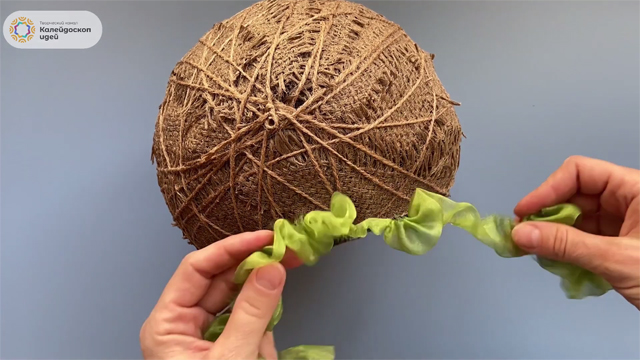
Let's start with the border of the carved window.
Apply a little hot melt adhesive to its edge.
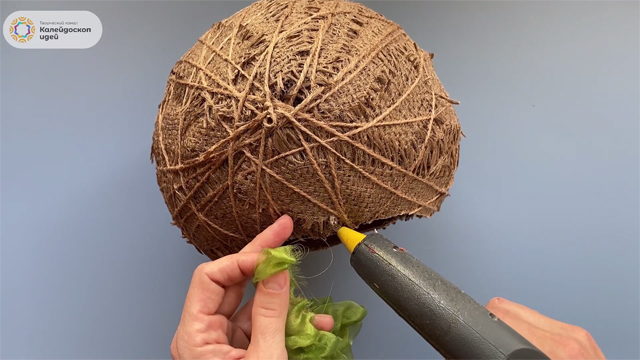
Glue the end of the tape and fix it.
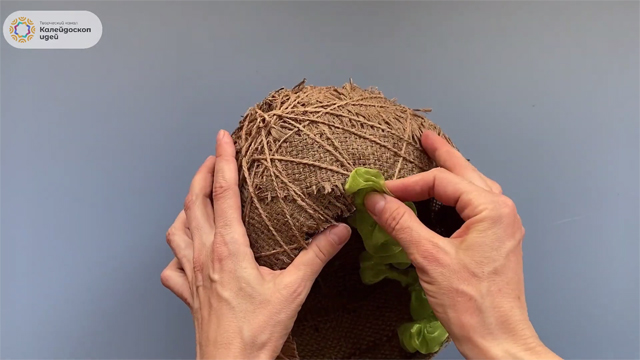
Again, apply a little hot melt glue around the perimeter of the window.
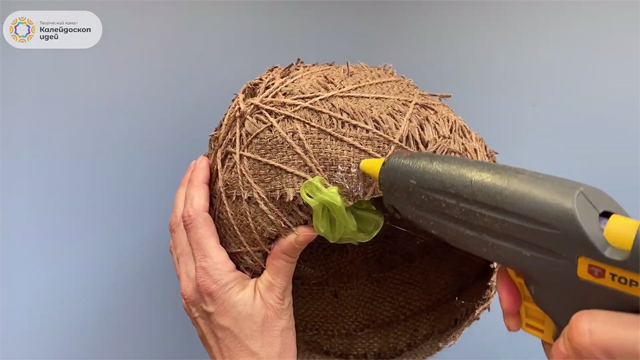
We continue gluing the tape, folding it into an “accordion”.
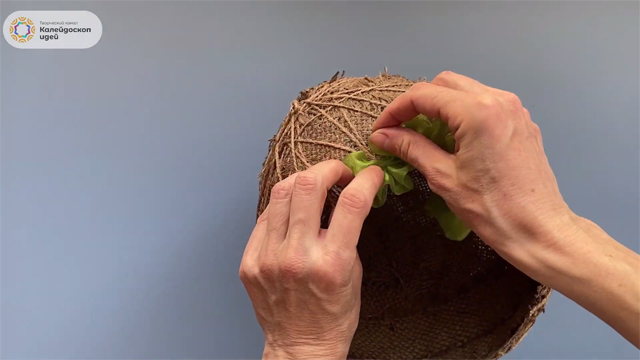
During the taping process, each new turn is fixed on the surface of the craft using hot melt adhesive.
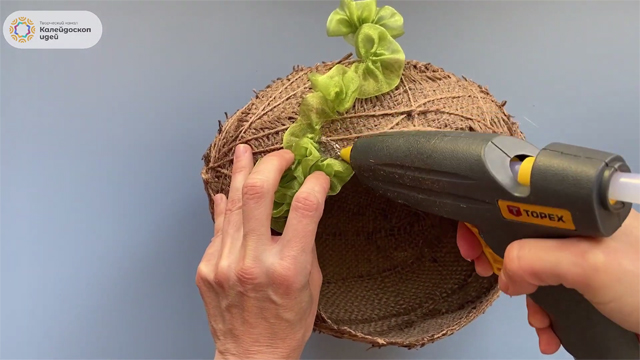
Thus, we make a complete border of our window, and then use the same technology to glue the entire surface of the craft.
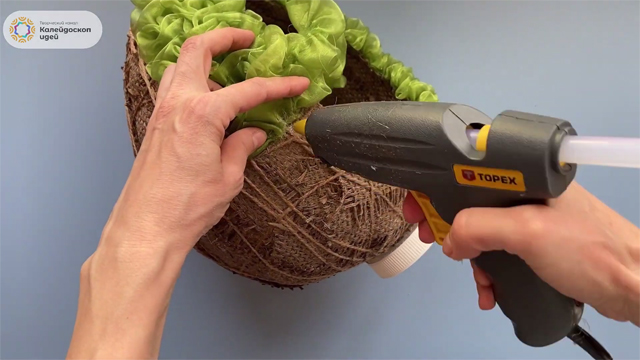
When our entire Easter nest is covered with ribbon, we decorate it using fabric flowers and artificial leaves.
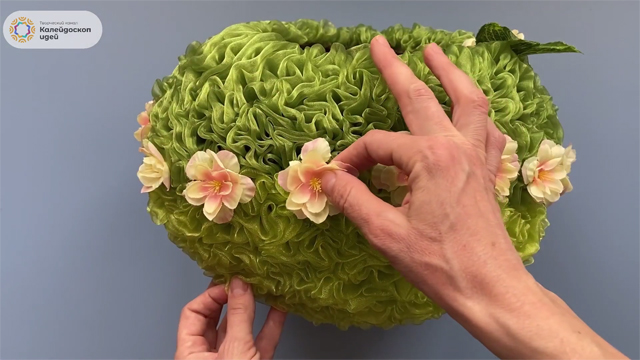
Well, that's it! Our craft is ready!
Now you can cut small strips from thin tracing paper that will act as hay or straws, place them in the nest, and you can safely put the painted Easter eggs inside.
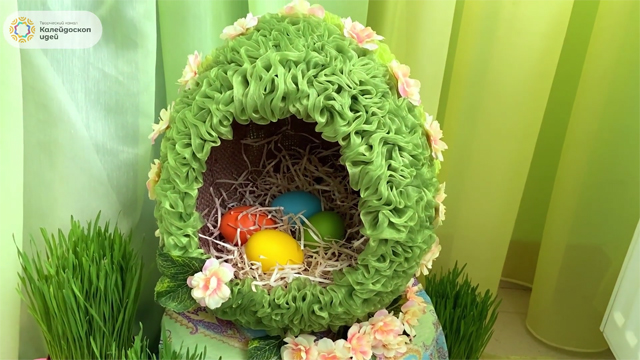
See how fun and easy the whole process of creating this composition looks like in our video.
Now you have a wonderful Easter decor detail that will perfectly fit into your interior on the eve of this Bright Holiday.