
 Useful tips
Contents: Halloween
decorations: tin can lamps DIY Halloween
decorations : flying and burning witch hats DIY Halloween
pumpkin: black cat lamps DIY
Halloween at home: floating in the air
ghost Halloween crafts DIY: bat chandelier Halloween
ideas: hanging ghosts DIY
Halloween for kids: glowing eyes
How to decorate a Halloween house with your own hands: a huge web on wall Halloween
ideas: glowing ghost garland
How to decorate a Halloween room: mummy candlesticks
Halloween at home: Halloween style glasses
Ideas for DIY Halloween: candy hands Halloween home
decoration: DIY
Halloween mummy heads (photo) Crocheted
pumpkin – video
Halloween is a holiday that dates back to the ancient Celts of Ireland and Scotland.
It is celebrated on October 31, the eve of All Saints Day, and is usually celebrated in English-speaking countries, as well as in Japan, South Korea, Singapore, Australia and New Zealand.
But since the end of the 20th century, this day has been celebrated in many non-English-speaking European countries and former Soviet republics.
On this day, many people dress up in scary costumes and decorate their homes and offices with various crafts.
On our site you will also find:
DIY pumpkin crafts
The most interesting facts about Halloween
Interesting Halloween costumes
The most delicious dishes for Halloween
Here are some interesting ideas of what crafts you can make for your home, garden, office, or even as a gift:
Halloween decorations: tin can lights
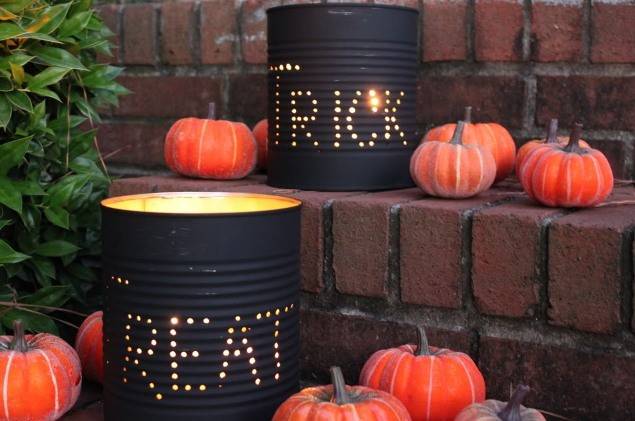
You'll need:
– marker
– empty tin cans
– a hammer and a thick nail
– brush and paint (acrylic or aerosol)
– candles.
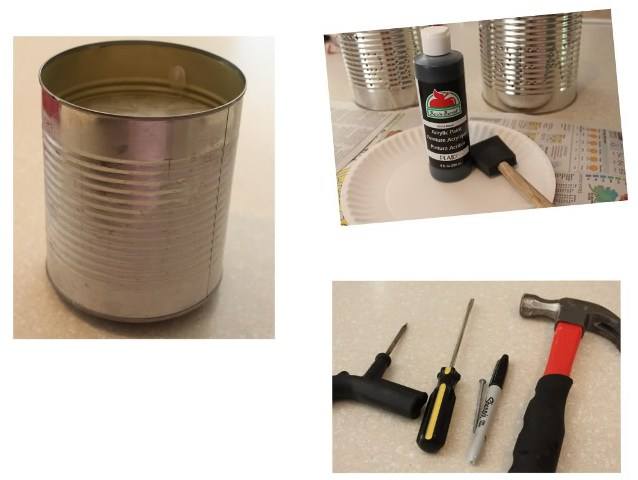
1. Fill a tin can with water and refrigerate. When the water freezes, remove the jar from the freezer.
* You need to freeze the water in the jar so that the jar does not wrinkle when you make patterns with a hammer and nail.
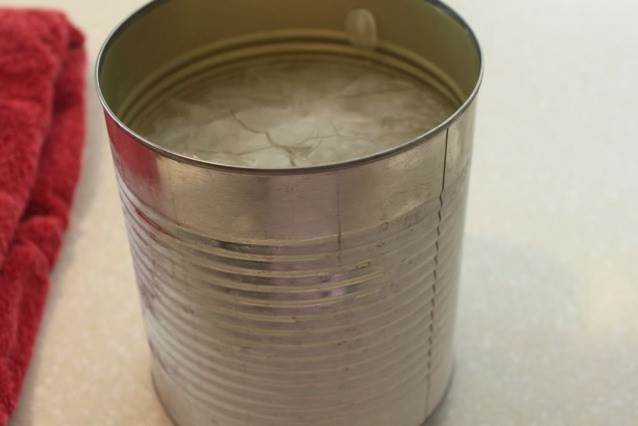
2. Use a marker to draw any image or face on the jar. It is desirable that the drawing be simple – the silhouette of a cat, a witch hat or a flying mouse.
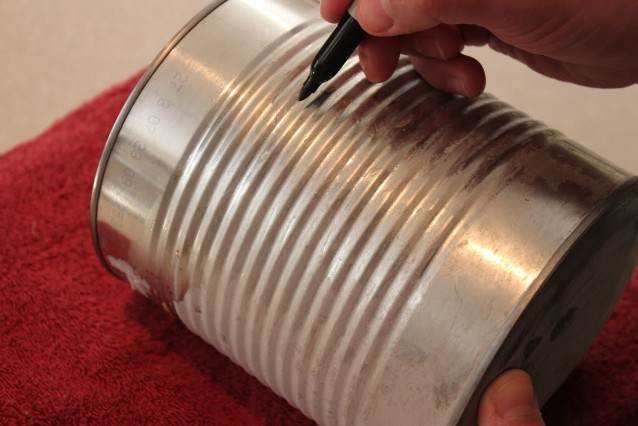
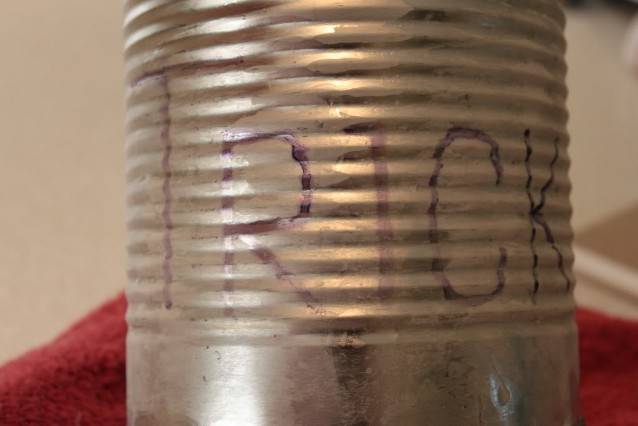
3. Place the jar on a towel to soften blows with a hammer.
4. Using a hammer and nail, make holes that will outline your pattern on the jar.
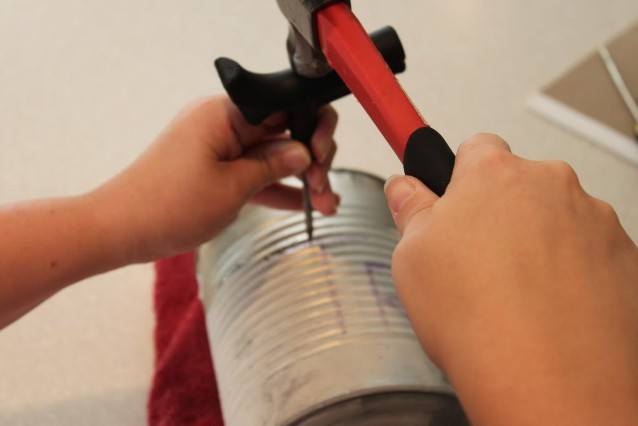
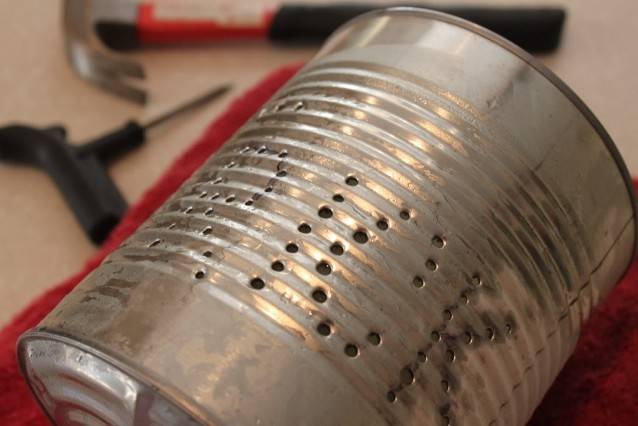
5. After you've finished making holes, put the jar in the sink and turn on the hot water to melt the ice.
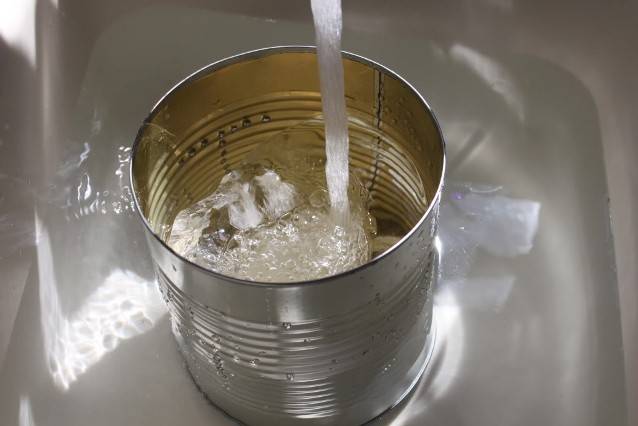
6. Paint the jar. Maybe the paint will cover some of the holes, and then you'll need a toothpick to remove the paint from the holes.
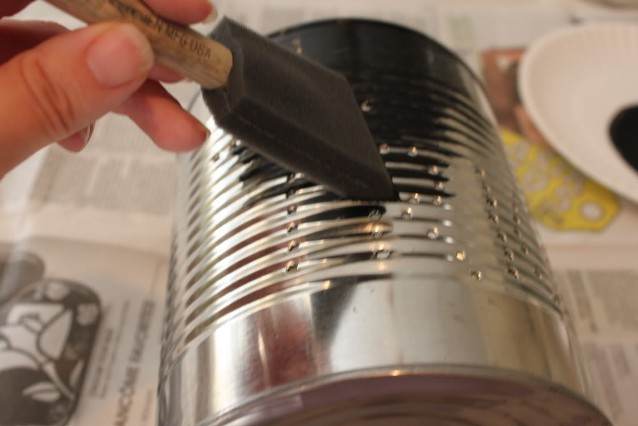
7. Put the candle inside the jar.
* If you wish, you can make two holes in the upper part of the jar (on opposite sides), attach the wire so that the jar with the candle can be hung.
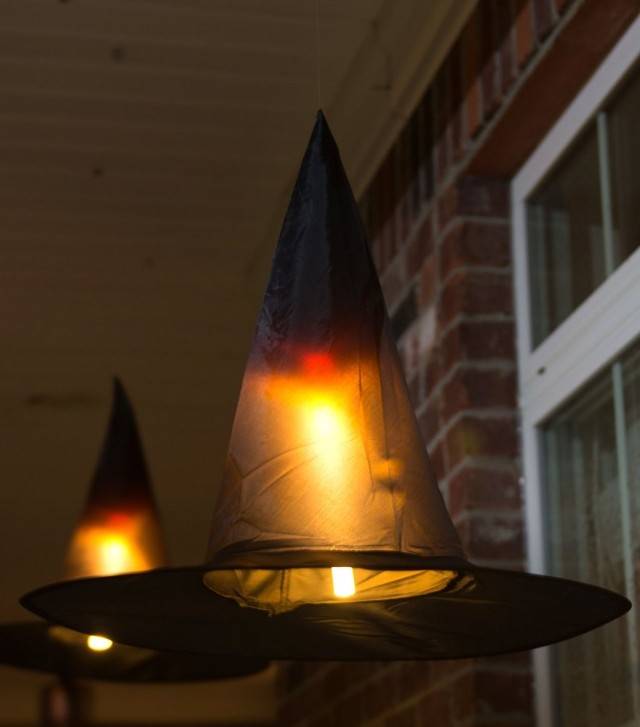
DIY Halloween decorations: flying and burning witch hats
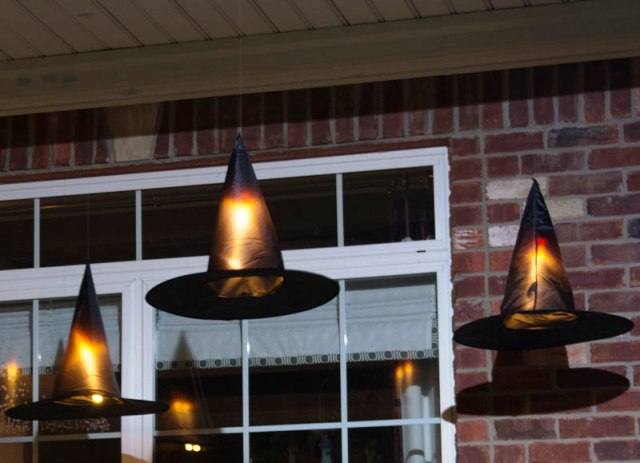
You'll need:
– simple witch hats (can be found in the supermarket)
– fishing line
– needle
– glow sticks (LED)
– pins
– safety pin (safety pin)
– adhesive hooks or a suction cup to which you can tie a fishing line.
1. Attach adhesive hooks where you want witch hats to hang.
* You can skip this step if you will be tying the fishing line to a chandelier or other items.
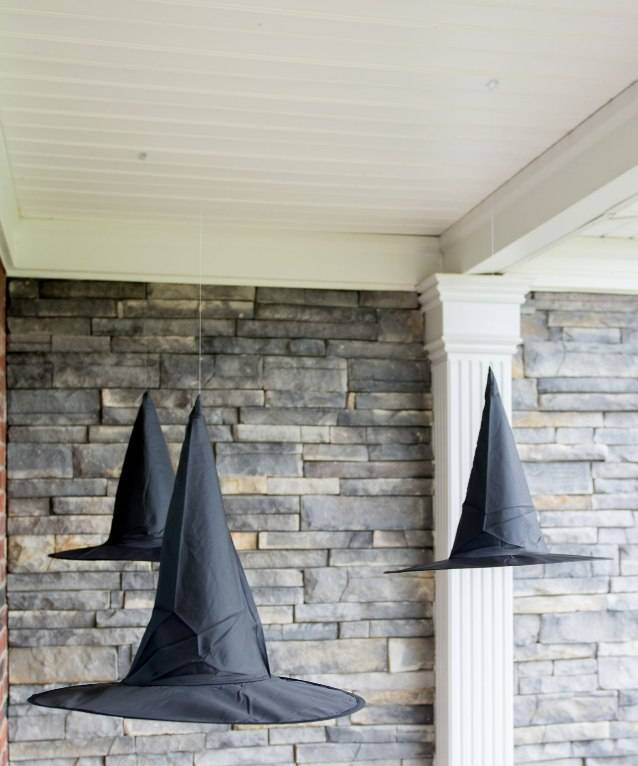
2. Using a needle, thread 80-90 cm of fishing line through the tip of the hat, but do not stick the line back out.
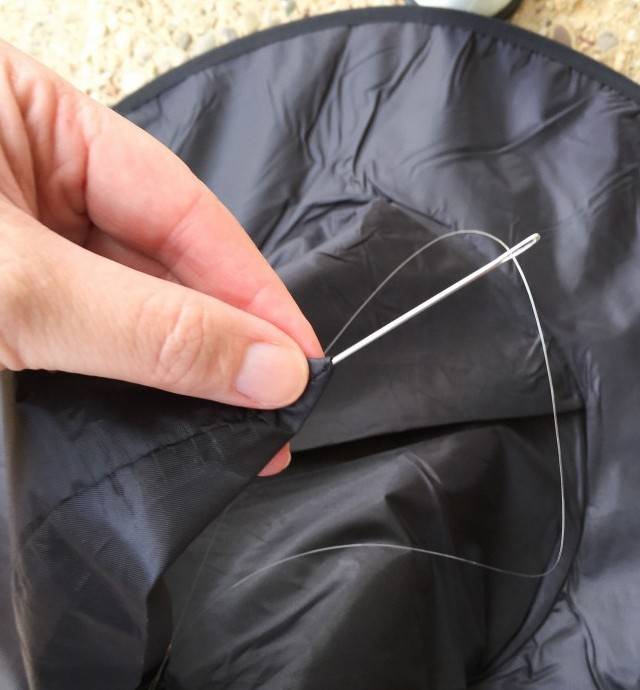
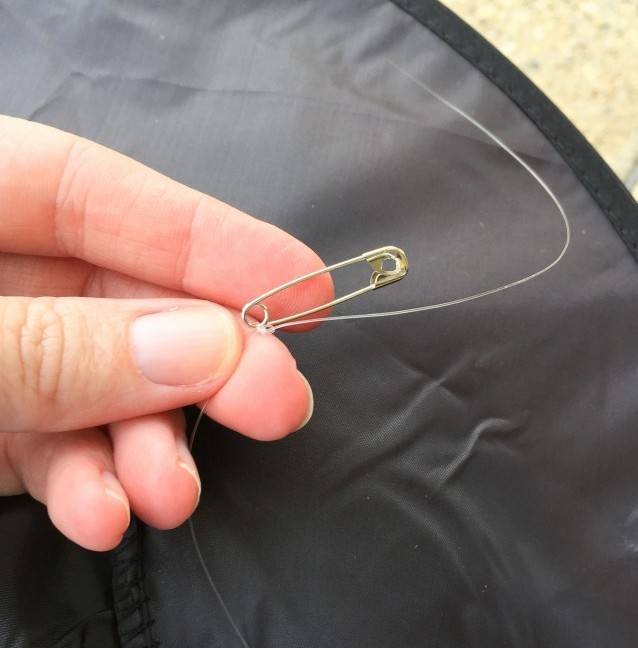
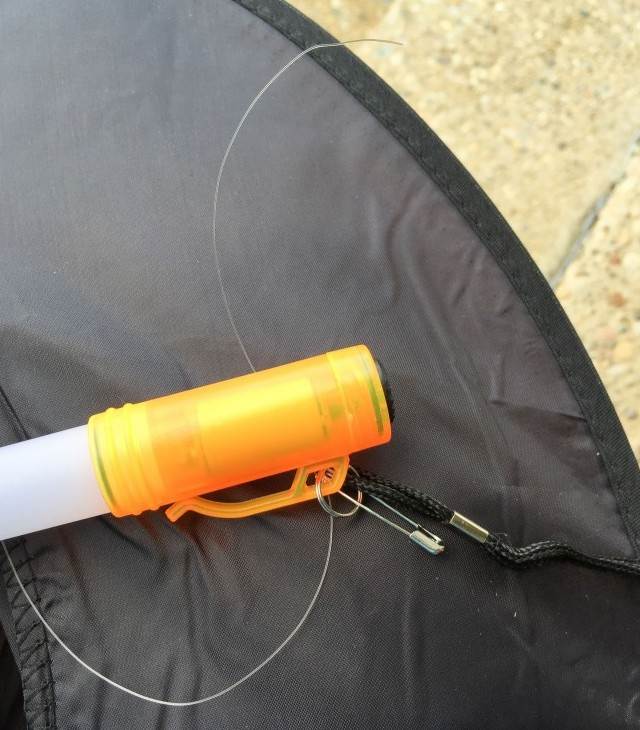
3. Tie one end of the fishing line to the hook (you can make a loop in advance and hang it on the hook), and tie a pin to the other end and attach a glow stick to it.
DIY Halloween pumpkin: lamps in the form of black cats
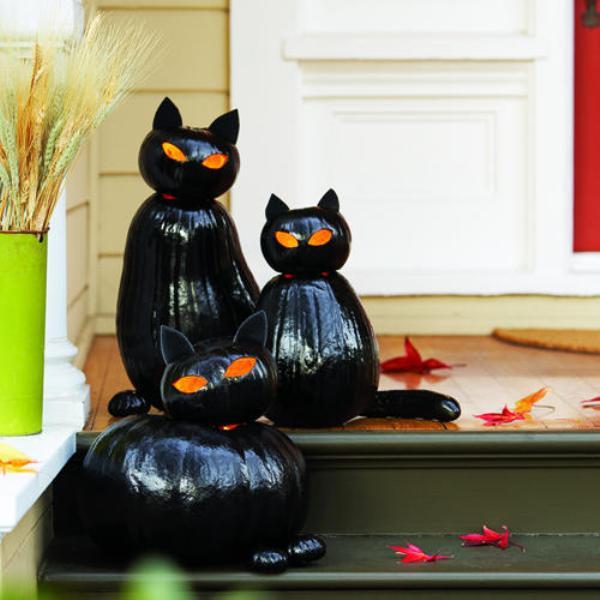
You'll need:
– pumpkins of suitable shapes (one oblong for the body and one round small for the head)
– a knife, spoon and/or other items that will help cleanse pumpkins from internal content
– candles
– felt or colored cardboard
– scissors
– skewers (if necessary)
– candies (optional).
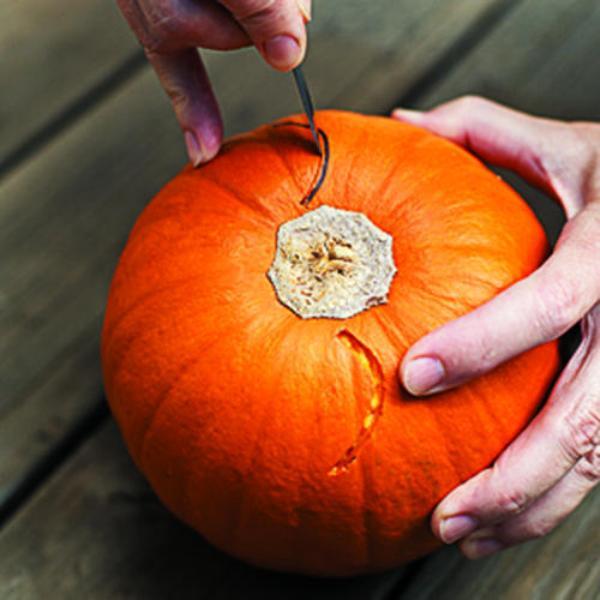
1. Cut off the lower part of the oblong and round pumpkin and peel their contents.
2. Using a knife, cut out the cat's eyes in a round pumpkin. You can draw them first and then cut them out.
3. Cut your cat's ears out of felt or colored cardboard. To keep them on the round pumpkin, make small cuts in the pumpkin and insert the ears into them.
4. Paint the pumpkins black, after putting newspaper in them. If you use spray paint, you should paint outside or in a very well-ventilated area and wearing a mask.
5. When the paint is dry, remove the newspapers from the pumpkins.
6. Prepare a candle, you can put it on a saucer or plate made of clay.
7. Place the round pumpkin on the oblong one and make sure it holds up well. If necessary, you can use skewers to plant pumpkins on them. You can also paint the skewers black.
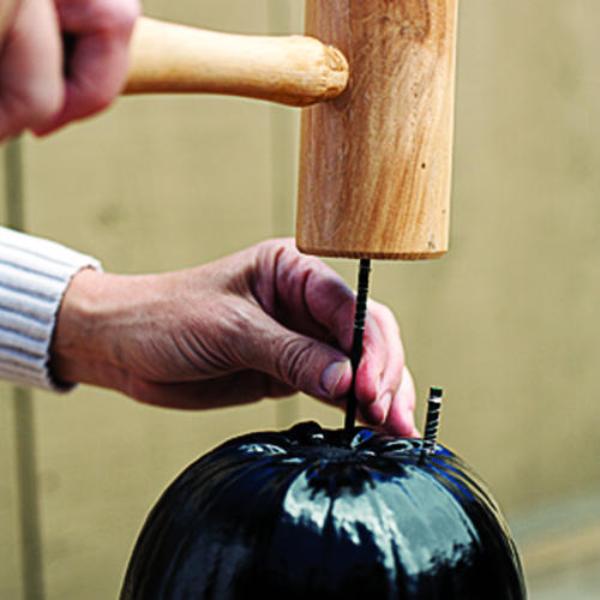
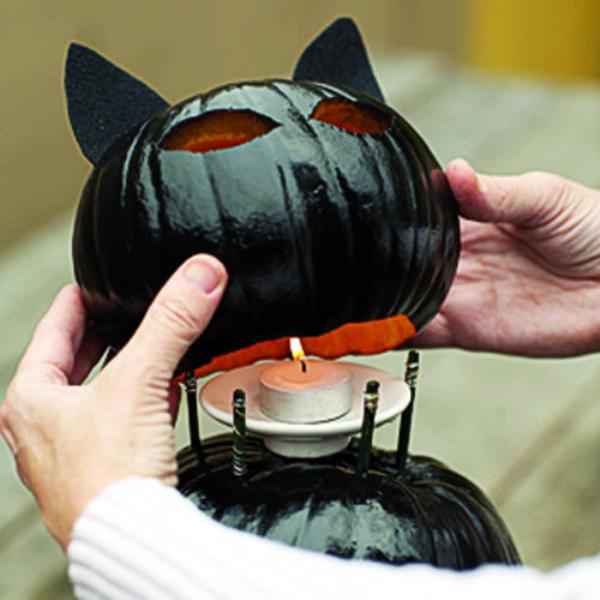
* If you want, you can use small pumpkins for the cat's paws and tail.
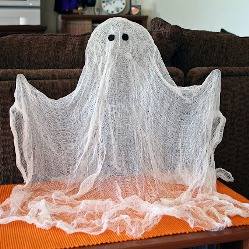
DIY Halloween at home: a ghost floating in the air
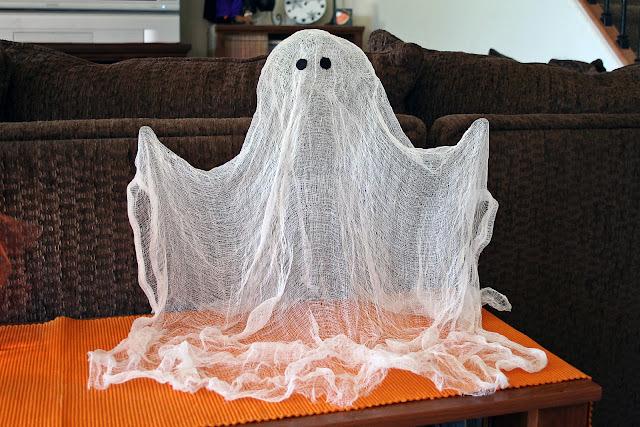
You'll need:
– plastic bottle (1L in this example)
– liquid starch
– an old towel
– gauze (sieve cloth)
– a piece of felt
– styrofoam ball
– scissors
– wire
– hair dryer (optional)
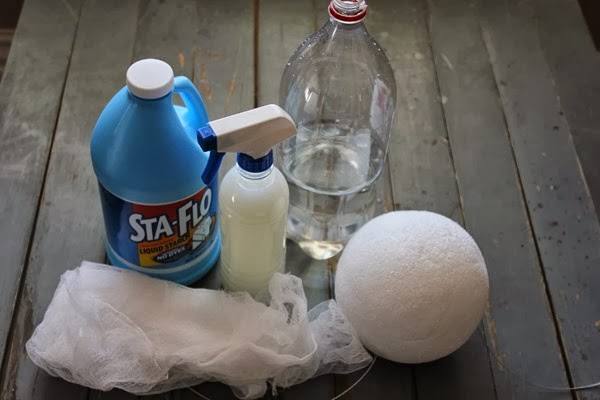
1. Place a towel on your work surface.
2. Place a foam ball on a plastic bottle and screw it a little into the neck of the bottle.
3. Use wire to make your hands.
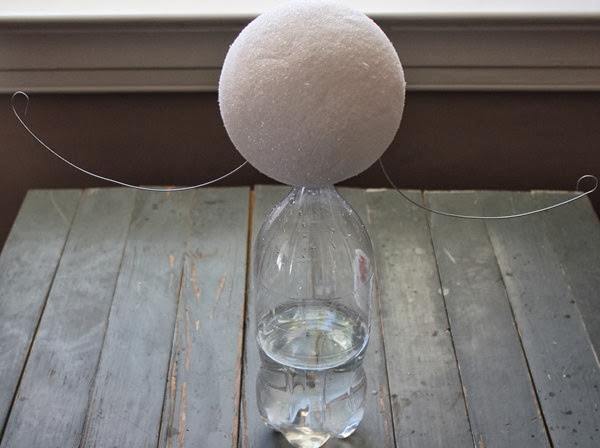
4. Put gauze on the resulting form. Spray your ghost with starch – the more starch, the stronger the ghost will be.
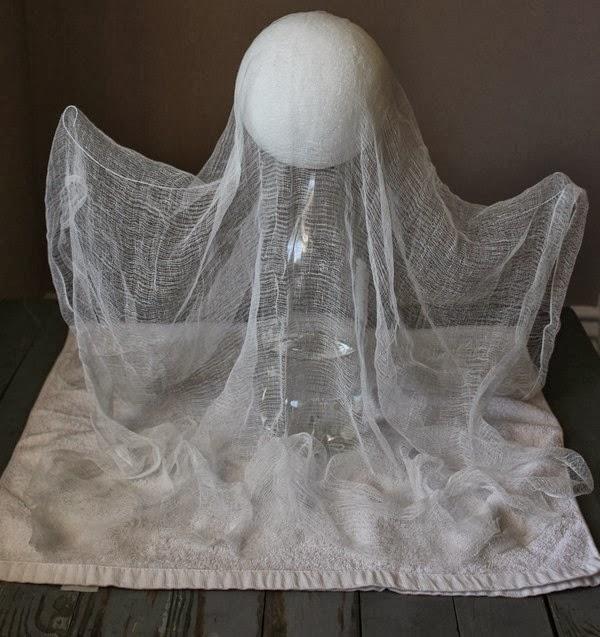
You can use a hair dryer to help the liquid starch dry faster.
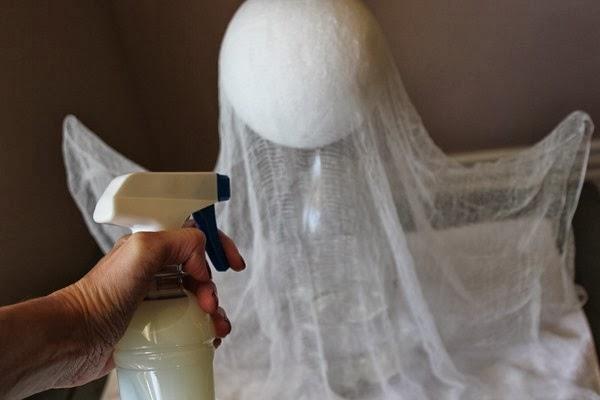
5. When everything is dry, remove your shape from the bottle, ball and wire and cut it out of felt and glue it to the ghost's eyes.
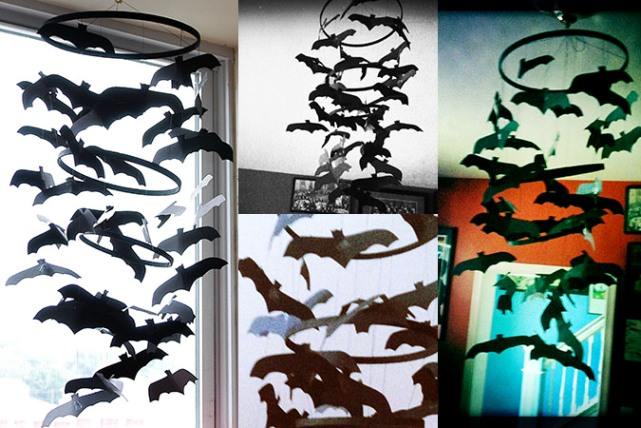
DIY Halloween crafts: bat chandelier
You'll need:
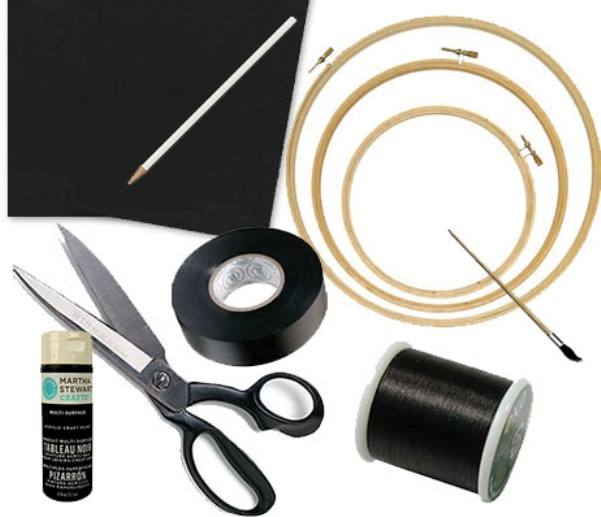
– thick black paper or felt
– black acrylic or spray paint
– white pencil (if you use felt, then a white fabric marker)
– brush
– scissors
– hoop (3 different sizes)
– duct tape or washi tape
– thick thread (preferably black) or fishing line.
1. Disassemble the hoop and paint them black.
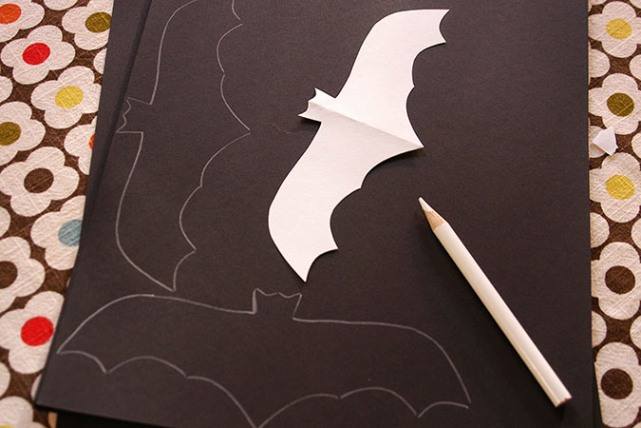
2. While the paint dries, make some flying mice. Draw on paper and cut out the silhouette of a bat – this will be your template. Trace the template on black paper using a white pencil or marker. Cut out all the figures.
3. Tie 3 threads to the large hoop (see image). Next, tie the medium and small hoop at the same distance from each other – you will get a chandelier.
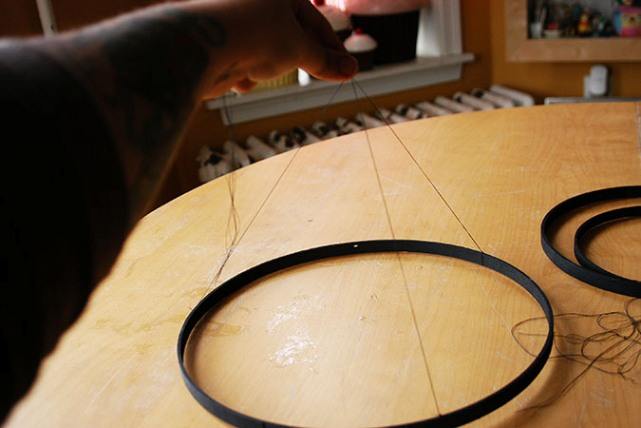
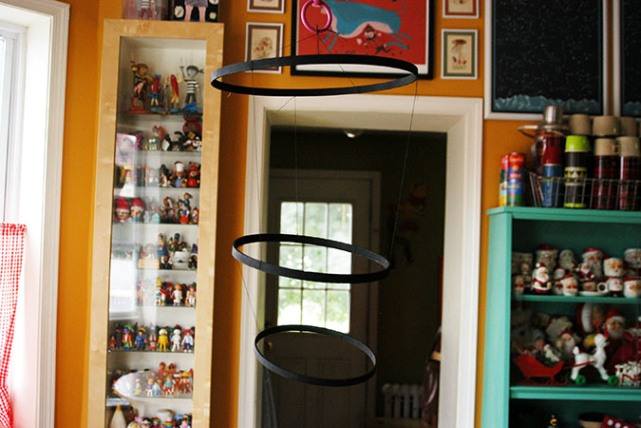
4. Use black duct tape to attach your paper bats to the chandelier.
5. Now you can tie the craft anywhere.
Halloween ideas: hanging ghosts
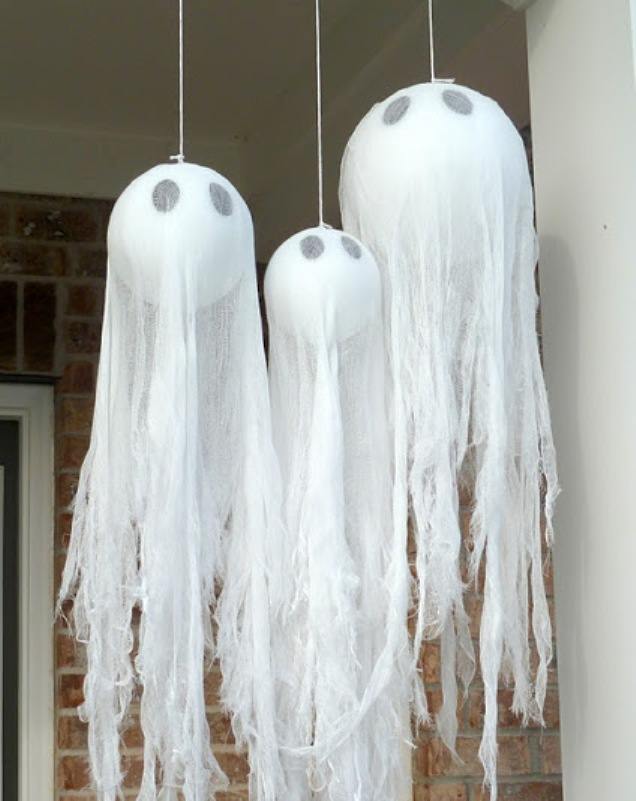
You'll need:
– foam balls (preferably in different sizes)
– black paint (acrylic)
– brush
– gauze (sieve cloth)
– screw with a loop
– superglue
– scissors.
1. Insert the screw with the loop into the foam ball. You can add glue to help the screw hold better. Let the glue dry.
* If you wish, you can paint the screws white.
2. Using black paint, paint ghost eyes on a foam ball. Let the paint dry.
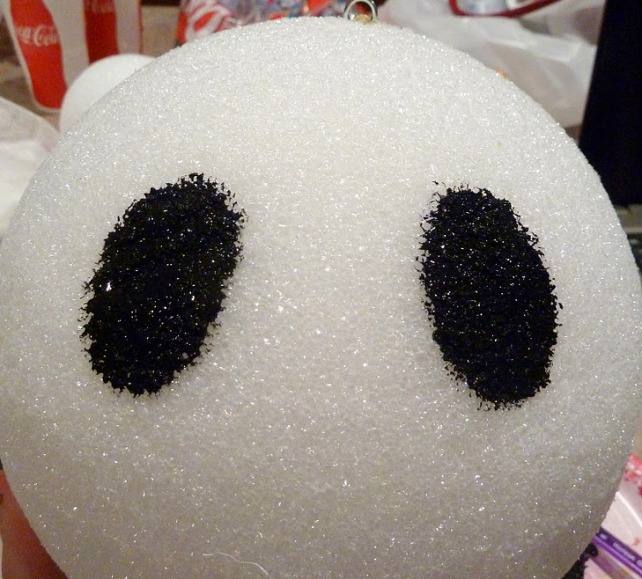
3. Cut off a square piece of gauze or sieve cloth and place it on the ball.
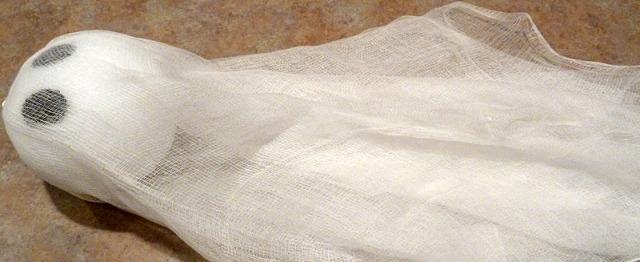
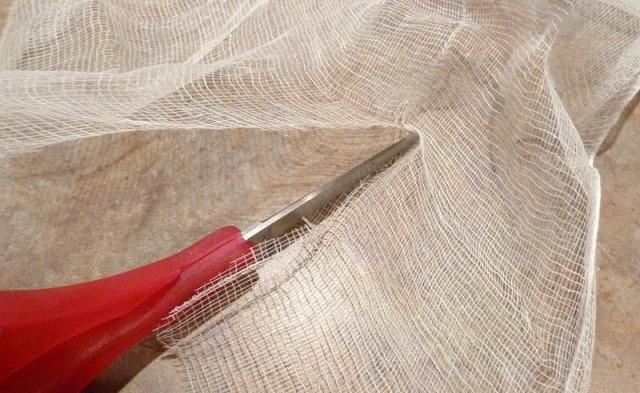
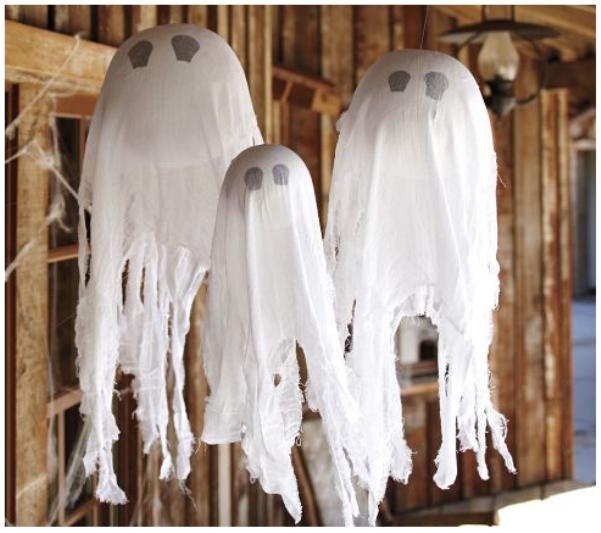
4. Use scissors to make several cuts at the ends of the gauze. Pull in slightly incised gauze to make a slightly sloppy ghost outfit.
DIY Halloween for kids: glowing eyes
You'll need:
– cardboard cylinders for toilet paper or paper towels
– glow sticks
– adhesive tape (wide opaque tape, masking tape or wide duct tape)
– scissors or stationery knife
– pencil.
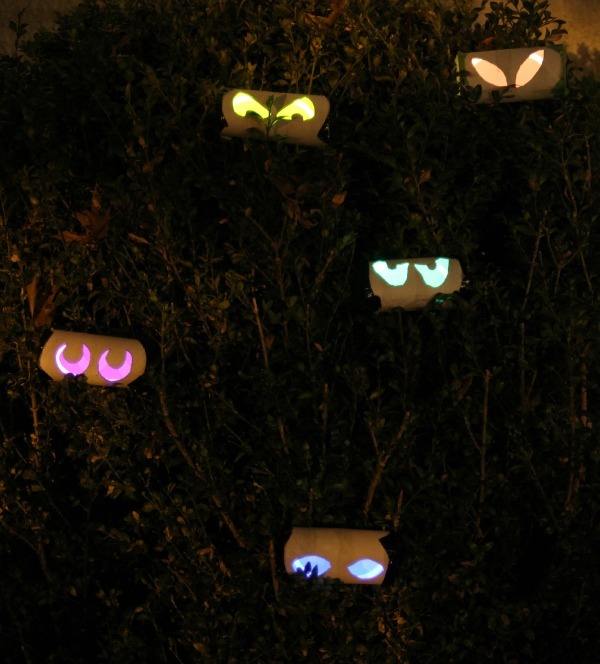
1. Draw eyes of different shapes on cardboard cylinders (see image).
2. Use scissors or a stationery knife to cut out the places where you have drawn your eyes.
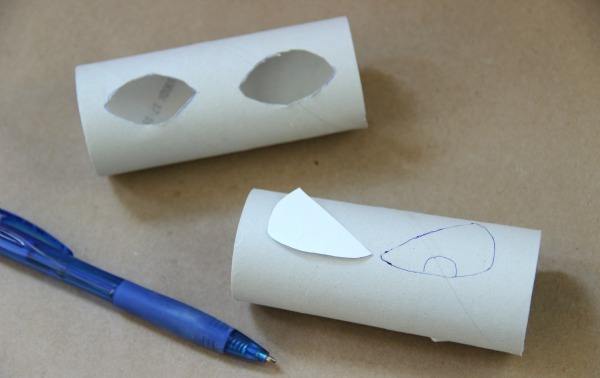
3. Use glow sticks to “light up” your eyes by inserting the sticks inside the cylinders.
4. Cover the cylinder holes on the sides with adhesive tape.
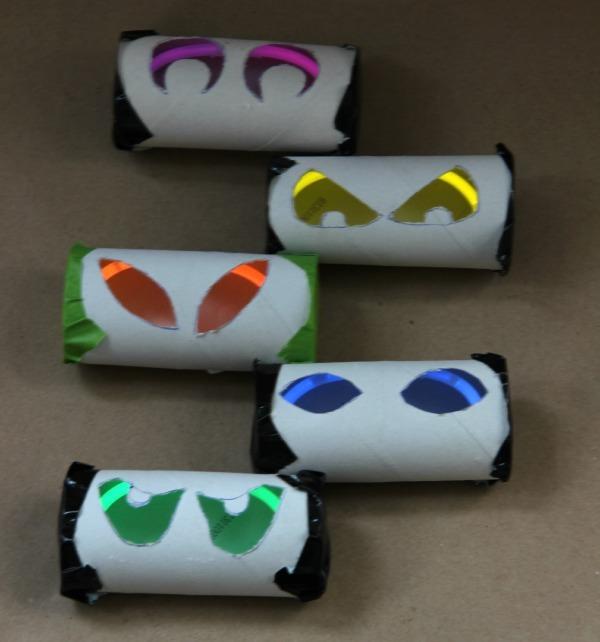
5. All that's left is to hang or just put glowing eyes in dark areas of the house or garden.
How to decorate a Halloween house with your own hands: a huge web on the wall
You'll need:
– double-sided tape
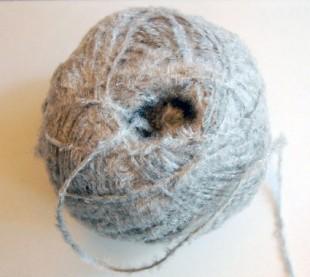
– grey or black thread
– toy spider (optional).
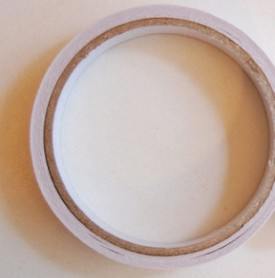
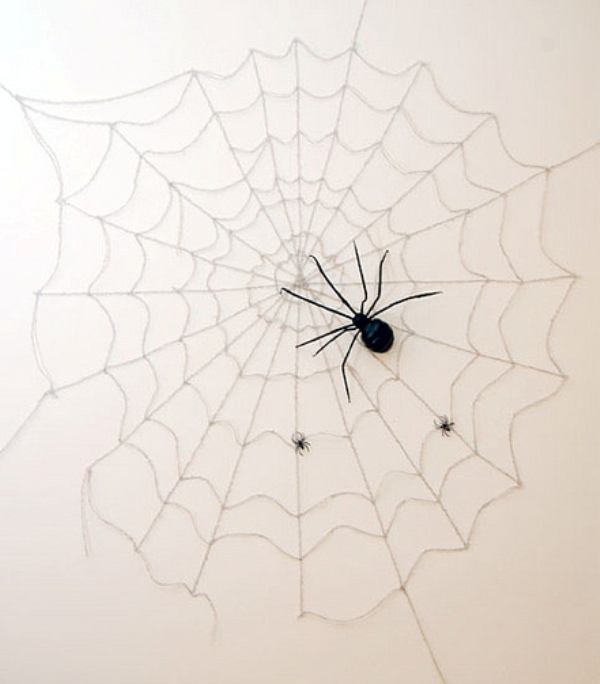
1. Consider what your web will look like — what size it will be, and how your threads will go. Based on this, glue small pieces of double-sided tape to the wall – you will need a lot of pieces.
2. First, glue the pieces of thread that come from the center (straight lines), and then start gluing the threads that go in a circle.
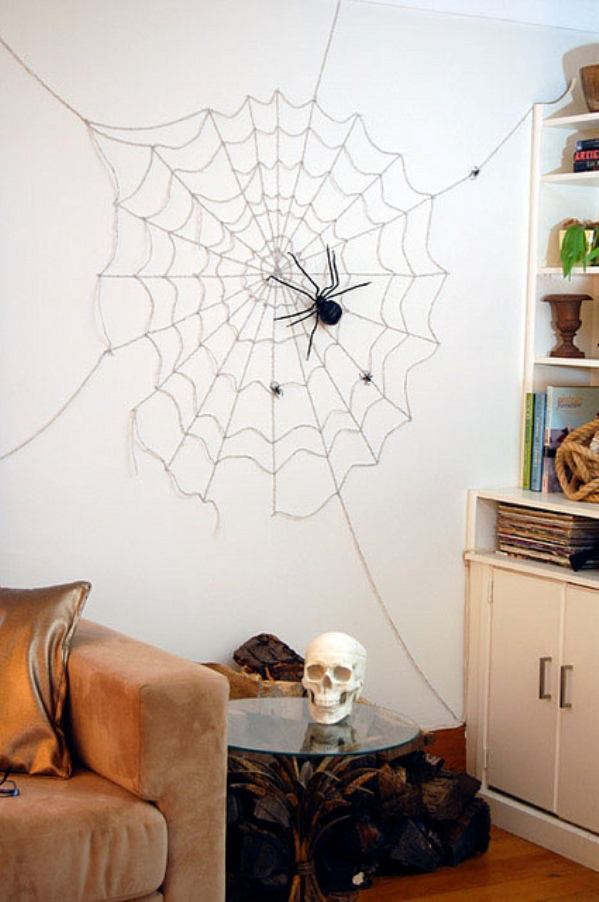
* If you wish, you can attach a toy spider with tape.
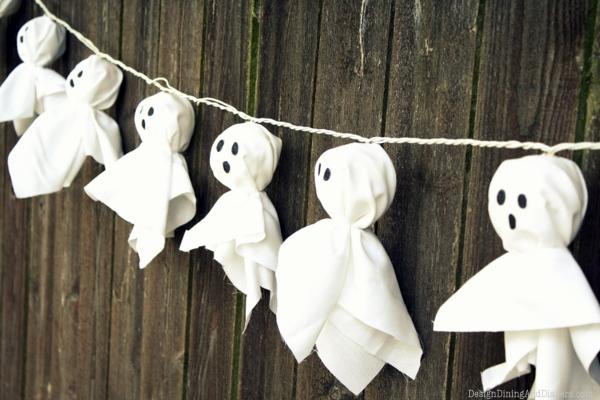
Halloween ideas: a garland of glowing ghosts
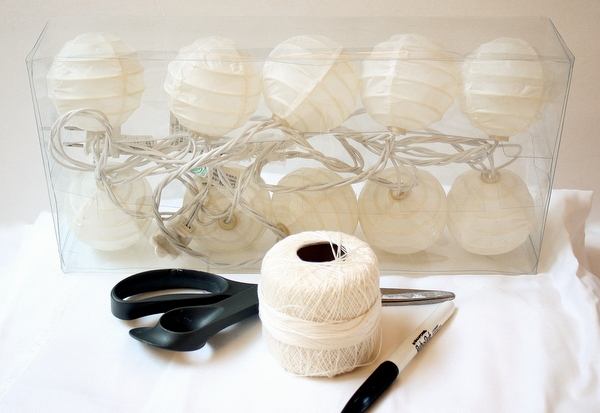
You'll need:
– a garland (preferably made of round light lanterns)
– cotton fabric
– white thread
– scissors
– black marker.
1. Cut the fabric into square pieces. In this example, the side of the square is 35 cm.
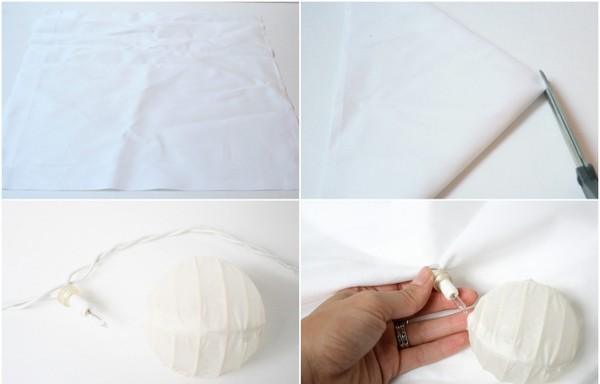
2. Fold each square into a triangle and cut off the tip. When you straighten a square piece of cloth, there will be a hole in the middle.
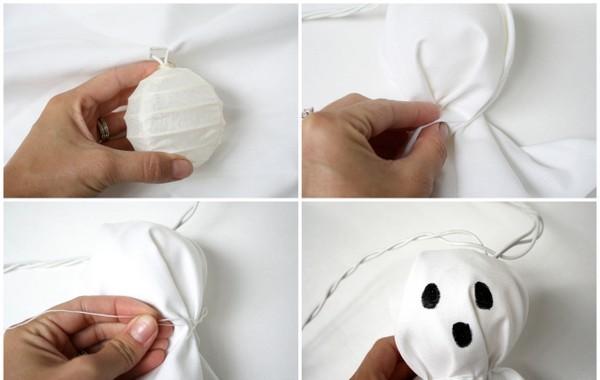
3. Carefully remove the flashlights from the garland, put the fabric on them so that the hole is on top, and put them back in.
4. Tie a thread from below.
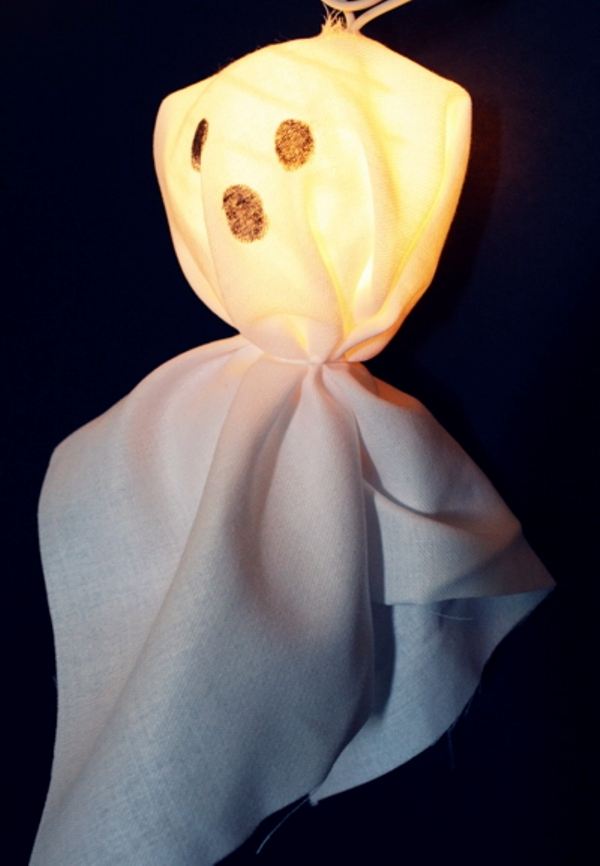
5. Use a marker to draw the eyes and mouth.
How to decorate a Halloween room: mummy candlesticks
You'll need:
– gauze
– glass jars
– PVA glue
– brush or sponge brush
– scissors
– toy (plastic) eyes
– battery-powered candles or plain tealights
– acrylic or watercolor paints.
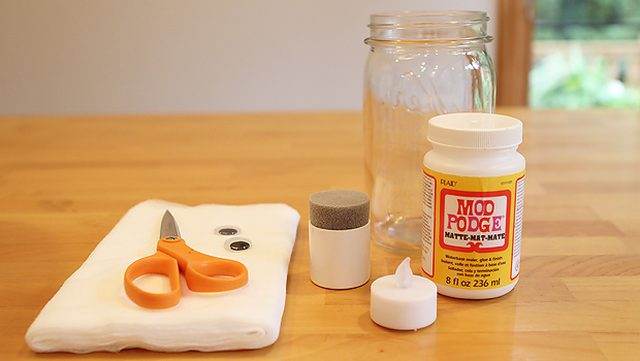
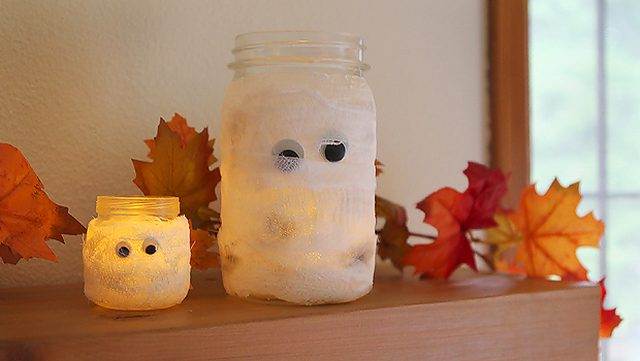
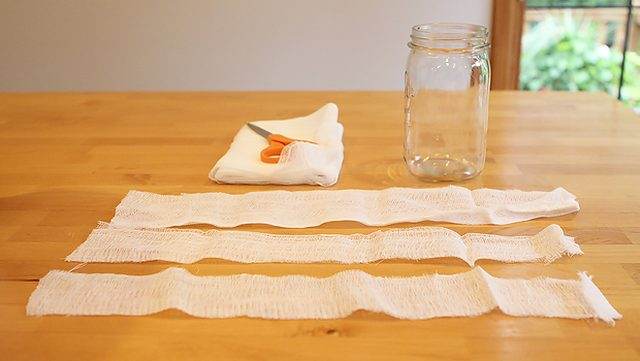
1. Cut the gauze into several long strips.
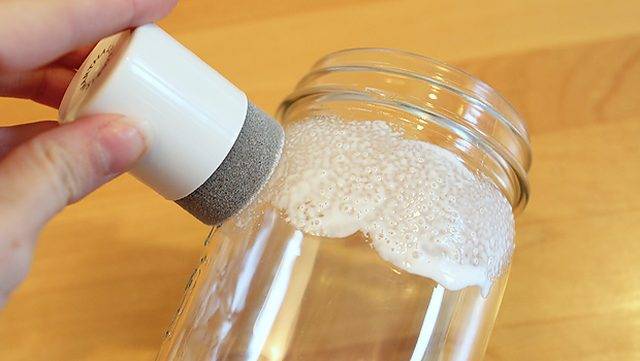
2. Apply some PVA glue to the top of the jar.
3. Glue one strip to the jar and start wrapping it around the entire jar. Secure the gauze in some places with glue.
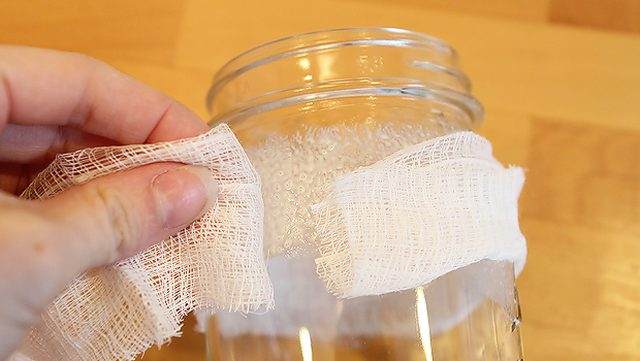
4. Continue wrapping the jar and adding glue in places.
5. Prepare toy eyes and stick them to the gauze.
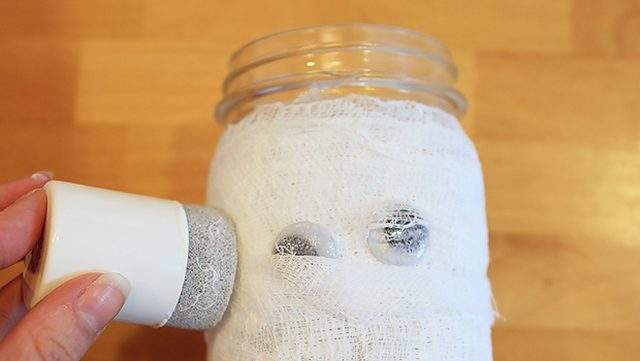
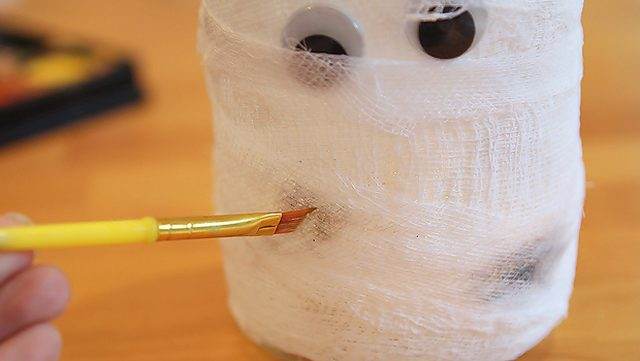
* If you wish, you can add a few dark spots with watercolor paint – then the mummy will be a little shabby and more realistic. But you can leave the pure white version.
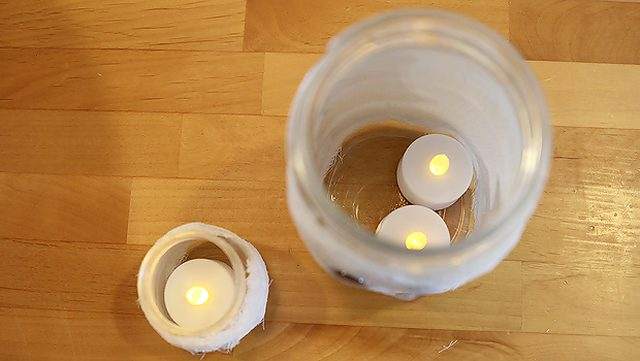
6. Put the candle inside the jar and light it. To avoid accidents, it is better to use an artificial candle with a battery.
Halloween at home: Halloween style glasses

You'll need:
– pencil
– paper
– scissors
– black duct tape
– glasses
– long cocktail tubes
1. Practice drawing Halloween faces on paper to choose the most suitable pattern.
* You will have to cut this drawing, which means it is better not to make it too complicated.
2. Cut out the details of the face from black duct tape using scissors.
3. Glue the cut parts onto the glass. You can peel off and change the position of the parts.
4. Decorate the glass with a bright tube.
5. Pour in any orange drink.
DIY Halloween Ideas: Candy Hands
You'll need:
– various small sweets of different colors
– clean plastic gloves
– tape
– scissors.
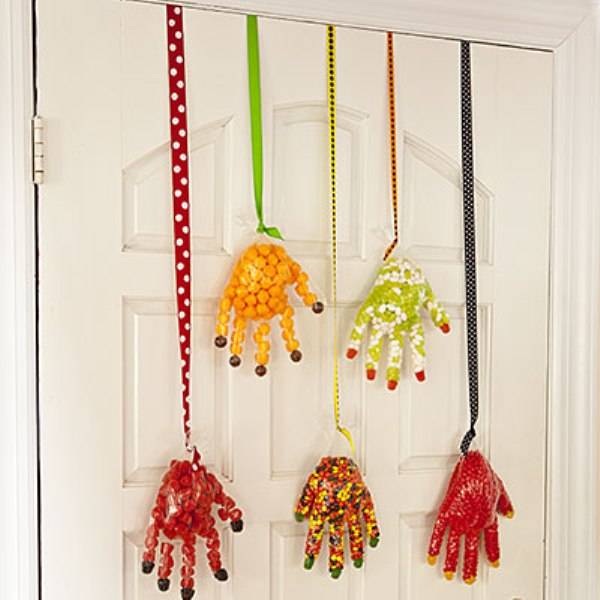
1. Fill each glove with candy of a specific color. You can first put one candy of contrasting color into each finger to make nails.
2. Tie a glove and a ribbon on it. Cut off any excess pieces of the ribbon and you can hang your jewelry.
Halloween home decoration: mummy heads
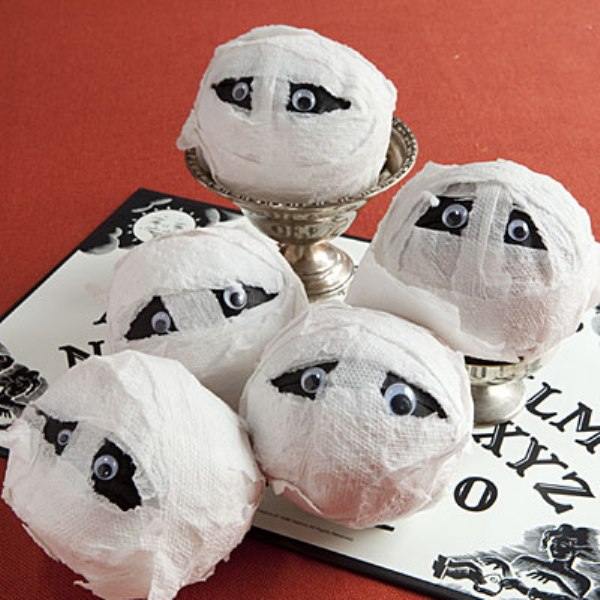
For one mummy head, you'll need:
– white paper towels
– liquid starch (preferably in the form of a spray) or PVA glue and gauze
– scissors
– black duct tape or black marker and white duct tape
– oranges
– double-sided tape
– glue
– toy eyes.
1. Wet and squeeze 2-3 paper towels. Deploy them. If you have liquid starch, spray it on towels and leave them to dry. If not, you can skip this step.
2. Glue a strip of black duct tape in the place where you plan to glue the toy eyes.
3. If you use liquid starch, wrap the orange completely with dried paper towels, but leave the area where you glued the duct tape uncovered. Paper towels can be secured with tape.
* If you do not have liquid starch, you can wrap the orange with gauze, adding PVA glue during wrapping. You can also use scotch tape to better attach gauze.
4. Glue the toy eyes onto the black duct tape.
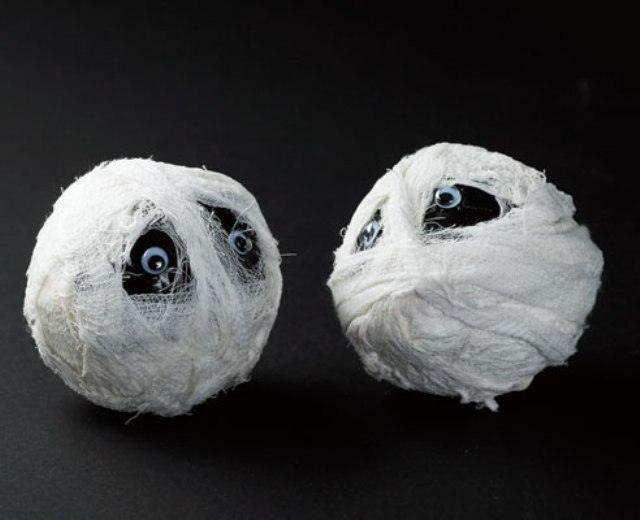
It's done!
DIY Halloween (photo)
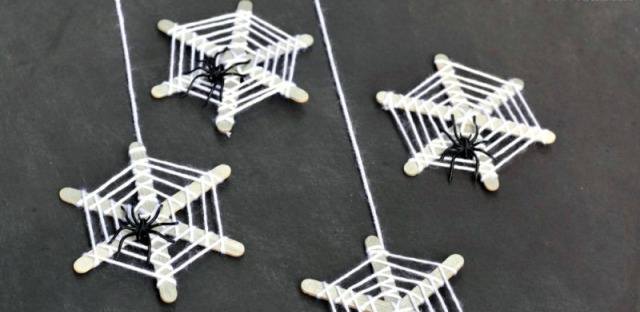
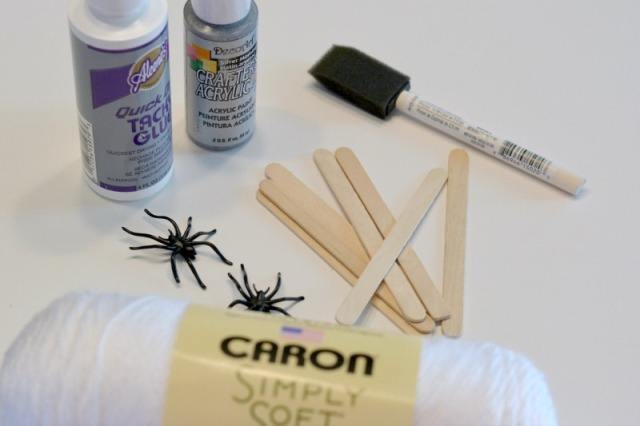
Little web with a spider
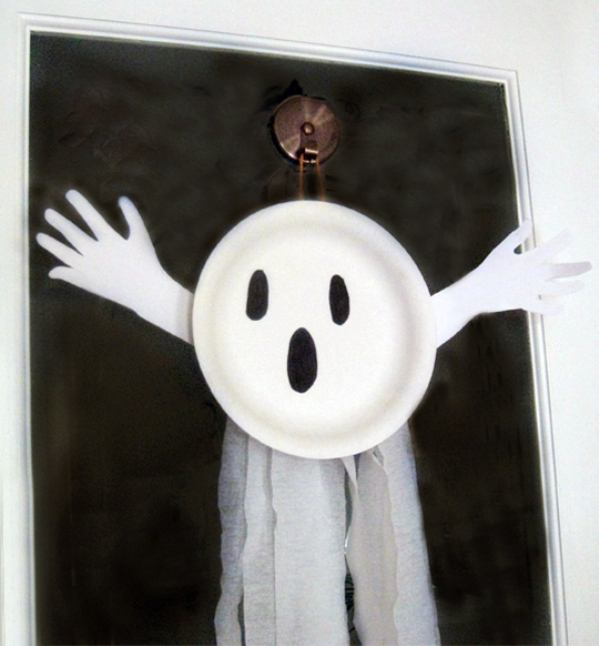
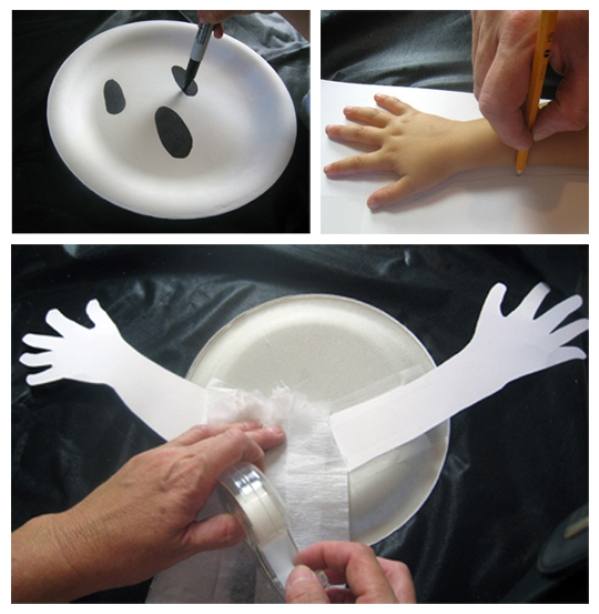
Ghost painting
Crocheted pumpkin – video