
 Useful tips
Watch the video, If you're too lazy to read
Watch the video, If you're too lazy to read
As the Holy Easter holiday approaches, many people are beginning to think about how to decorate their home for this Bright Day.
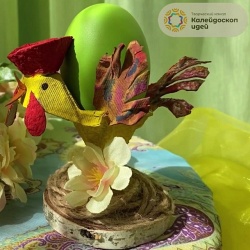
Today we will tell you how to make a wonderful decorative Easter egg stand in the shape of a cute cockerel with your own hands, which can not only decorate your home a wonderful holiday, but it will also be a wonderful toy for your child, who, by the way, will also be able to take a direct part in its creation.
To make a cockerel, we will need:
egg tray;
gouache;
twine;
brushes;
wooden circle;
fabric flower;
PVA glue;
hot melt adhesive;
paper knife;
scissors.
So here we go.
First, let's define a goal.
If everything is done correctly, we will get this cockerel, which we will eventually paint with colorful colors.
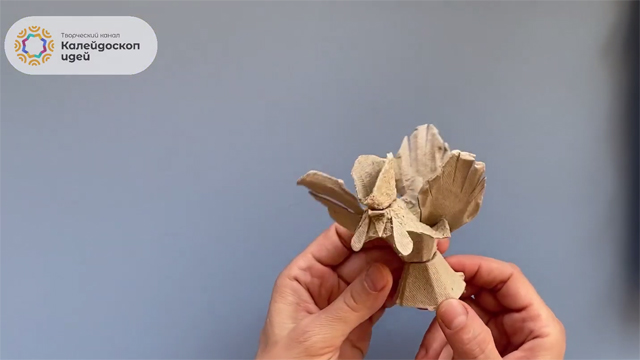
Take the most common egg tray and use a paper knife to carefully cut off the top of one protrusion.
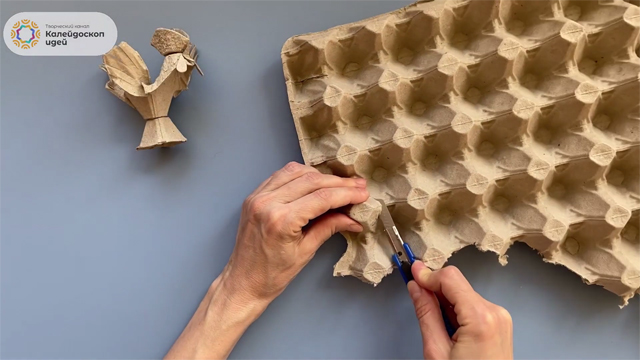
This will be a blank for the cockerel's leg.
It is better to make two such blanks at once, because then we will insert them one into the other to give greater strength.
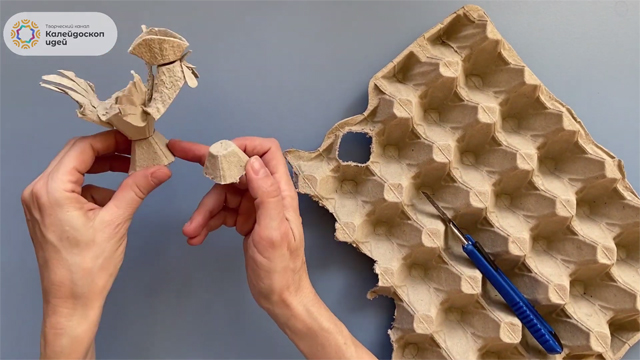
Now let's make our cockerel's torso.
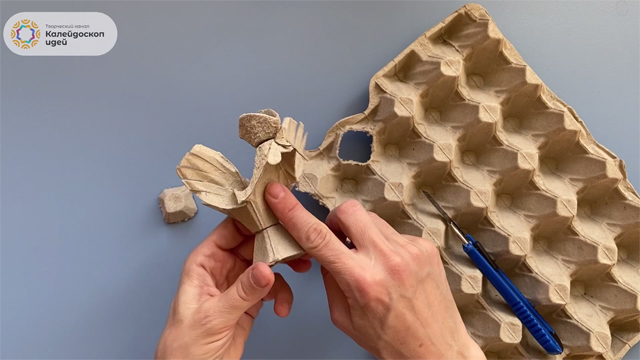
Take the paper knife again and cut out a part from the egg tray, which will include one protrusion and one recess.
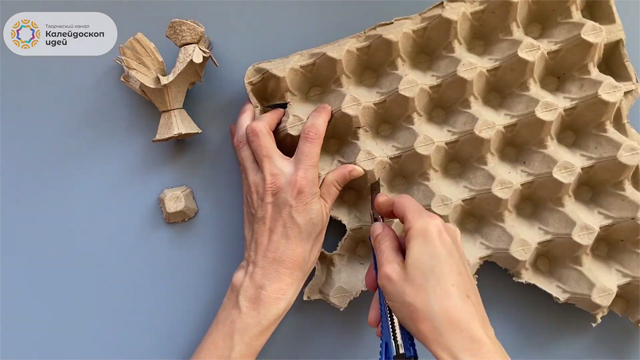
If it is difficult to use a knife in some place, you can already use scissors.
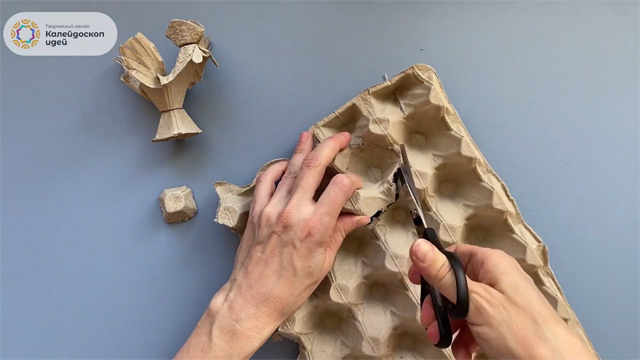
In the end, we should have this workpiece.
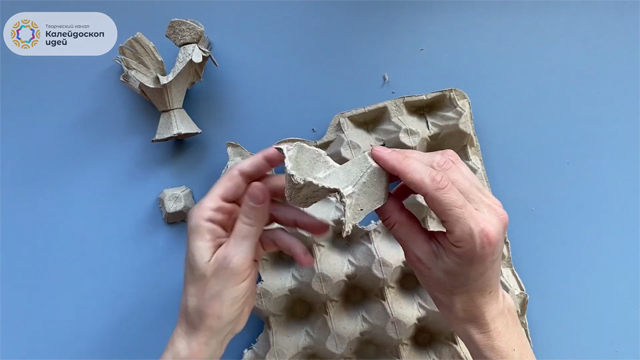
Using scissors, cut off excess pieces of material.
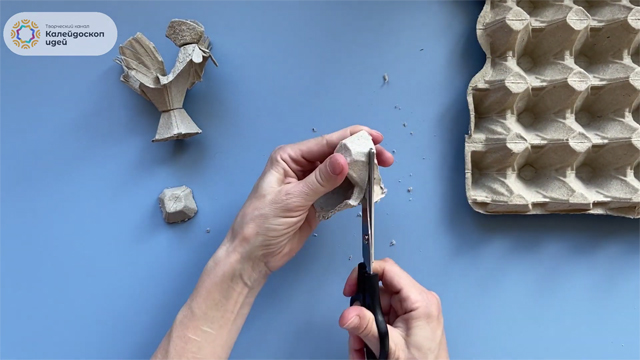
Now we have our cockerel's torso ready.
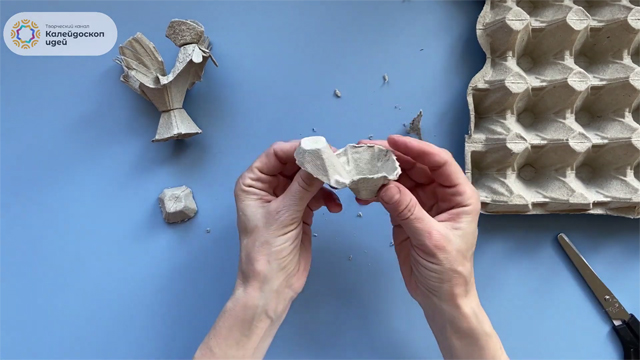
Now let's make a scallop.
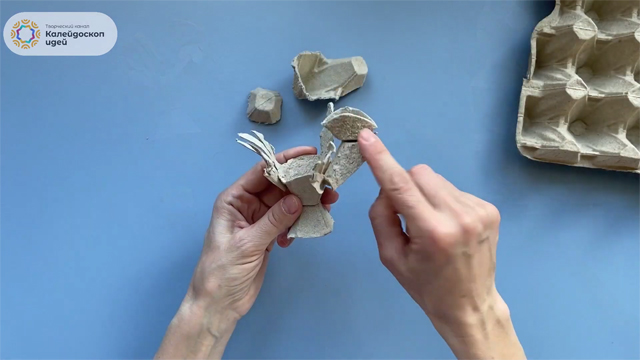
Cut off another tip from the egg tray.
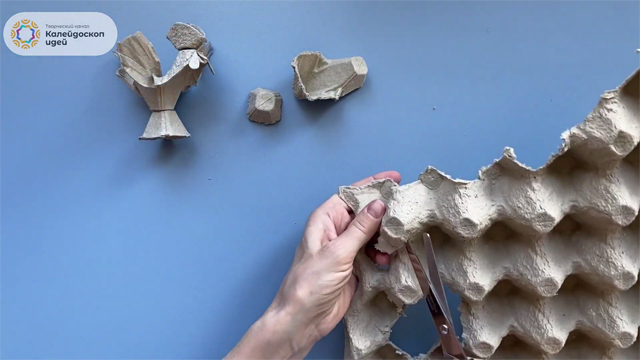
This is what the preparation for the scallop will look like.
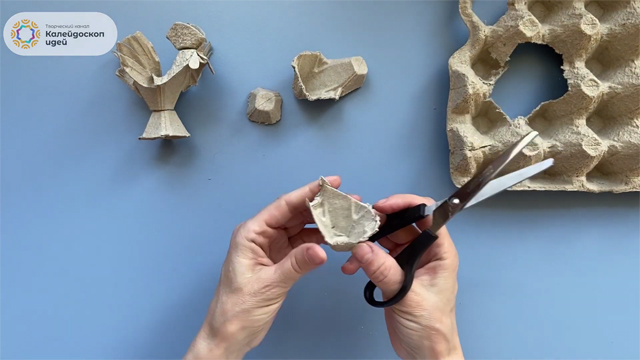
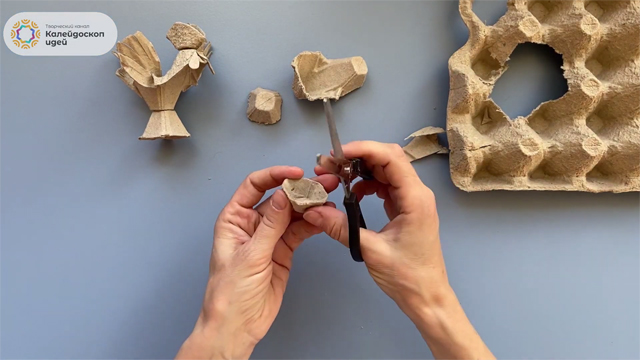
Carefully use scissors to give the workpiece the necessary contours.
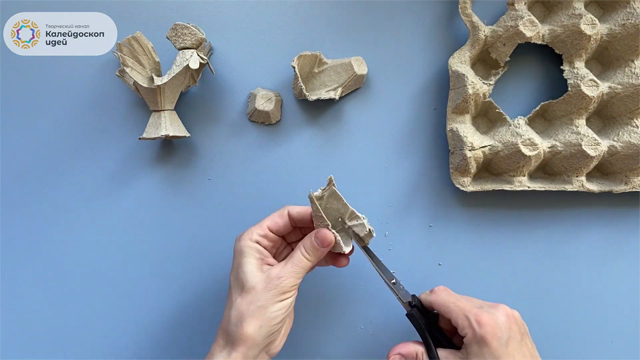
This is what our future scallop looks like now.
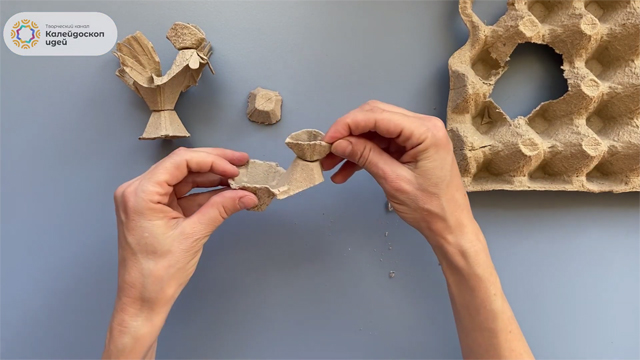
If we attach it to the top of the body workpiece, then we will already have the contours of our future craft.
Now let's start making wings and tail.
To begin with, we will prepare two flat identical blanks for the wings.
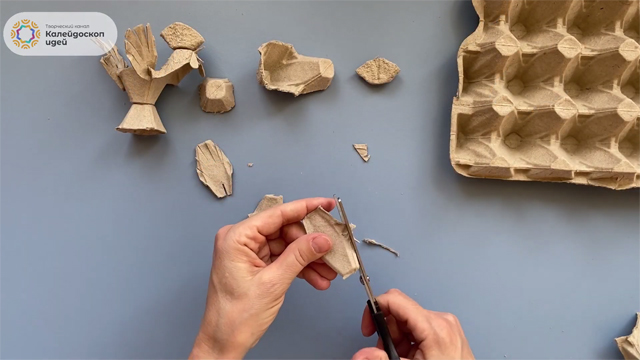
For the tail, cut out another part from the tray, including one protrusion and one recess.
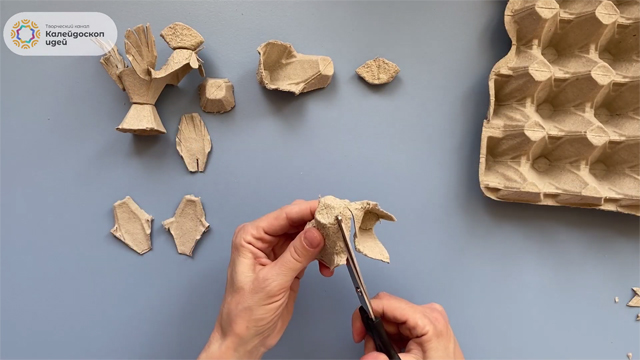
Cut off the extra pieces of material to make this workpiece.
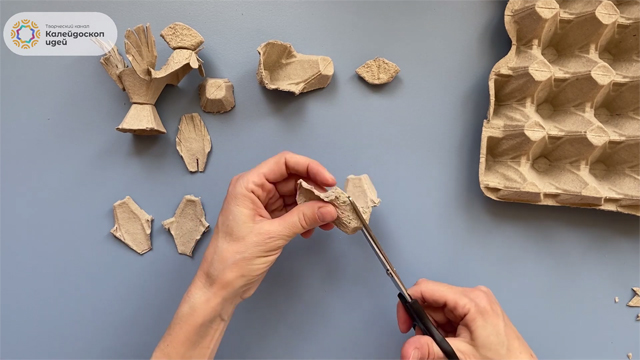
Let's fluff the tail of our cockerel, making several cuts with scissors.
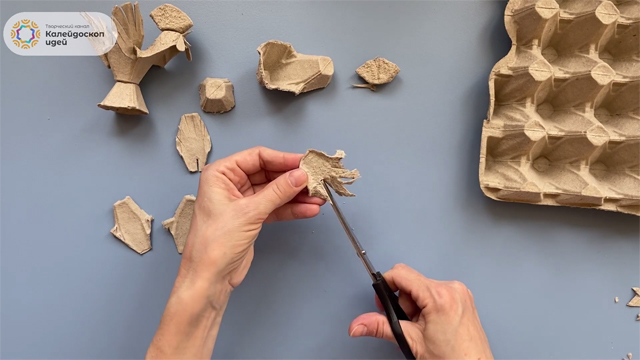
We'll get this detail.
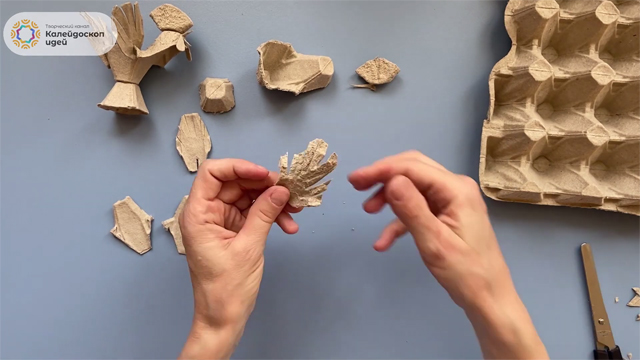
We will make sure that we are doing everything right by comparing the resulting part with the already assembled sample.
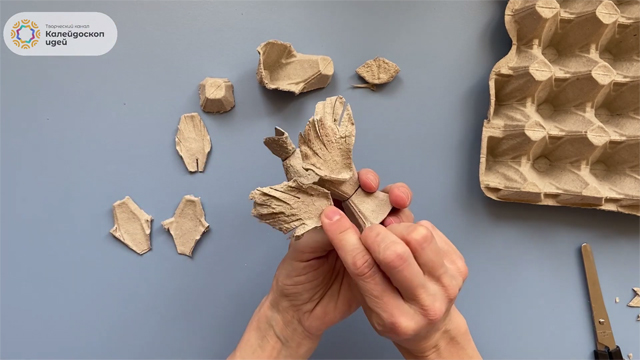
Let's go back to the wings.
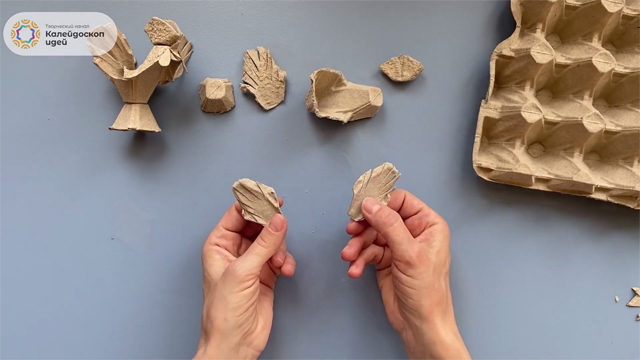
We make several cuts with scissors, just like we did on the tail.
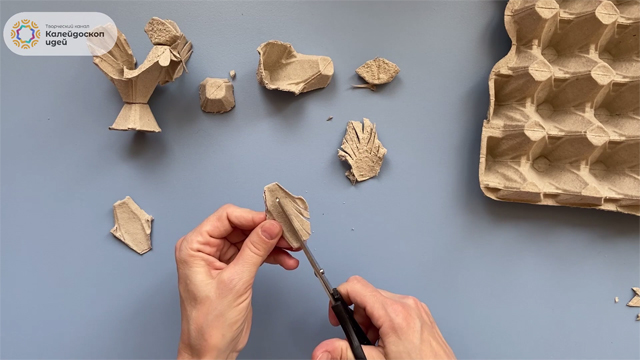
We should have two identical blanks like this.
It remains to make the cockerel's beard and beak.
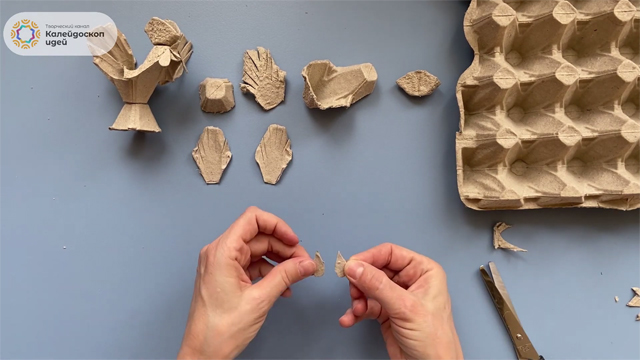
The beak blank is just a small diamond folded in half along a short diagonal, cut from the remnants of the same egg tray, but for the beard we cut out two identical ones details in the form of small droplets.
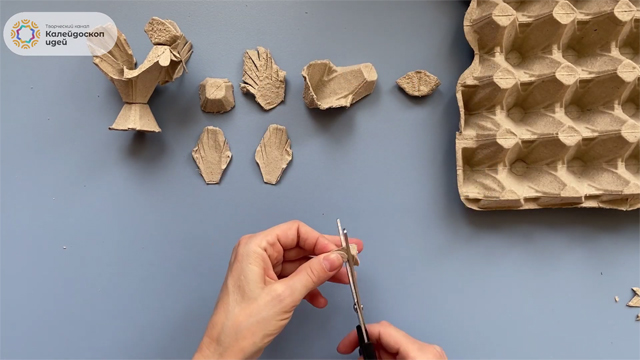
These are two parts for making a beard that we will eventually get.
Let's start assembling the cockerel.
We take the body blank and apply a drop of hot melt glue to the protruding top in the place where the scallop will be attached.
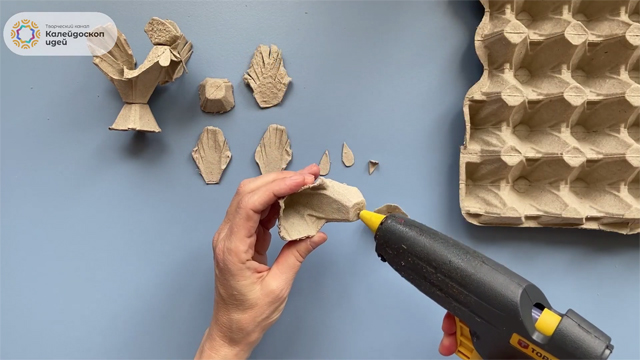
Glue the scallop and press it tightly to fix it.
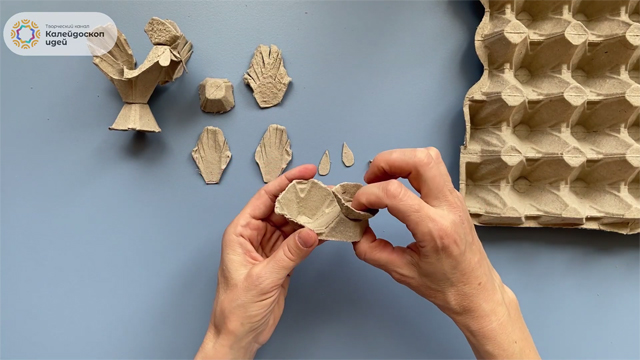
Now, using hot melt glue, we fix the cockerel's beak.
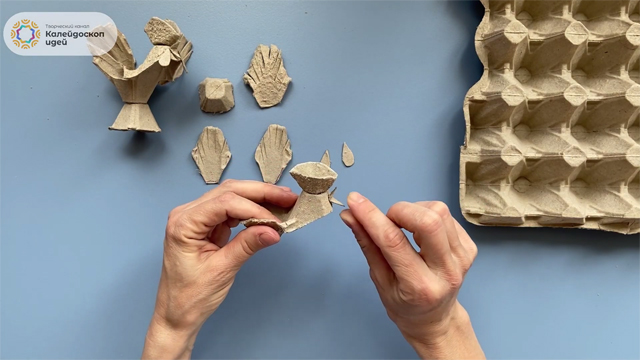
On both sides of the already formed head, we glue the beard.
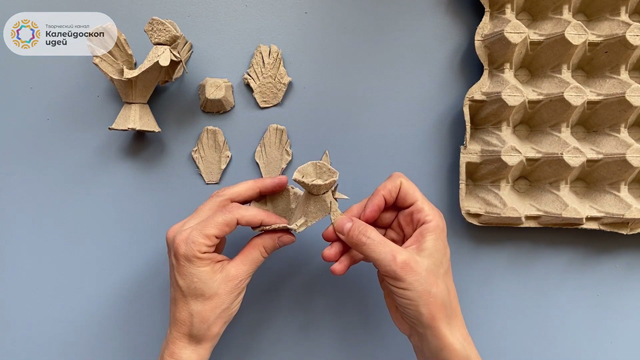
We attach the tail blank to the back of the body.
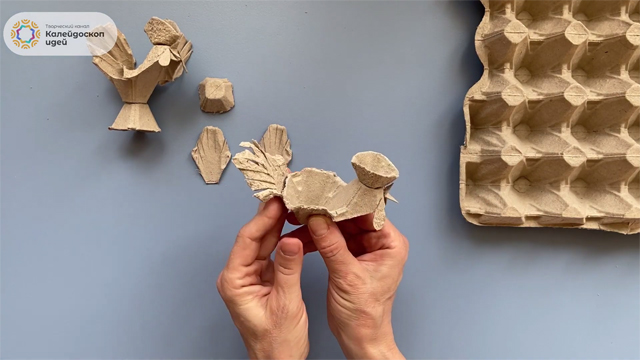
To fasten the wings, we make small cuts in their workpieces on the side where they will be attached to the body.
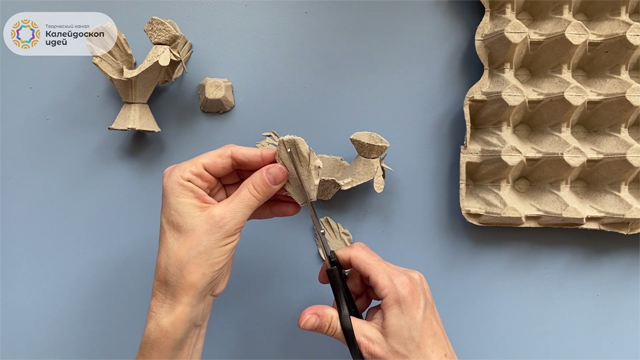
Apply some hot melt glue to this incision.
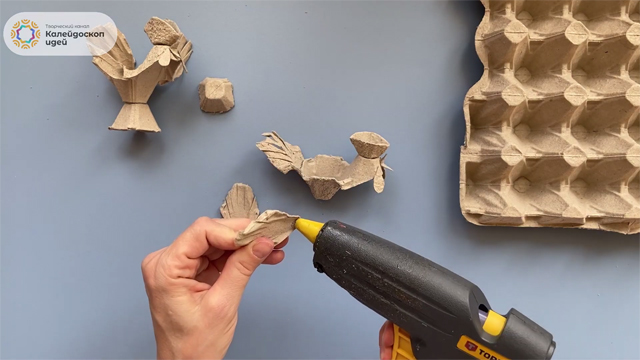
We attach the wing to the body, inserting an incision in the center of the upper part of the rib to recess the body workpiece.
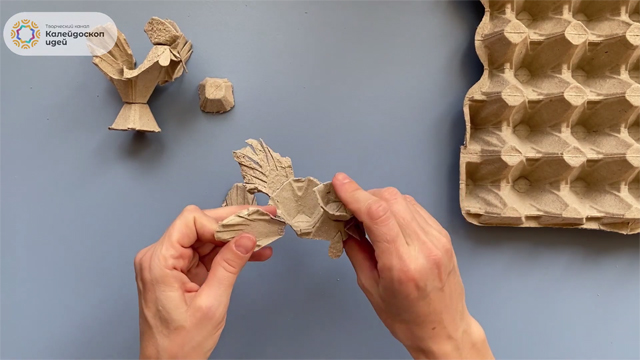
We do the same with the second wing.
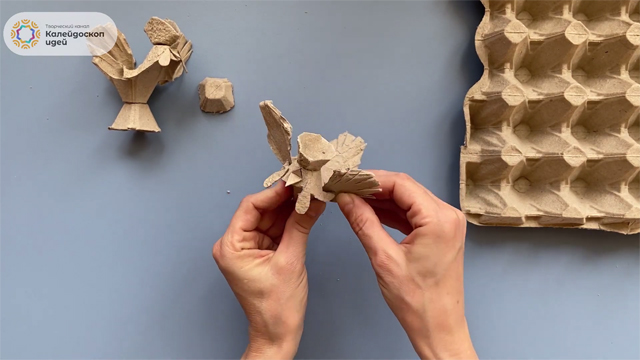
Now let's go back to the leg, for which we prepared two blanks at the very beginning.
Apply hot melt adhesive to the upper part of one of the blanks.
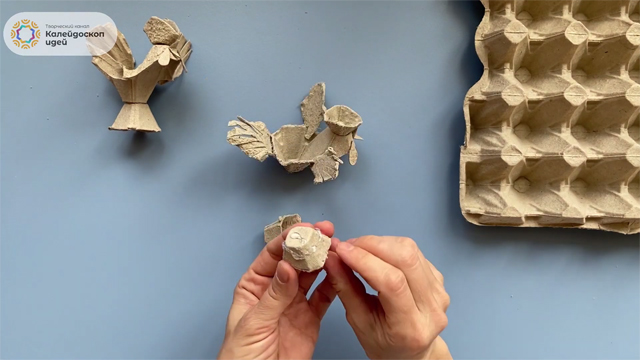
We insert one workpiece into another, pressing them tightly together, thereby giving greater density to this part.
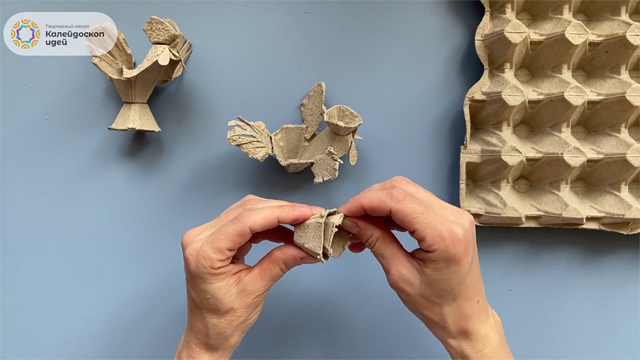
Apply a drop of hot melt glue to the top of our resulting cockerel leg.
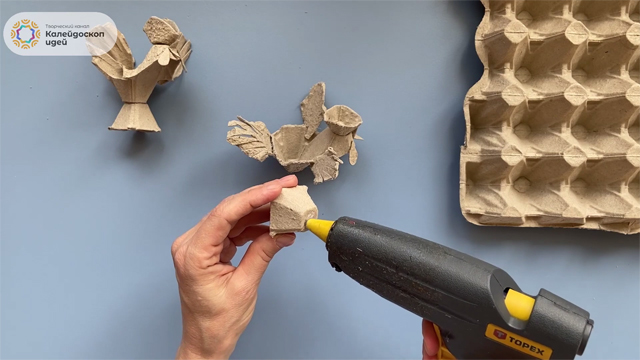
Glue the leg to the lower part of the cockerel's body.
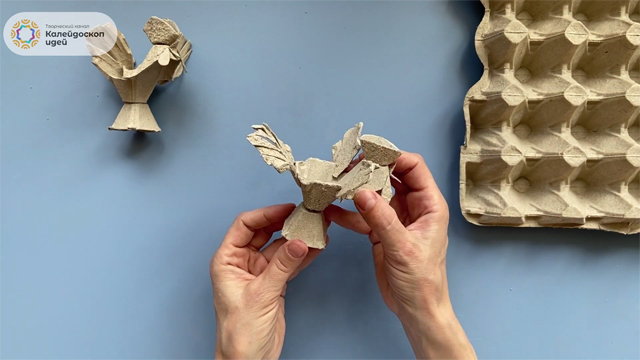
Now we need to fix our craft on a stand.
As this very stand, we will use a small wooden circle. This can be a neatly cut down of a small-diameter tree branch or simply a sawn circle from a piece of plywood.
Apply hot melt glue to the lower part of the cockerel's leg.
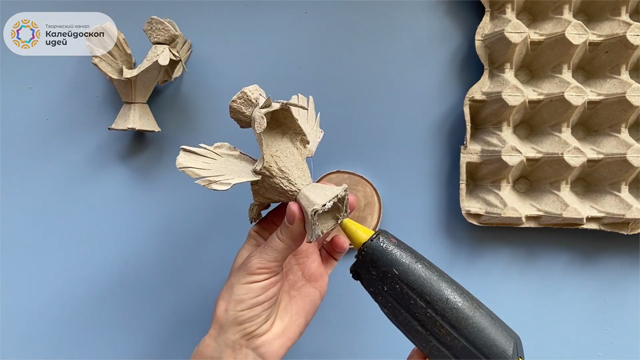
We glue our cockerel in the center of the stand, and now we have a practically ready-made craft that can only be painted.
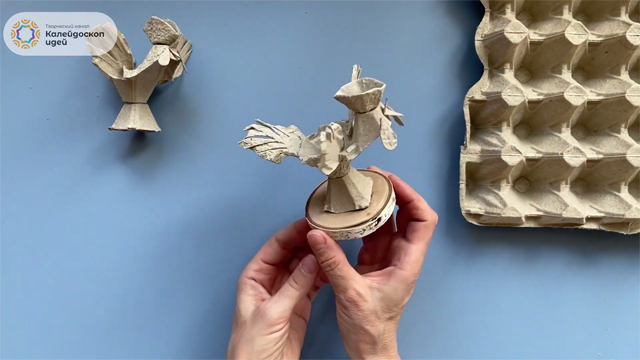
Before coloring, we need to prime our craft.
To do this, we will use PVA glue.
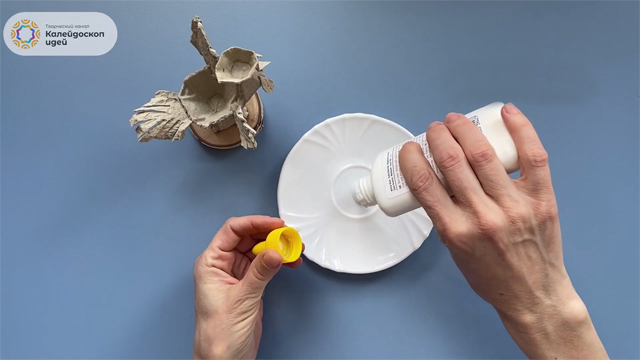
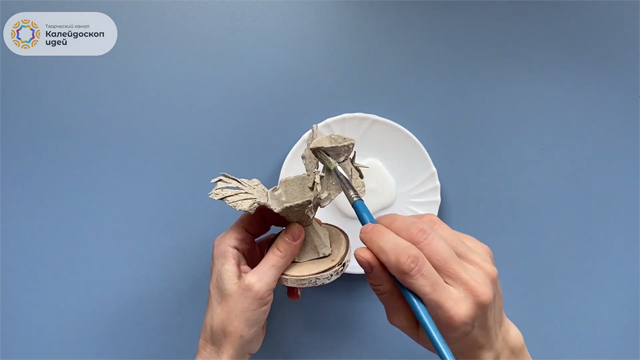
Using a brush, apply PVA glue over the entire surface of our craft and leave it for a while to allow the glue to dry completely. This is necessary so that later the paint with which we will paint our cockerel lies smoothly and beautifully.
Now we need gouache and coloring brushes.
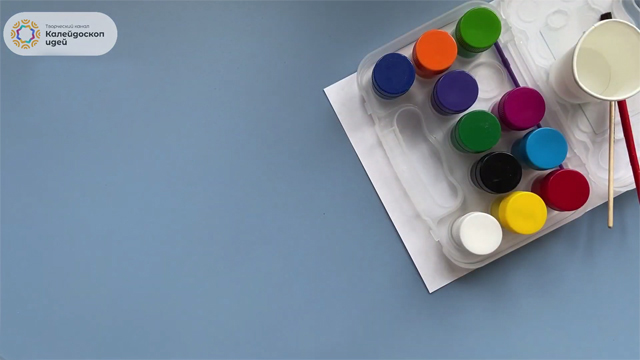
We paint the body and legs of our cockerel in yellow.
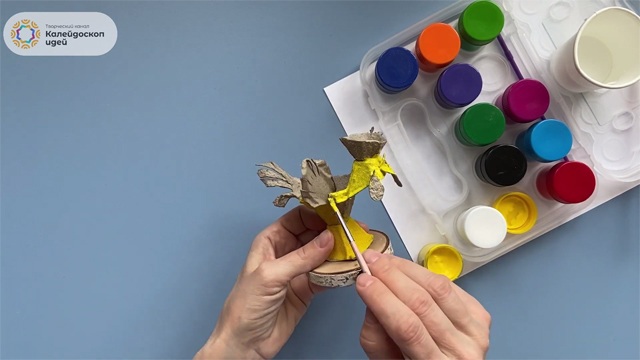
We paint the scallop and beard red, and the wings and tail can be painted in a variety of shades by mixing several colors of paint, for example, brown, red and green, because the real one live birds feathers look exactly like this.
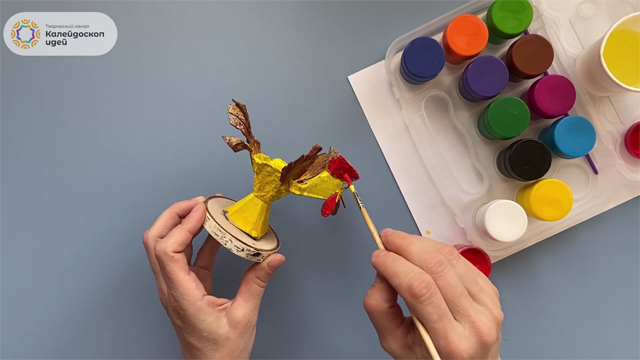
Using a thin brush and black paint, draw the cockerel's eyes.
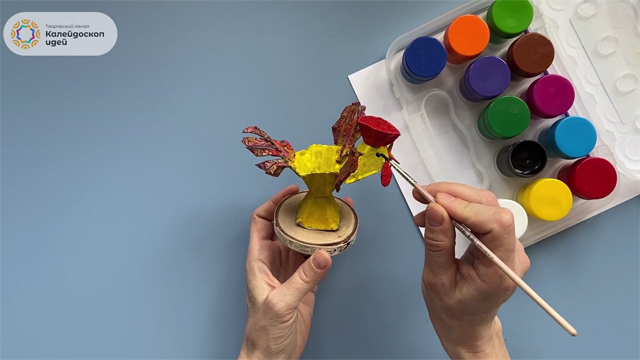
It remains to arrange the stand.
To do this, we need this twisted thin twine.
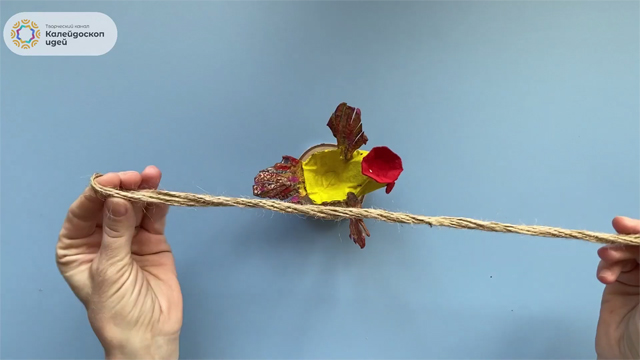
Apply a little hot melt adhesive to the upper side of the stand and fix the end of the twine.
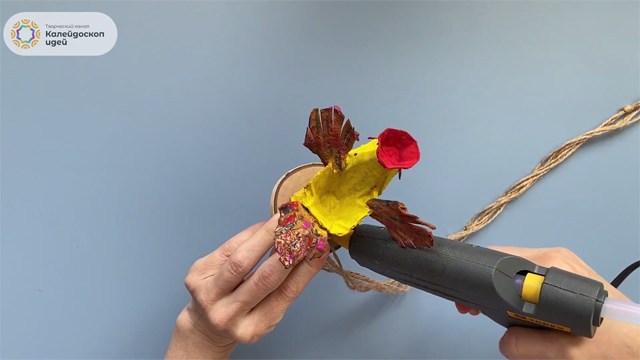
Wrap the twine around the cockerel's leg in several turns.
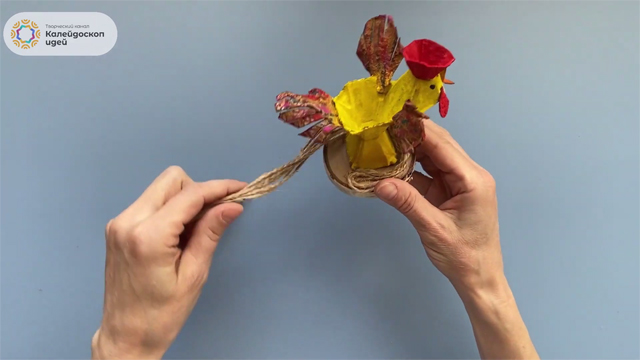
Glue the second end of the twine to the stand.
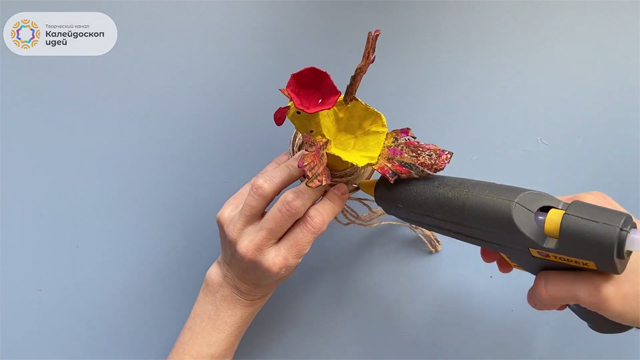
Cut off the excess part of the twine with scissors, thereby completing the design of the stand of our craft.
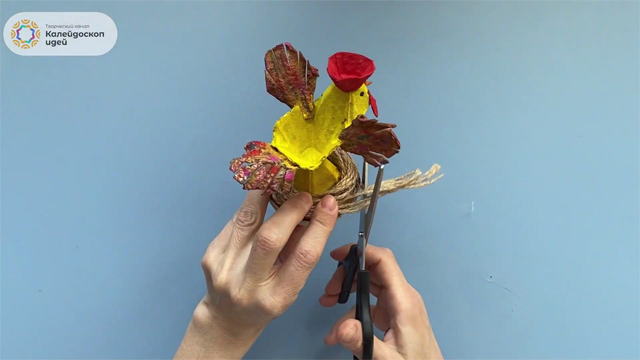
To add even more beauty, you can decorate the stand with a fabric flower.
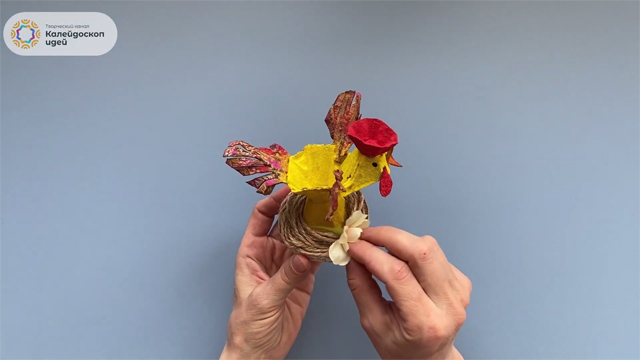
Now you can safely take a painted Easter egg and place it on the back of our cockerel, because this is where the very recess that is used in the egg tray will be.
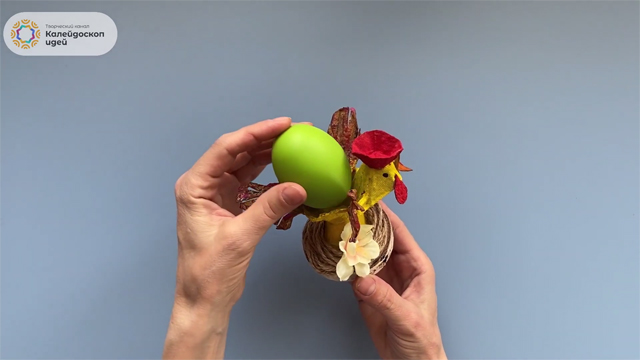
Well, that's it! Our Easter cockerel is fully ready!
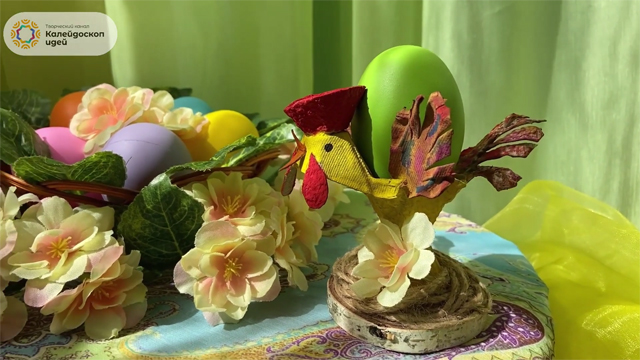
See how the whole process of creating this craft looks like in the video, and compare whether you did it right.
Now you have a wonderful souvenir for Holy Easter.